Chef Isabel
Bollo Preñao Asturiano
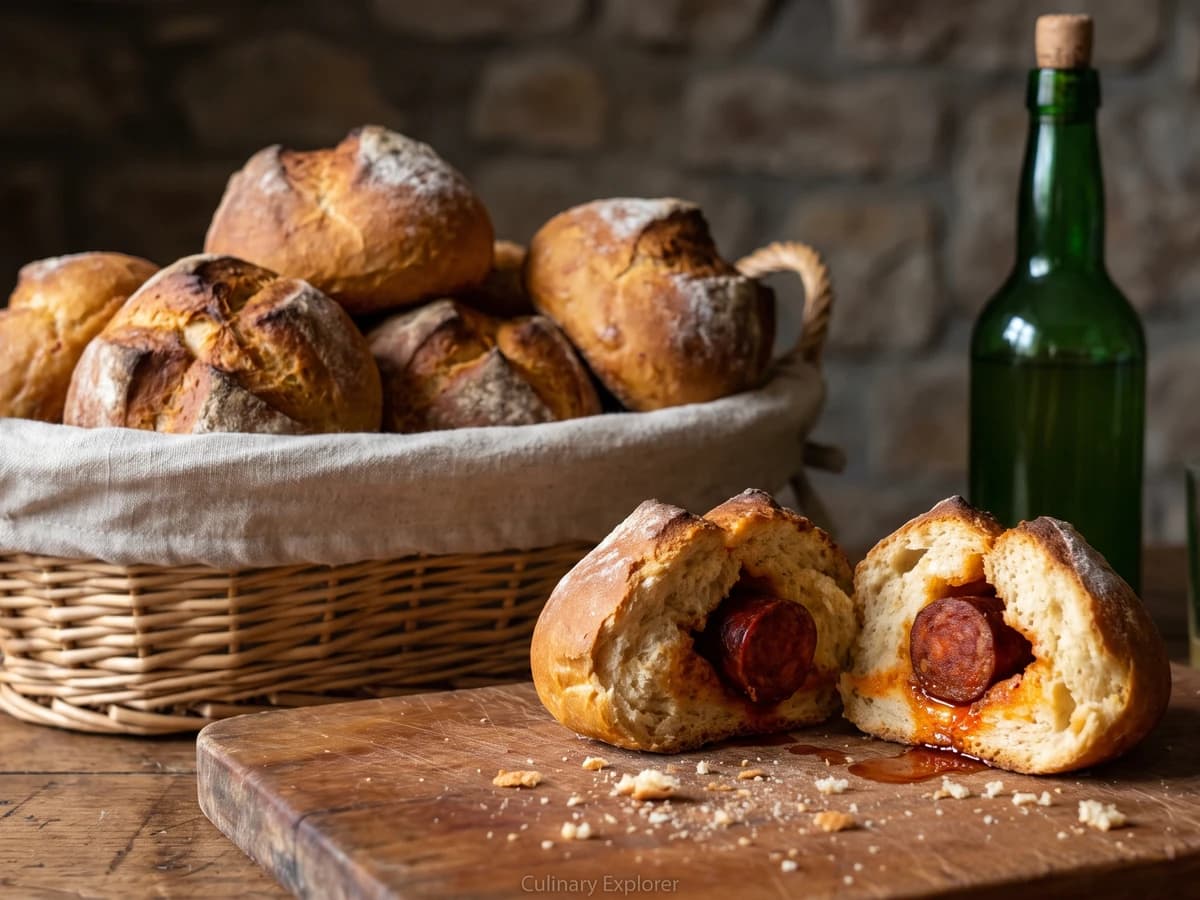
Asturias tucks a whole smoky chorizo inside each bread roll, so its pimentón-red fat seasons the crumb as it bakes. Seal the dough well, and you have the proper food of romerías and picnics.
A cooking platform built around craft, culture, and the stories behind what we eat.
Created by
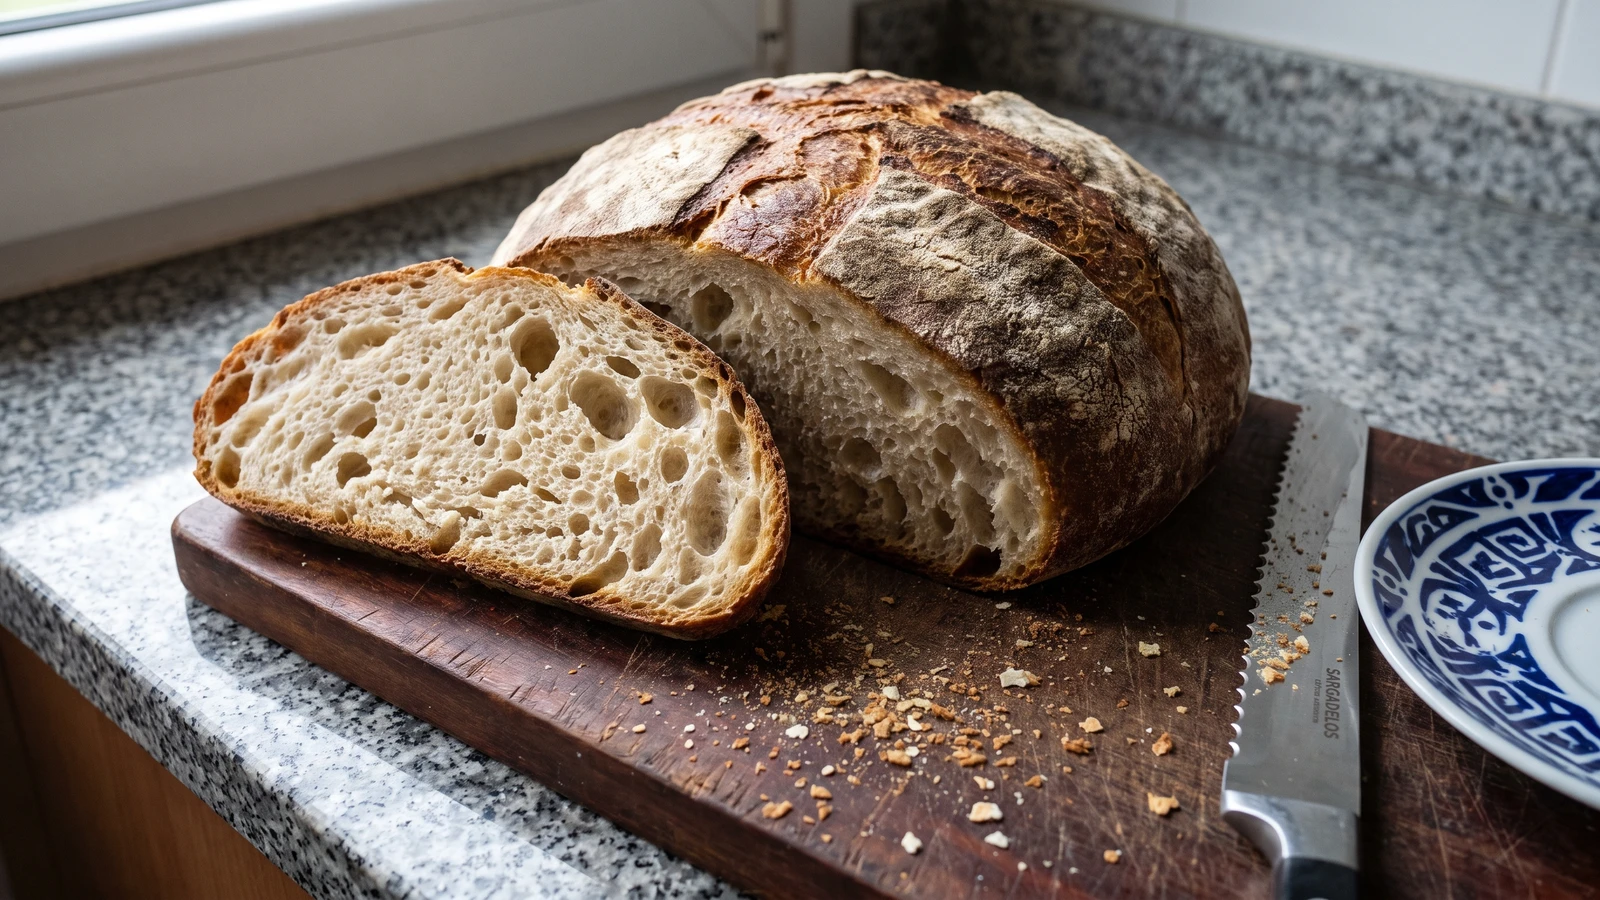
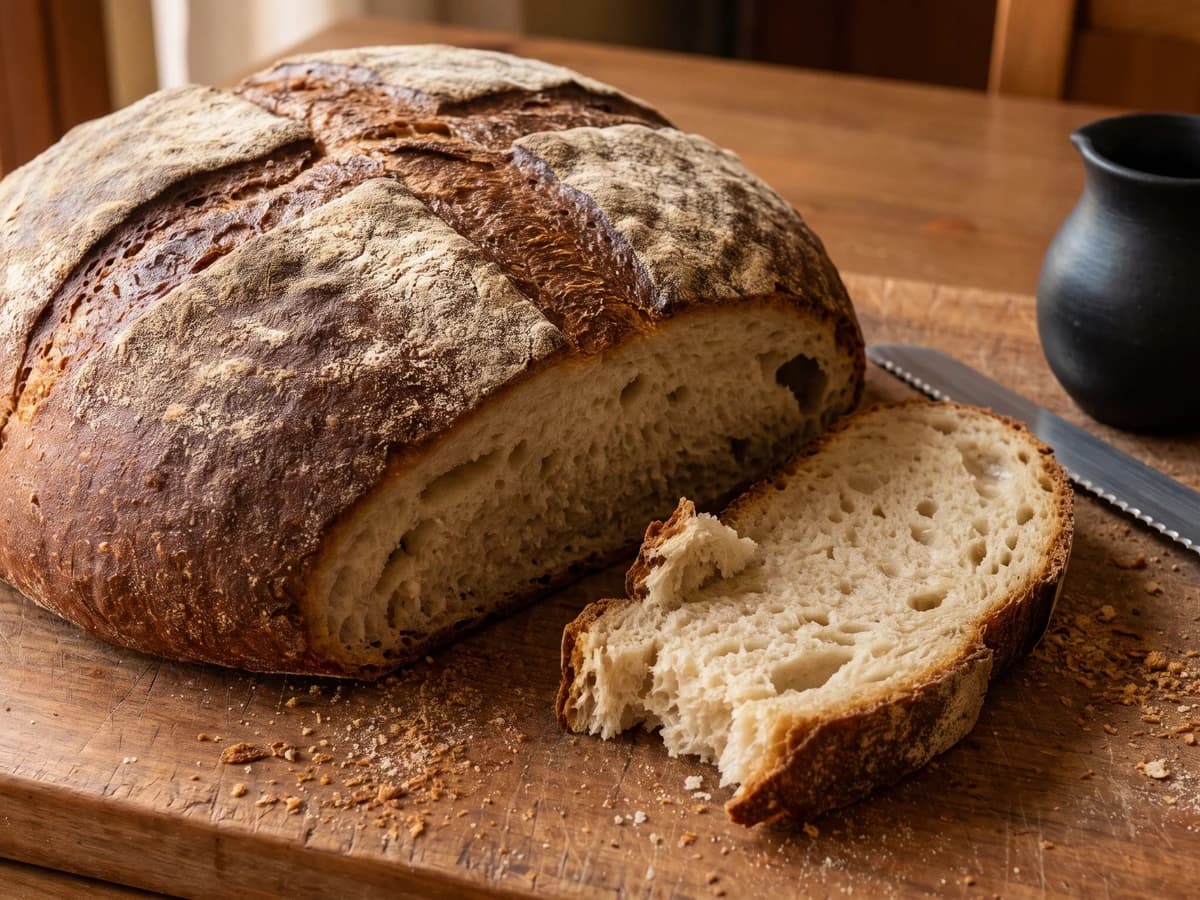
Galicia's high-hydration wheat loaf gets its irregular, honeycombed crumb and hard brown crust from masa madre, patient fermentation, and gentle hands that keep the trapped air where it belongs.
Pan Gallego is Galicia's wheat loaf: a hand-shaped bread made with masa madre, generous water, and at least one quarter soft wheat grown in Galicia. That local grain gives it a sweet, deep wheat aroma. The wet dough and long fermentation leave a moist crumb riddled with uneven holes beneath a thick, crisp crust. This is wheat bread, not the denser rye or maize broa also found on Galician tables.
The method that decides it is the gentle fermentation of a properly wet dough. Don't chase the stickiness away with extra flour. Give the dough four folds, let the masa madre fill it with air, and shape without pressing that air back out. The water opens the crumb, while the strong flour beside the softer Galician wheat gives it enough structure to rise rather than spread across the oven floor.
If trigo do país, Galician country wheat, doesn't reach your market, use unbleached plain flour for that quarter and strong bread flour for the rest. The crumb will behave properly, though the loaf loses some of the local grain's honeyed aroma. No hace falta haber pisado España. Weigh it, watch the rise rather than only the clock, and it comes out. My Margin has one warning beside this bread: sticky is right, soupy is not.
Pan Galego belongs across Galicia's four provinces, where village mills and communal ovens turned household wheat doughs into large loaves whose thick crust kept the crumb moist for several days. Wheat was dearer than the rye and maize that also fed rural Galicia, so a well-risen wheat loaf carried particular value at the family table. The protected tradition recognizes four forms, bolo or hogaza, rosca, bola or torta, and barra, and requires at least one quarter Galician-grown wheat together with generous hydration and long fermentation.
Quantity
120g
used at its peak, when doubled and well aerated
Quantity
390g
preferably 12-13% protein
Quantity
150g
unbleached plain flour may be substituted
Quantity
390g
at 22-24°C, divided into 365g and 25g
Quantity
10g
Quantity
15g
Quantity
200ml
| Ingredient | Quantity |
|---|---|
| active masa madre (100% hydration sourdough starter)used at its peak, when doubled and well aerated | 120g |
| strong white bread flourpreferably 12-13% protein | 390g |
| Galician soft wheat flour, preferably Callobre or Caaveirounbleached plain flour may be substituted | 150g |
| waterat 22-24°C, divided into 365g and 25g | 390g |
| fine sea salt | 10g |
| bread flour, for dusting | 15g |
| boiling water, for the oven tray | 200ml |
Mix the strong bread flour and Galician wheat flour in a large bowl. Add 365g of the water and work it through with your fingers until no dry flour remains. The dough will be rough, heavy, and sticky. Cover and leave it for 30 minutes so the flour can drink the water before the masa madre goes in.
Spread the active masa madre over the dough. Dissolve the salt in the remaining 25g water, pour it in, then pinch, fold, and squeeze the dough for about 5 minutes until the starter and salt water disappear into it. It should feel elastic but loose. Don't add more flour because it clings to your fingers; wet fingers are cheaper than a dry loaf.
Transfer the dough to a clear, lightly dampened container and cover it. Keep it near 24-25°C. During the first 2 hours, give it one set of folds every 30 minutes, four sets in all. For each set, lift one side until it stretches, fold it across the middle, and repeat on all four sides. Then leave it undisturbed until it has risen by roughly half, looks rounded at the edges, and holds bubbles beneath its surface, usually 4 to 5 hours from the moment the starter was added. Don't wait for it to double.
Use part of the measured dusting flour on the bench and ease the dough out without pressing it flat. Fold the outer edges gently toward the middle, turn it seam-side down, and use a dough scraper to draw it toward you until the surface becomes taut. Rest it for 15 minutes. Tighten it once more into a round bolo, keeping your touch light so the fermentation bubbles stay inside.
Dust a linen-lined 24cm basket or bowl with the remaining flour. Set the loaf inside seam-side up and cover it. Proof at room temperature for 1 hour 30 minutes to 2 hours 30 minutes. It is ready when it looks swollen and a floured fingertip pressed lightly into the dough leaves a hollow that returns slowly but does not vanish.
During the final 45 minutes of proofing, heat the oven to 250°C with a baking stone or steel on the middle rack and a sturdy empty metal tray on the lowest rack. The long preheat matters because the stone must carry enough heat to lift this wet dough before it spreads.
Turn the loaf onto baking paper set on a peel or flat tray. Cut one plain cross about 1cm deep across the top. Slide it onto the hot stone, pour the 200ml boiling water carefully into the lower metal tray, close the oven, and reduce the temperature to 240°C. Bake for 15 minutes. Remove the water tray, lower the heat to 210°C, and bake for another 30 to 35 minutes. The loaf is done when the crust is deep chestnut brown, feels hard beneath your fingers, and the centre registers 96-98°C.
Move the bread to a wire rack and leave it untouched for at least 2 hours. The crumb is still setting while the loaf cools; cut it early and the open interior turns gummy under the knife. Once cool, the crust should be thick and crisp, with a moist cream-coloured crumb and large, uneven holes. Siempre sale, si lo sigues.
1 serving (about 75g)
Culinary guides, cultural storytelling, and the editorial depth that makes cooking meaningful.
Discover Culinary ExplorerChef Isabel
Asturias tucks a whole smoky chorizo inside each bread roll, so its pimentón-red fat seasons the crumb as it bakes. Seal the dough well, and you have the proper food of romerías and picnics.
Chef Isabel
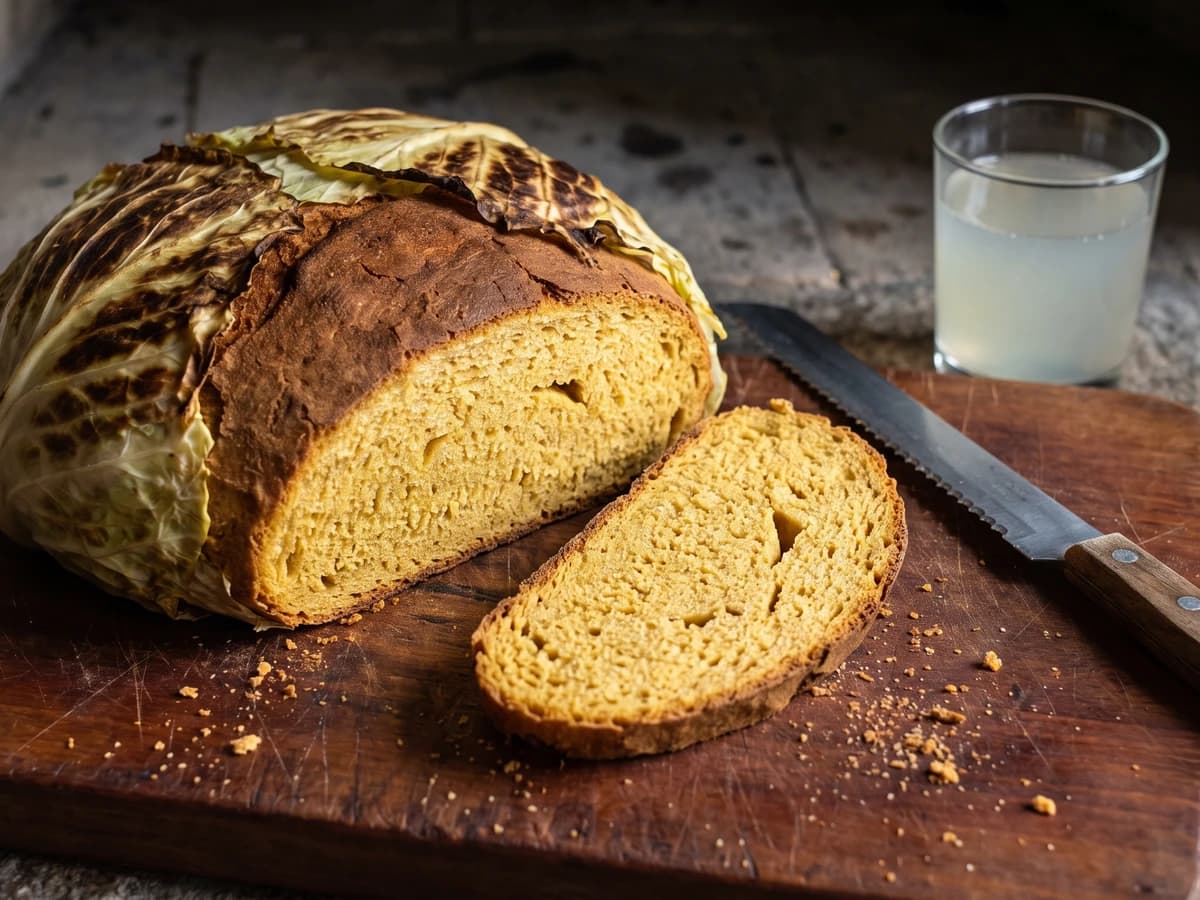
Asturian boroña is the plain corn loaf of the wet north, scalded with salted water and baked inside cabbage leaves until the crust darkens and the crumb stays close, gold, and moist.
Chef Isabel
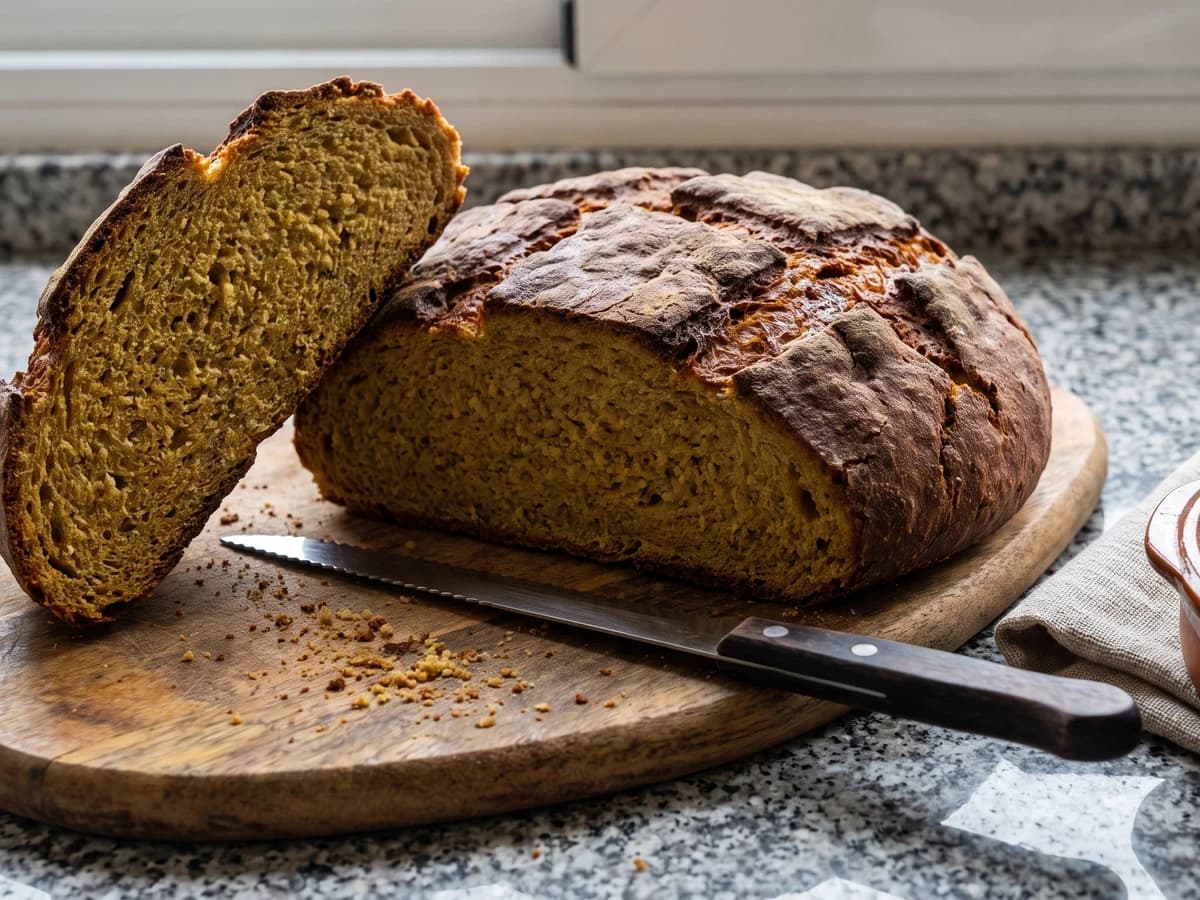
Broa Galega is Galicia's sturdy maize-and-rye loaf: scald the corn flour, give the damp dough time to rise, and the oven gives back a cracked crust and close, faintly sweet crumb.
Chef Isabel
León's great pan de flama is a one-and-a-half-kilo round, slowly fermented and baked dark, with a thick crust that protects its moist, irregular crumb for days.