Chef Isabel
Bollo Preñao Asturiano
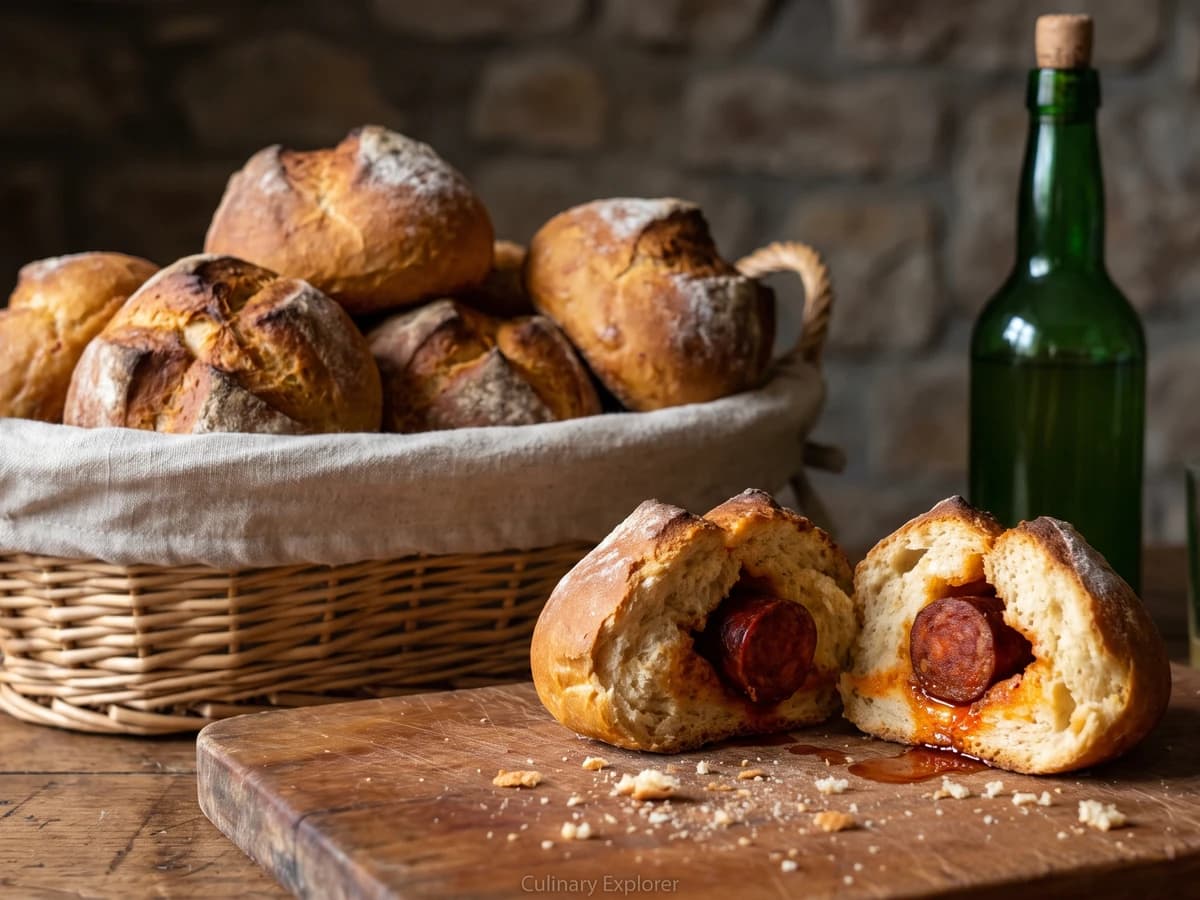
Asturias tucks a whole smoky chorizo inside each bread roll, so its pimentón-red fat seasons the crumb as it bakes. Seal the dough well, and you have the proper food of romerías and picnics.
A cooking platform built around craft, culture, and the stories behind what we eat.
Created by
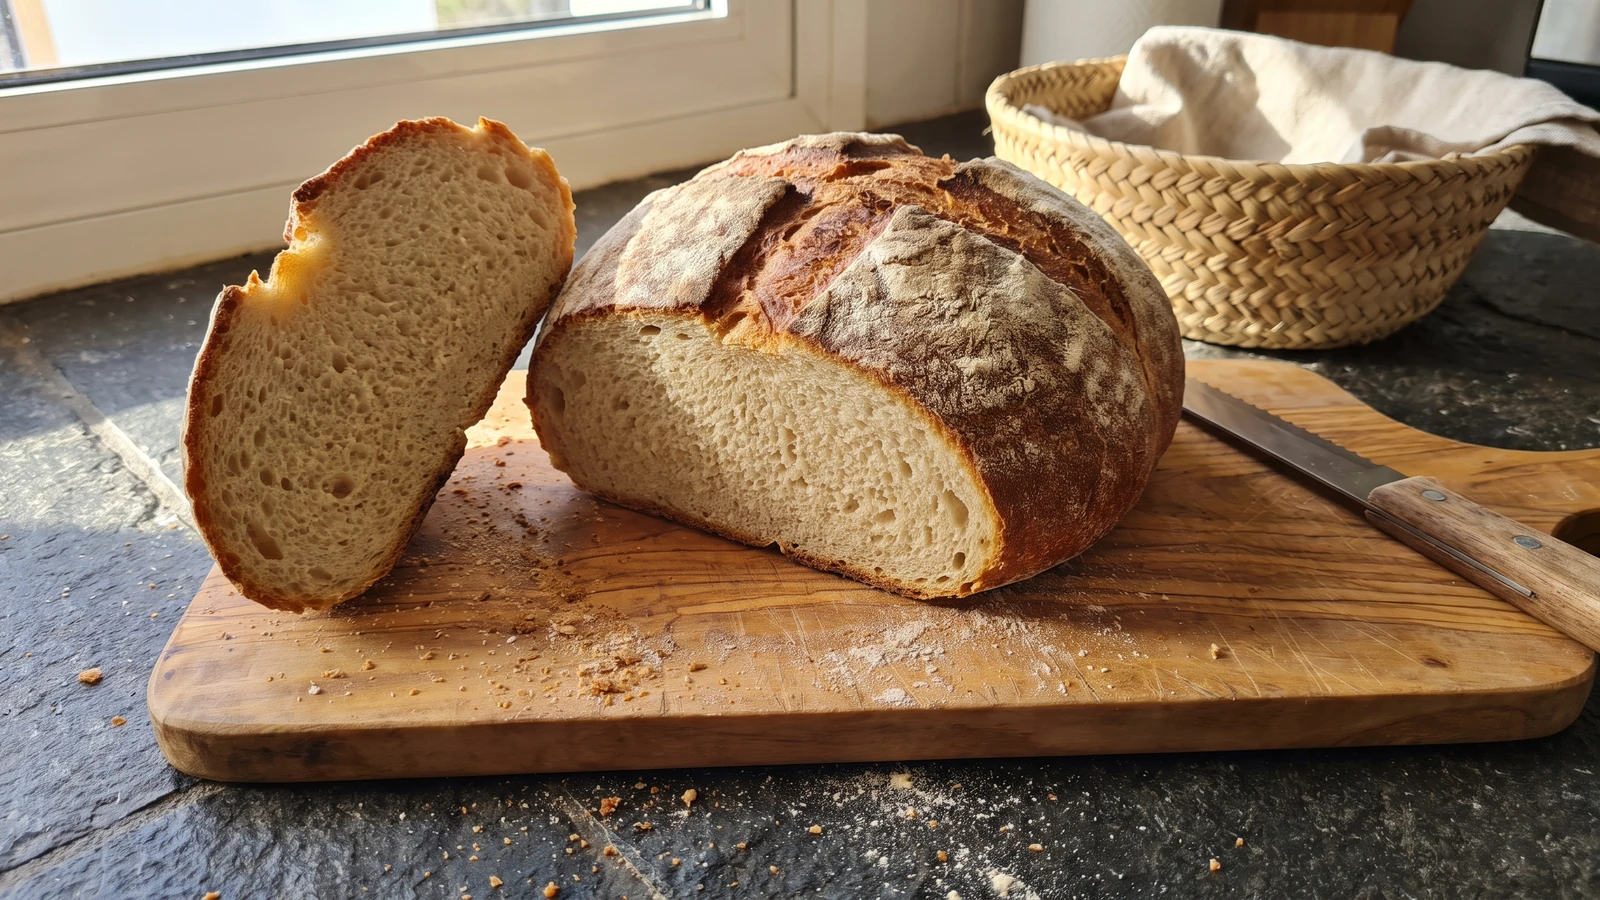
Gran Canaria's firm country loaf is worked with the closed fist until smooth, then given a patient rise and a hard bake for close crumb, strong crust, and good keeping.
Pan de puño is Gran Canaria's firm country loaf, made from a plain wheat dough worked against the table with the knuckles and closed fist. That amasado a puño, fist-kneading, gives the bread its name and its character: a close, even crumb beneath a sturdy brown crust. It isn't meant to billow like soft sandwich bread. It is bread for cutting thick, carrying food, and keeping several days.
The fist-work decides it. This is a dry dough, so ordinary kneading leaves rough seams and pockets that later bake into a heavy crumb. Fold it, drive the fist through it, turn it, and repeat until the surface changes from coarse to smooth and faintly satin-like. The work develops enough strength to hold the slow fermentation without turning the loaf airy or fragile. If your wrists tire, cover the dough for five minutes, then carry on. Don't soften it with extra water merely because it argues back.
Harina de fuerza, strong wheat flour, is the proper flour. Unbleached bread flour works wherever you're standing; if yours has more than 13 percent protein, replace 75g with plain flour or the crumb will be tougher. Fresh baker's yeast gives a steady rise, but 2g instant yeast does the same job and may finish a little sooner. My Margin beside this loaf says, "The dough decides when you're finished, not your arms." Siempre sale, si lo sigues, it turns out if you follow it.
Pan de puño belongs to Gran Canaria's household and village bread tradition, including the agricultural medianías, the island's cultivated middle elevations. Its name records the amasado a puño, the forceful working of a stiff wheat dough with the knuckles and closed fist in a kneading trough, rather than the loaf's shape. The close crumb and substantial crust helped it last between baking days; unlike gofio, the Canarian staple of toasted milled grain, this was a leavened loaf made for slicing.
Quantity
500g
Quantity
290g
at 20 to 22°C
Quantity
6g
or 2g instant yeast
Quantity
10g
| Ingredient | Quantity |
|---|---|
| unbleached strong wheat bread flour | 500g |
| waterat 20 to 22°C | 290g |
| fresh baker's yeastor 2g instant yeast | 6g |
| fine sea salt | 10g |
Dissolve the fresh yeast in the water. If you're using instant yeast, whisk it into the flour instead. Mix the flour and salt in a large bowl, pour in the water, and work everything together until no dry flour remains. The dough will feel firm and rather stubborn. That is right. Cover it and leave it for 10 minutes so the flour can take up the water.
Set the dough on an unfloured work surface. Fold the far edge into the middle, press down firmly with your knuckles and closed fist, turn the dough a quarter turn, and repeat. Work it this way for 15 to 20 minutes. At first it will split around the edges; by the end it should be cohesive, elastic, and smooth enough that the folds no longer leave deep seams. This thorough fist-work is what lets a low-water dough rise evenly instead of baking into a solid lump.
Shape the dough into a ball and place it seam-side down in the clean bowl. Cover well and leave at 20 to 22°C for about 3 hours, until it has grown to roughly one and three-quarter times its original size. It need not double. In a cooler kitchen it may need 4 hours; watch the dough rather than the clock.
Turn the risen dough onto the work surface and press out the large gas pockets. Give it another 3 minutes of fist-kneading, then pull the edges firmly into the centre. Turn it seam-side down and drag it against the bare surface several times to form a tight, squat round loaf. Pinch the seam closed underneath.
Set the loaf seam-side down on baking paper, cover it loosely, and leave it for 1 hour 30 minutes to 2 hours. It is ready when it has visibly swollen and a press about 1cm deep returns slowly while leaving a slight mark. If it springs back at once, give it another 15 minutes. During the final 45 minutes, heat the oven to 240°C with a baking stone, steel, or heavy upturned tray on the middle shelf.
Cut a cross about 1cm deep across the top with a sharp blade. Slide the loaf and its paper onto the hot surface, lower the oven to 225°C, and bake for 20 minutes. Reduce the heat to 200°C and bake for another 25 to 30 minutes. The loaf is done when the crust is a deep, dry brown, the base sounds hollow when tapped, and the centre reaches 96 to 98°C.
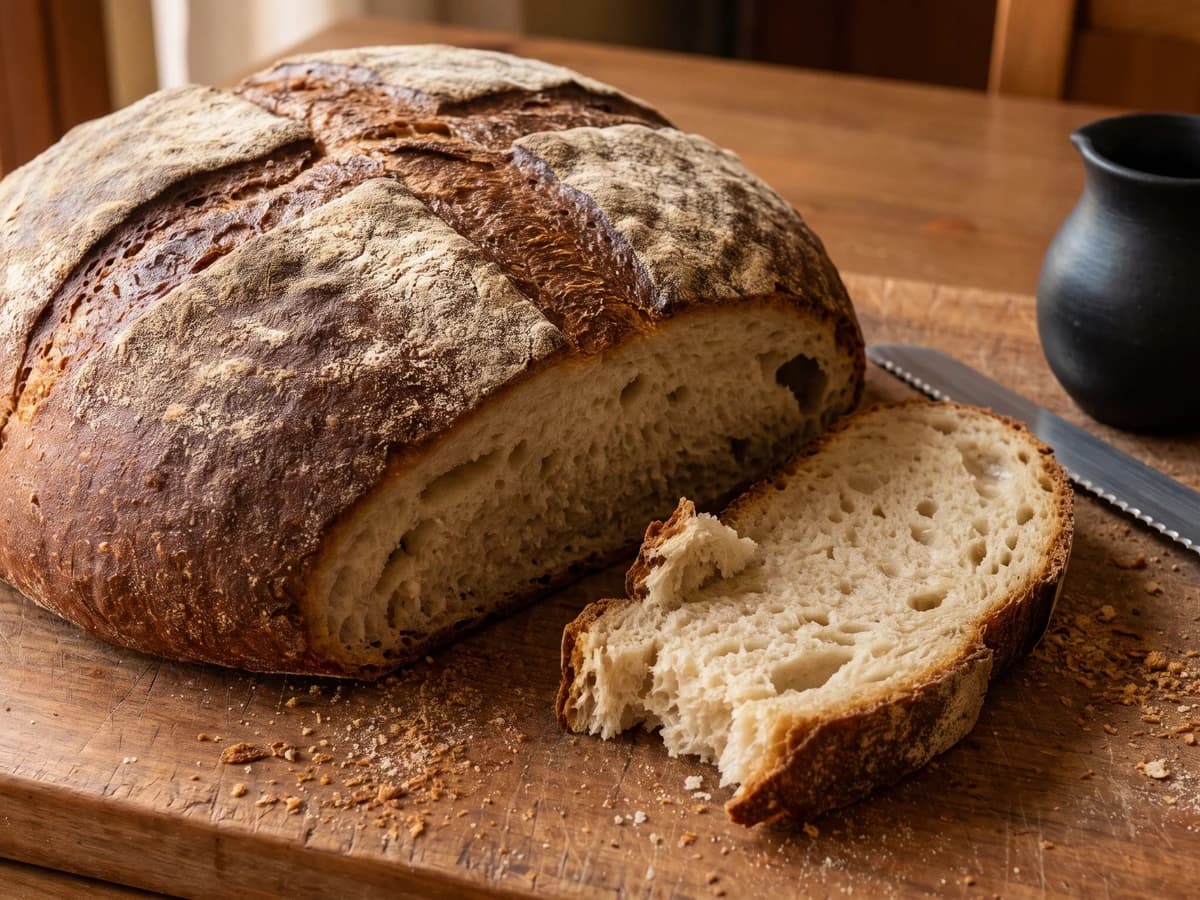
Move the loaf to a rack and leave it untouched for at least 2 hours. The crumb is still setting as the bread cools; cut too soon and it will seem damp and compressed. Once cold, slice it thickly. The crust should resist the knife a little, while the cream-coloured crumb remains close, tender, and even.
1 serving (about 65g)
Culinary guides, cultural storytelling, and the editorial depth that makes cooking meaningful.
Discover Culinary ExplorerChef Isabel
Asturias tucks a whole smoky chorizo inside each bread roll, so its pimentón-red fat seasons the crumb as it bakes. Seal the dough well, and you have the proper food of romerías and picnics.
Chef Isabel
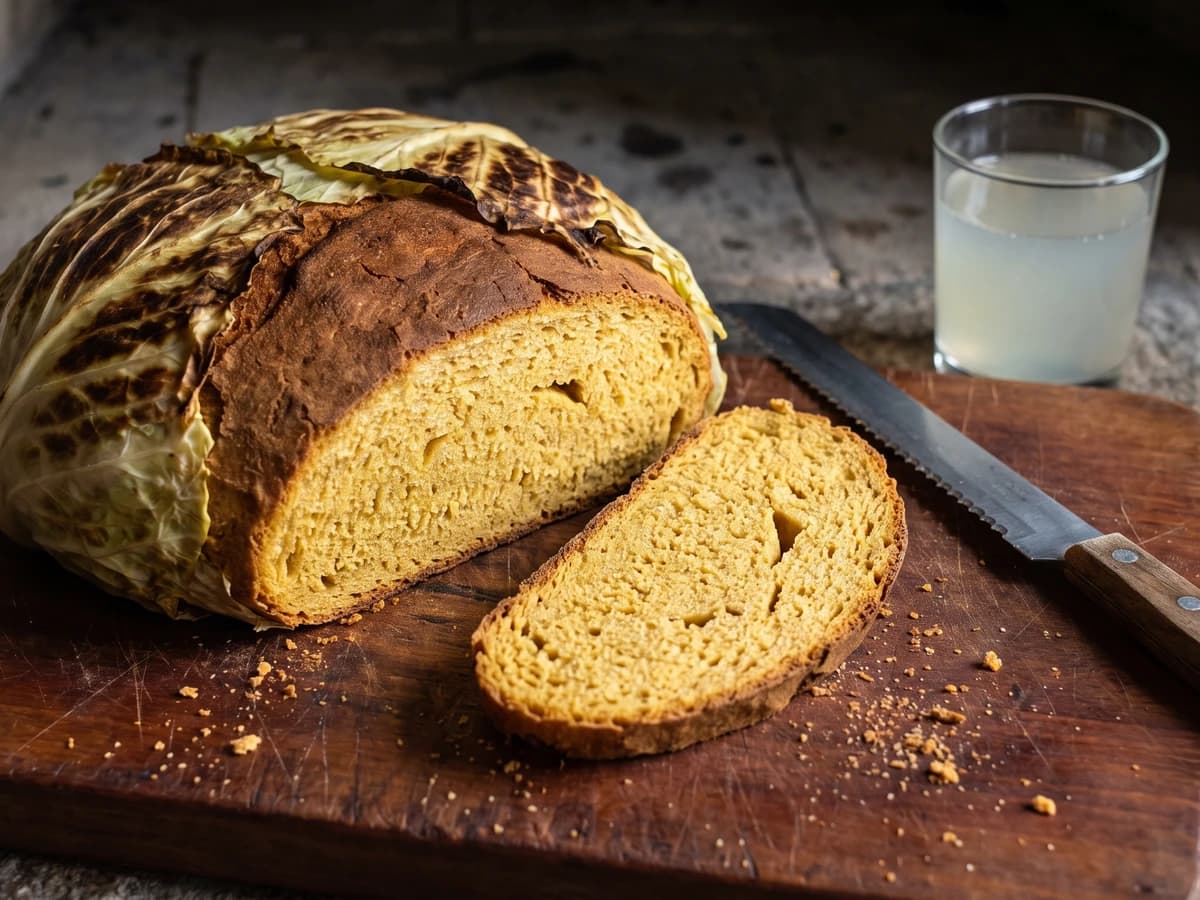
Asturian boroña is the plain corn loaf of the wet north, scalded with salted water and baked inside cabbage leaves until the crust darkens and the crumb stays close, gold, and moist.
Chef Isabel
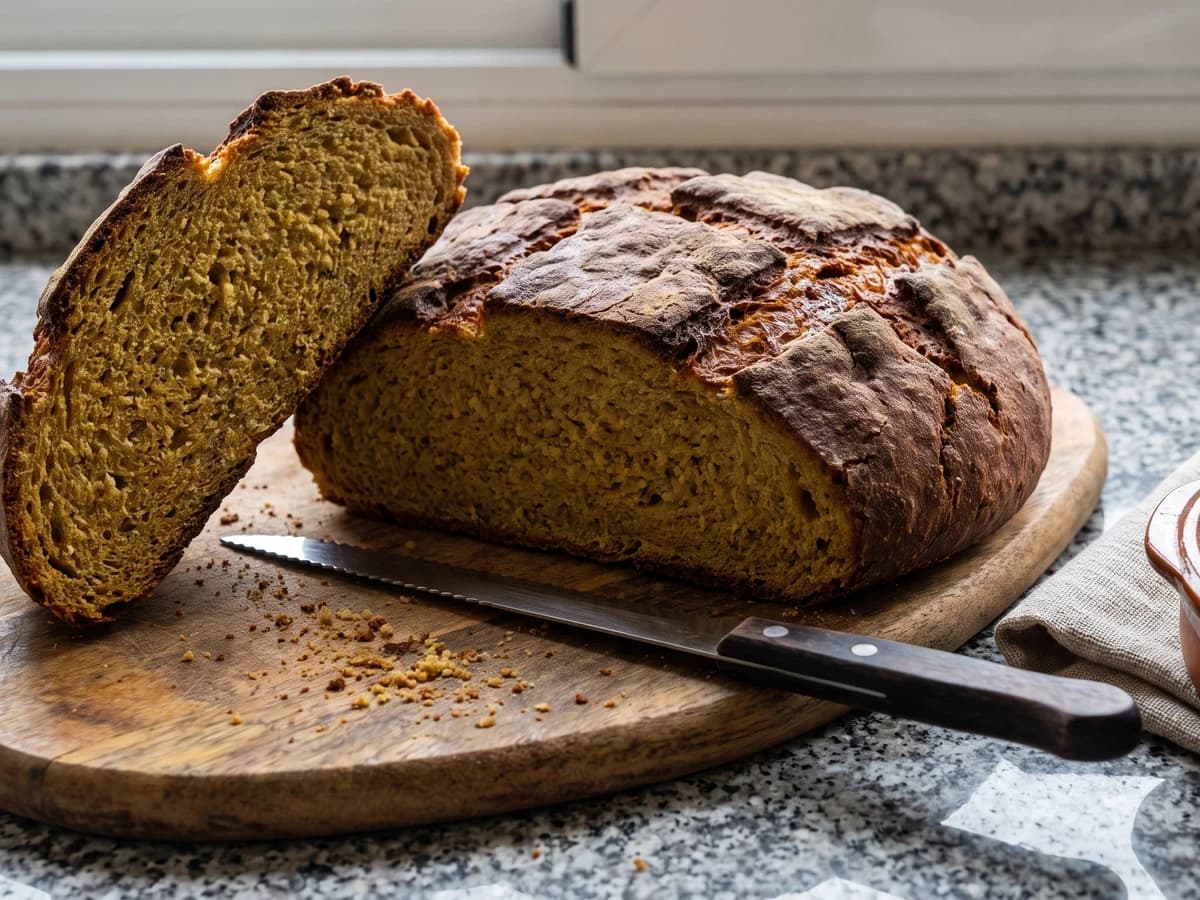
Broa Galega is Galicia's sturdy maize-and-rye loaf: scald the corn flour, give the damp dough time to rise, and the oven gives back a cracked crust and close, faintly sweet crumb.
Chef Isabel
León's great pan de flama is a one-and-a-half-kilo round, slowly fermented and baked dark, with a thick crust that protects its moist, irregular crumb for days.