Chef Isabel
Bollo Preñao Asturiano
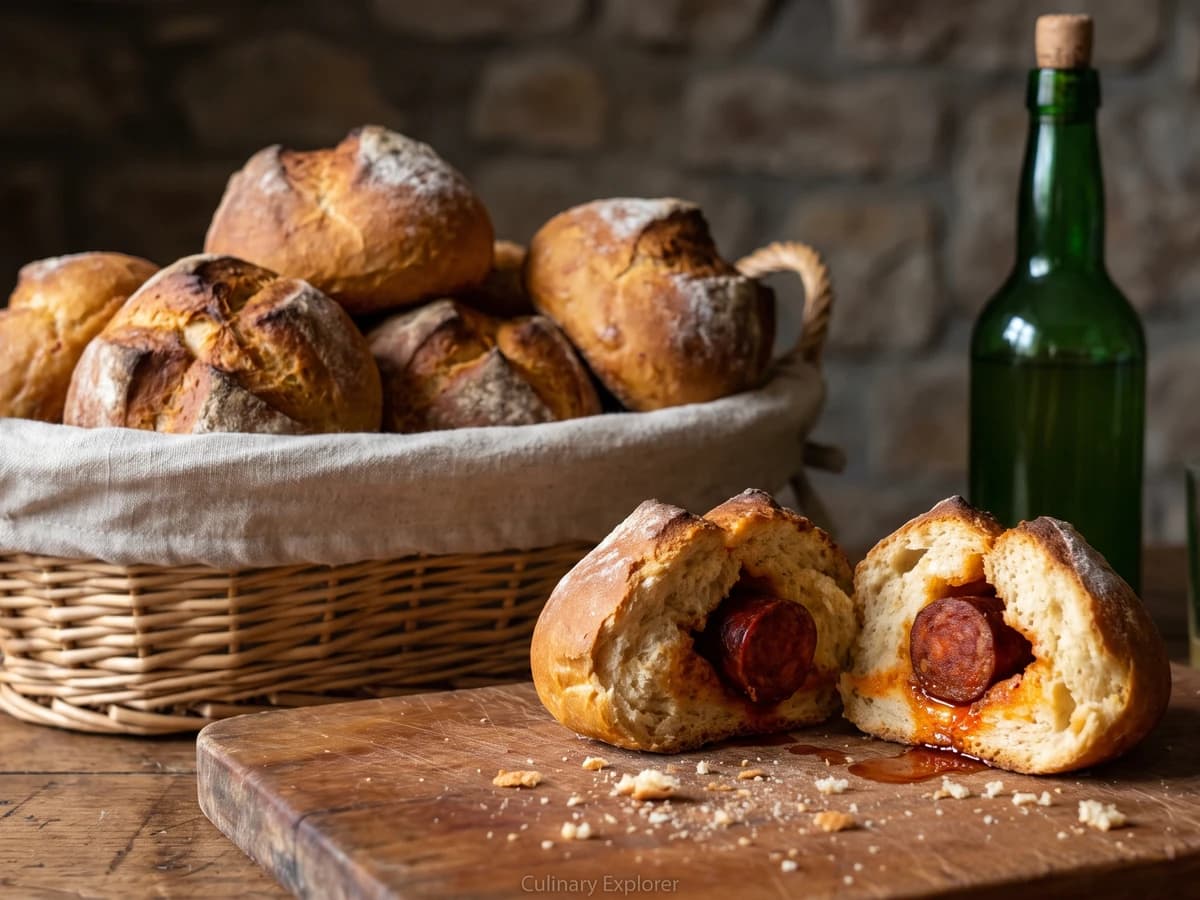
Asturias tucks a whole smoky chorizo inside each bread roll, so its pimentón-red fat seasons the crumb as it bakes. Seal the dough well, and you have the proper food of romerías and picnics.
A cooking platform built around craft, culture, and the stories behind what we eat.
Created by
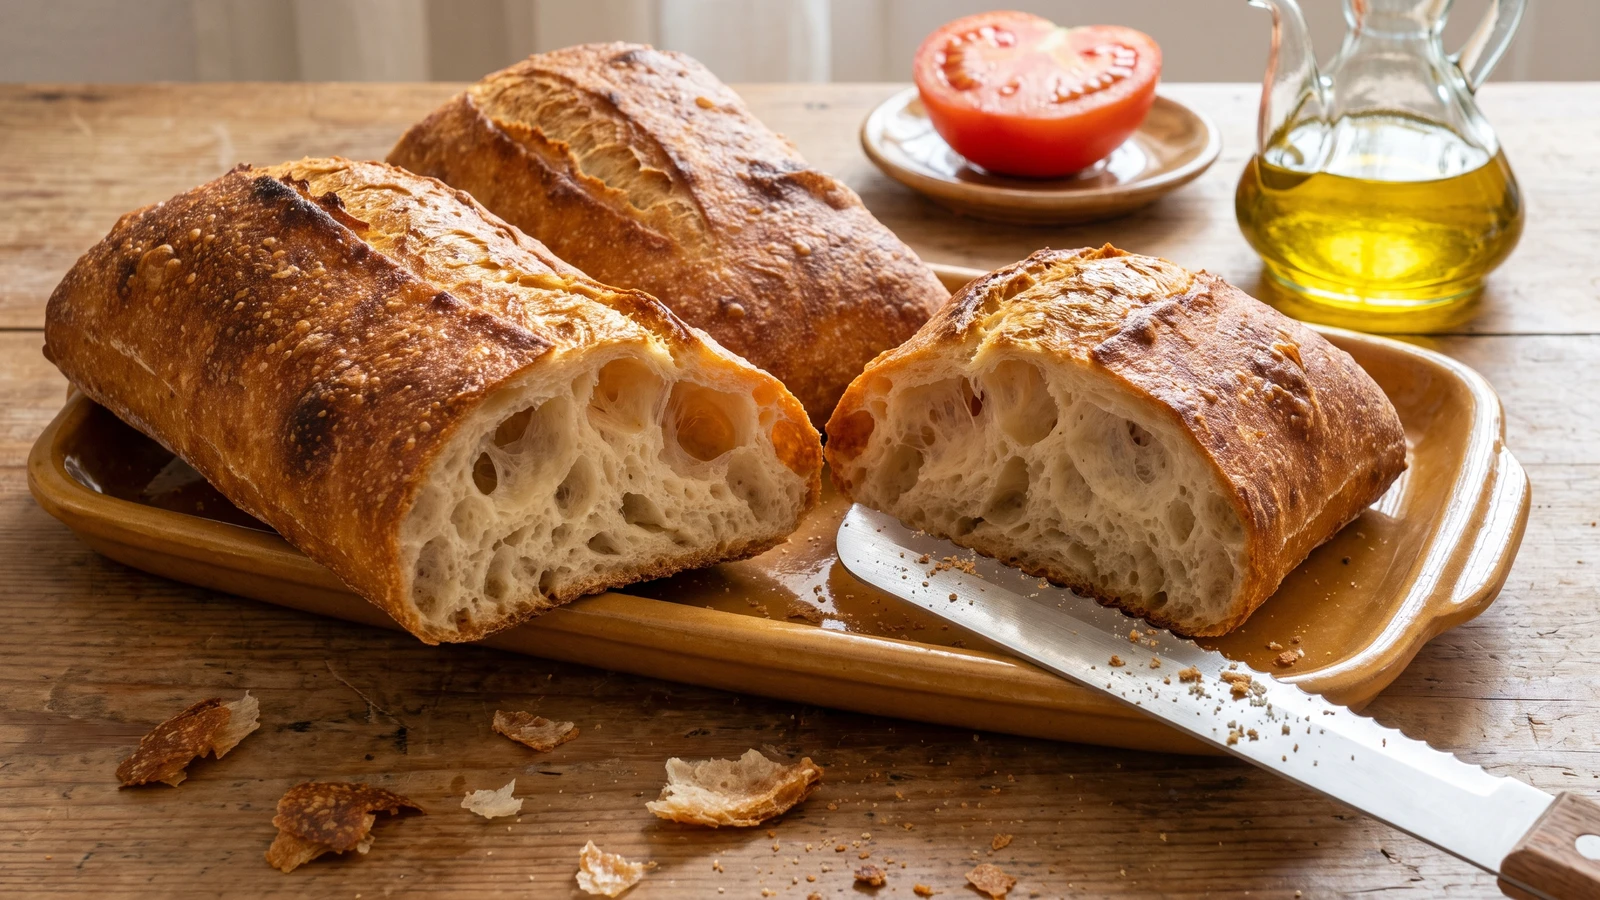
Catalonia's pan de cristal is all thin amber crust and a web of large holes. The dough carries as much water as flour, and gentle folds make it strong enough for pa amb tomàquet.
Pan de cristal, pa de vidre in Catalan, belongs to Catalonia and especially Barcelona: a lean rectangular loaf with a paper-thin amber crust and an airy crumb whose walls look almost translucent. Its proper place at the table is split and toasted for pa amb tomàquet, bread rubbed with ripe tomato and dressed with olive oil and salt. What makes this loaf itself is the water. The dough carries the same weight of water as flour.
At that hydration, the mixture begins closer to a batter than any sensible-looking bread dough. Don't rescue it with extra flour. Four sets of coil folds organize the gluten into a strong net, then gentle handling preserves the bubbles that net has caught. Build the strength first and leave the air alone afterward. That's the method that decides the loaf.
Use harina de fuerza, strong white bread flour with 13% to 14% protein. Far from Catalonia, the strongest supermarket bread flour is the right substitute. If yours has only 11.5% to 12% protein, use 460g water rather than 500g; the crumb will be a little closer and less translucent, but the loaf won't collapse. My Margin says only this: don't shape what took hours to inflate. Pésalo, no lo adivines, weigh it, don't guess. Siempre sale, si lo sigues.
Pan de cristal, called pa de vidre in Catalan, is a comparatively recent Catalan bakery bread associated with Barcelona rather than an old rural loaf. Barcelona baker Jordi Nomen is widely credited with pushing a lean dough to roughly equal weights of flour and water, producing the thin shell and translucent web that gave the loaf its name. It settled naturally beside pa amb tomàquet, the Catalan habit of rubbing bread with ripe tomato and dressing it with olive oil and salt.
Quantity
500g
13% to 14% protein
Quantity
30g
for dusting; not all may be needed
Quantity
500g
cool, 20 to 22°C; divided into 450g and 50g
Quantity
10g
Quantity
2g
Quantity
5g
for greasing the container only
Quantity
150ml
for humidity in the oven
| Ingredient | Quantity |
|---|---|
| strong white bread flour13% to 14% protein | 500g |
| strong white bread flourfor dusting; not all may be needed | 30g |
| watercool, 20 to 22°C; divided into 450g and 50g | 500g |
| fine sea salt | 10g |
| instant dry yeast | 2g |
| extra virgin olive oilfor greasing the container only | 5g |
| boiling waterfor humidity in the oven | 150ml |
Put 450g of the cool water in a large bowl and stir in the yeast. Add the 500g flour and mix firmly with one hand or a stiff spatula for about 2 minutes, until no dry pockets remain. It will be loose, lumpy, and sticky. Cover and leave it for 20 minutes so the flour can begin absorbing the water.
Dissolve the salt in the remaining 50g water. Add this mixture to the dough in three additions, lifting, squeezing, and folding after each one until the water disappears before adding more. The dough will loosen, then gather itself again. Continue for 5 to 7 minutes, until it looks glossy and stretches without immediately breaking. Transfer it to a clear, straight-sided container lightly greased with the olive oil. Cover and rest for 20 minutes.
Wet both hands and slide them beneath the middle of the dough. Lift slowly until the two ends release from the container, then let those ends fold underneath. Turn the container a quarter turn and repeat. That is one coil-fold set. Cover and repeat the set every 20 minutes, making four sets in all. By the fourth, the dough should lift as one trembling piece and hold a rounded shape for a moment before relaxing.
Cover the container after the final fold and leave it at about 24°C for 1 1/2 to 2 1/2 hours. It is ready when it has grown by roughly three quarters, the top is gently domed, and large bubbles show beneath the surface and along the sides. The dough should wobble when the container is nudged. Don't wait for a full doubling; an over-risen dough spreads and loses the web you worked for.
During the last 45 minutes of the rise, heat the oven to 250°C conventional or 230°C fan. Put a baking stone, baking steel, or heavy inverted baking sheet on the middle rack. Set a sturdy empty metal roasting pan on the lowest rack. Cut two pieces of high-temperature baking parchment just larger than the loaves.
Dust the work surface evenly with most of the reserved flour. Loosen the dough around the edges with a wet scraper, then invert the container close to the surface and let gravity release it. Dust the top lightly. Cut straight through the middle with a floured bench scraper to make two long pieces. Don't punch them down, roll them, or tighten them into loaves. Use two scrapers to move each piece onto parchment, then nudge it gently to about 30cm by 12cm, touching the edges rather than the bubbly center.
Cover the loaves with an upturned deep roasting tin or food-safe box that does not touch the dough. Leave them for 45 to 75 minutes. They are ready when visibly swollen, very light-looking, and slow to spring back after the edge is touched with a floured fingertip. Small surface bubbles are good. If they begin spreading quickly, bake at once.
Slide both loaves, still on their parchment, onto the hot baking surface. Carefully pour the 150ml boiling water into the metal pan on the lowest rack, keeping your face and hands clear, and close the door at once. Bake for 10 minutes. Open the door briefly to release the moisture, lower the heat to 230°C conventional or 210°C fan, and bake for another 15 to 18 minutes. Rotate once if needed. The loaves are done when deeply amber, crisp underneath, and remarkably light for their size. Pale pan de cristal stays leathery, so give it its full color.
Move the loaves to a wire rack and leave them for at least 45 minutes. The thin crust becomes crisp and the delicate inner walls set as the bread cools. Cutting too early compresses the holes and leaves the crumb gummy. Tear or slice only when fully cooled, then toast for pa amb tomàquet.
1 serving (about 100g)
Culinary guides, cultural storytelling, and the editorial depth that makes cooking meaningful.
Discover Culinary ExplorerChef Isabel
Asturias tucks a whole smoky chorizo inside each bread roll, so its pimentón-red fat seasons the crumb as it bakes. Seal the dough well, and you have the proper food of romerías and picnics.
Chef Isabel
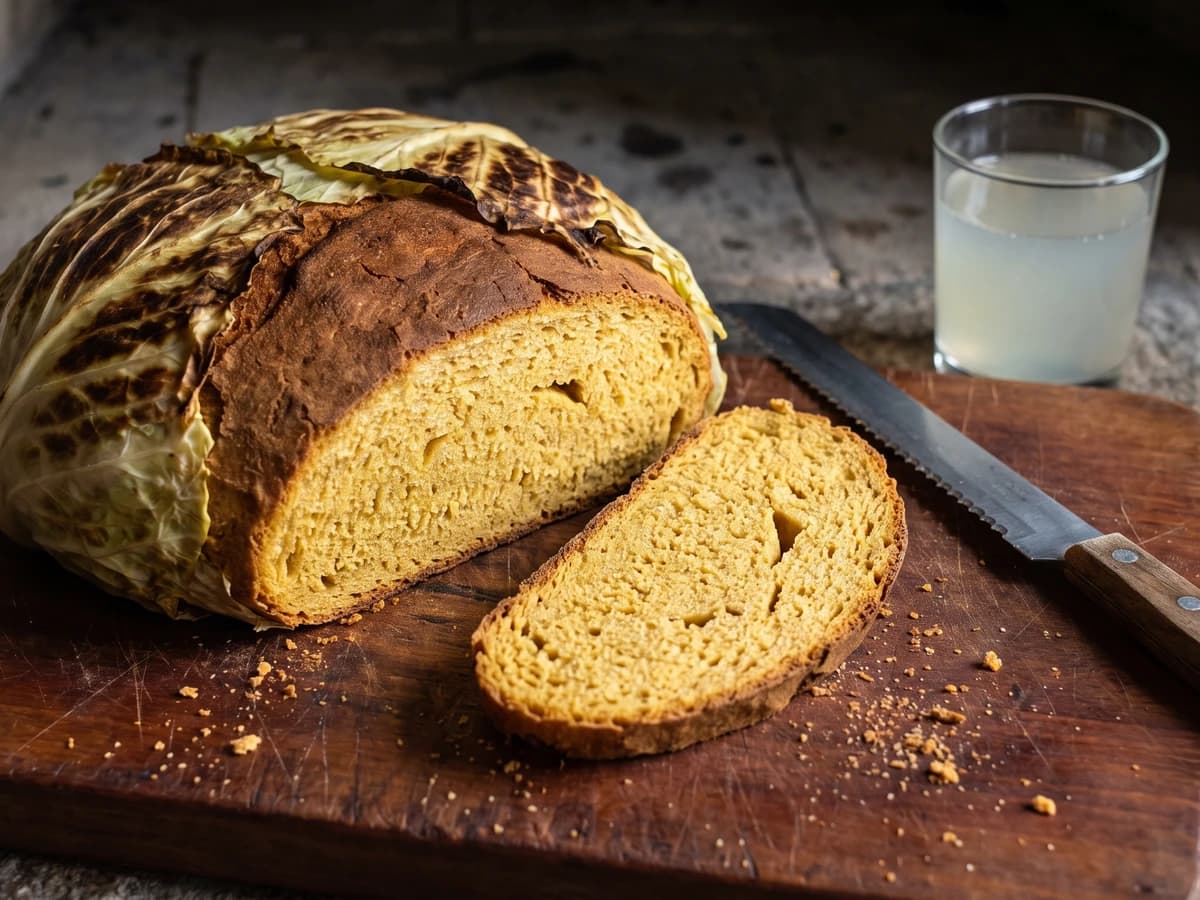
Asturian boroña is the plain corn loaf of the wet north, scalded with salted water and baked inside cabbage leaves until the crust darkens and the crumb stays close, gold, and moist.
Chef Isabel
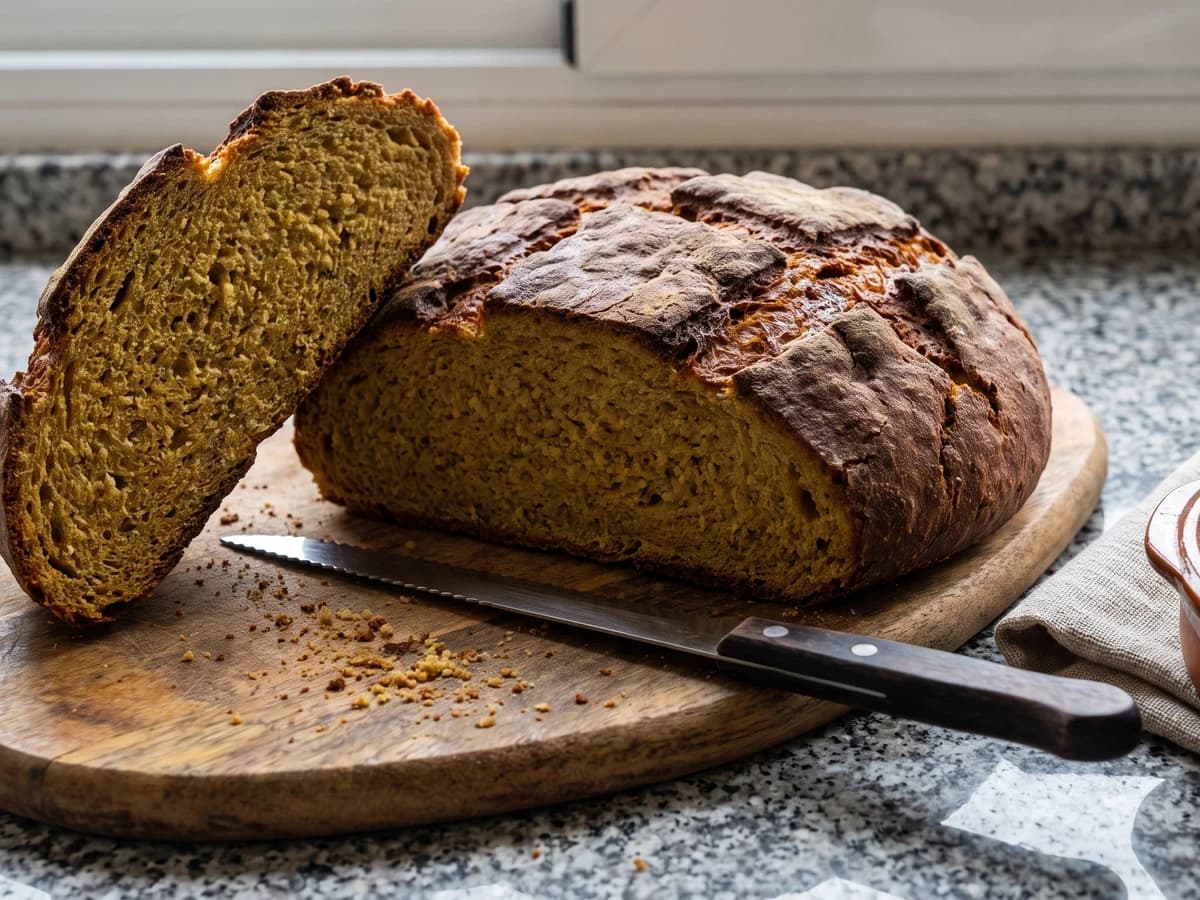
Broa Galega is Galicia's sturdy maize-and-rye loaf: scald the corn flour, give the damp dough time to rise, and the oven gives back a cracked crust and close, faintly sweet crumb.
Chef Isabel
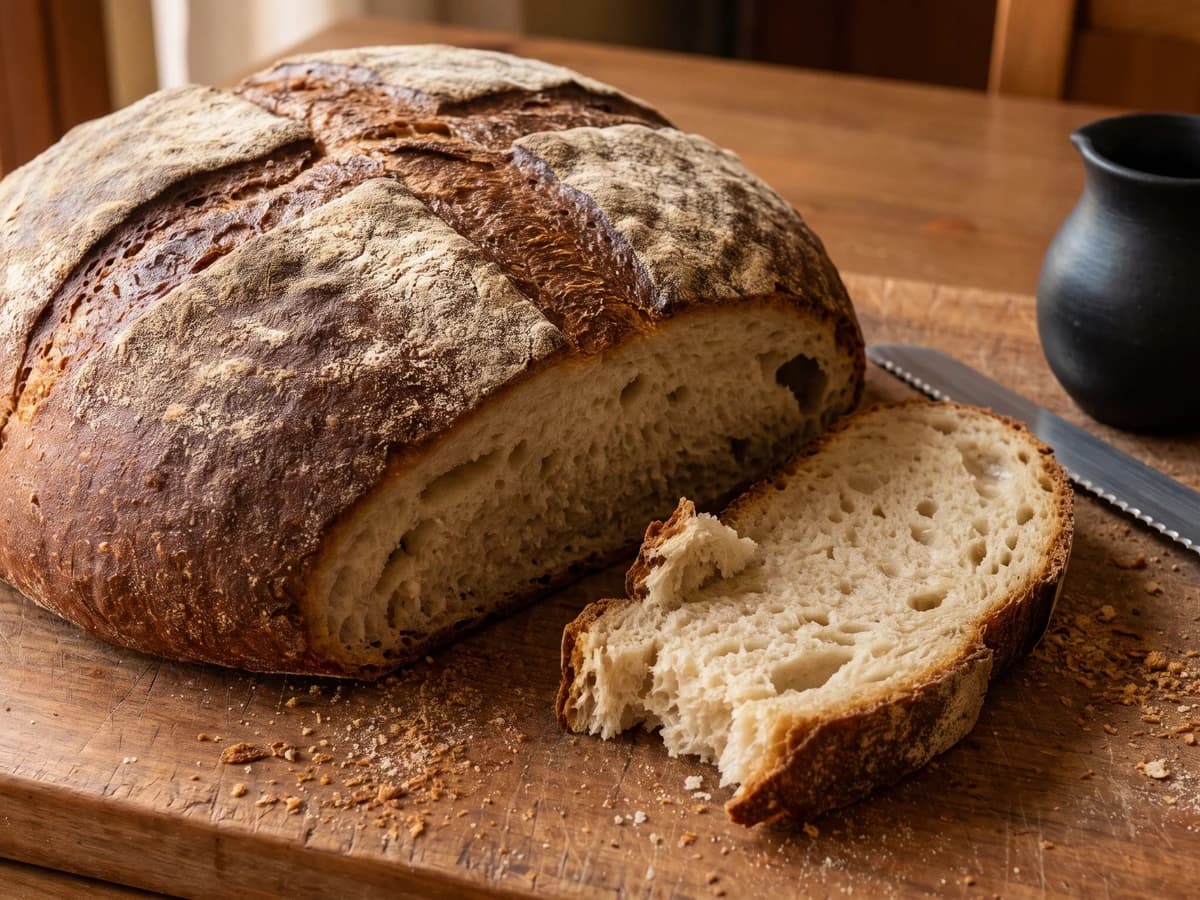
León's great pan de flama is a one-and-a-half-kilo round, slowly fermented and baked dark, with a thick crust that protects its moist, irregular crumb for days.