Chef Isabel
Bollo Preñao Asturiano
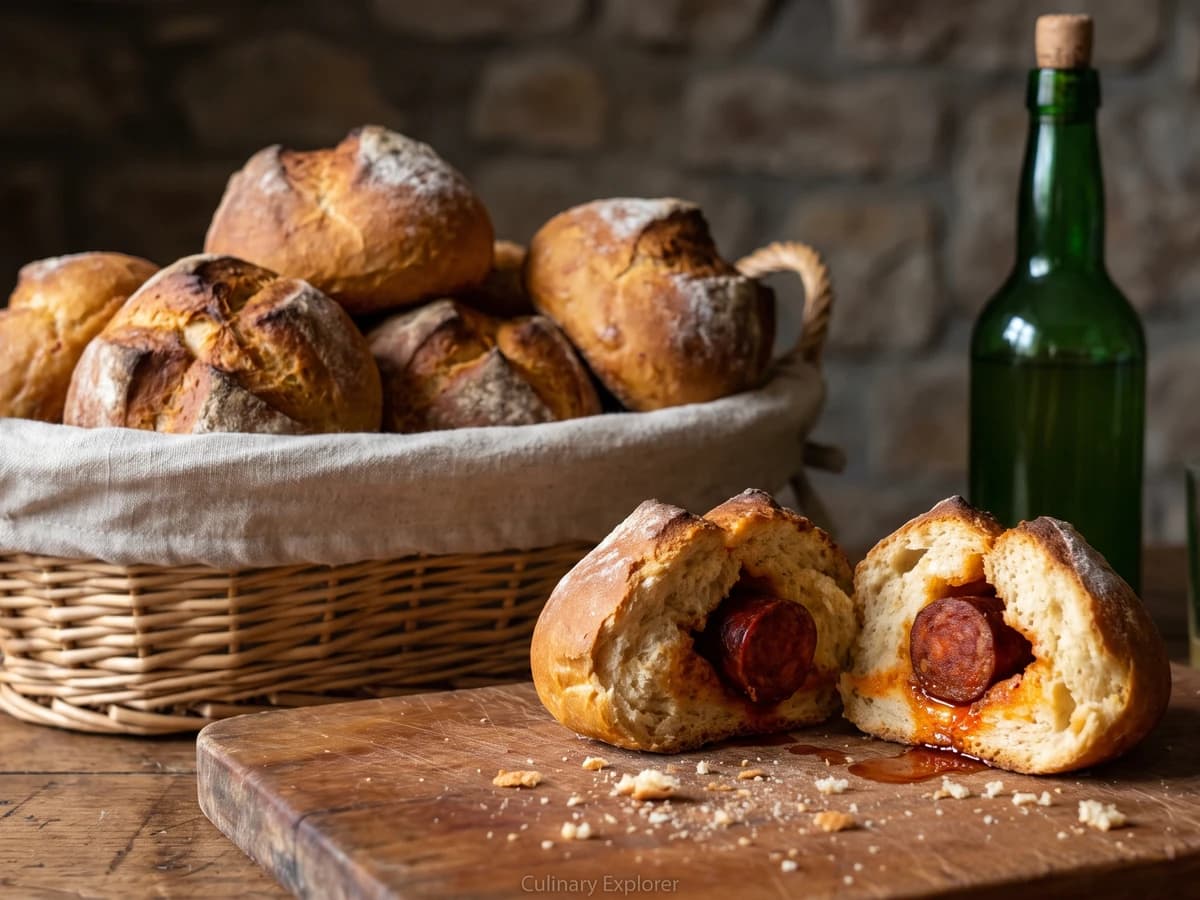
Asturias tucks a whole smoky chorizo inside each bread roll, so its pimentón-red fat seasons the crumb as it bakes. Seal the dough well, and you have the proper food of romerías and picnics.
A cooking platform built around craft, culture, and the stories behind what we eat.
Created by
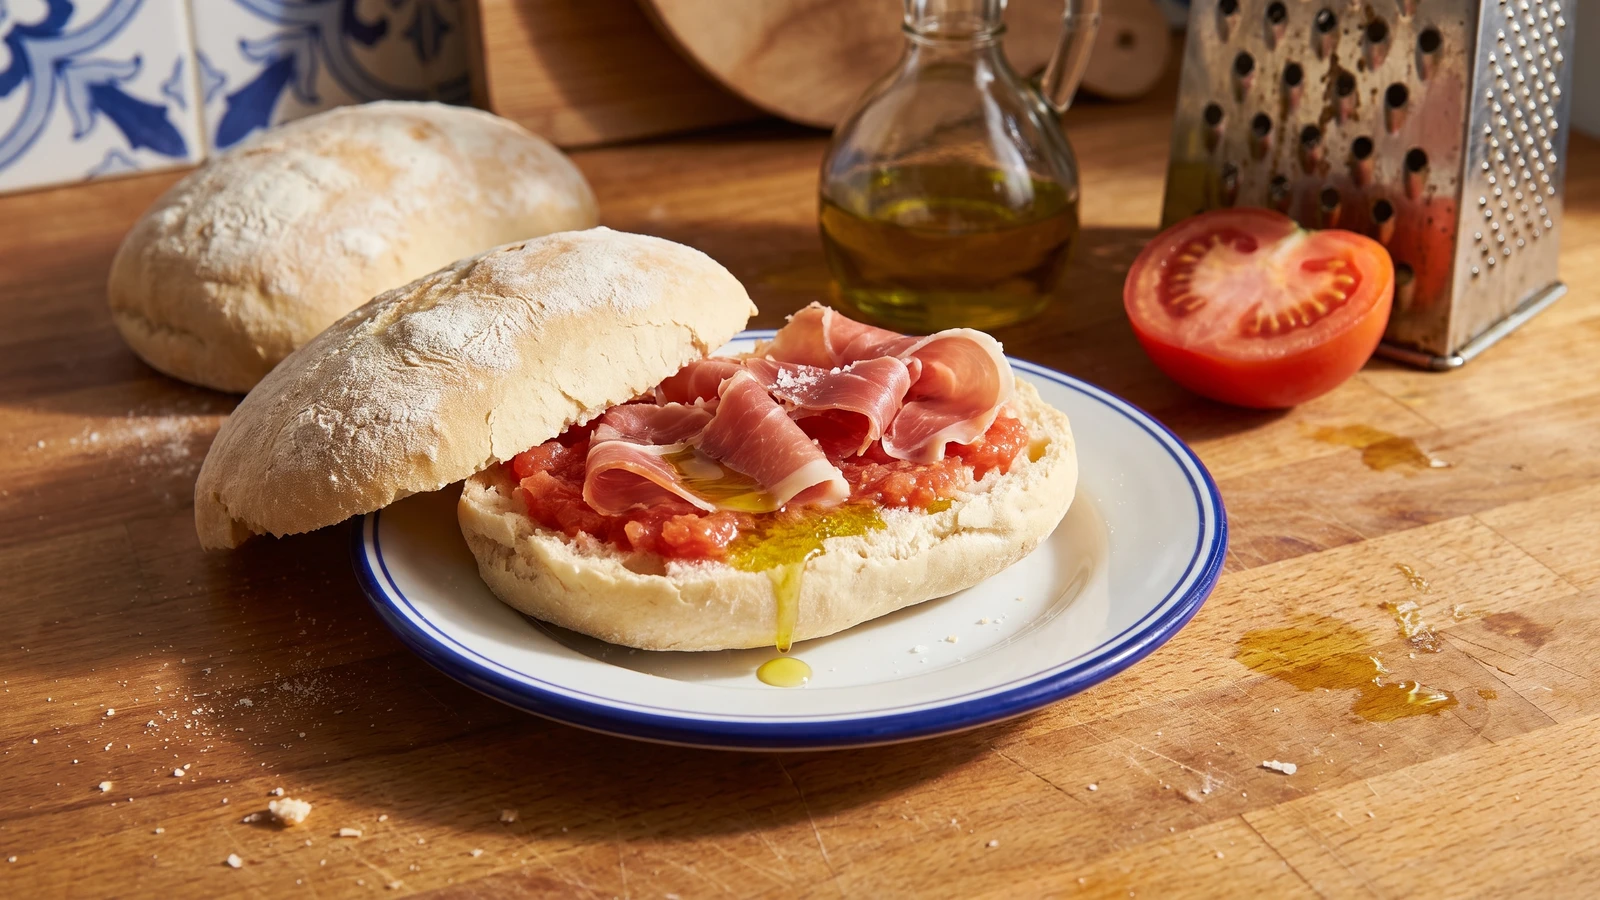
Antequera’s Andaluz mollete is a pale, pillowy roll made to meet the plancha: barely bake it, cool it soft, then split it for olive oil, crushed tomato, and jamón.
Mollete de Antequera is Andaluz, from the inland Málaga comarca: a flat oval roll with a floury white skin, a tender open crumb, and scarcely any crust. It isn't a small crusty loaf. Antequera makes it pale and soft because its proper finish comes later, split and warmed on the plancha, where the crumb catches olive oil, ripe tomato, jamón, or the rich pork spreads of the local breakfast table.
The bake decides it. Give the mollete only enough time to set the crumb, then take it out before the top browns. That pale finish isn't timidity or an underdone mistake. It keeps the skin thin and the middle pillowy, ready to toast at the cut face without turning the whole roll hard. My Margin beside this recipe says only, "stop before color." That is the line to remember.
If you can't find harina panificable, the medium-strength flour used for everyday bread, mix 300g all-purpose flour with 200g bread flour. All bread flour makes a chewier mollete; all-purpose alone gives a softer roll that spreads a little more. The overnight sponge supplies the quiet wheat flavor without adding fat to the dough. No hace falta haber pisado España. Make the dough soft, bake it pale, and warm it before eating. Siempre sale, si lo sigues.
Mollete de Antequera belongs to the inland comarca of Antequera in Málaga, where it became the soft breakfast bread of households, cafés, and workers beginning the day. Its protected geographical area covers the municipalities of Antequera and Fuente de Piedra, tying the name to the flour, shaping, and scarcely colored bake practiced there. The low bake is deliberate: the bread remains tender for its second encounter with heat, when it is split and revived on the plancha before being dressed with oil, tomato, jamón, manteca colorá, or zurrapa.
Quantity
150g
Quantity
150g
Quantity
1g
Quantity
350g
Quantity
190g
about 26°C
Quantity
2g
Quantity
10g
Quantity
20g
Quantity
60ml
Quantity
250g
halved
Quantity
3g
Quantity
120g
thinly sliced
| Ingredient | Quantity |
|---|---|
| medium-strength wheat flour, 10.5 to 11.5% protein, for the sponge | 150g |
| cool water, for the sponge | 150g |
| instant dried yeast, for the sponge | 1g |
| medium-strength wheat flour, 10.5 to 11.5% protein, for the final dough | 350g |
| lukewarm waterabout 26°C | 190g |
| instant dried yeast | 2g |
| fine sea salt | 10g |
| wheat flour, for dusting | 20g |
| extra virgin olive oil, for serving (optional) | 60ml |
| ripe tomatoes, for serving (optional)halved | 250g |
| fine sea salt, for serving (optional) | 3g |
| jamón serrano, for serving (optional)thinly sliced | 120g |
The evening before, mix 150g flour, 150g cool water, and 1g instant yeast until no dry flour remains. Cover and leave it at cool room temperature for 30 minutes, then refrigerate for 11 to 15 hours. It is ready when it looks swollen and webbed with small bubbles and smells gently fermented, not sharply sour.
Put the sponge in a large bowl and add the 190g lukewarm water. Break it up with your fingers, then mix in the remaining 350g flour until you have a rough, sticky dough. Cover and leave it for 20 minutes. This short rest lets the flour drink properly and saves you from burying a soft dough under extra flour.
Sprinkle over the 10g salt and 2g yeast. Knead for 8 to 10 minutes by hand, or 6 minutes with a mixer on low speed, until the dough is supple, elastic, and still a little tacky. It should stretch thin without tearing immediately. Resist adding flour; a firm dough gives you an ordinary bread roll, not the tender crumb of an Antequera mollete.
Cover the dough and leave it in a warm, draught-free place for 75 to 90 minutes. After 30 minutes, lift one side, fold it over the middle, and repeat from the other three sides. Cover again and let it rise until roughly 60 percent larger, airy but not necessarily doubled.
Turn the dough onto a lightly floured surface and divide it into 8 pieces of about 105g. Shape each piece gently into a loose ball without squeezing out all the gas. Cover with a cloth and leave them for 15 minutes so the dough relaxes and will flatten without springing back.
Line two light-colored baking sheets with parchment and dust them with some of the remaining flour. Pat each piece into an oval about 12cm long, 8cm wide, and 1.5 to 2cm thick. Set four on each tray, dust the tops lightly with flour, and cover. Proof for 45 to 60 minutes, until pillowy and a fingertip pressed at the edge leaves a mark that returns slowly.
Heat the oven to 220°C conventional or 200°C fan. Put in the first tray, immediately lower the heat to 200°C conventional or 180°C fan, and bake for 10 to 12 minutes. The molletes should be set, light in the hand, and still ivory on top, with only the faintest color underneath. This short, pale bake decides the bread: take it to brown and you have made a crusty roll, which is another thing entirely.
Move the molletes to a rack and lay a clean cloth loosely over them while they cool. The floury skin will stay thin and flexible, and a little wrinkling is right. Let them cool for at least 30 minutes before splitting, or the moist crumb will compress under the knife.
To serve, split a mollete through the middle and place the cut sides on a plancha or dry frying pan over medium-high heat for 1 to 2 minutes, just until the surface catches a few golden patches while the rest stays soft. Grate the tomato from its cut face, discarding the skin. Spoon it over the bread, add olive oil and salt, and finish with jamón if you like. The crumb should drink the dressing without falling apart.
1 serving (about 160g)
Culinary guides, cultural storytelling, and the editorial depth that makes cooking meaningful.
Discover Culinary ExplorerChef Isabel
Asturias tucks a whole smoky chorizo inside each bread roll, so its pimentón-red fat seasons the crumb as it bakes. Seal the dough well, and you have the proper food of romerías and picnics.
Chef Isabel
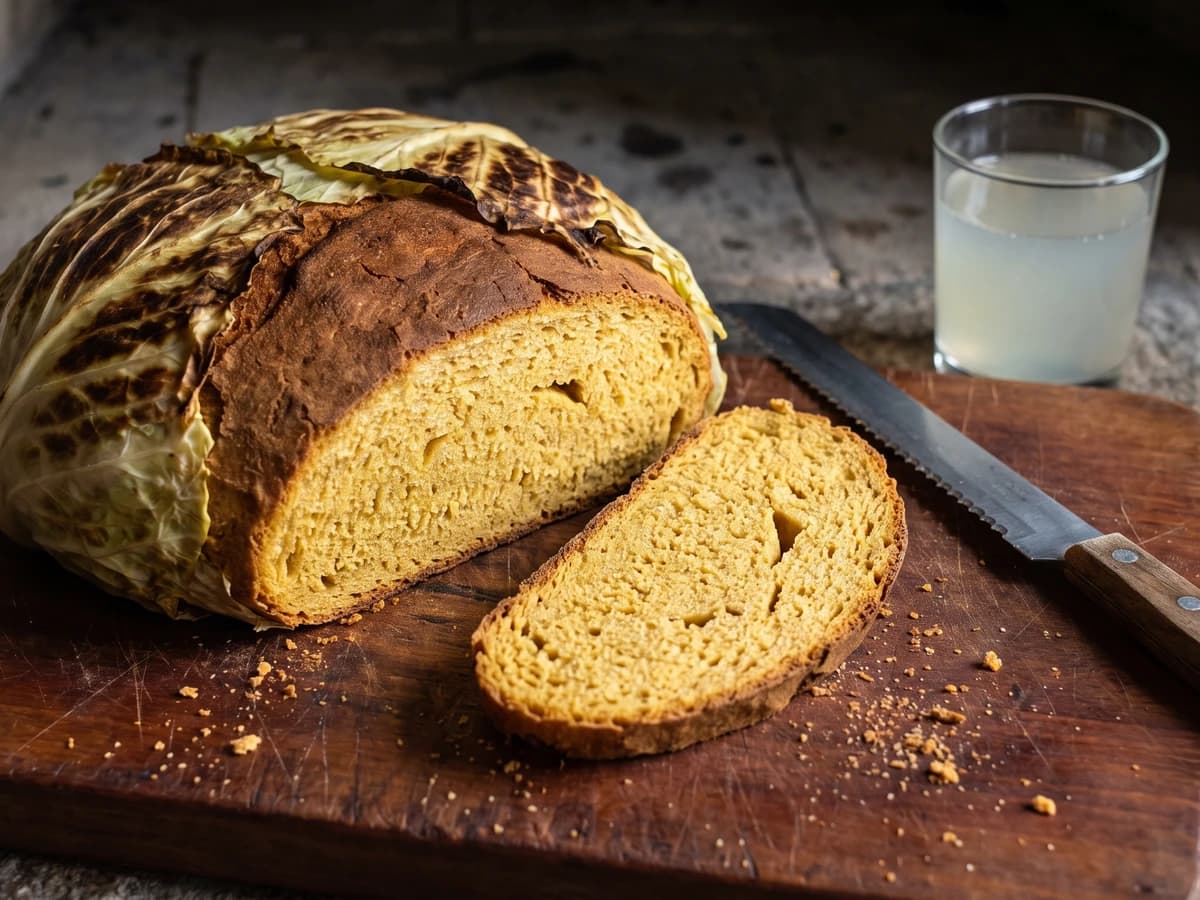
Asturian boroña is the plain corn loaf of the wet north, scalded with salted water and baked inside cabbage leaves until the crust darkens and the crumb stays close, gold, and moist.
Chef Isabel
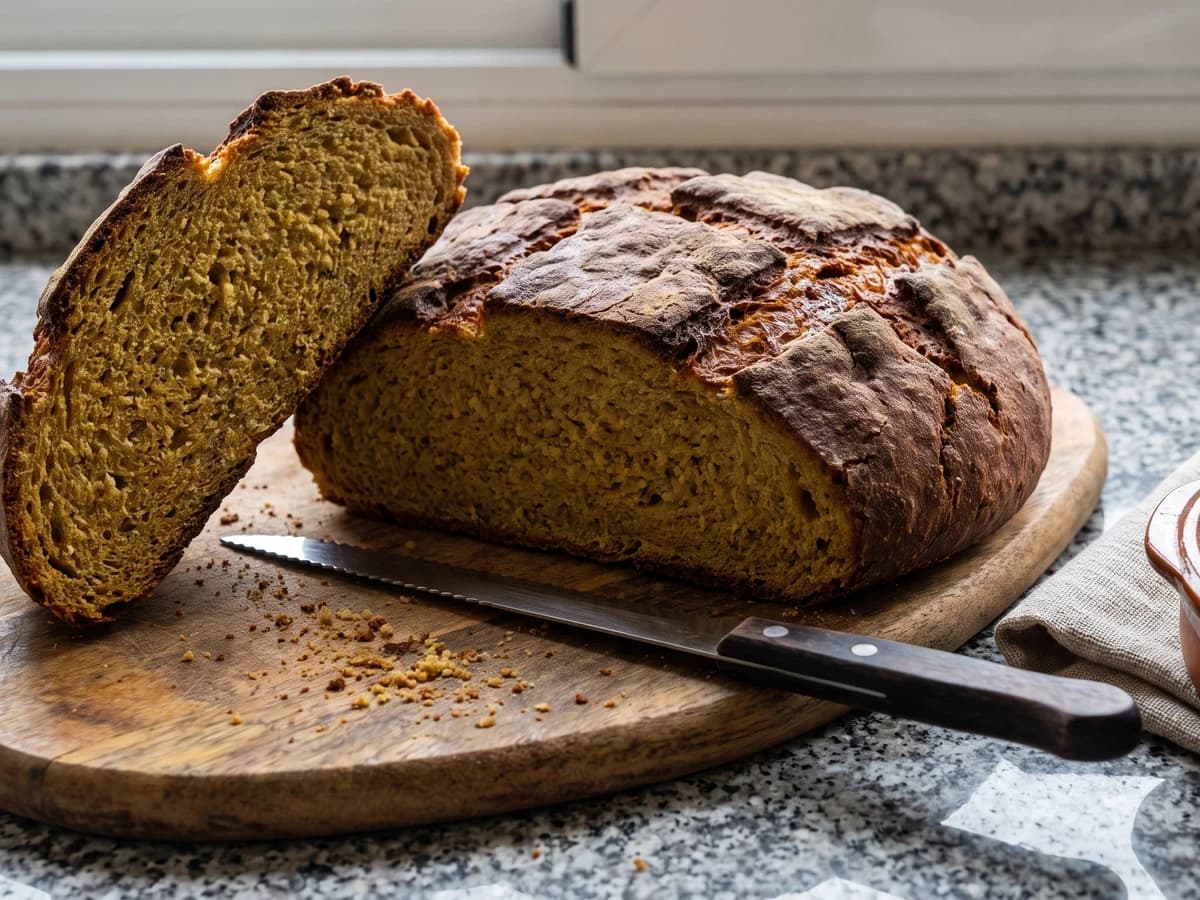
Broa Galega is Galicia's sturdy maize-and-rye loaf: scald the corn flour, give the damp dough time to rise, and the oven gives back a cracked crust and close, faintly sweet crumb.
Chef Isabel
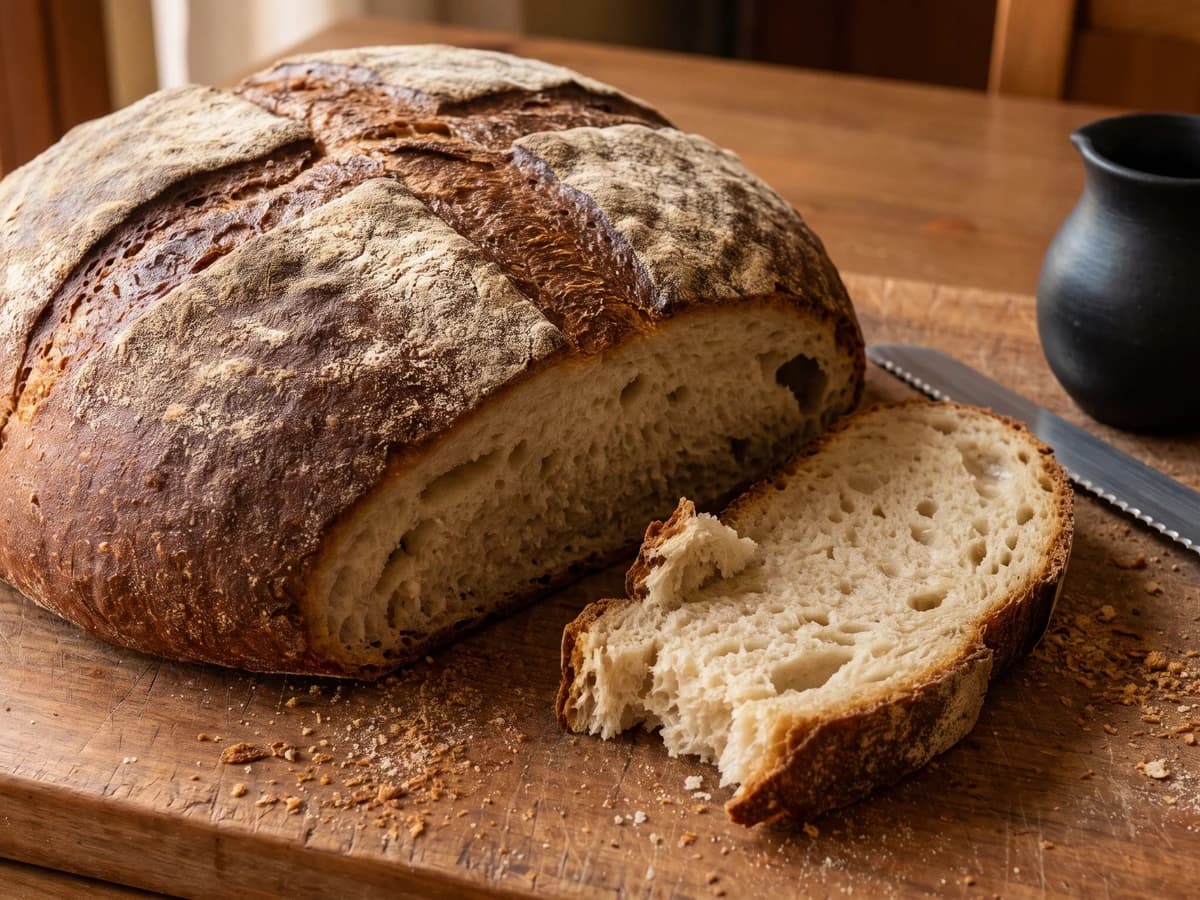
León's great pan de flama is a one-and-a-half-kilo round, slowly fermented and baked dark, with a thick crust that protects its moist, irregular crumb for days.