Chef Isabel
Bollo Preñao Asturiano
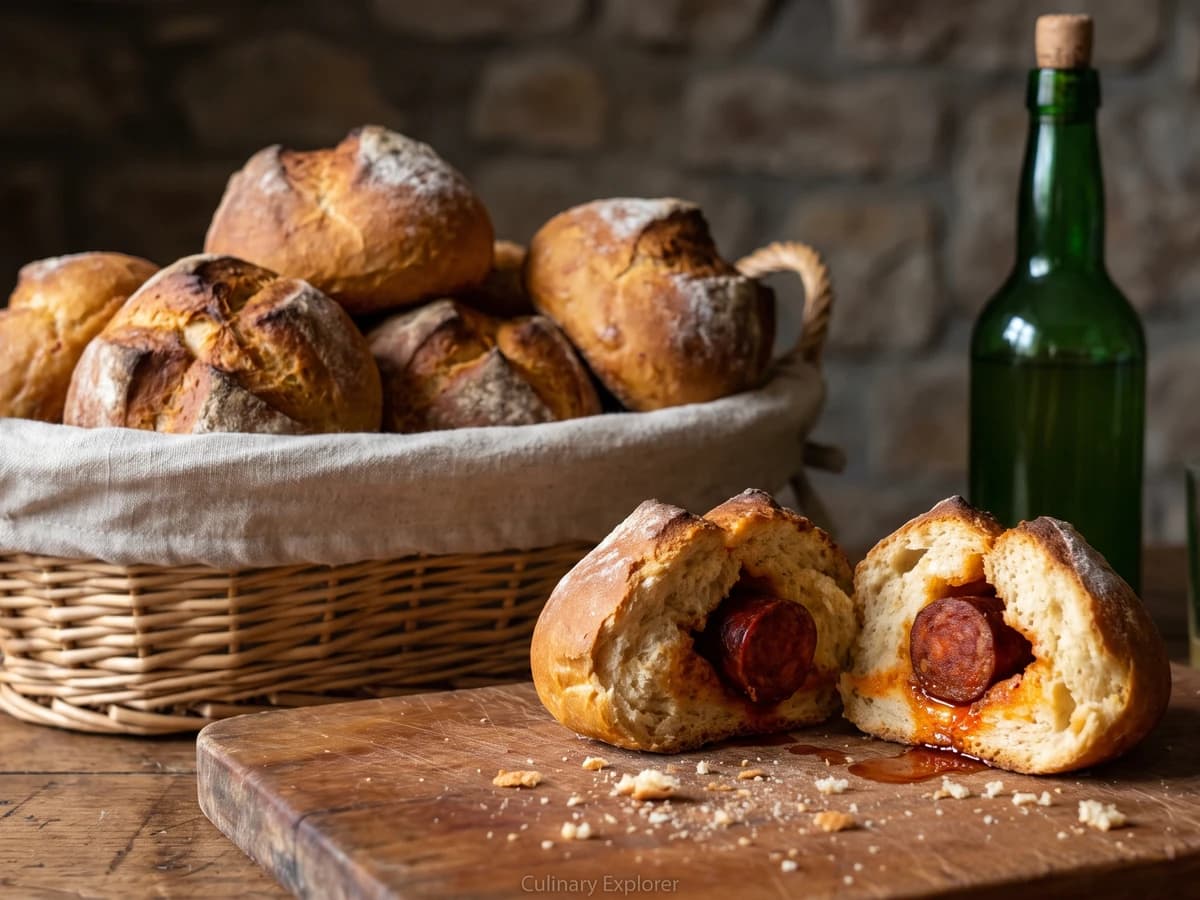
Asturias tucks a whole smoky chorizo inside each bread roll, so its pimentón-red fat seasons the crumb as it bakes. Seal the dough well, and you have the proper food of romerías and picnics.
A cooking platform built around craft, culture, and the stories behind what we eat.
Created by
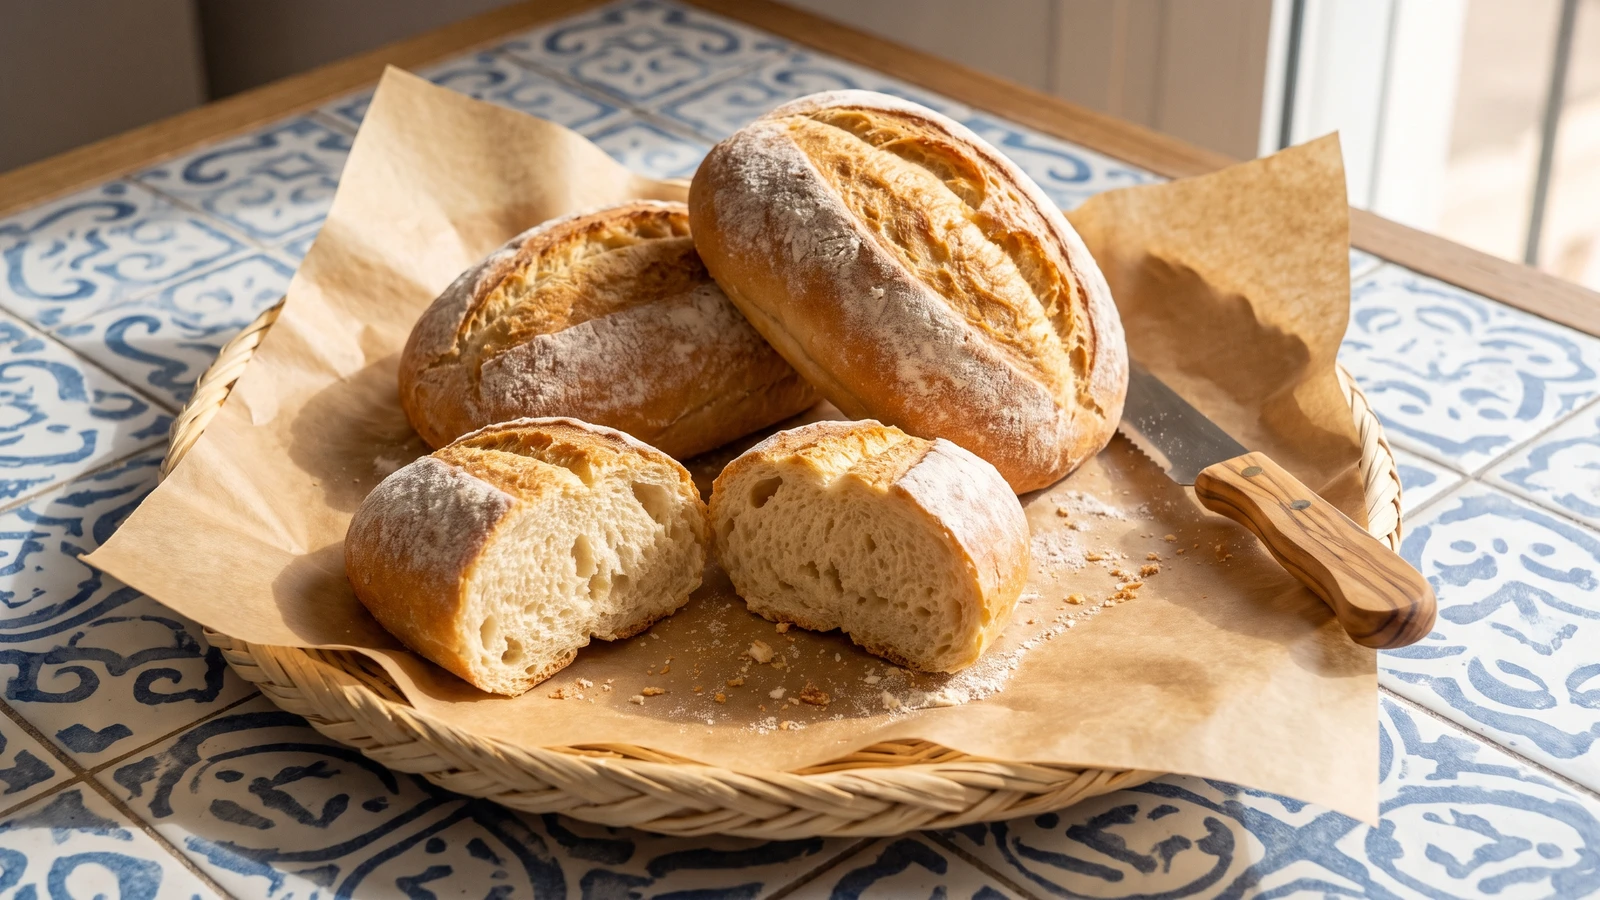
Llonguet is Palma's oval bread roll, folded and rolled so its natural seam opens into the deep split that marks it, with a light crumb and thin crust ready for a proper bocadillo.
Llonguet is Mallorcan, and Palma is where this small oval roll became a point of local pride. Its pale, thin crust surrounds a light, yielding crumb, but the mark that names it at a glance is the deep cleft running along its back. That cleft isn't decoration cut in with a blade. It grows from the fold in the dough itself.
The shaping decides the bread. Fold the dough, roll it into a taut cylinder, and leave the final join uppermost when you cut the individual rolls. A dusting of flour keeps that join from sealing during the final rise, so it opens cleanly in the oven and makes the two rounded lobes of a proper Palma llonguet. Score it afterward and you'll have a white roll with a cut in it, not the same bread.
Far from Mallorca, use an ordinary white bread flour with about 12 percent protein in place of harina de fuerza. Very strong flour makes a chewier, tougher roll, so blend it with plain flour if that is all your shop carries. The overnight massa vella, old dough, supplies the quiet fermented flavor of a bakery batch without asking you to keep a sourdough starter. Keep the seam on top and don't let the rolls overproof. Siempre sale, si lo sigues.
Llonguet belongs especially to Palma's neighborhood forns, though rolls from the same bread family are also baked in Catalunya and Valencia; its name comes from llong, meaning long in Catalan. Palma's version is recognized by its squat oval body, flour-pale surface, and deep natural cleft formed during shaping rather than cut in afterward. It became everyday bread for the berenar, the mid-morning or afternoon bite, commonly filled with sobrassada, camaiot, or local cheese.
Quantity
500g
120g for the massa vella and 380g for the final dough
Quantity
310g
72g for the massa vella and 238g for the final dough
Quantity
0.2g
a scant 1/16 teaspoon, for the massa vella
Quantity
3g
about 1 teaspoon, for the final dough
Quantity
10g
Quantity
15g
for dusting
| Ingredient | Quantity |
|---|---|
| white bread flour120g for the massa vella and 380g for the final dough | 500g |
| water72g for the massa vella and 238g for the final dough | 310g |
| instant yeasta scant 1/16 teaspoon, for the massa vella | 0.2g |
| instant yeastabout 1 teaspoon, for the final dough | 3g |
| fine sea salt | 10g |
| additional bread flour (optional)for dusting | 15g |
The night before baking, mix 120g of the bread flour with 72g water and 0.2g instant yeast. Knead for two minutes into a firm, smooth ball. Cover it and leave it for 10 to 12 hours at a cool room temperature, about 18 to 20°C. It is ready when it has expanded, smells gently fermented, and shows fine bubbles beneath the surface.
Tear the massa vella into small pieces and put them in a large bowl. Add 380g bread flour, 3g instant yeast, and 223g of the remaining water. Mix until no dry flour remains, then cover and rest for 20 minutes. Dissolve the 10g salt in the final 15g water, work it into the dough, and knead for 8 to 10 minutes. The dough should become smooth, elastic, and slightly tacky, but it should release from clean fingers.
Place the dough in a clean covered bowl and leave it for 60 to 75 minutes at about 22°C. After 30 minutes, lift one side of the dough, stretch it without tearing, and fold it across the center; repeat on all four sides. By the end, the dough should have risen by roughly half and feel lighter under your fingers. It does not need to double.
Turn the dough onto a very lightly floured counter and press it into a rectangle about 30 by 40cm, keeping some air inside. Fold the upper long edge down to the center, then fold the lower long edge over it like a letter. Cover and rest for 10 minutes. Press it gently into a rectangle about 24 by 40cm, then roll it tightly from one long edge into a 40cm cylinder. Pull each turn snug without tearing the surface. Finish with the lengthwise join resting along the top.
Dust the join lightly with flour so it cannot weld itself shut. Use a bench scraper to cut the cylinder straight down into 8 equal pieces, each about 5cm wide and 100g. Keep the join uppermost. Gently lengthen each piece along that join until it forms a plump oval about 9cm long. Do not tuck the seam underneath and do not smooth it away. That fold is the future split.
Flour a linen cloth well and arrange the rolls seam-side up, drawing a fold of cloth between them to support their sides. Cover and proof for 45 to 60 minutes. They are ready when they look softly swollen and a light fingertip mark returns slowly. Do not wait for them to double; an overproofed seam closes instead of opening.
While the rolls proof, heat the oven to 240°C conventional or 220°C fan with a heavy baking sheet or stone inside and an empty metal pan on a lower rack. Transfer the rolls to baking paper with the seam still uppermost. Do not score them. Slide them onto the hot surface, carefully pour 150ml boiling water into the lower pan, and close the door at once. Bake for 8 minutes, vent the oven briefly, lower the heat to 220°C conventional or 200°C fan, and bake for another 9 to 11 minutes. The rolls should be pale gold with deeper color inside the split and should sound hollow underneath.
Move the llonguets to a rack and leave them for at least 30 minutes. The thin crust settles as they cool and the crumb finishes setting. Cut through one side for a bocadillo while leaving the rounded back intact. Fill with sobrassada, camaiot, or cheese, tal como se hace allí.
1 serving (about 90g)
Culinary guides, cultural storytelling, and the editorial depth that makes cooking meaningful.
Discover Culinary ExplorerChef Isabel
Asturias tucks a whole smoky chorizo inside each bread roll, so its pimentón-red fat seasons the crumb as it bakes. Seal the dough well, and you have the proper food of romerías and picnics.
Chef Isabel
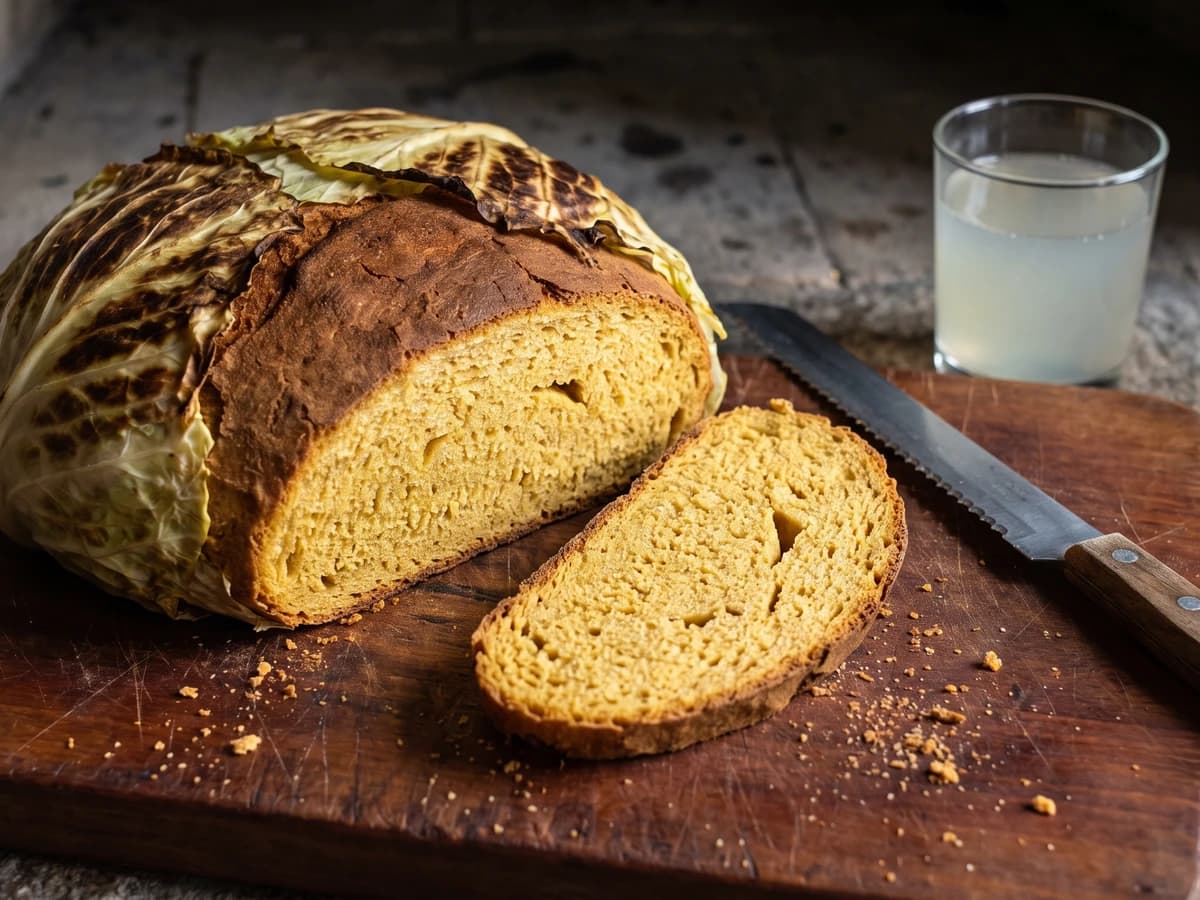
Asturian boroña is the plain corn loaf of the wet north, scalded with salted water and baked inside cabbage leaves until the crust darkens and the crumb stays close, gold, and moist.
Chef Isabel
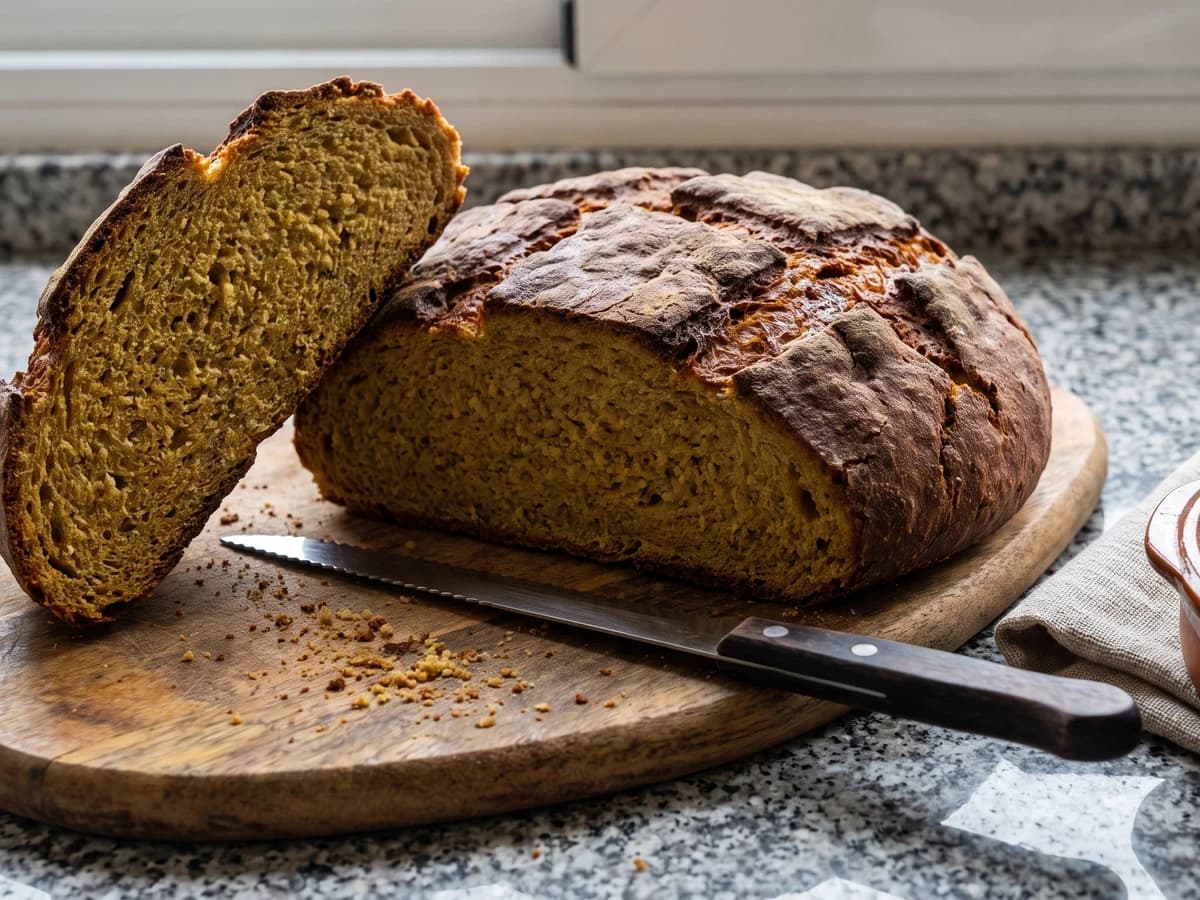
Broa Galega is Galicia's sturdy maize-and-rye loaf: scald the corn flour, give the damp dough time to rise, and the oven gives back a cracked crust and close, faintly sweet crumb.
Chef Isabel
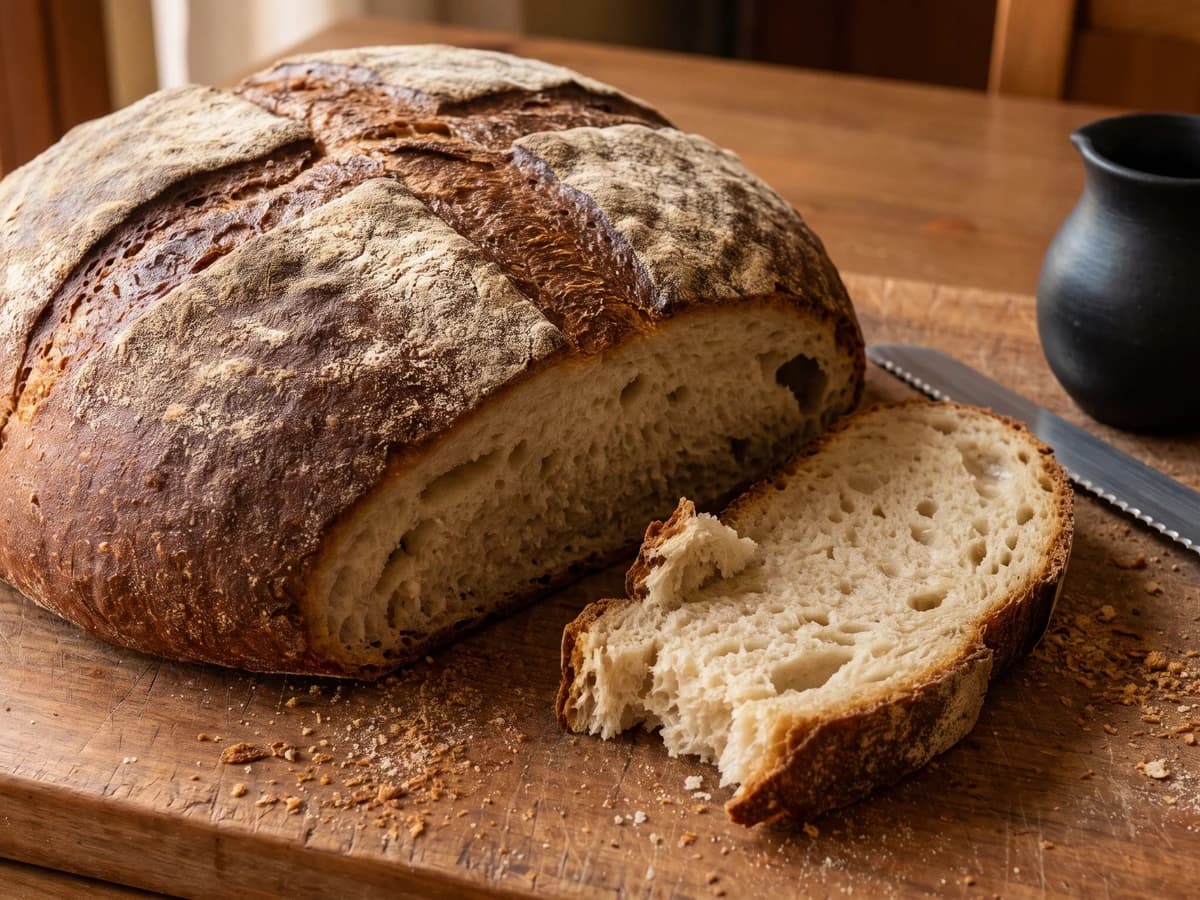
León's great pan de flama is a one-and-a-half-kilo round, slowly fermented and baked dark, with a thick crust that protects its moist, irregular crumb for days.