
Chef Juliette
Flan aux Carottes
A pale short-paste shell holds silken, lightly sweet carrot purée beneath neat glazed half-discs, their butter syrup catching the light: a classical tart poised between vegetable course and sweet.
A cooking platform built around craft, culture, and the stories behind what we eat.
Created by Chef Juliette
Based on No. 2360, Dressing Paste with Lard, from Le Guide Culinaire (1907) by Auguste Escoffier
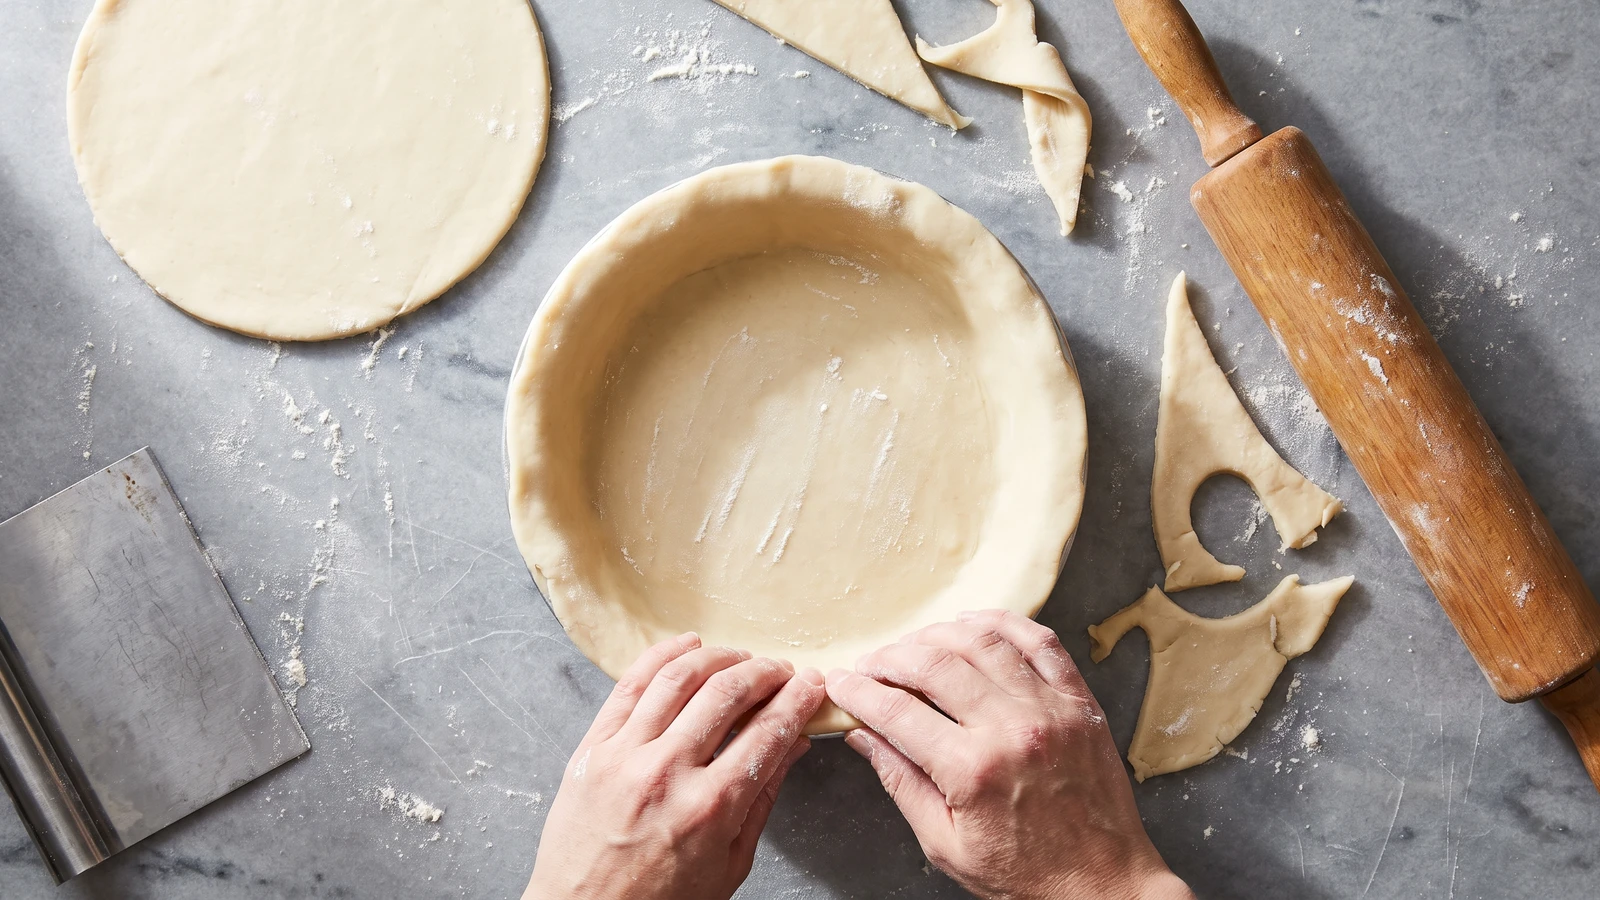
Pâte à pâté au saindoux makes the firm, supple wall a tall raised pie needs: lard for strength, tepid water for workability, and exactly two brief fraisages before a cool rest.
Pâte à pâté au saindoux (lard dressing paste for raised pies) teaches that structure is an ingredient. Before a pie tin enters the conversation, know the one true thing: this paste must stay firm. Lard makes a sturdier, less tender wall than butter, while tepid water makes that firm dough workable without softening it into a slump.
The book’s pound of flour belonged to a pastry room with a cool slab and another pair of hands. This preparation needed neither a saucier, a stockpot never off the fire, nor a salamander; its brigade scaffolding was bulk mixing and a cool room. Here every amount is halved for one 15 cm / 6-inch raised pie, and the rolled mass becomes a flat, wrapped disk so a home refrigerator chills it evenly. The lard ratio, tepid water, and two kneadings are the dish, so they stay.
Properly made, the pâte à pâté is smooth and pale, resistant under the pin yet supple enough to climb a tall mold without tearing. The step that matters most is the double fraisage (smearing the dough with the heel of the hand): make exactly two passes, then stop and let the dough rest.
Pâte à pâté belongs to French charcuterie and the pâtissier-traiteur, the pastry cook who also sold savoury prepared foods, with Parisian counters making raised pies portable, sliceable showpieces. The name pâté points as much to the enclosing paste as to the forcemeat, correcting the habit of treating the crust as decoration. This lard branch of Dressing Paste (Pâte à Pâté) (No. 2359) trades butter tenderness for a stronger wall, a practical formula that moved easily from professional pie molds to bourgeois home tins.
Quantity
1⅞ cups (450 ml / 227 g)
sifted after weighing
Quantity
¼ cup (60 ml / 57 g), replacing the butter in Dressing Paste (Pâte à Pâté) (No. 2359)
pliable but not melted
Quantity
¼ cup (60 ml / 60 g)
Quantity
1½ tablespoons (22 ml / 25 g), about ½ egg
beaten smooth
Quantity
¾ teaspoon (3.75 ml / 5 g)
| Ingredient | Quantity |
|---|---|
| all-purpose floursifted after weighing | 1⅞ cups (450 ml / 227 g) |
| plain lardpliable but not melted | ¼ cup (60 ml / 57 g), replacing the butter in Dressing Paste (Pâte à Pâté) (No. 2359) |
| tepid water | ¼ cup (60 ml / 60 g) |
| large eggbeaten smooth | 1½ tablespoons (22 ml / 25 g), about ½ egg |
| fine salt | ¾ teaspoon (3.75 ml / 5 g) |
Weigh the flour before sifting it. Beat one large egg until no ropes of white remain, then weigh or measure 25 g for the dough and reserve the rest for glazing the eventual pie. Let the lard soften only until a finger can dent it, never until it turns oily. Bring the water to about 90°F / 32°C, barely warmer than your hand, and dissolve the salt in it.
Follow the mixing order of Dressing Paste (Pâte à Pâté) (No. 2359): mound the sifted flour in a wide bowl, make a well, and add the pliable lard and beaten egg. Work from the centre with your fingertips while adding the salted tepid water gradually, holding back the final teaspoon until needed. Draw in the flour until a firm, shaggy mass forms. If loose flour refuses to join, cover the bowl for five minutes so the measured moisture can travel, then add the reserved water drop by drop. Do not soften it with extra water. If it turns sticky, chill it for ten minutes rather than burying it under more flour. Ça se rattrape.
Turn the dough onto a cool, unfloured counter. For the first fraisage, use the heel of your hand to push walnut-sized portions away from you in short smearing strokes, then scrape everything back together with a bench scraper. Repeat the complete process once more and stop. These are the book’s two kneadings, made precise for a home counter. More work develops elasticity and warms the lard, neither of which helps a raised pie. If the surface begins to shine or the lard smears, flatten the dough, chill it for ten minutes, then finish the second pass.
Gather the paste tightly, flatten it into a disk about 2.5 cm / 1 inch thick, and wrap it so no surface is exposed. Refrigerate for at least one hour. The original cool room becomes the refrigerator, and the flat disk replaces a thick rolled mass because it chills evenly. This rest relaxes the gluten and lets the flour absorb the water completely; use the dough too soon and it fights the rolling pin.
Let the chilled disk stand for 10 to 15 minutes, just until it bends without cracking. Reserve one-third for the lid and roll the remainder about 4 mm / ⅛ inch thick on a very lightly floured surface. Line a 15 cm by 7.5 cm / 6 by 3-inch raised-pie mold without stretching the dough, pressing the base and wall seams firmly together. If a bend splits, wait five minutes and patch it with a thin scrap pressed down under a damp fingertip. Keep the lined mold and rolled lid cold until the filling is ready, then bake according to that pie’s own instructions; this paste has no honest baking schedule without its filling.
1 serving (about 375g)
Culinary guides, cultural storytelling, and the editorial depth that makes cooking meaningful.
Discover Culinary ExplorerChef Juliette
A pale short-paste shell holds silken, lightly sweet carrot purée beneath neat glazed half-discs, their butter syrup catching the light: a classical tart poised between vegetable course and sweet.
Chef Juliette
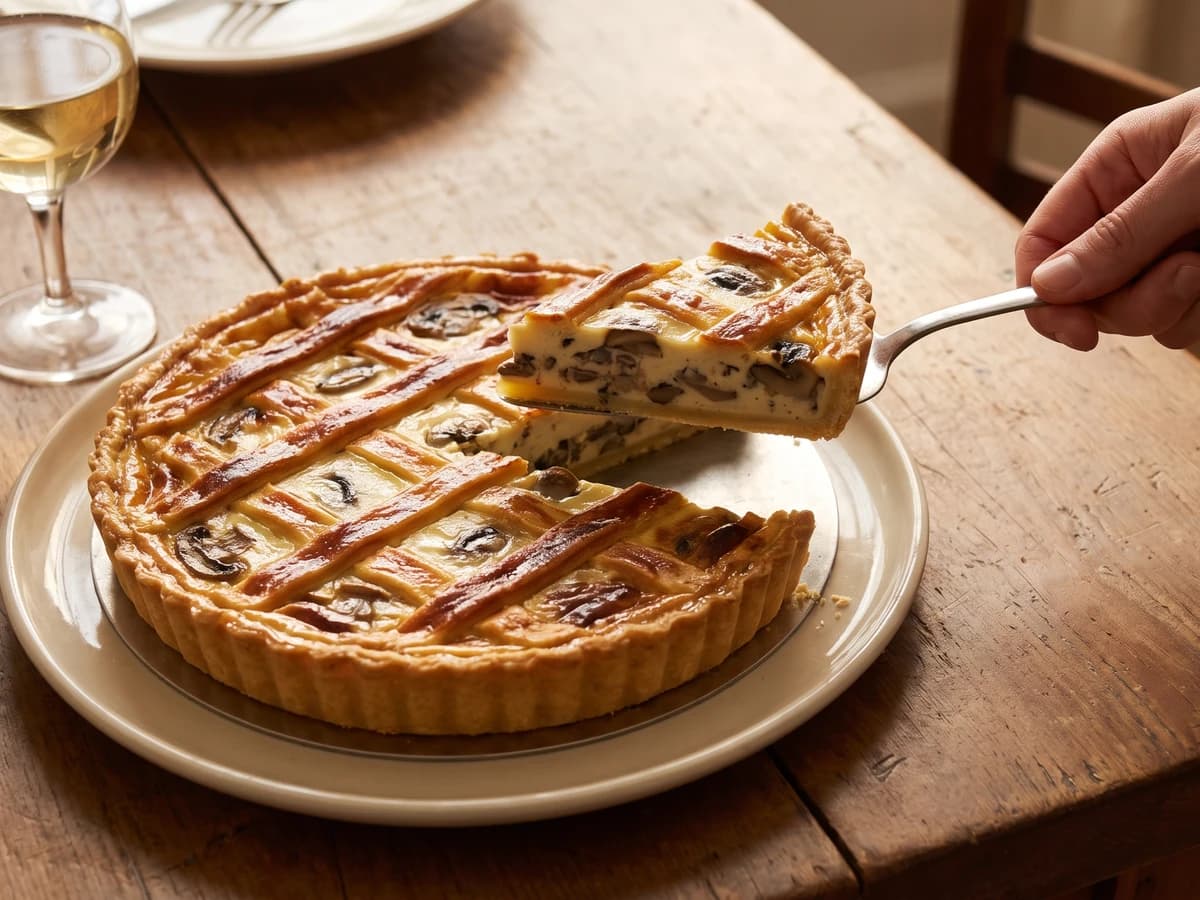
A hot mushroom flan under a butter-gold lattice, with cream reduced close around barely opened caps and a crisp short-paste base protected by one discipline: cool the filling completely.

Chef Juliette
Four little mushroom flans, latticed and gilded, baked hard and fast until butter-gold: a classical garnish scaled to the meat it accompanies and served before its crispness has time to fade.
Chef Juliette
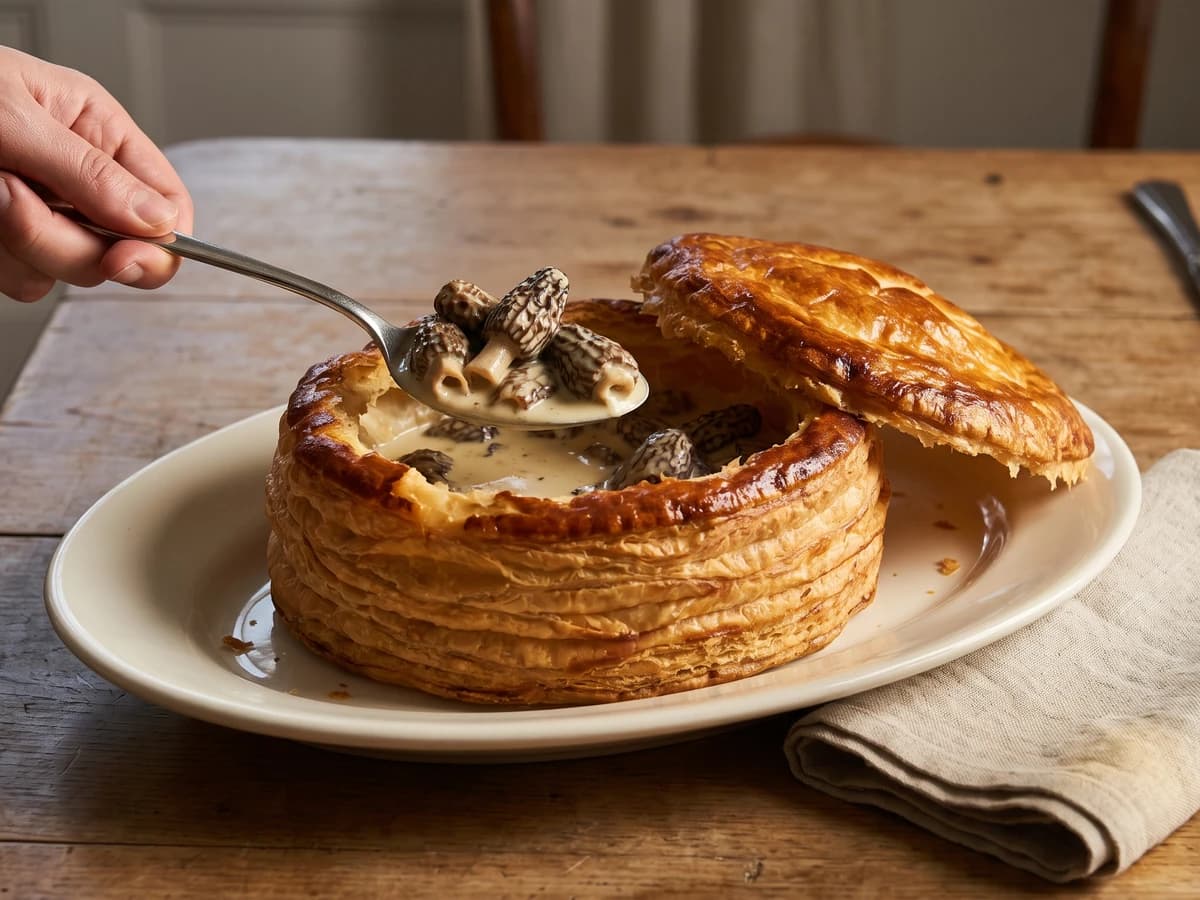
Morels surrender their liquor, then take it back as a glossy cream-and-butter sauce inside burnished puff pastry. The lesson is simple and absolute: reduce with patience, then heat gently and never boil.