
Chef Juliette
Flan aux Carottes
A pale short-paste shell holds silken, lightly sweet carrot purée beneath neat glazed half-discs, their butter syrup catching the light: a classical tart poised between vegetable course and sweet.
A cooking platform built around craft, culture, and the stories behind what we eat.

Created by Chef Juliette
Based on No. 2359, Dressing Paste (Pâte à Pâté), from Le Guide Culinaire (1907) by Auguste Escoffier
Pâte à pâté is a wall before it is a crust: firm, lightly buttered, and kneaded just enough to stand around forcemeat. Master its consistency and every raised pie begins on sound foundations.
Pâte à pâté teaches structure. It is a wall before it is a crust, and the one true thing to know before touching the bowl is that softness is not kindness here. With one part butter to four parts flour, the paste must stay firm enough to stand around forcemeat without slumping, yet rested enough to roll without fighting you.
The old entry assumed a pastry bench, a cool larder, and a cook who understood the brisk command to mix, knead twice, and rest. A home counter, a bench scraper, and the refrigerator are the honest equivalents. Its pound of flour suits a large service piece; here every quantity is halved exactly for one 6-inch (15 cm) raised pie, including the egg. The larger quantity is brigade scaffolding. The lean ratio, two distinct kneads, and cold rest are the dish and must stay.
Your decisive moment is the first knead. Stop at a compact dough that feels firm and faintly resistant, not supple or tacky. If it crumbles after mixing or turns greasy beneath warm hands, ça se rattrape, and the correction comes before the second knead.
Pâte à pâté belongs especially to the charcuterie tables of Lyon, where pâté en croûte is judged as much by the straightness and clean slice of its casing as by the forcemeat within. The same firm paste moved from professional pâtisserie rooms to bourgeois kitchens across France because it could be shaped by hand or in a mold, baked around a filling, cooled, and charged with jelly without collapsing. Its richness is often misunderstood: this is deliberately lean dough, since too much butter makes a lovely tart and a poor wall.
Quantity
1⅞ cups (445 ml / 227 g)
sifted
Quantity
¼ cup (60 ml / 57 g)
cool but pliable
Quantity
½ large egg (25 ml / 25 g)
beaten
Quantity
¾ teaspoon (3.75 ml / 4.7 g)
Quantity
¼ cup plus 2¼ teaspoons (71 ml / 71 g)
| Ingredient | Quantity |
|---|---|
| plain floursifted | 1⅞ cups (445 ml / 227 g) |
| unsalted buttercool but pliable | ¼ cup (60 ml / 57 g) |
| large eggbeaten | ½ large egg (25 ml / 25 g) |
| fine salt | ¾ teaspoon (3.75 ml / 4.7 g) |
| cool water | ¼ cup plus 2¼ teaspoons (71 ml / 71 g) |
Beat one whole large egg until completely uniform, then weigh or measure 25 g for the paste. Cover and refrigerate the remainder for an egg wash or another use. Dissolve the salt in the cool water. The butter should bend beneath a finger without looking shiny or oily; firm butter won't mix evenly, while warm butter makes the paste slack.
Tip the sifted flour into a wide bowl and make a well in the centre. Add the pliable butter and measured egg, working them together with your fingertips into a thick paste. Pour in the salted water in three additions, drawing flour from the inside of the well after each. Press the mixture together when no loose flour remains. It will look rough and feel considerably firmer than tart dough. That is exactly right; don't add water merely to make it pleasant beneath your hands.
Turn the rough paste onto an unfloured surface. Press it away with the heel of your hand, fold it back, and give it a quarter turn, repeating for 8 to 10 strokes. The mass should become cohesive without smearing. If it breaks into separate crumbs, stop and cover it for 5 minutes so the flour can drink; if it still won't hold, dampen your fingertips with no more than 1 teaspoon (5 ml / 5 g) water and resume. If the butter smears and the dough grows greasy, flatten it and refrigerate it for 10 minutes. Ça se rattrape. Don't bury warm dough beneath extra flour, since that disturbs the ratio that gives the wall its strength.
Cover the cohesive paste and leave it for 5 minutes, then give it its second knead, another 8 to 10 firm presses and folds. Stop as soon as the surface looks smooth, the butter is evenly dispersed, and the dough resists gently without cracking. The two short kneads build enough structure to support the pie; prolonged kneading only makes the casing shrink when it bakes.
Roll the paste beneath cupped hands into a compact round, flatten it into a disc about 1 inch (2.5 cm) thick, and wrap it tightly so its surface cannot dry. Refrigerate for 1 hour. This rest is not idle time: it firms the butter and relaxes the gluten, allowing a strong paste to roll without springing back.
Let the rested paste stand at room temperature for 5 to 10 minutes if it is too hard to roll. Reserve one quarter for the lid, then roll the remainder between ⅛ and 3⁄16 inch (3 to 4 mm) thick and line a 6-inch (15 cm) straight-sided raised-pie mold without stretching it. Press the paste firmly into the base and corners, keeping the walls even. If a crack appears, brush a scrap with the smallest dab of water, overlap it across the tear, and press from the centre outward; a sound patch is better than a wall rolled thin from starting again. Roll the lid separately, then keep both pieces cold until the filling is ready.
1 serving (about 95g)
Culinary guides, cultural storytelling, and the editorial depth that makes cooking meaningful.
Discover Culinary ExplorerChef Juliette
A pale short-paste shell holds silken, lightly sweet carrot purée beneath neat glazed half-discs, their butter syrup catching the light: a classical tart poised between vegetable course and sweet.
Chef Juliette
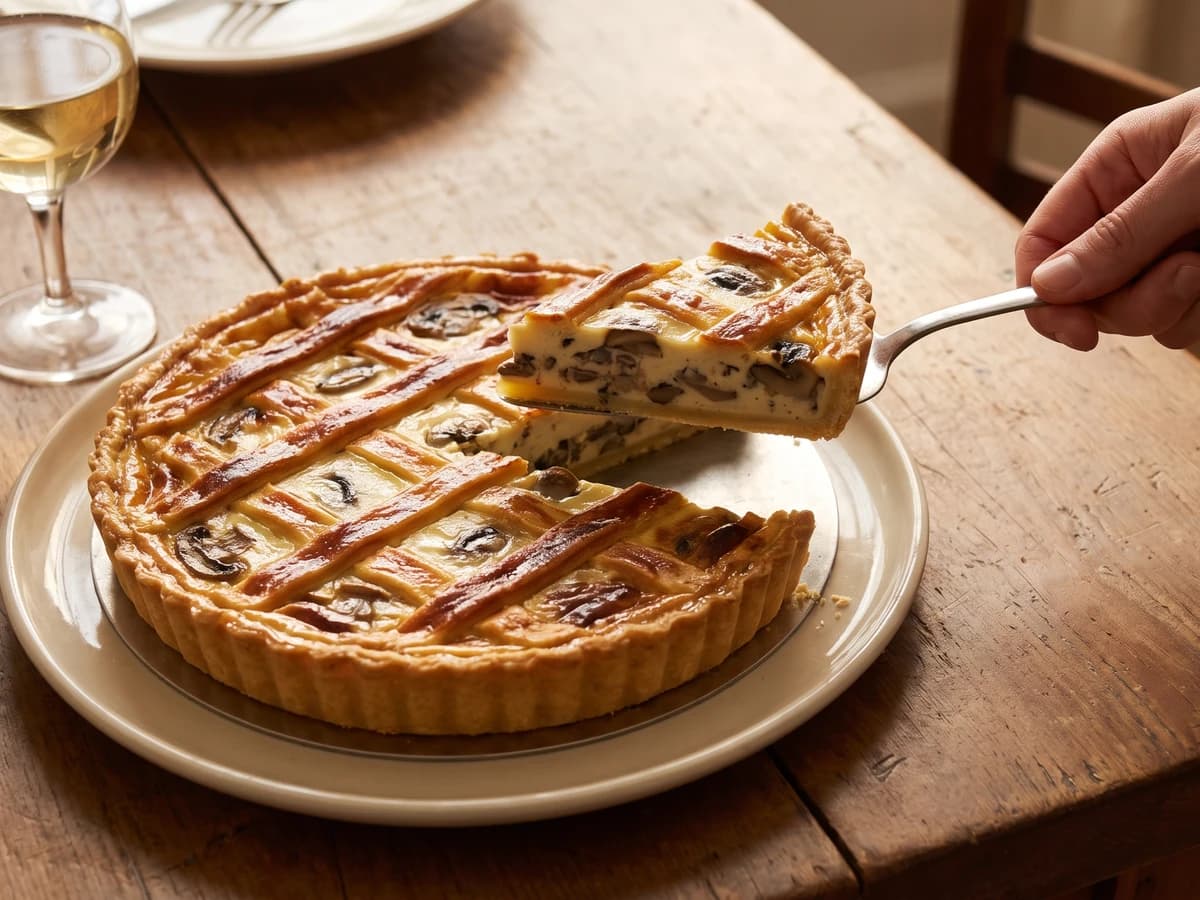
A hot mushroom flan under a butter-gold lattice, with cream reduced close around barely opened caps and a crisp short-paste base protected by one discipline: cool the filling completely.

Chef Juliette
Four little mushroom flans, latticed and gilded, baked hard and fast until butter-gold: a classical garnish scaled to the meat it accompanies and served before its crispness has time to fade.
Chef Juliette
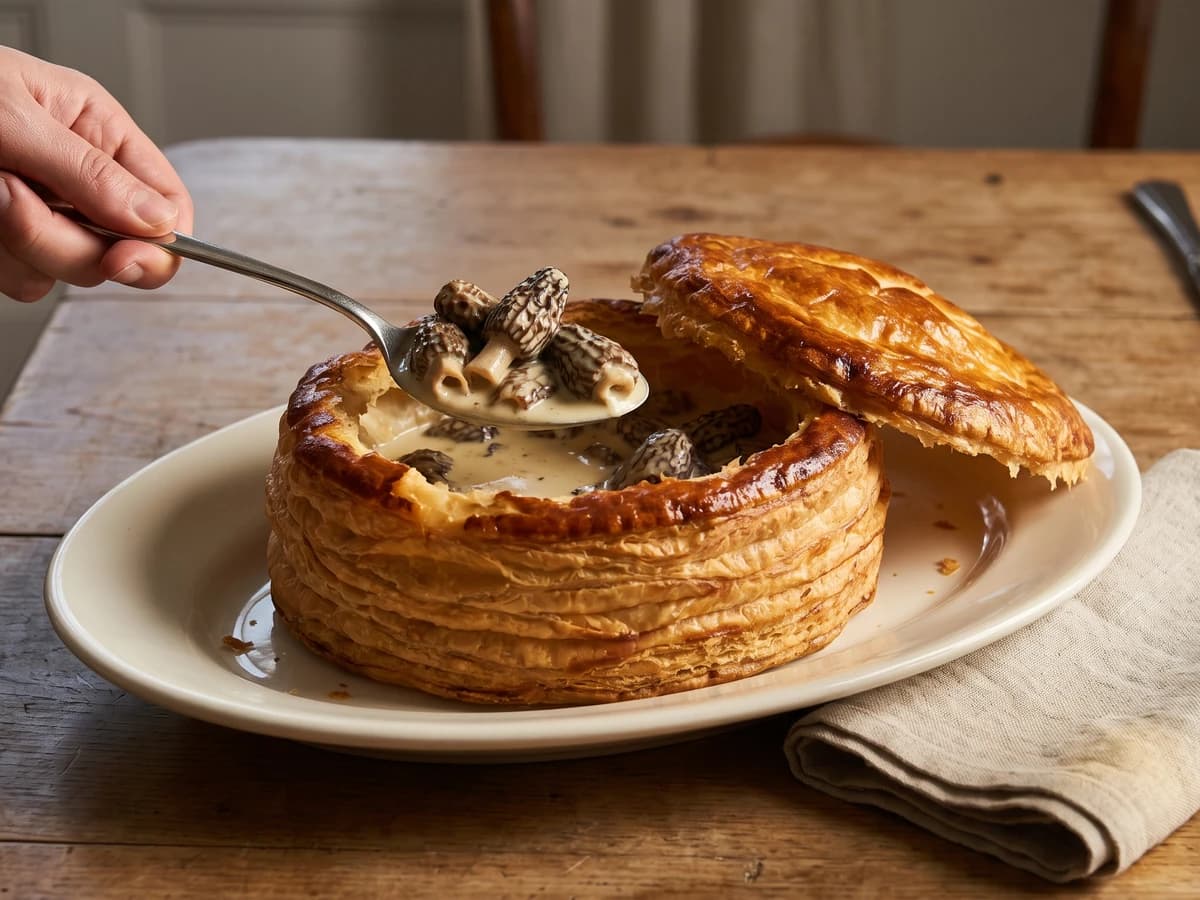
Morels surrender their liquor, then take it back as a glossy cream-and-butter sauce inside burnished puff pastry. The lesson is simple and absolute: reduce with patience, then heat gently and never boil.