
Chef Juliette
Flan aux Carottes
A pale short-paste shell holds silken, lightly sweet carrot purée beneath neat glazed half-discs, their butter syrup catching the light: a classical tart poised between vegetable course and sweet.
A cooking platform built around craft, culture, and the stories behind what we eat.
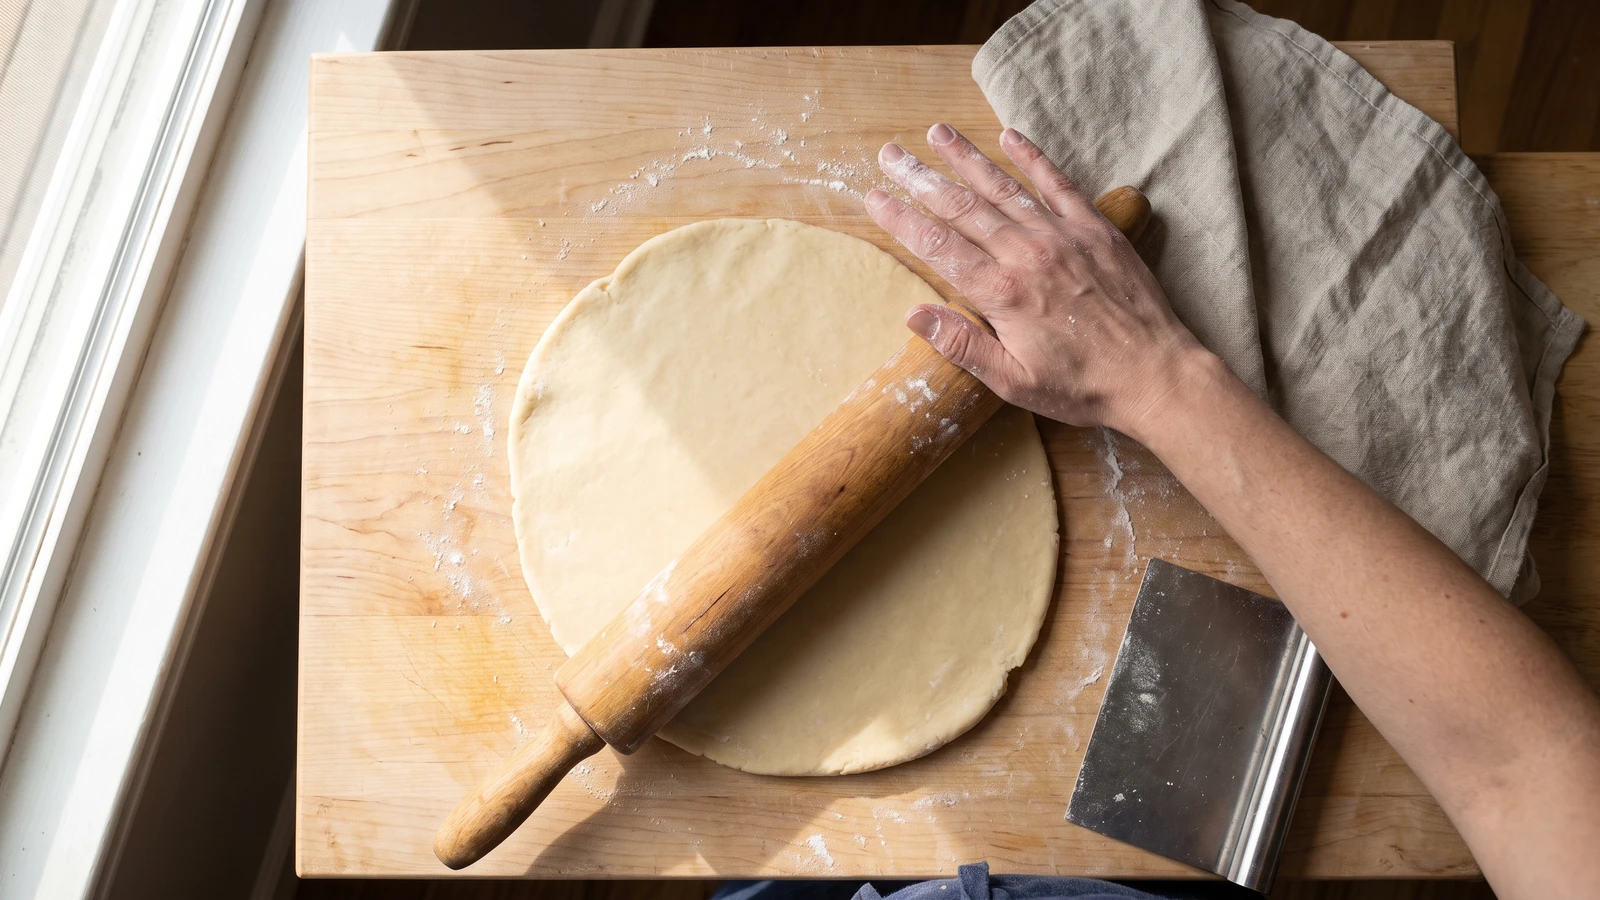
Created by Chef Juliette
Based on No. 2356, Ordinary Short Paste, from Le Guide Culinaire (1907) by Auguste Escoffier
Pâte brisée ordinaire turns four plain ingredients into a calm, workable pie paste: soften the butter, knead exactly twice, then let time take away the spring before you roll.
Pâte brisée ordinaire (ordinary short paste) teaches one true thing: rest is part of the work. This paste is deliberately kneaded until smooth, which gives it elasticity, then left in the cold until that spring relaxes and the rolling pin no longer has an argument on its hands.
The source formula assumed a broad mixing-board, linen for wrapping, a cool pantry, and a batch beginning with a pound of flour. Here the quantities are halved exactly for one home pie, while a wide bowl or clean counter replaces the board and snug wrapping plus the refrigerator replaces linen and a cool room. The larger batch and old storage arrangement were scaffolding; softened butter, two complete kneadings, and the long rest are the paste itself, so those stay.
Properly rested, the dough is smooth, butter-ivory, and pliable without being greasy. Make it a day ahead if you can. The step that decides everything is the wait before rolling, because hurried pâte brisée fights back, while rested pâte brisée goes where you ask.
Pâte brisée belongs to France's national pastry repertoire rather than one region, moving between pâtisserie, cuisine bourgeoise, and the savory kitchen as a plain shell for tartes and tourtes. The label ordinaire did not mean careless or inferior; it distinguished this dependable flour-water-butter foundation from richer, egg-enriched, or layered pastes. Its prescribed double kneading followed by a cool rest corrects a common misconception: in this formula, the paste is deliberately smoothed first, then its elasticity is allowed to fade before rolling.
Quantity
1⅞ cups (445 ml / 227 g)
sifted
Quantity
⅜ teaspoon (1.9 ml / 2.4 g)
Quantity
6 tablespoons plus 1 teaspoon (95 ml / 95 g)
Quantity
½ cup (120 ml / 113 g)
well softened but still cool
| Ingredient | Quantity |
|---|---|
| plain floursifted | 1⅞ cups (445 ml / 227 g) |
| fine salt | ⅜ teaspoon (1.9 ml / 2.4 g) |
| cold water | 6 tablespoons plus 1 teaspoon (95 ml / 95 g) |
| unsalted butterwell softened but still cool | ½ cup (120 ml / 113 g) |
Soften the butter until a fingertip presses into it easily, but keep it cool enough to remain matte and hold its shape. Measure the cold water separately. If the butter looks shiny, oily, or partly melted, chill it for 5 to 10 minutes before continuing; softened butter combines with the flour, while melted butter soaks it and makes the paste greasy.
Sift the flour onto a clean pastry board or into a very wide mixing bowl. Make a deep hollow in the center and put the salt, cold water, and softened butter into it. Work from the center outward with your fingertips, drawing in a little flour at a time so the hollow thickens gradually rather than breaking and sending water across the counter.
Once the center has become a thick paste, use your hand and a bench scraper to bring in the remaining flour. Mass the whole together for 1 to 2 minutes, pressing and gathering only until no dry flour remains. It may feel soft and slightly tacky at first. Use the scraper instead of throwing in extra flour, because changing the flour-to-water ratio now makes the baked crust heavy.
Apply The Kneading of Pastes (No. 2357) to the whole mass once, gather it together, then repeat the treatment once more. Stop when the paste is thoroughly combined and smooth. Twice means two complete treatments, not prolonged bread-style kneading. If butter begins smearing across the board or the paste turns glossy, stop and chill it for 10 minutes, then finish the second treatment. Ça se rattrape.
Roll the paste gently into a ball without further kneading. Wrap it snugly so no surface is exposed, then refrigerate it for at least 4 hours and preferably a full day. During this rest the flour hydrates evenly and the elasticity subsides, giving a paste that rolls more cleanly and bakes to a clearer, lighter color.
Take the paste from the refrigerator 10 to 15 minutes before rolling, just long enough for the butter to become pliable. Divide it now if making two crusts, dust the work surface sparingly, and roll from the center outward without stretching the paste. If it contracts or springs back, cover it and wait another 20 minutes. More force only strengthens the resistance; more rest removes it.
1 serving (about 54g)
Culinary guides, cultural storytelling, and the editorial depth that makes cooking meaningful.
Discover Culinary ExplorerChef Juliette
A pale short-paste shell holds silken, lightly sweet carrot purée beneath neat glazed half-discs, their butter syrup catching the light: a classical tart poised between vegetable course and sweet.
Chef Juliette
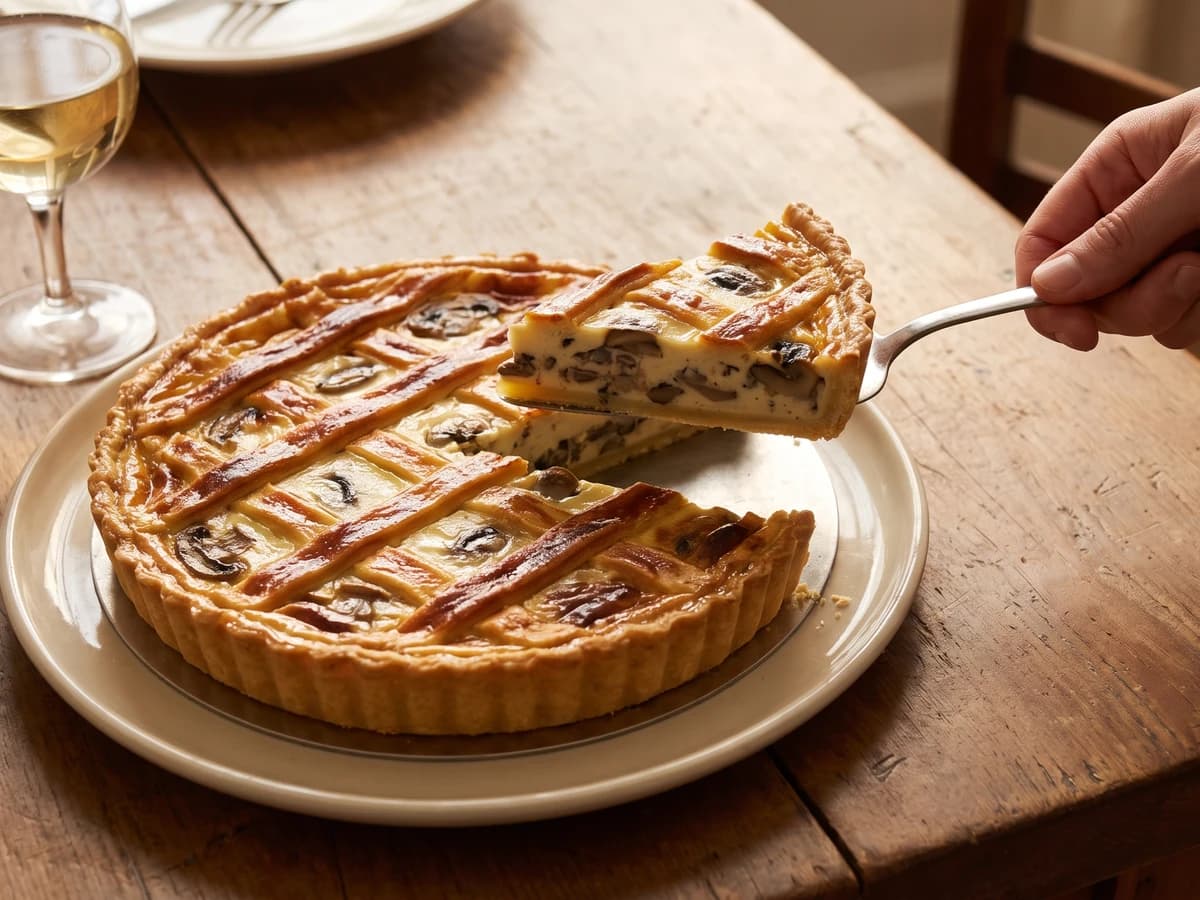
A hot mushroom flan under a butter-gold lattice, with cream reduced close around barely opened caps and a crisp short-paste base protected by one discipline: cool the filling completely.

Chef Juliette
Four little mushroom flans, latticed and gilded, baked hard and fast until butter-gold: a classical garnish scaled to the meat it accompanies and served before its crispness has time to fade.
Chef Juliette
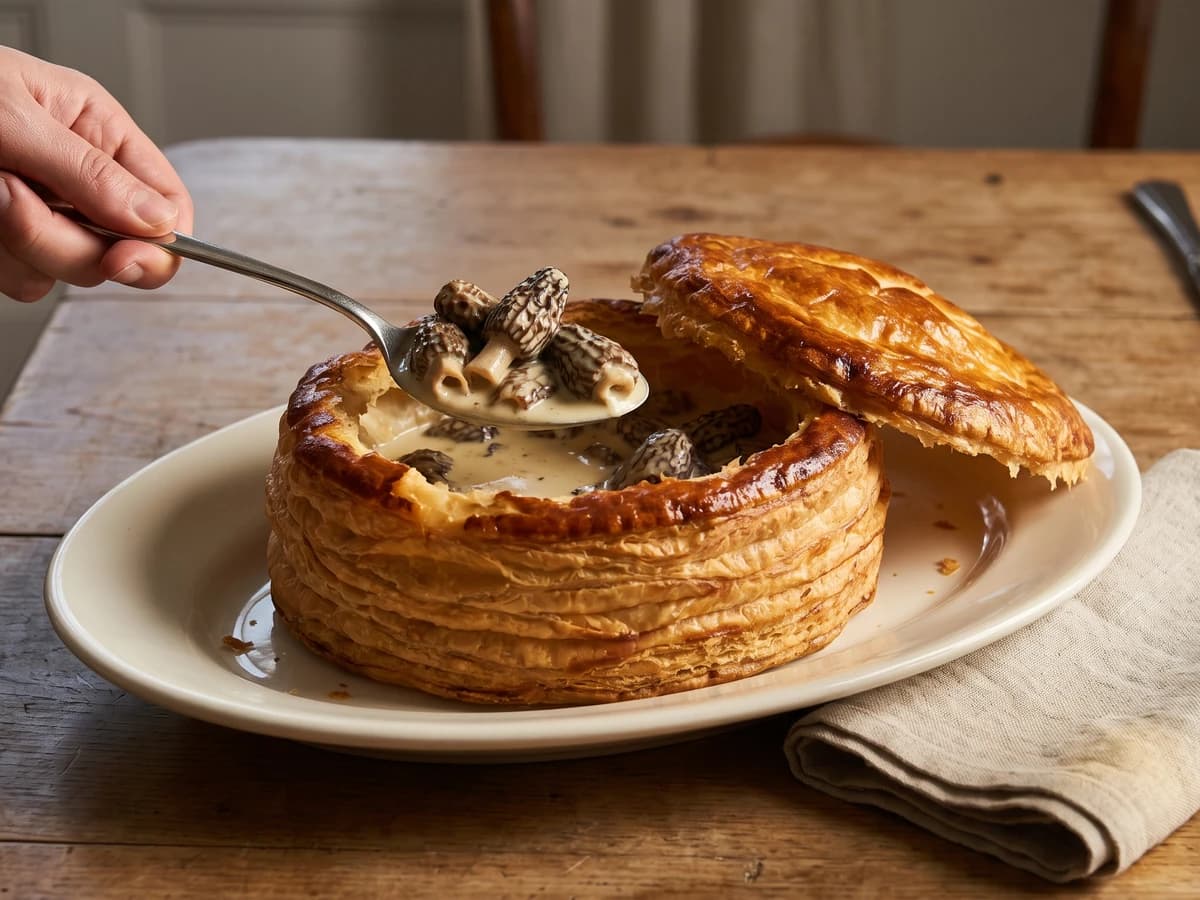
Morels surrender their liquor, then take it back as a glossy cream-and-butter sauce inside burnished puff pastry. The lesson is simple and absolute: reduce with patience, then heat gently and never boil.