Chef Juliette
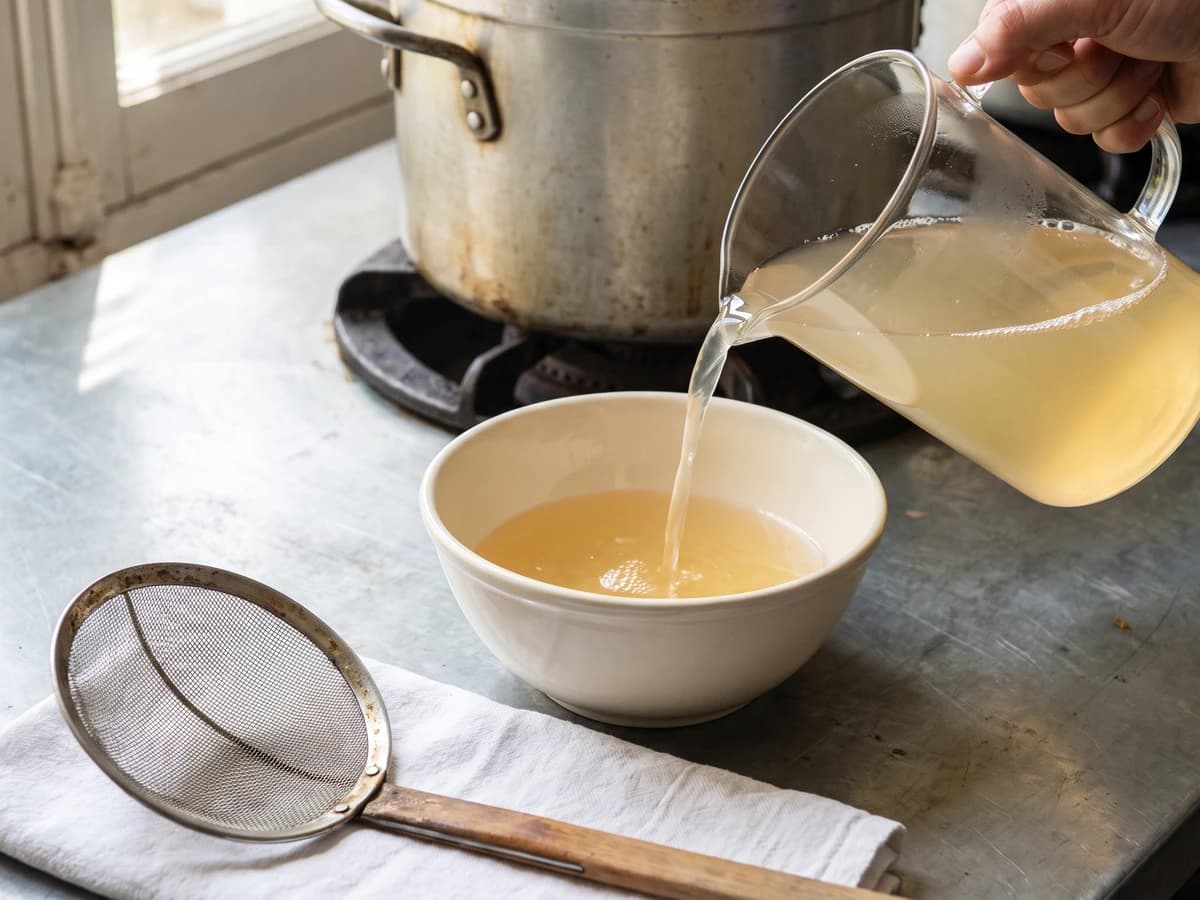
Ordinary or White Consommé
Beef shin, lean beef, and fowl begin in cold water and rise slowly toward a tremble. Skim before the boil, and you learn the quiet discipline that gives every clear French broth its backbone.
A cooking platform built around craft, culture, and the stories behind what we eat.
Created by Chef Juliette
Based on No. 182, Flour, from Le Guide Culinaire (1907) by Auguste Escoffier
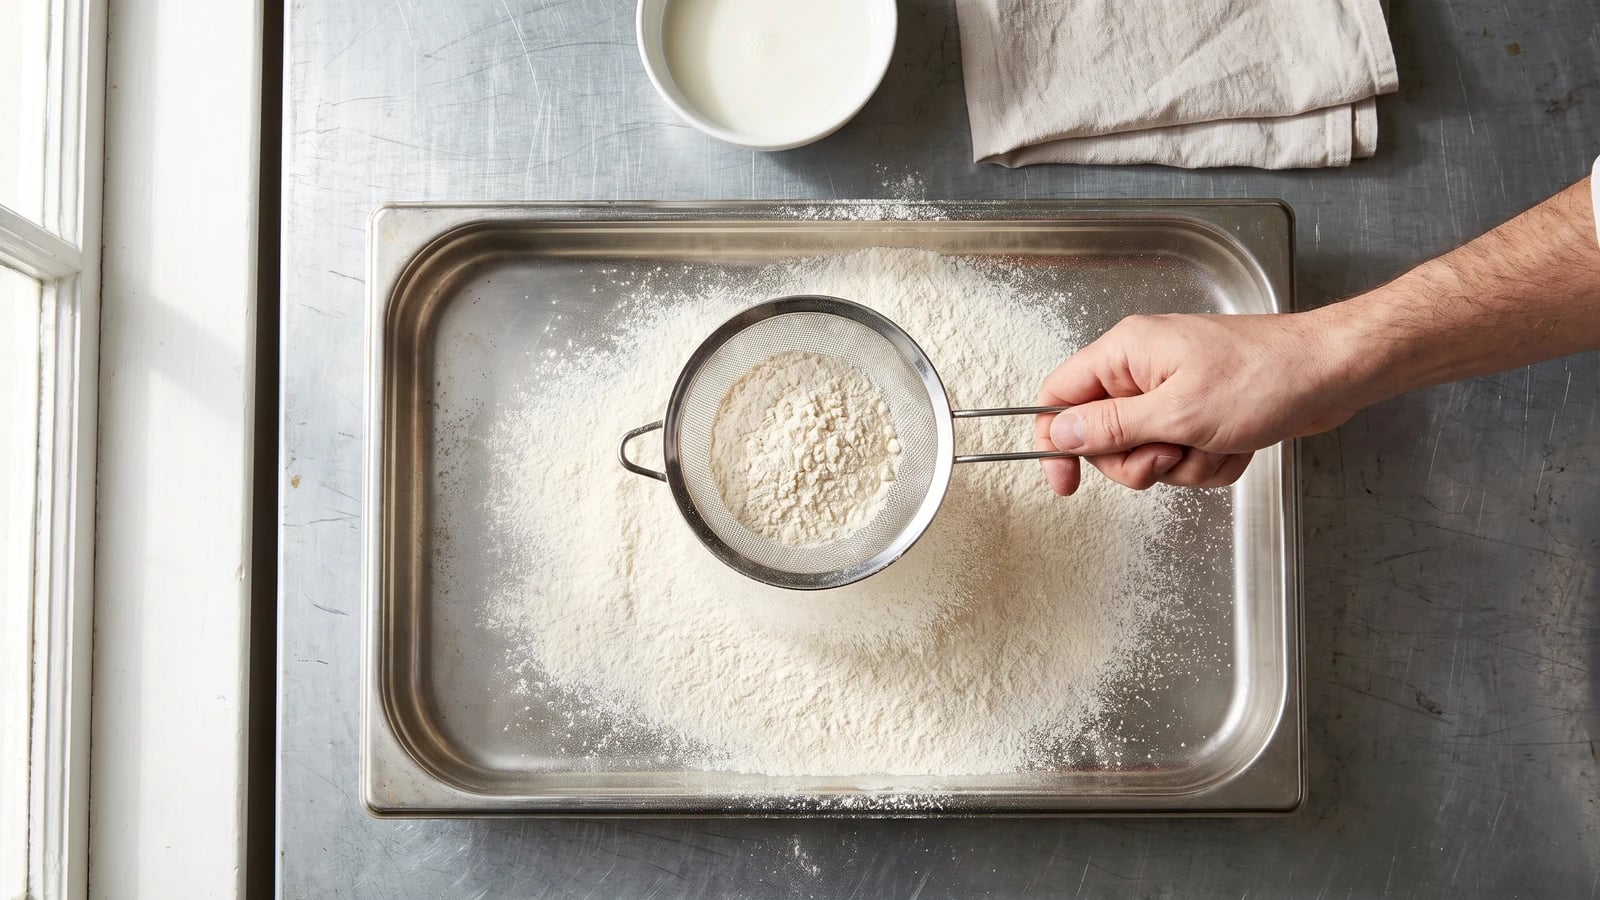
A fine, dry bed of farine tamisée gives milk-dipped foods an even coat, while the sieve removes damp clumps that would harden into a spoiled crust.
Farine tamisée teaches a small law with consequences: before flour coats anything, it must be loose, dry, and free of clumps. Once wet flour pastes itself to the food, no pan can make that patch delicate. Sifting matters for every use, but it becomes essential when food passes from milk into flour, carrying the drops that turn a careless dredging tray into a bed of sticky pellets.
The original entry assumed a busy frying station with a broad flour tray and hands available to sift it whenever milk began to clump it. At home, a fine-mesh sieve replaces the large tamis, and two cups replace the standing flour bin; half goes into the tray while half stays dry for replenishing. The deep service tray is brigade scaffolding and can go. Sifting immediately before use is the technique itself, and it stays.
Your one decisive move is to keep the wet food and the dry reserve separate. Let excess milk fall away, dredge in small batches, and if damp knots form, stop and sift again. Ça se rattrape. Sift just before the first piece meets the flour.
Farine tamisée has no single regional birthplace; it belongs to the daily grammar of classical French kitchens, from the frying stations of Paris to household stoves in Lyon. The tamis, traditionally a broad drum sieve, kept flour loose for pastry, sauces, and especially foods passed through milk before frying. For generations, cooks sifted not merely for refinement but to remove the damp pellets that could cling to food and set into a heavy, uneven crust.
Quantity
2 cups (480 ml / 240 g)
| Ingredient | Quantity |
|---|---|
| plain all-purpose flour | 2 cups (480 ml / 240 g) |
Make certain the sieve, bowl, and dredging dish are perfectly clean and dry. Even a trace of water catches flour against the mesh and makes the very paste you are trying to prevent. If anything feels damp, dry it completely before opening the flour.
Set a fine-mesh sieve over the clean bowl and add the flour in two or three portions. Tap the rim gently or stir the flour across the mesh with a dry spoon, letting it fall into a loose, even mound. Do not force firm lumps through; break a dry compacted lump with the spoon, but discard anything damp, discoloured, or stale-smelling. The finished farine tamisée should feel powdery and uniform, with no hard knots under your fingertips.
Spread half the farine tamisée in a wide, shallow dish, making a bed about 1 cm deep. Keep the other half covered in the dry bowl, well away from the milk and the food being coated. A shallow layer coats more evenly than a deep flour bath and leaves room to turn each piece without burying it.
When the preparation you are frying directs you to dip the food in milk, lift each piece and allow the obvious excess to fall back into the milk dish. Lay it in the farine tamisée, cover it using a dry hand, turn it once, then lift and shake gently so only a fine coat remains. A few drops of milk will inevitably reach the flour and make damp lumps. If they begin clinging to the next piece, stop. Ça se rattrape: pass the usable flour through the sieve into a clean, dry dish, discard every damp pellet, and replenish from the untouched reserve before continuing.
Once the food is coated, discard all flour from the dredging dish because it has contacted milk and may have touched raw meat or fish. Never return it to the dry reserve. Store only untouched farine tamisée in an airtight container, then fry the coated food at once according to its own recipe; the flour should form a fine, continuous jacket with no paste-like patches.
1 serving (about 60g)
Culinary guides, cultural storytelling, and the editorial depth that makes cooking meaningful.
Discover Culinary ExplorerChef Juliette
Beef shin, lean beef, and fowl begin in cold water and rise slowly toward a tremble. Skim before the boil, and you learn the quiet discipline that gives every clear French broth its backbone.
Chef Juliette
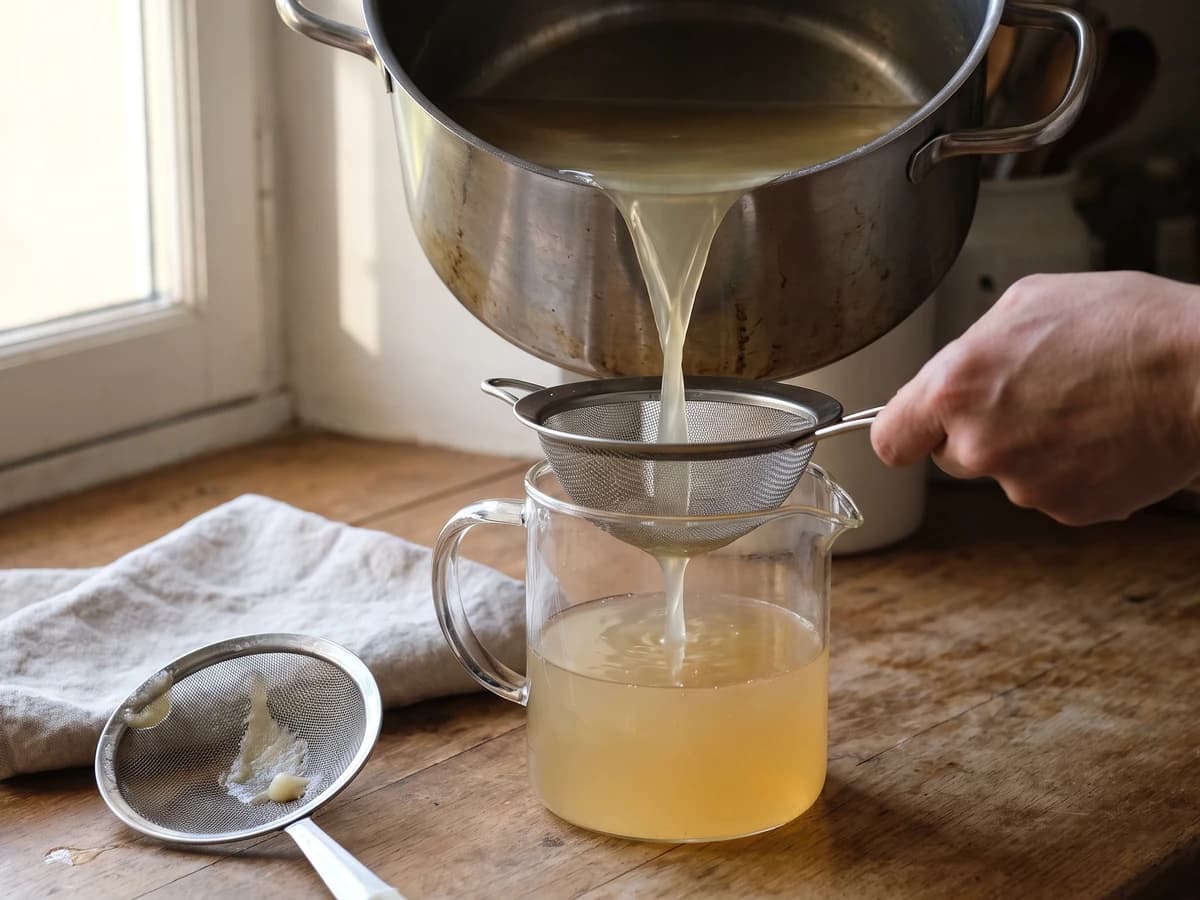
Break the veal bones small, then give them eight hours at a bare tremble. This pale, gelatinous fond becomes the quiet foundation beneath velouté, blanquette, and every sauce that must stay light.
Chef Juliette
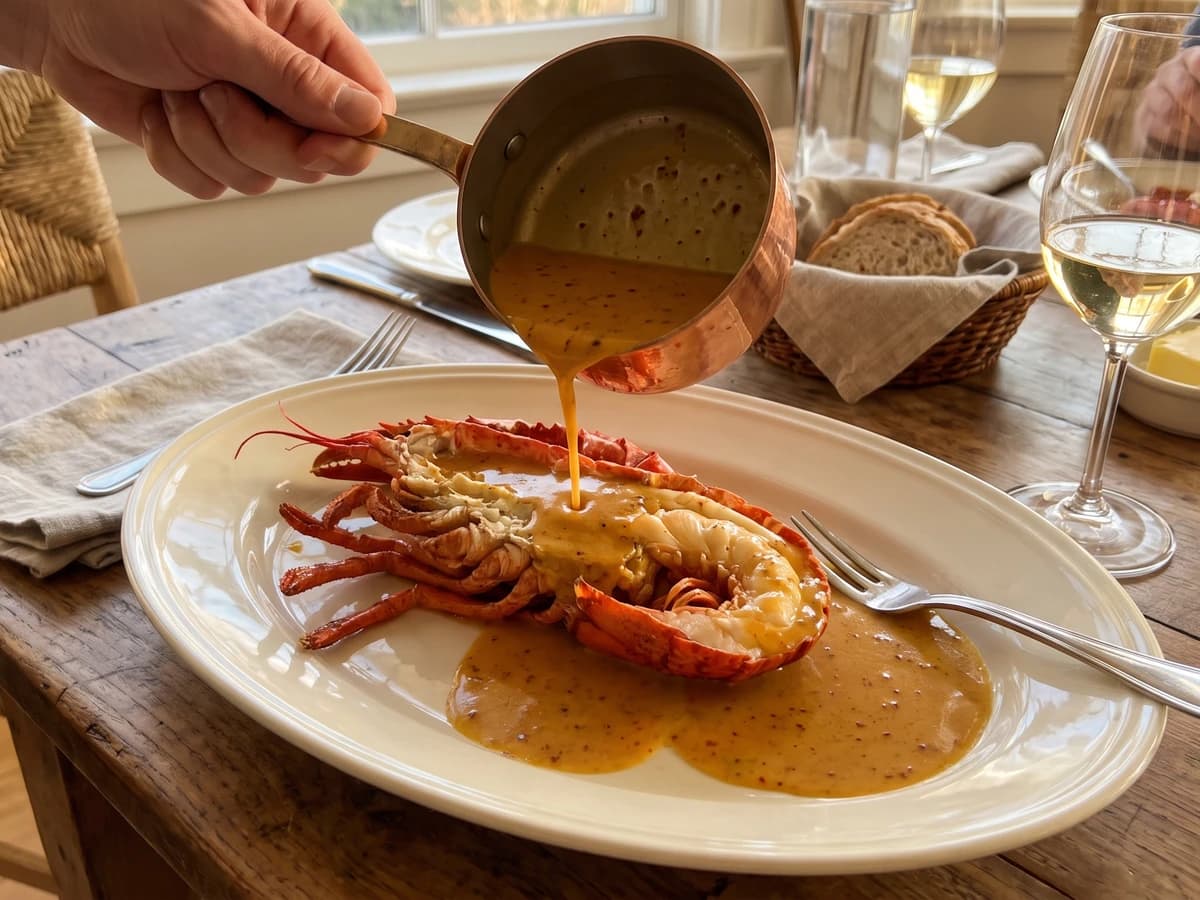
Sauce Orientale concentrates lobster-rich American Sauce with curry, then folds in cream away from the fire: a glossy, gently spiced derivative made for lobster, crayfish, and firm fish.
Chef Juliette
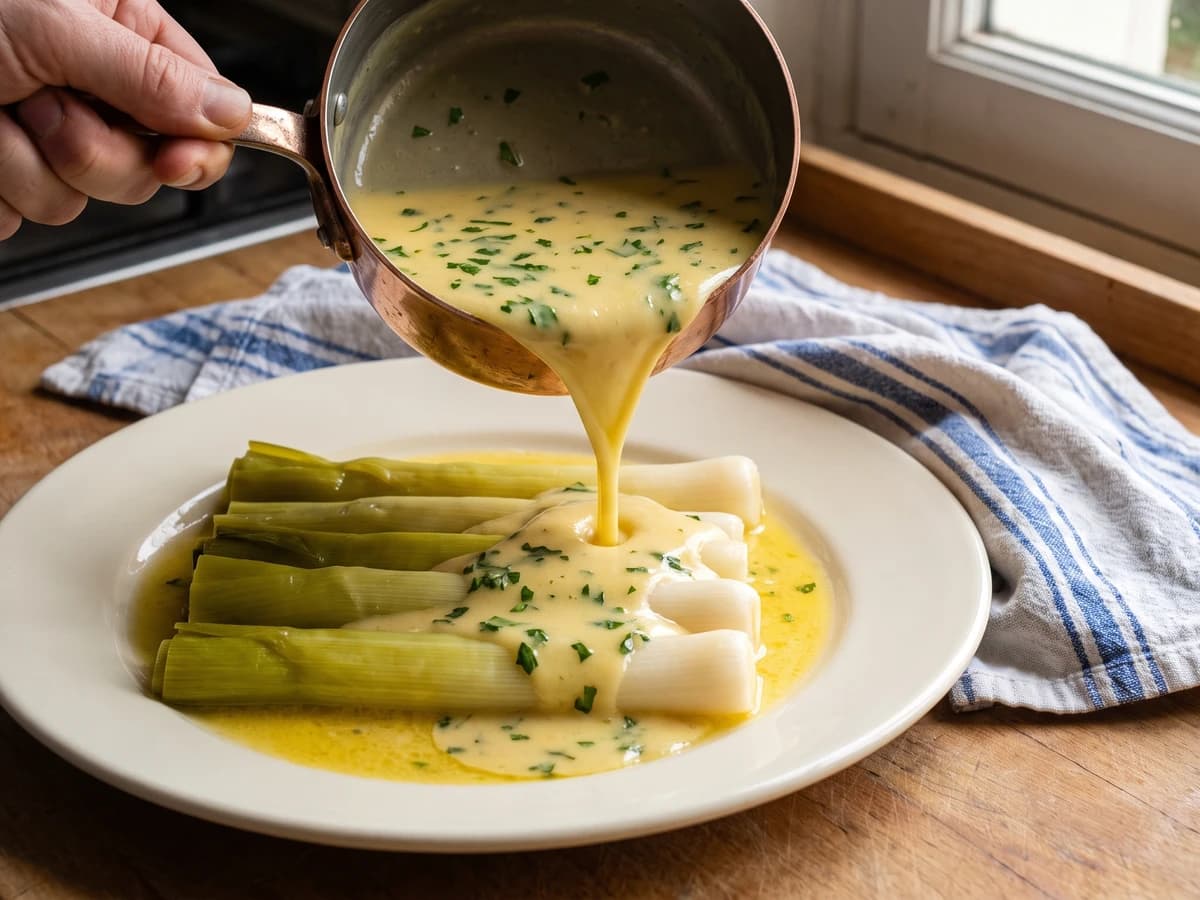
An old lesson in sauce families: Sauce Allemande takes mushroom liquor, then butter, lemon, and parsley, becoming a glossy Poulette for sheep's trotters, leeks, cauliflower, and anything needing gentle richness with a bright edge.