Chef Juliette
Ordinary or White Consommé
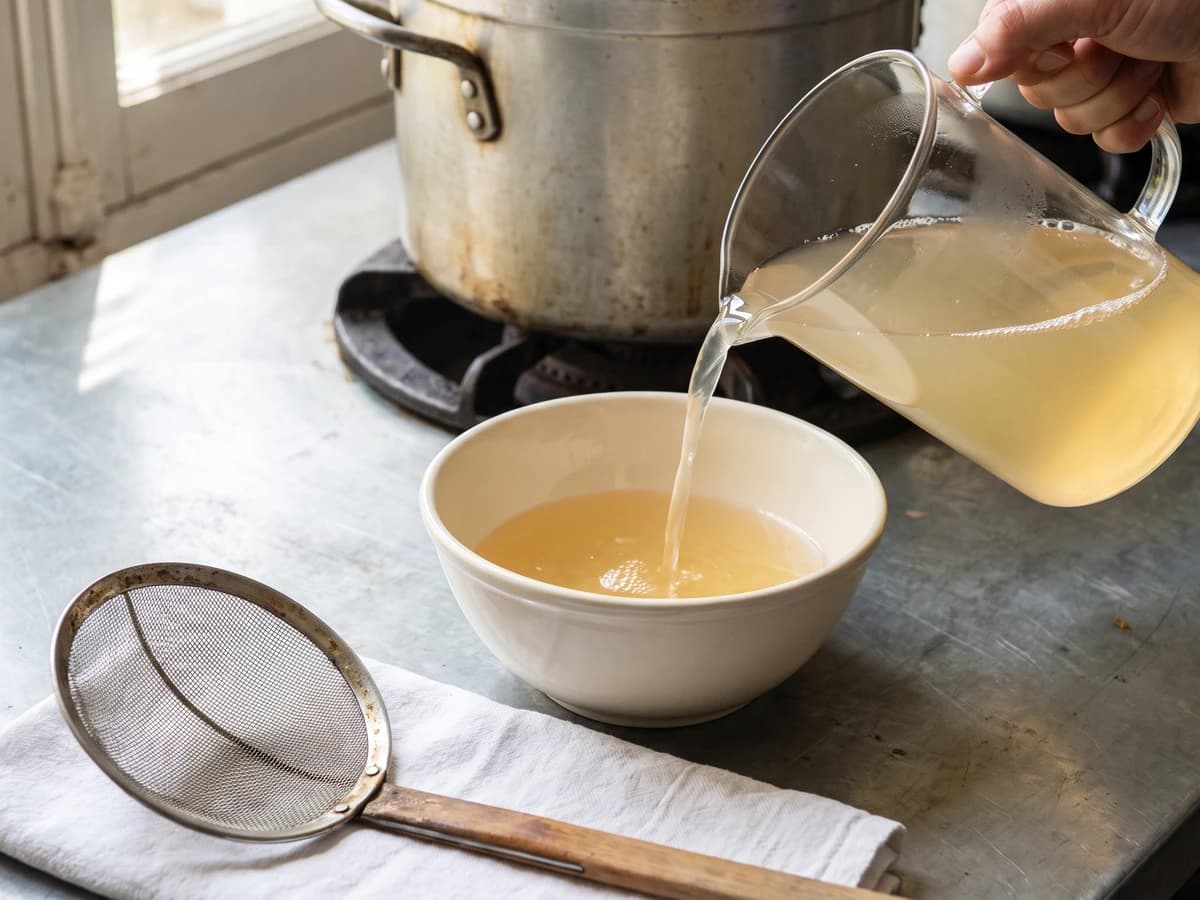
Beef shin, lean beef, and fowl begin in cold water and rise slowly toward a tremble. Skim before the boil, and you learn the quiet discipline that gives every clear French broth its backbone.
A cooking platform built around craft, culture, and the stories behind what we eat.
Created by Chef Juliette
Based on No. 178, Raspings, from Le Guide Culinaire (1907) by Auguste Escoffier
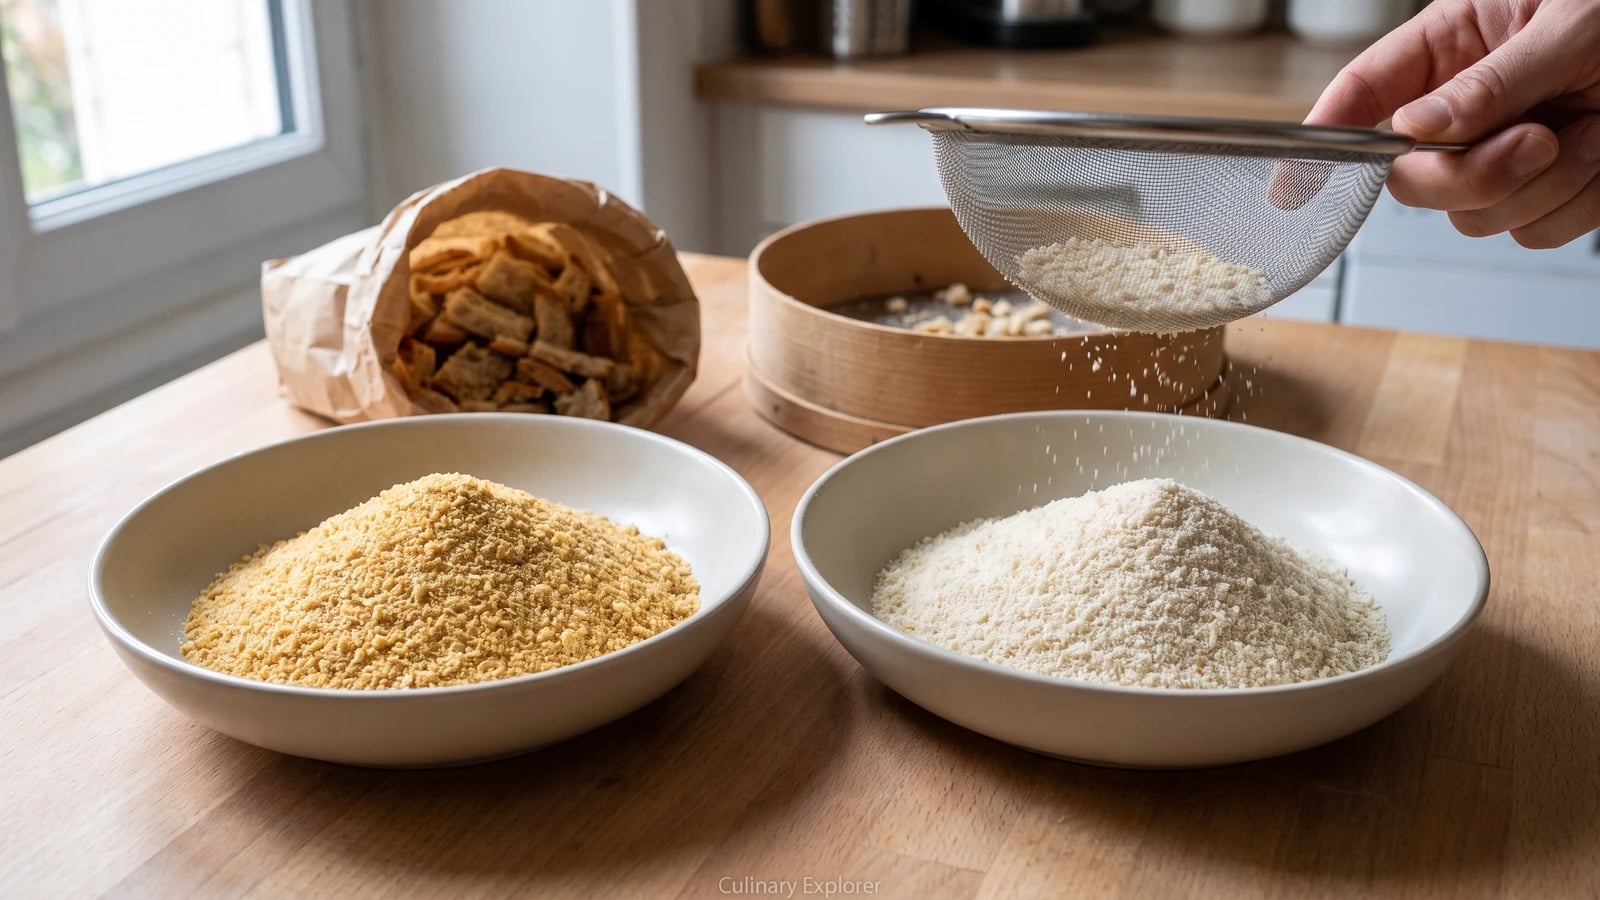
Chapelure blonde et blanche turns stale bread into two precise pantry tools: golden crust crumbs for robust coatings and gratins, white crumb for delicate finishes, both dried fully and sieved fine.
Chapelure blonde et blanche (golden and white raspings) teaches a small principle with enormous reach: bread must be completely dry before it is ground. A piece that bends instead of snapping will make coarse, clumped raspings that spoil a coating; dry it until brittle, and the crumbs fall through the fingers like fine sand.
The original preparation assumed baskets of bread left from service, a gently warm oven, a mortar for pounding, and a tamis always within reach. For one cook, one stove, one evening, two sheet pans replace the bakery baskets and short pulses in a food processor replace the mortar. The quantity becomes two useful jars rather than a brigade store. Repeated hand-pounding was scaffolding for a staffed kitchen and can go; complete drying and passage through the tamis are the dish itself, so both stay.
Nothing is added because nothing is missing. The crust supplies the deeper gold of chapelure blonde, while the bare white crumb keeps chapelure blanche pale and delicate. Test the thickest piece before grinding. It must snap cleanly through its centre, and that one test decides the whole preparation.
Chapelure blonde et blanche has no honest single regional claim; it belongs to household bread cupboards across France and to the classical professional pantry, where scraps had to become dependable ingredients. The golden form used dried crust for colour and a toastier character, while the white form used crumb alone when a pale, finer finish was wanted. Its passage into the grand kitchens did not invent the practice, it formalized generations of household thrift by fixing the dryness and particle size.
Quantity
4 loosely packed cups (950 ml / 200 g)
cut or torn into 1-inch (2.5 cm) pieces
Quantity
4 loosely packed cups (950 ml / 160 g)
all crust removed and torn into 1-inch (2.5 cm) pieces
| Ingredient | Quantity |
|---|---|
| plain white bread crustscut or torn into 1-inch (2.5 cm) pieces | 4 loosely packed cups (950 ml / 200 g) |
| plain white bread crumball crust removed and torn into 1-inch (2.5 cm) pieces | 4 loosely packed cups (950 ml / 160 g) |
Heat the oven to 200°F (95°C). Sort the bread carefully, putting browned crust on one sheet pan and completely white crumb on another. Keep the two preparations distinct from the beginning, because even a few crust fragments will muddy the colour of chapelure blanche. Spread each in a loose single layer with space around the pieces.
Set both pans in the oven and dry the bread for 60 to 90 minutes, turning the pieces and exchanging the pans from top to bottom every 20 minutes. The crust may deepen by one shade, but the crumb should remain ivory rather than toast. If the white pieces begin colouring before their centres are dry, lower the oven to 175°F (80°C) and continue gently. Colour can wait; dryness cannot.
Break open the thickest piece from each pan. It should snap sharply and look dry through the centre, with no cool, leathery, or yielding patch. If it bends, ça se rattrape: return the whole pan to the oven for 10 to 15 minutes, then test again. Cool the bread completely on the pans for about 30 minutes, because warmth trapped during grinding can produce clumps.
Process the crusts first in small batches, using short pulses until they resemble fine, even sand. Empty and wipe the bowl thoroughly, then grind the white crumb in the same way. Do not run the machine continuously; it turns part of the bread to flour while leaving stubborn pieces behind. A mortar and pestle remains perfectly proper if you prefer the original pounding method.
Pass each batch through a tamis, a fine-mesh sieve, into separate clean bowls. Return everything too large to pass through the mesh to the processor or mortar, grind again, and resift. This grading is what makes raspings coat evenly instead of leaving bare patches and hard crumbs, so do not omit it. If the sieve fills with soft pellets rather than dry grains, the bread retained moisture; spread it on the pan, dry it for another 10 minutes, cool, and sift again.
Transfer the chapelure blonde and chapelure blanche to separate airtight jars only when both are completely cool. Label them plainly and keep them dry. If condensation appears inside a jar, tip the raspings immediately onto a sheet pan and dry them again before storage. Use the golden raspings where a bronzed coating or gratin crown is wanted, and the white raspings where colour and texture should remain delicate.
1 serving (about 16g)
Culinary guides, cultural storytelling, and the editorial depth that makes cooking meaningful.
Discover Culinary ExplorerChef Juliette
Beef shin, lean beef, and fowl begin in cold water and rise slowly toward a tremble. Skim before the boil, and you learn the quiet discipline that gives every clear French broth its backbone.
Chef Juliette
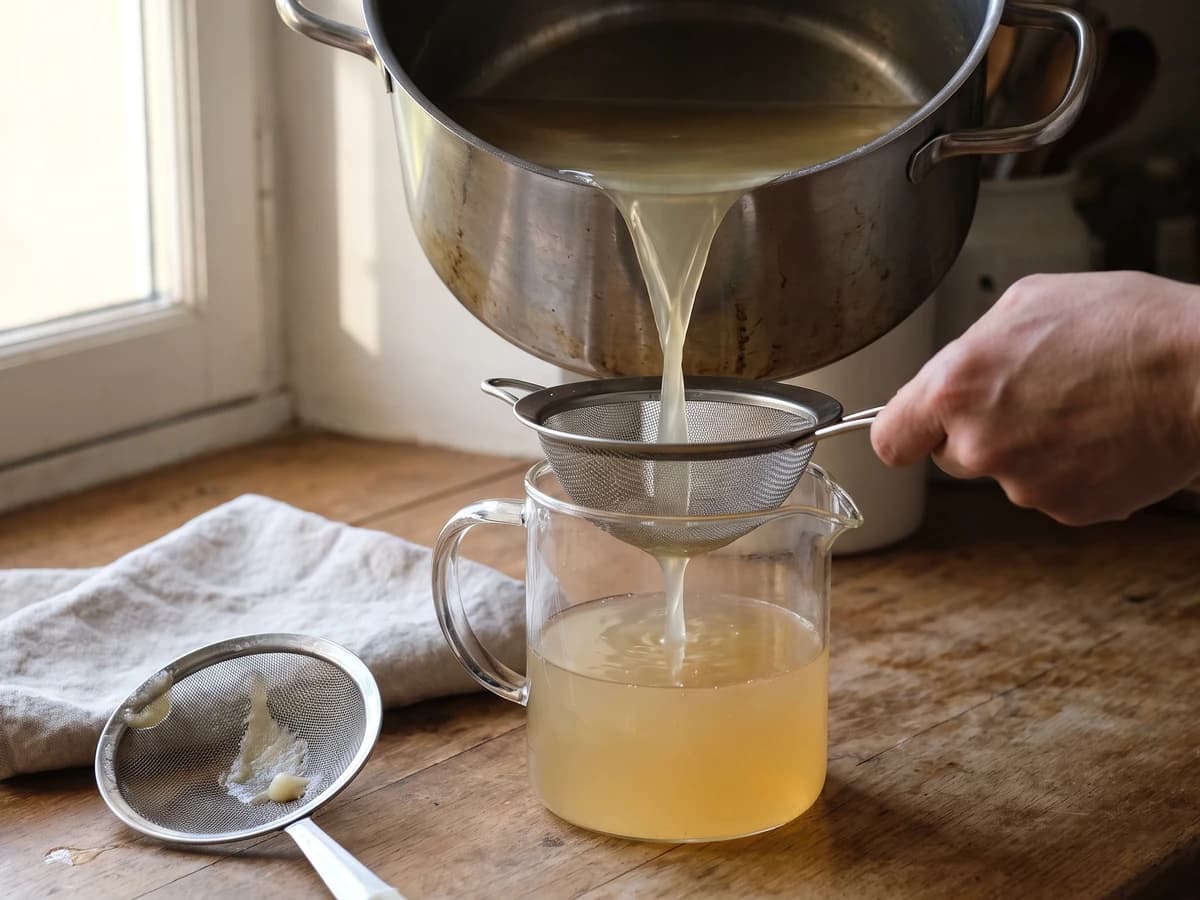
Break the veal bones small, then give them eight hours at a bare tremble. This pale, gelatinous fond becomes the quiet foundation beneath velouté, blanquette, and every sauce that must stay light.
Chef Juliette
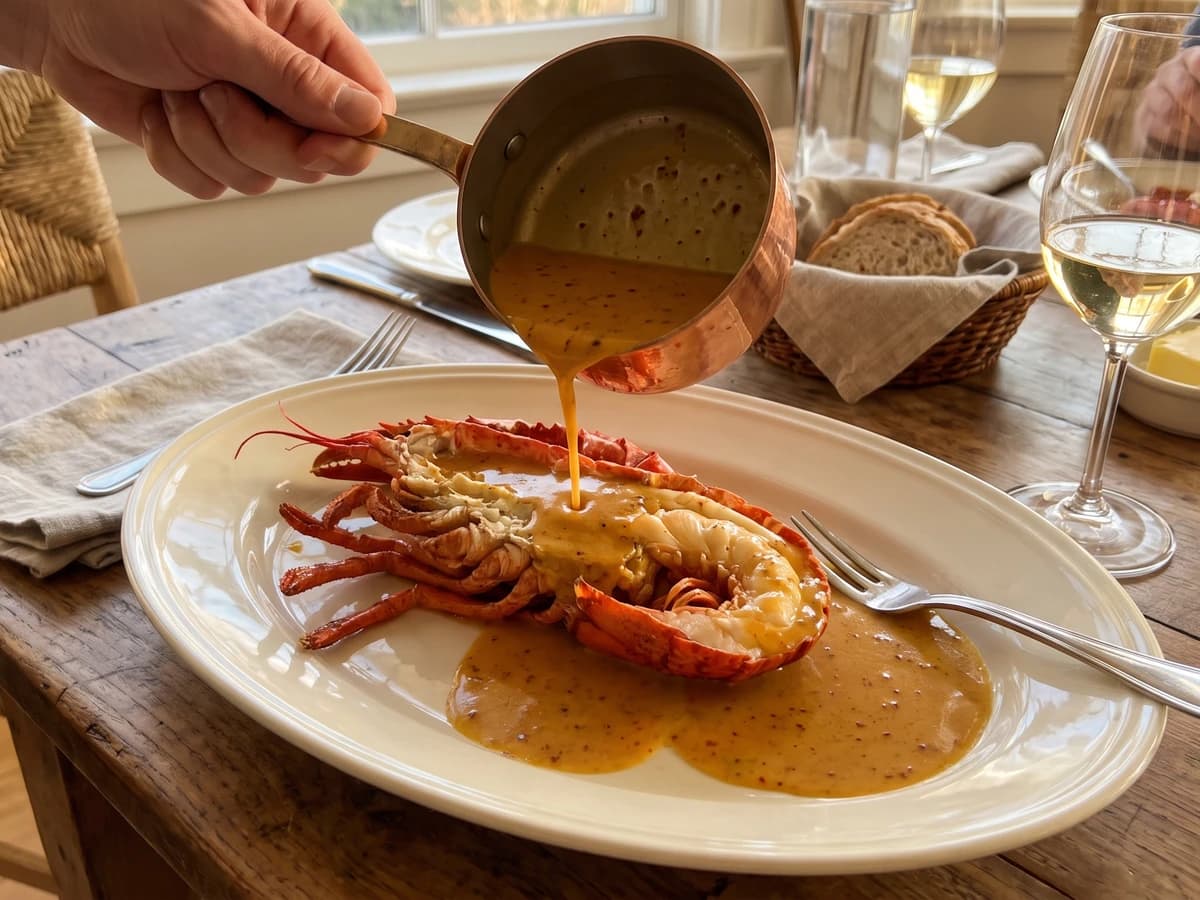
Sauce Orientale concentrates lobster-rich American Sauce with curry, then folds in cream away from the fire: a glossy, gently spiced derivative made for lobster, crayfish, and firm fish.
Chef Juliette
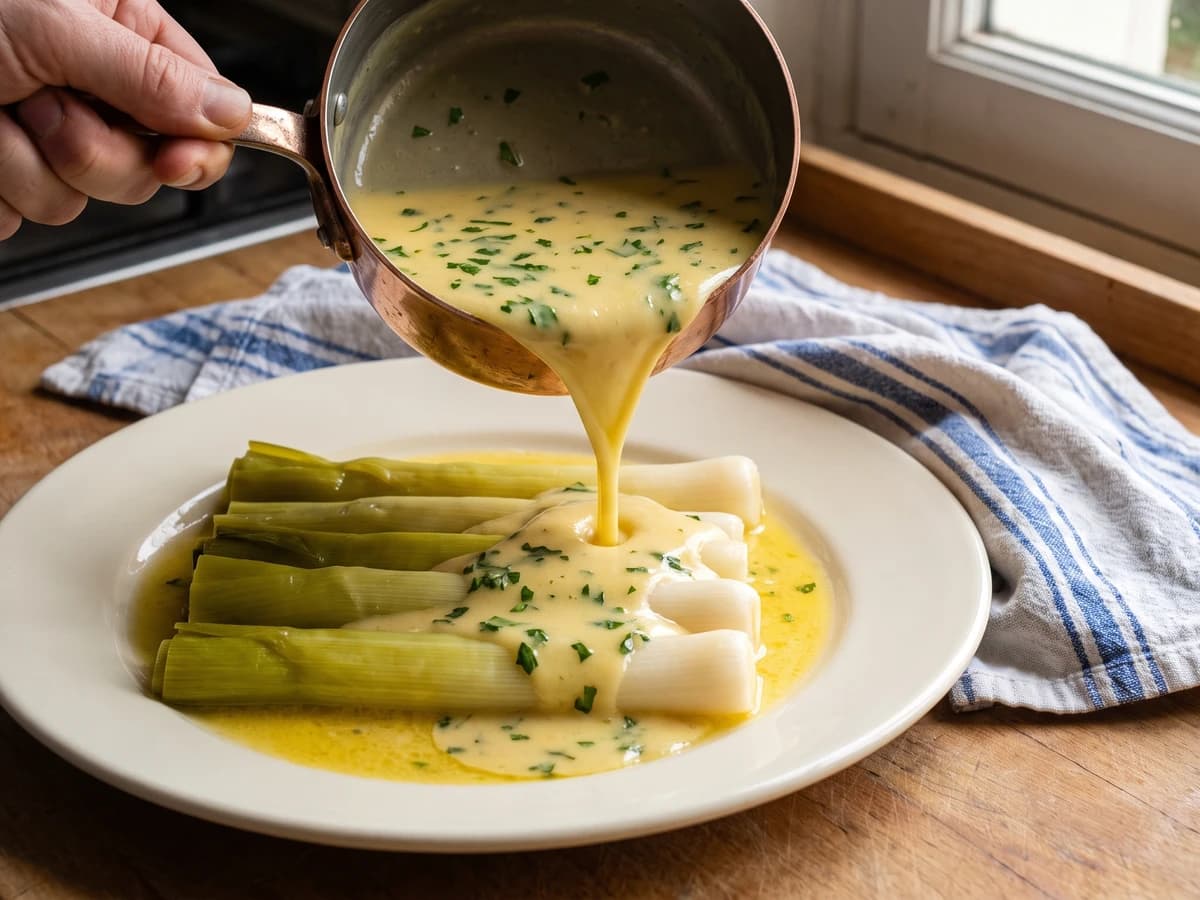
An old lesson in sauce families: Sauce Allemande takes mushroom liquor, then butter, lemon, and parsley, becoming a glossy Poulette for sheep's trotters, leeks, cauliflower, and anything needing gentle richness with a bright edge.