Chef Dean
Classic Italian Focaccia
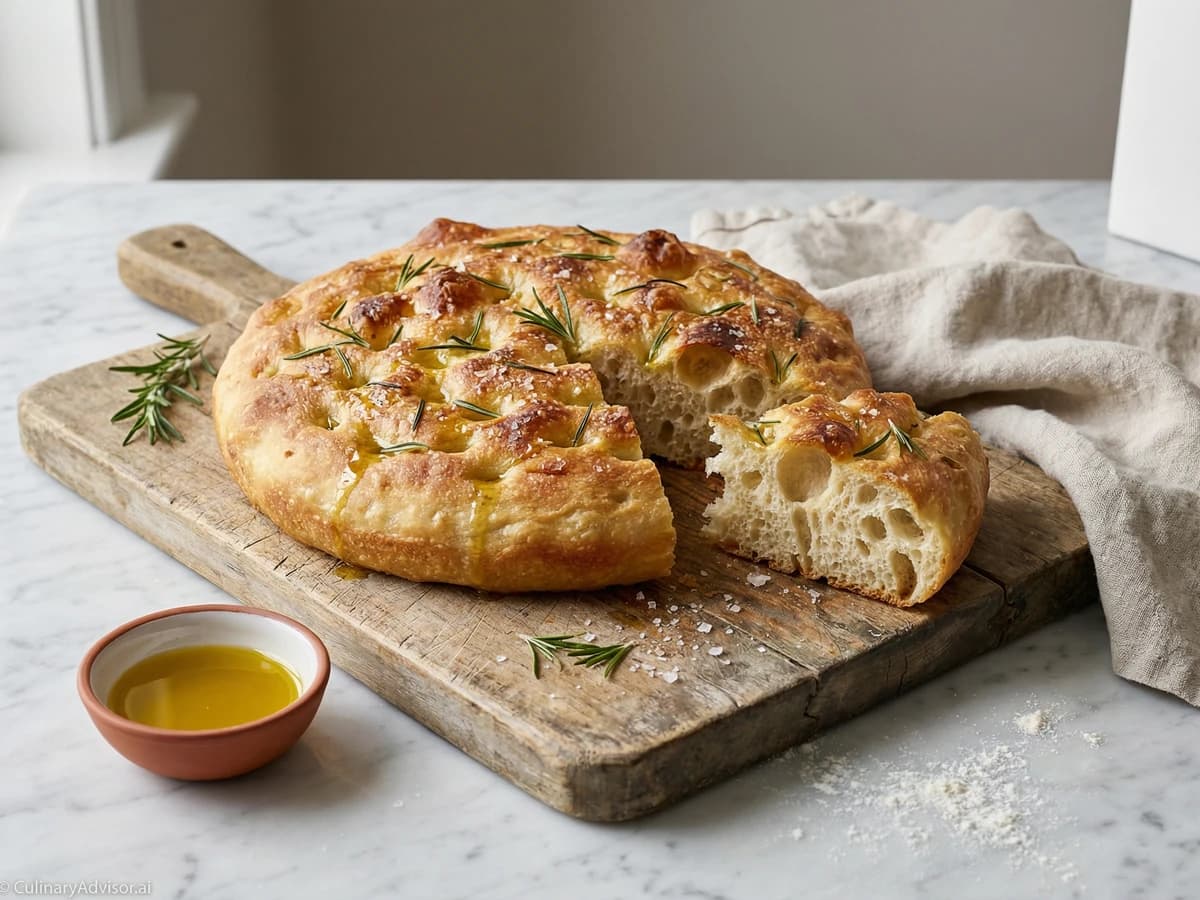
Golden-crusted Ligurian flatbread, generous with olive oil, dimpled by eager fingers, and scattered with rosemary and flaky salt. The bread that proves simplicity requires no apology.
A cooking platform built around craft, culture, and the stories behind what we eat.
Created by
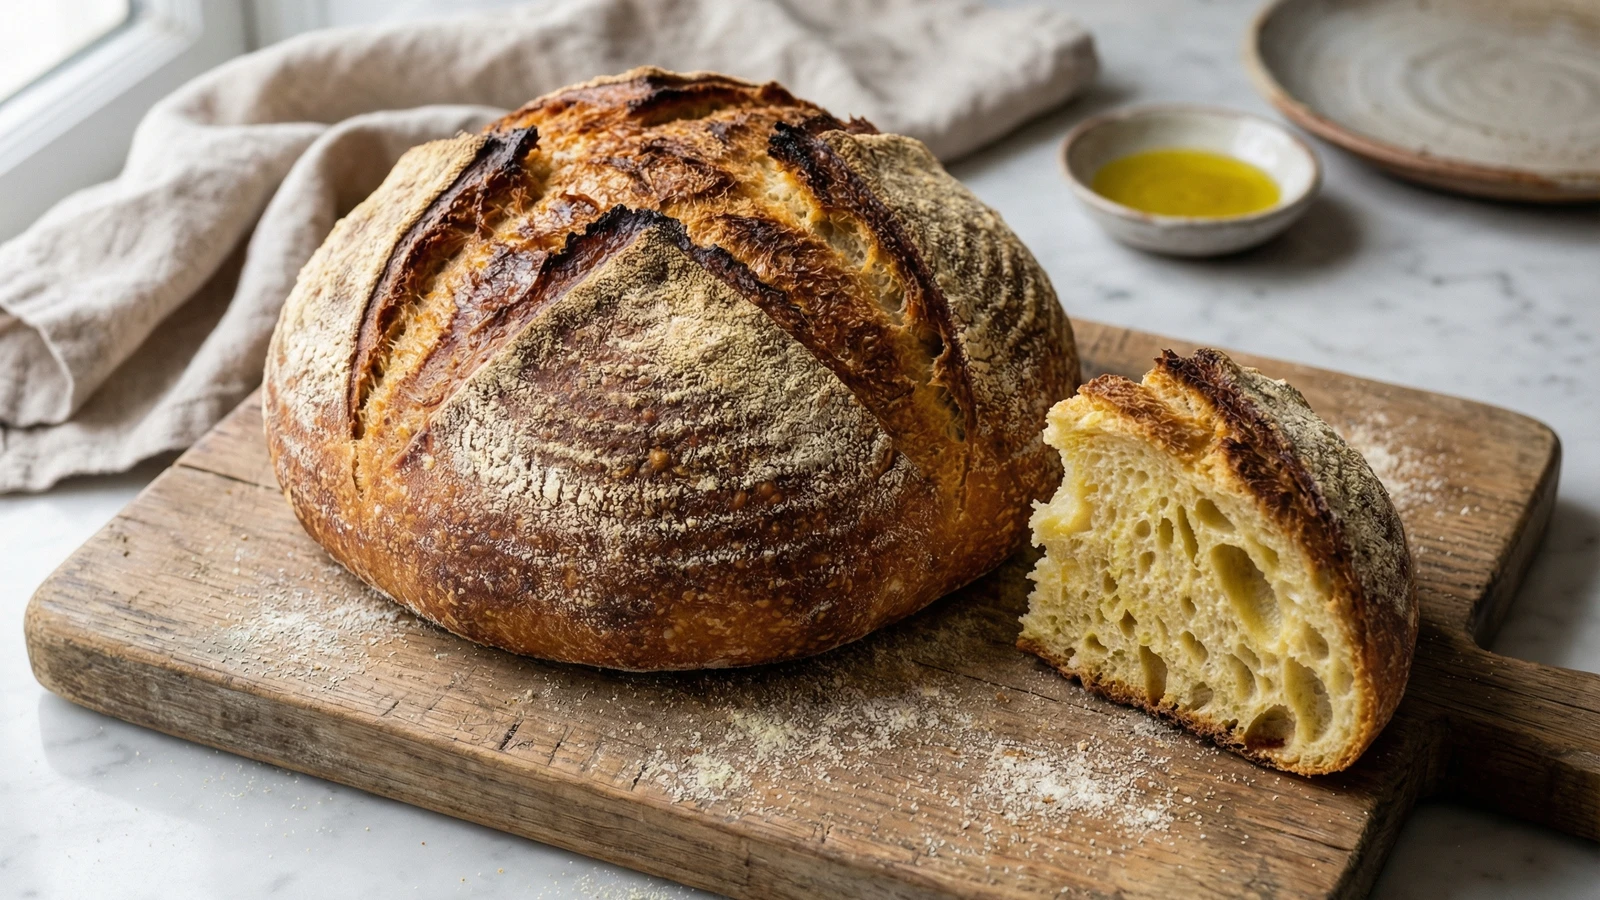
A golden-crusted loaf from Italy's sun-drenched heel, where durum wheat and high hydration create bread with a shattering crust and interior so moist it pulls apart in tender, irregular sheets.
Puglia sits at the heel of Italy's boot, a region where wheat has grown for millennia and bread remains the foundation of every meal. The Pugliese loaf reflects this heritage: golden semolina flour from local durum wheat, high hydration that creates a moist crumb, and a crust so thick it crackles when you break it. This is peasant bread in the best sense. Honest, sturdy, built to last.
What sets Pugliese apart from other Italian breads is the durum flour. Semola rimacinata, twice-milled semolina, gives the crumb its characteristic yellow tint and subtle sweetness. Mixed with bread flour, it produces a loaf with more character than pure white bread but without the density of whole wheat. The texture is open and irregular, with large holes that trap olive oil when you dip.
I've adapted this recipe for home ovens and American kitchens. The biga, a stiff pre-ferment, develops flavor over 12 to 16 hours without the complexity of maintaining a sourdough starter. You'll need a Dutch oven or covered pot to trap steam during the initial bake. This mimics the professional deck ovens of Italian bakeries. The result is a crust that shatters and a crumb that stays moist for days.
Don't rush this bread. The long fermentation builds flavor no quick method can replicate. Start your biga the night before, mix your dough in the morning, and bake by afternoon. The kitchen will smell like something worth coming home to.
Quantity
150g (1 cup plus 2 tablespoons)
Quantity
100g (scant 1/2 cup)
Quantity
1/8 teaspoon (0.5g)
Quantity
200g (1 1/3 cups)
Quantity
150g (1 cup)
Quantity
250g (1 cup plus 2 tablespoons)
Quantity
10g (2 teaspoons)
Quantity
1/4 teaspoon (1g)
Quantity
for dusting
| Ingredient | Quantity |
|---|---|
| bread flour (for biga) | 150g (1 cup plus 2 tablespoons) |
| cool water (for biga) | 100g (scant 1/2 cup) |
| instant yeast (for biga) | 1/8 teaspoon (0.5g) |
| bread flour (for dough) | 200g (1 1/3 cups) |
| semola rimacinata | 150g (1 cup) |
| warm water | 250g (1 cup plus 2 tablespoons) |
| fine sea salt | 10g (2 teaspoons) |
| instant yeast (for dough) | 1/4 teaspoon (1g) |
| rice flour or semolina | for dusting |
The night before baking, combine the bread flour, cool water, and yeast in a medium bowl. Mix with a wooden spoon until no dry flour remains. The mixture will be stiff and shaggy, almost like a rough dough. Cover tightly with plastic wrap and let ferment at room temperature (68 to 72°F) for 12 to 16 hours. When ready, the biga will have doubled, domed slightly, and smell yeasty and mildly alcoholic. You'll see bubbles across the surface.
Tear the biga into rough pieces and place in a large mixing bowl. Add the warm water and use your hands to break apart the biga until mostly dissolved. Some lumps are fine. Add both flours, the salt, and the yeast. Mix with a wooden spoon, then your hands, until a shaggy mass forms. The dough will feel wet and sticky. This is correct. Resist the urge to add flour.
Let the dough rest in the bowl, covered, for 20 minutes. This autolyse allows the flour to hydrate fully. Then perform a series of stretch and folds: wet your hand, grab one side of the dough, stretch it up and fold it over itself. Rotate the bowl 90 degrees and repeat. Do this four times to complete one round. Cover and rest 30 minutes. Repeat the stretch and fold sequence three more times, with 30 minute rests between each round. By the final round, the dough will feel smoother, more elastic, and will hold its shape better.
After the final stretch and fold, cover the bowl and let the dough rise at room temperature until roughly doubled in size, about 2 to 3 hours depending on your kitchen's warmth. The dough is ready when it looks puffy and billowy, with visible bubbles beneath the surface. When you poke it gently with a wet finger, the indent should spring back slowly, not snap back instantly or stay depressed.
Generously flour your work surface with rice flour or semolina. Gently turn the dough out, being careful to preserve the air bubbles. Flour your hands and the top of the dough. Using a bench scraper and your hands, shape the dough into a round by tucking the edges underneath, rotating as you go to build surface tension. The bottom seam doesn't need to be perfectly sealed. Transfer the shaped loaf, seam side up, into a well-floured proofing basket or a bowl lined with a floured kitchen towel. The floured top becomes the bottom; the seam becomes the top for baking.
Cover the basket loosely with plastic wrap or a damp towel. Let the dough proof at room temperature for 45 minutes to 1 hour, or refrigerate overnight for a slower rise and more complex flavor. The loaf is ready when it has visibly expanded and feels pillowy. When you press gently, the indent should spring back slowly but not completely. If it springs back quickly, proof longer. If the indent stays, you've overproofed, but the bread will still be good, just denser.
At least 45 minutes before baking, place your Dutch oven with its lid inside your oven and preheat to 475°F (245°C). The pot must be screaming hot. This trapped heat mimics the steam-injected deck ovens of professional bakeries. Without it, you won't achieve that shattering Pugliese crust.
Cut a piece of parchment paper slightly larger than your loaf. Invert the proofing basket onto the parchment so the loaf releases seam side down, flour side up. Using a sharp razor blade or serrated knife held at a 30-degree angle, score the top with a single decisive slash about 1/2 inch deep, or create a square pattern traditional to Pugliese. Don't hesitate. Confident cuts open cleanly; timid ones drag. Carefully remove the hot pot from the oven. Lift the loaf by the parchment edges and lower it into the pot. Cover with the lid.
Bake with the lid on for 25 minutes. The trapped steam allows maximum oven spring, the dramatic rise that happens in the first minutes of baking. During this phase, the crust stays flexible enough for the loaf to expand fully. Resist opening the oven to peek. Every time you open the door, you lose heat and steam.
Remove the lid and continue baking for 18 to 22 minutes until the crust turns deep golden brown, almost mahogany in the darkest spots. The loaf should sound hollow when tapped on the bottom. For the thick, crackly crust characteristic of Pugliese, don't pull the bread too early. Color equals flavor in crust. An instant-read thermometer inserted into the center should read 205 to 210°F (96 to 99°C).
Transfer the loaf to a wire rack and let it cool for at least 1 hour before slicing. This is not optional. The interior continues cooking as it cools, and cutting too soon releases steam that should be redistributing through the crumb. A prematurely cut loaf will be gummy, no matter how perfectly you baked it. Listen for the crust crackling as it cools. That sound is the reward for patience.
1 slice (about 113g)
Culinary guides, cultural storytelling, and the editorial depth that makes cooking meaningful.
Discover Culinary ExplorerChef Dean
Golden-crusted Ligurian flatbread, generous with olive oil, dimpled by eager fingers, and scattered with rosemary and flaky salt. The bread that proves simplicity requires no apology.
Chef Dean
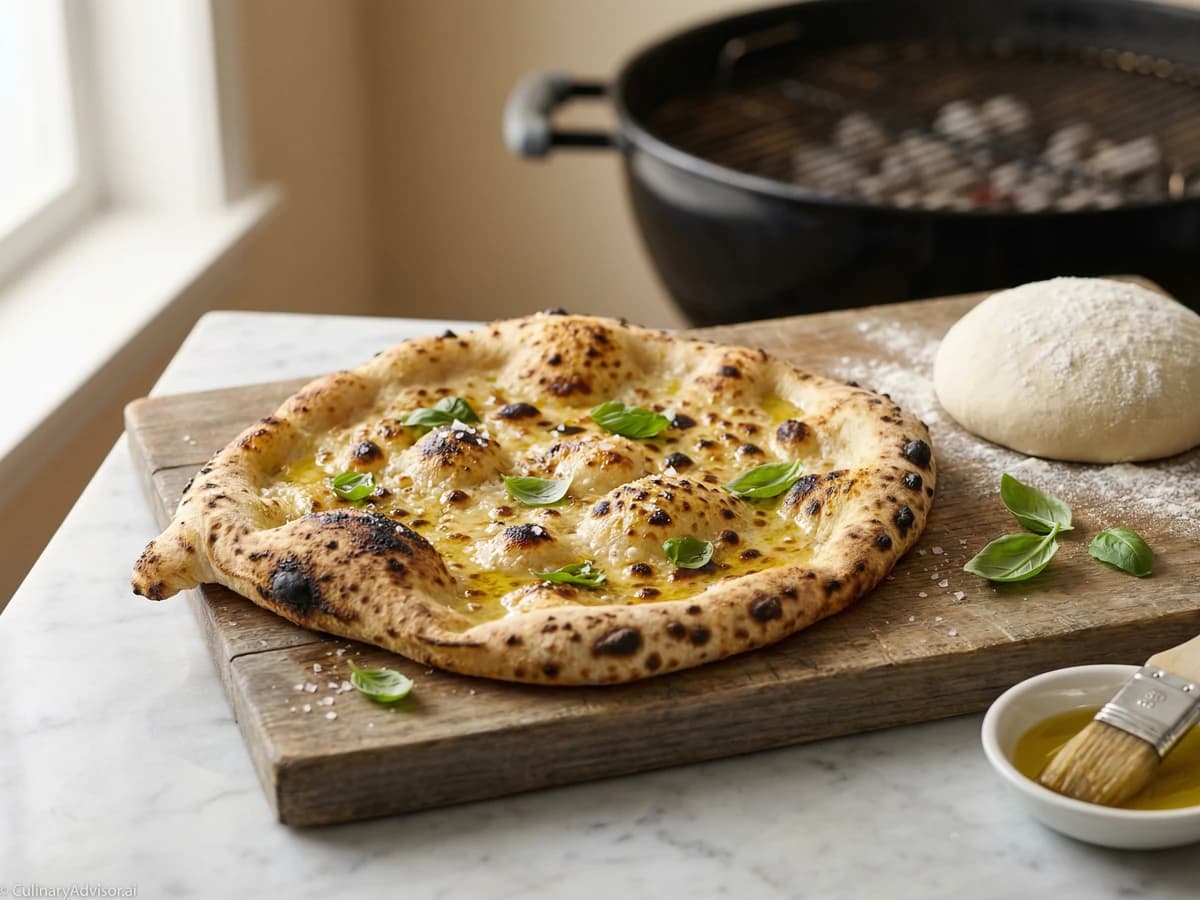
Supple, high-hydration dough stretched thin and kissed by live fire, producing the leopard-spotted char and smoky complexity that no kitchen oven can replicate. This is summer pizza.

Chef Dean
The iconic Italian slipper bread with a shattering golden crust and an interior so open and airy you could lose your car keys in there. High-hydration dough rewards patience with results no bakery can match.

Chef Dean
The legendary Milanese Christmas bread with its golden dome, butter-rich crumb, and jeweled interior of candied citrus and plump raisins. Patient fermentation rewards you with texture like sweet clouds pulled apart by eager hands.