Chef Dean
Classic Italian Focaccia
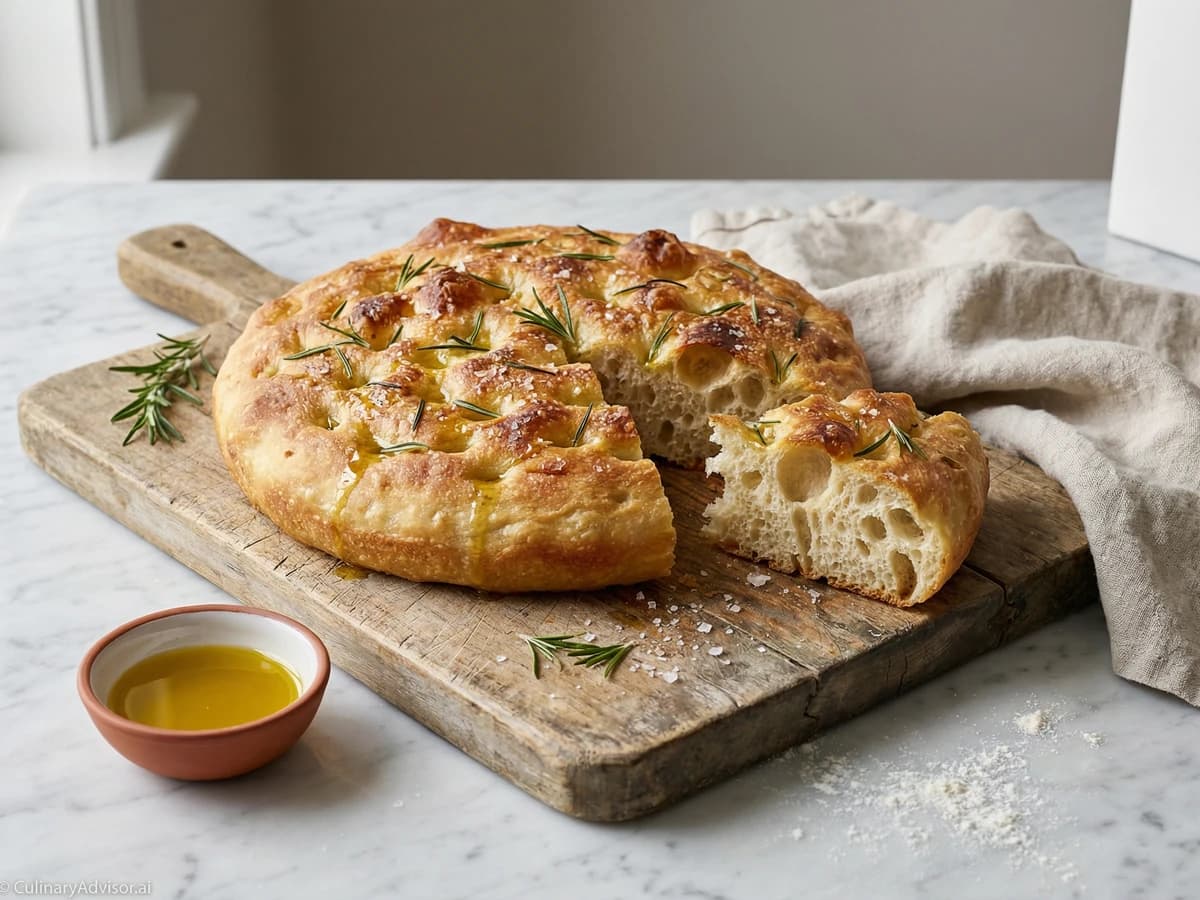
Golden-crusted Ligurian flatbread, generous with olive oil, dimpled by eager fingers, and scattered with rosemary and flaky salt. The bread that proves simplicity requires no apology.
A cooking platform built around craft, culture, and the stories behind what we eat.
Created by
A golden-crusted loaf from Puglia's high plateau, built on durum wheat semolina and slow fermentation. The crumb glows like afternoon sun. The crust shatters, then yields. This bread stays fresh for days because the old ways understood preservation.
Altamura sits on a limestone plateau in Puglia, surrounded by fields of durum wheat that have grown there since the Romans. The bread that bears its name earned protected status from the European Union in 2003, but the recipe predates such bureaucratic honors by centuries. Bakers there still fire wood-burning ovens before dawn. They shape dough by hand. They trust time more than yeast.
Durum wheat gives this bread its character. The semolina creates a crumb the color of pale gold, dense enough to hold olive oil without becoming sodden, yet tender when you chew. The crust develops thickness and depth during a long bake, forming a shell that protects the interior. A properly made loaf stays fresh on the counter for nearly a week. No plastic bag required.
I learned the bones of this technique from a baker in Matera who laughed when I asked for measurements. He worked by feel, by the way dough pulled from his hands, by the hollow sound when he thumped a finished loaf. What follows is my translation of his intuition into something a home cook can replicate. The fermentation takes time. The shaping requires practice. But the bread rewards patience with a loaf that belongs on any table, humble or grand.
You will need semola rimacinata, the re-milled durum flour that gives Altamura bread its soul. Regular semolina works in a pinch, though the texture suffers slightly. Seek out the real thing from Italian importers or well-stocked grocers. This bread deserves honest ingredients.
Quantity
150g / 1 cup plus 2 tablespoons
Quantity
100g / scant 1/2 cup
Quantity
1/4 teaspoon
Quantity
350g / 2 1/3 cups
Quantity
225g / 1 cup
Quantity
10g / 1 3/4 teaspoons
Quantity
1/4 teaspoon
Quantity
for dusting
| Ingredient | Quantity |
|---|---|
| semola rimacinata (for biga) | 150g / 1 cup plus 2 tablespoons |
| water, room temperature (for biga) | 100g / scant 1/2 cup |
| instant yeast (for biga) | 1/4 teaspoon |
| semola rimacinata (for dough) | 350g / 2 1/3 cups |
| water, warm 80-85°F (for dough) | 225g / 1 cup |
| fine sea salt | 10g / 1 3/4 teaspoons |
| instant yeast (for dough) | 1/4 teaspoon |
| semolina | for dusting |
The night before baking, combine 150g semola rimacinata with 100g room temperature water and 1/4 teaspoon instant yeast in a medium bowl. Mix with a wooden spoon until a shaggy, stiff dough forms. No smooth consistency needed here. Cover tightly with plastic wrap and leave at room temperature (65-72°F) for 12 to 16 hours. The biga is ready when it has doubled, shows a slightly domed surface with a few cracks, and smells pleasantly yeasty with a hint of tang.
Add 225g warm water to the bowl with the biga. Use your hands to break the biga into rough pieces, squeezing and stirring until it mostly dissolves into a slurry. Some lumps remain. That's fine. Add 350g semola rimacinata, 10g salt, and 1/4 teaspoon yeast. Stir with a wooden spoon until the mixture becomes too stiff to stir, then turn it onto a clean work surface.
Knead the dough firmly for 10 to 12 minutes. Durum wheat absorbs water slowly, so the dough will feel stiff and resistant at first. Push with the heel of your hand, fold, rotate, repeat. After five minutes, the texture begins to change. After ten, the dough becomes smooth, slightly tacky, and springs back when poked. The surface should look satiny, not rough. This is a firmer dough than most bread recipes produce. Trust the process.
Shape the dough into a ball and place it in a lightly oiled bowl, turning once to coat. Cover with plastic wrap or a damp kitchen towel. Let rise at room temperature until doubled in size, about 2 to 3 hours depending on your kitchen temperature. The dough is ready when a floured finger pressed half an inch into the surface leaves an indentation that slowly springs back halfway.
Turn the risen dough onto a lightly floured surface. Press gently to deflate, then fold the edges toward the center like an envelope: bottom third up, top third down, left side over, right side over. Flip the dough seam-side down. Cup your hands around the dough and drag it toward you on the work surface, using the friction to tighten the ball and create surface tension. The skin should feel taut. Rotate and repeat until the loaf holds a proud round shape.
Dust a sheet of parchment paper generously with semolina. Place the shaped loaf seam-side down on the parchment. Dust the top lightly with more semolina. Cover loosely with a clean kitchen towel and let rise until the dough has increased by half its size and feels pillowy when gently pressed, about 1 to 1 1/2 hours. The surface should hold a slight indentation without springing back aggressively.
One hour before baking, position a rack in the lower third of your oven. Place a Dutch oven with its lid inside, or set a baking stone on the rack with an empty cast iron skillet on the rack below. Heat to 475°F. The thermal mass needs time to saturate with heat. Don't rush this step. A properly heated vessel or stone makes the difference between good crust and great crust.
Using a sharp knife or razor blade held at a 45-degree angle, slash a cross pattern into the top of the loaf, cutting about half an inch deep. The cuts should be decisive, not tentative. If using a Dutch oven, carefully remove the lid, lift the loaf by the parchment edges, and lower it inside. Replace the lid immediately. If using a stone, slide the loaf (still on parchment) onto the stone and pour one cup of hot water into the skillet below. Close the oven door quickly to trap steam.
Bake covered (or with steam) for 25 minutes. The steam allows the crust to stay flexible while the loaf expands, producing the characteristic 'ears' where your scores open dramatically. After 25 minutes, remove the Dutch oven lid or open the oven door briefly to release remaining steam.
Reduce oven temperature to 425°F. Continue baking uncovered for 20 to 25 minutes more, until the crust turns deep amber and the loaf sounds distinctly hollow when you thump its bottom. The internal temperature should register 205-210°F on an instant-read thermometer. Don't pull it early. Altamura bread requires a thick, well-developed crust for proper texture and keeping quality.
Transfer the loaf to a wire rack and resist all temptation to cut into it for at least two hours. Three is better. The interior continues cooking as residual heat redistributes. Cutting too soon releases steam that should remain trapped, leaving you with a gummy crumb. Listen to the crust crackle as it cools. That sound means you've done it right.
1 serving (about 115g)
Culinary guides, cultural storytelling, and the editorial depth that makes cooking meaningful.
Discover Culinary ExplorerChef Dean
Golden-crusted Ligurian flatbread, generous with olive oil, dimpled by eager fingers, and scattered with rosemary and flaky salt. The bread that proves simplicity requires no apology.
Chef Dean
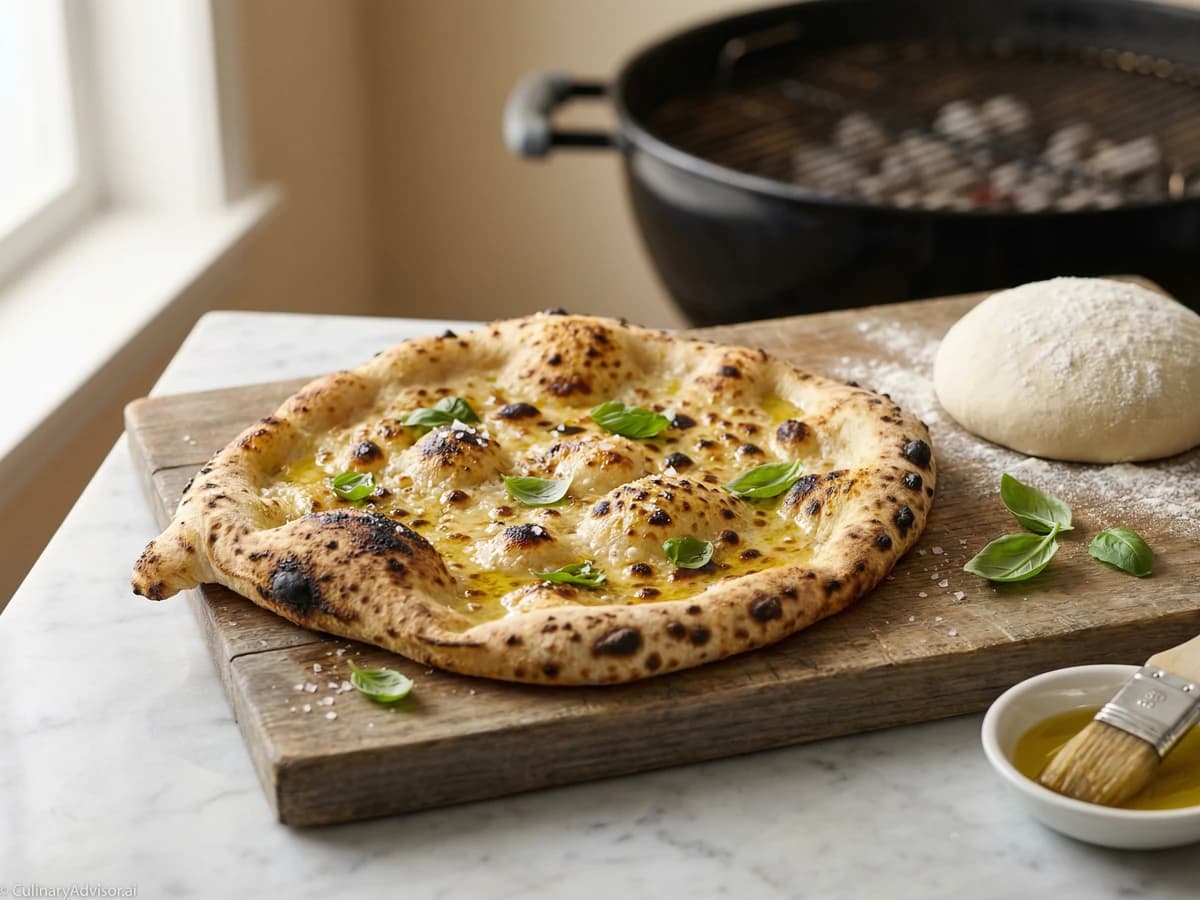
Supple, high-hydration dough stretched thin and kissed by live fire, producing the leopard-spotted char and smoky complexity that no kitchen oven can replicate. This is summer pizza.

Chef Dean
The iconic Italian slipper bread with a shattering golden crust and an interior so open and airy you could lose your car keys in there. High-hydration dough rewards patience with results no bakery can match.

Chef Dean
The legendary Milanese Christmas bread with its golden dome, butter-rich crumb, and jeweled interior of candied citrus and plump raisins. Patient fermentation rewards you with texture like sweet clouds pulled apart by eager hands.