
Chef Juliette
Flan aux Carottes
A pale short-paste shell holds silken, lightly sweet carrot purée beneath neat glazed half-discs, their butter syrup catching the light: a classical tart poised between vegetable course and sweet.
A cooking platform built around craft, culture, and the stories behind what we eat.
Created by Chef Juliette
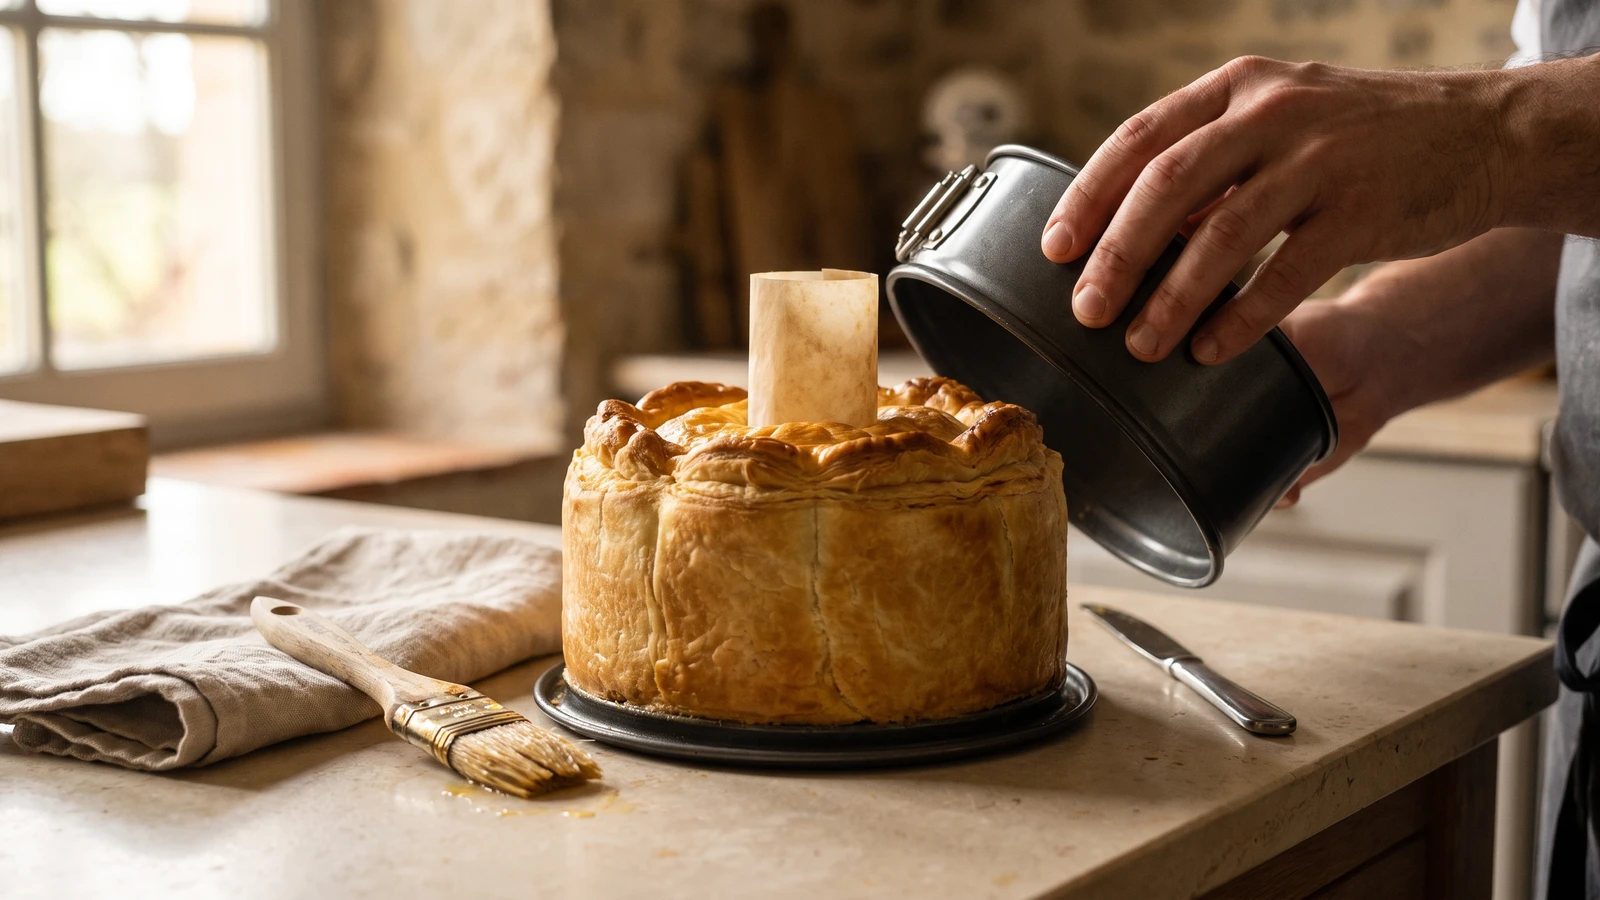
Based on No. 2396, The Lining and Covering of Raised and Dressed Pies, from Le Guide Culinaire (1907) by Auguste Escoffier
Build a pâté dressé from the inside out: a half-inch skullcap liner, a sealed inner lid, and a gilded crown of pâte feuilletée or overlapping leaves, all protected by one open vent.
Fonçage et couverture des pâtés dressés (lining and covering raised pies) teaches that a raised crust is architecture before it is ornament. The half-inch pâte à pâté skullcap carries the filling, the thin first lid seals it, and pâte feuilletée (puff paste) or overlapping leaves make the crown. One thing decides whether all that work survives the oven: the vent must remain open. Trapped pressure finds a seam and tears it.
The original instruction assumed dedicated oval and round pie moulds, a broad pastry bench, and enough hands to repeat the decoration at banquet scale. Here it becomes one 15 cm round pie in a deep springform pan, with the vague "somewhat thin" lid measured at 4 mm and a parchment chimney keeping the opening clear. The scale and tools changed because one cook needs control; the 13 mm liner, sealed crest, gilded cover, and open vent did not. Those are the dish. Multiple pies and elaborate ranks of ornament were brigade scaffolding, so they can go.
Keep the paste cool enough to hold its thickness, yet pliable enough to take the mould without cracking. If a seam opens while you line it, patch it before filling. Ça se rattrape. Once the cover is on, cut the chimney cleanly through both layers and protect that opening as if supper depends on it, because it does. One cook, one stove, one evening.
Pâtés dressés belong to the French charcuterie and garde-manger tradition, with especially visible homes in Lyonnais charcuterie shops and the traiteur counters of Paris. The stout crust served as both cooking vessel and protective casing, while grand-kitchen pastry work turned its cover into a display of puff paste, veined leaves, and graduated roundels. The ornament does not seal the filling, as is often supposed; the thin first lid does that work, while the decorated cover crowns it and the open chimney protects the whole structure.
Quantity
1 tablespoon (15 ml / 14 g)
softened, for the mould
Quantity
¼ cup (60 ml / 30 g)
for dusting
Quantity
about 5 cups (1.2 L / 1.4 kg)
chilled but pliable, for the skullcap and sealing lid
Quantity
about 3 cups (710 ml / 750 g)
cold, seasoned and mixed according to its own recipe
Quantity
2 tablespoons (30 ml / 30 g)
for moistening the seams
Quantity
about 1⅓ cups by displacement (315 ml / 250 g)
chilled, for Option A
Quantity
about 1¼ cups by displacement (300 ml / 350 g)
chilled, for the leaf cover in Option B
Quantity
1
beaten, for gilding
| Ingredient | Quantity |
|---|---|
| unsalted buttersoftened, for the mould | 1 tablespoon (15 ml / 14 g) |
| plain flourfor dusting | ¼ cup (60 ml / 30 g) |
| prepared pâte à pâtéchilled but pliable, for the skullcap and sealing lid | about 5 cups (1.2 L / 1.4 kg) |
| raw forcemeat fillingcold, seasoned and mixed according to its own recipe | about 3 cups (710 ml / 750 g) |
| cold waterfor moistening the seams | 2 tablespoons (30 ml / 30 g) |
| prepared all-butter pâte feuilletée (optional)chilled, for Option A | about 1⅓ cups by displacement (315 ml / 250 g) |
| additional pâte à pâté (optional)chilled, for the leaf cover in Option B | about 1¼ cups by displacement (300 ml / 350 g) |
| large eggbeaten, for gilding | 1 |
Butter the base, sides, and springform seam of a 15 cm round mould at least 8 cm deep. Reserve about 200 g of the pâte à pâté for the sealing lid, then roll the remainder on a lightly floured surface into a 30 to 32 cm round exactly 13 mm thick. Work from the centre and turn the paste often without stretching it. This stout thickness is deliberate; tart-shell thinness cannot support a raised pie.
Sprinkle both faces of the paste lightly with flour and fold it loosely in half for lifting, without pressing a crease into it. Open it over cupped hands and let the centre settle into a broad skullcap, then lower the rounded centre into the buttered mould. Press it against the base and walls with your knuckles, easing the folds apart instead of pulling downward from the rim. Keep the liner uniformly thick, with no trapped air at the base. If the paste cracks, moisten a piece of fresh pâte à pâté, press it over the break, and smooth the edges firmly. Ça se rattrape.
Pack the cold raw forcemeat into the lined mould, pressing firmly enough to remove air pockets and stopping about 6 mm below the rim. Roll the reserved pâte à pâté to 4 mm thick and cut a round matching the inside of the pie. Moisten the exposed liner edge with cold water, lay on the thin lid, and press the two pastes together until no seam remains. Trim away the superfluous crest so it stands even and neat, then pinch it alternately inward and outward. Wipe away any filling caught in the join; fat on the seam prevents a sound seal.
For Option A, roll the chilled pâte feuilletée to 8 mm thick, the source's one-third inch, and cut it to fit just inside the pinched crest. Moisten the sealing lid very lightly and drop the pâte feuilletée into place without stretching or pressing out its layers. Keep its cut edge clean so it can rise. Continue to Step 6.
For Option B, roll the additional pâte à pâté about 3 mm thick. Stamp rounds with a 3 to 5 cm cutter, or cut simple leaves with a knife, then mark veins using the back of the blade without cutting through. Lightly moisten the sealing lid and arrange the leaves in overlapping, superposed rows, beginning at the outer edge and working toward the centre. Stack three or four indented roundels on top, graduated from largest to smallest, and cut a 12 mm hole through the centre of every roundel so the openings align.
Gild the cover, meaning brush it evenly with beaten egg, including the pinched crest but not the cut edge of the pâte feuilletée. For the puff cover, streak shallow curves into the gilded surface with the back of a knife. Cut a clean 12 mm central slit through both the decorative cover and the sealing lid, then insert a short rolled-parchment chimney. For the leaf cover, pass the chimney through the aligned roundels and the lid beneath. Look straight through it before baking. The vent must be open from filling to oven air.
Chill the assembled pie for 30 minutes while the oven heats to 180°C conventional, 160°C fan, or 350°F, with a heavy baking sheet on the lower-middle rack. Set the mould on the heated sheet and bake for 75 to 90 minutes, until the crust is deeply golden and the centre of a pork or veal forcemeat reaches 72°C or 162°F. Poultry forcemeat must reach 74°C or 165°F. If the crown darkens before the filling is ready, cover it loosely with foil. Check the chimney after 20 minutes; if paste has closed it, remove the tray and reopen the passage with a long skewer. If a seam starts to split, cover the fissure with a small leaf of chilled paste, gild it, and continue baking. Ça se rattrape.
Rest the pie in its mould for 45 minutes so the crust and filling settle. Run a thin knife around the upper edge only where necessary, release the springform collar, and transfer the pâté dressé on its base to the table. Cut through the crown first with a small serrated knife, then slice the filling with a long sharp blade. Serve warm, or cool and chill for firm slices. The crust should stand tall, the cover should remain intact, and the chimney should still be plainly open. À table!
1 serving (about 545g)
Culinary guides, cultural storytelling, and the editorial depth that makes cooking meaningful.
Discover Culinary ExplorerChef Juliette
A pale short-paste shell holds silken, lightly sweet carrot purée beneath neat glazed half-discs, their butter syrup catching the light: a classical tart poised between vegetable course and sweet.
Chef Juliette
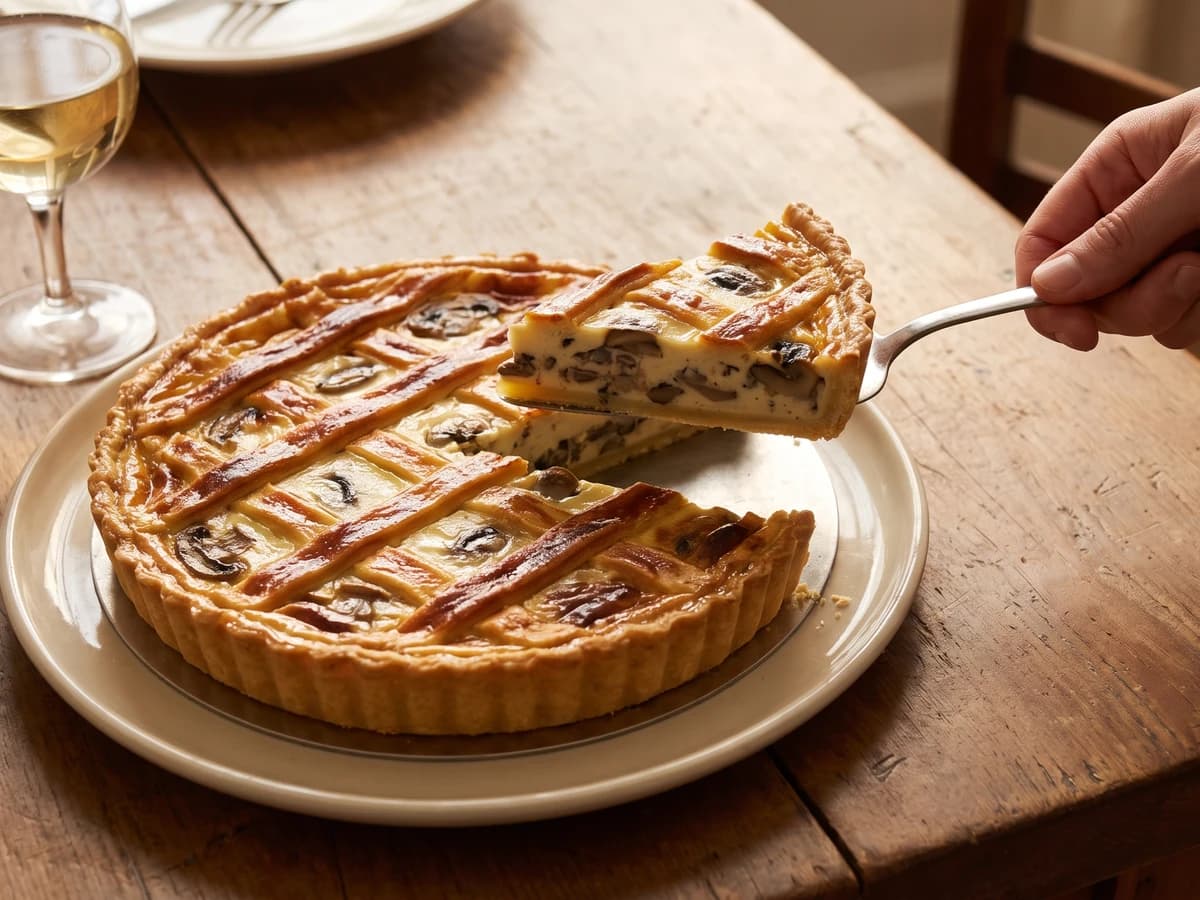
A hot mushroom flan under a butter-gold lattice, with cream reduced close around barely opened caps and a crisp short-paste base protected by one discipline: cool the filling completely.

Chef Juliette
Four little mushroom flans, latticed and gilded, baked hard and fast until butter-gold: a classical garnish scaled to the meat it accompanies and served before its crispness has time to fade.
Chef Juliette
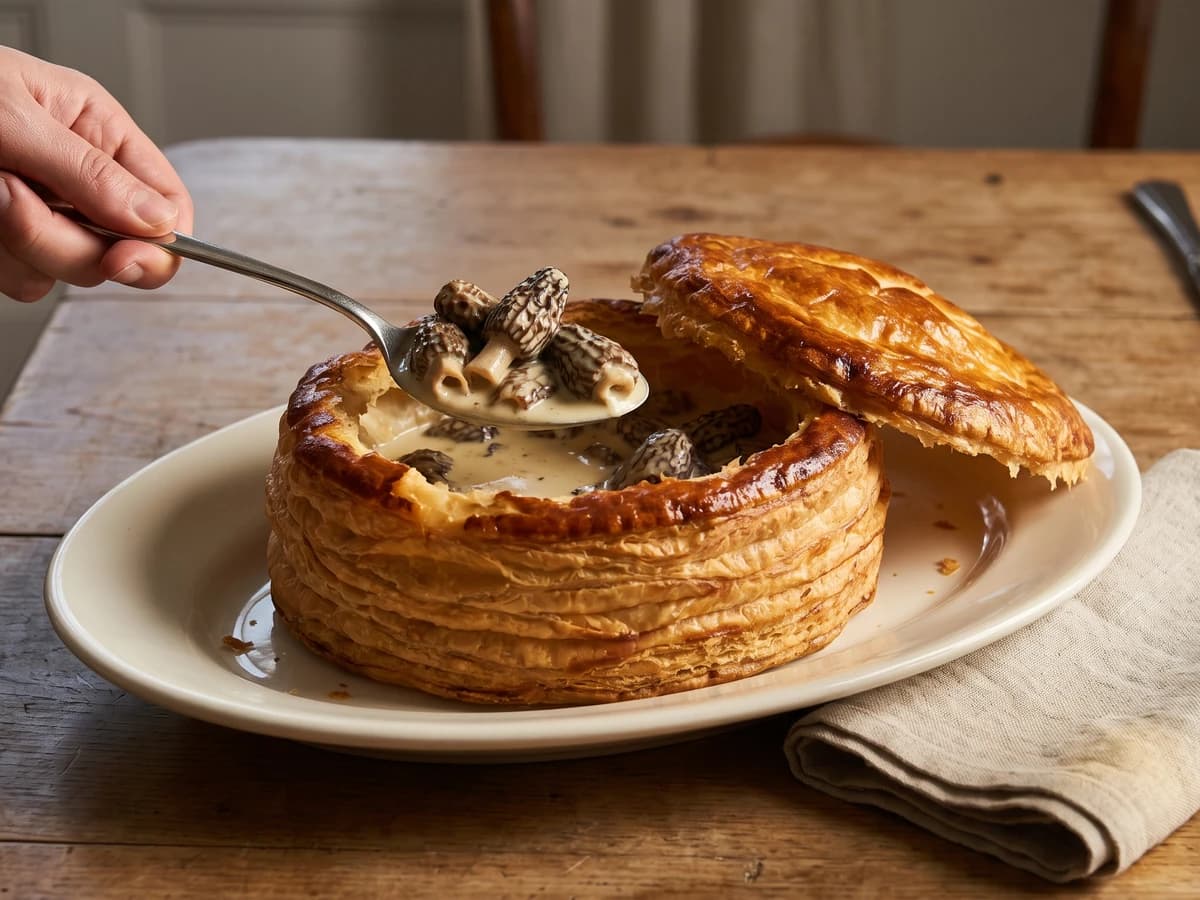
Morels surrender their liquor, then take it back as a glossy cream-and-butter sauce inside burnished puff pastry. The lesson is simple and absolute: reduce with patience, then heat gently and never boil.