
Chef Juliette
Flan aux Carottes
A pale short-paste shell holds silken, lightly sweet carrot purée beneath neat glazed half-discs, their butter syrup catching the light: a classical tart poised between vegetable course and sweet.
A cooking platform built around craft, culture, and the stories behind what we eat.

Created by Chef Juliette
Based on No. 2394, Timbale Crust, from Le Guide Culinaire (1907) by Auguste Escoffier
A burnished croûte de timbale rises from one mould with patterned sides, a pinched crest, and a leafed lid, teaching the quiet pastry architecture that keeps a hollow shell whole and crisp.
The croûte de timbale teaches pastry architecture: a short paste can become a freestanding vessel if its wall is even, its weight rises above the rim, and its interior is dried after the first bake. The one true thing to know before you touch the dough is that a crease becomes a fault line. Keep the skullcap smooth and one-third inch thick, and the shell will stand.
The source formula assumed a dedicated pâtisserie station, a Charlotte mould, short paste and pâte à nouilles trimmings already waiting, paste pincers, grooved cutters, a bin of dried pulses, and a drying box beside the oven. At home, one 5½-inch metal mould, a small fresh batch of decorating paste, common cutters, your fingertips, and a low oven do the same honest work for four. The elaborate side motifs are brigade scaffolding and may be simple; the domed weighting, sealed crest, leafed cover, and second gild inside are the dish, so they stay. One cook, one stove, one evening.
Finished, the timbale is butter-gold and imposing without being fussy, its patterned wall holding straight beneath a deep crest while the leafed cover lifts to reveal a dry, gilded hollow ready for filling. Lower the folded pastry disc into the mould without stretching or creasing it. That is the step to give your full attention.
The croûte de timbale belongs not to a regional farmhouse but to the pâtisserie station of French grande cuisine, centered in Paris and carried through formal dining rooms across France. The timbale mould borrowed its name and upright silhouette from a small drum, and pâtissiers turned its crust into both a vessel and an ornament for prepared fillings. The leafed dome is not a second crust enclosing the filling: it is a removable cover baked over dry pulses, while the empty shell receives a second gilding inside so it remains crisp.
Quantity
4¼ cups (1,005 ml / 510 g)
Quantity
1⅓ cups (315 ml / 300 g)
cubed
Quantity
1½ teaspoons (7.5 ml / 9 g)
Quantity
2
Quantity
Up to ⅓ cup (80 ml / 80 g)
added only as needed
Quantity
½ cup (120 ml / 60 g)
Quantity
1 teaspoon (5 ml / 3 g)
Quantity
1
Quantity
2 teaspoons (10 ml / 10 g)
Quantity
3 tablespoons (45 ml / 42 g)
softened
Quantity
2 tablespoons (30 ml / 16 g)
Quantity
1 tablespoon (15 ml / 15 g)
Quantity
6 cups (1.4 L / 1.1 kg)
Quantity
2
beaten
| Ingredient | Quantity |
|---|---|
| all-purpose flour, for the pâte brisée | 4¼ cups (1,005 ml / 510 g) |
| cold unsalted buttercubed | 1⅓ cups (315 ml / 300 g) |
| fine sea salt | 1½ teaspoons (7.5 ml / 9 g) |
| large eggs | 2 |
| ice wateradded only as needed | Up to ⅓ cup (80 ml / 80 g) |
| all-purpose flour, for the pâte à nouilles decorations | ½ cup (120 ml / 60 g) |
| powdered sugar | 1 teaspoon (5 ml / 3 g) |
| large egg yolk | 1 |
| cold water, for the pâte à nouilles | 2 teaspoons (10 ml / 10 g) |
| unsalted butter, for the mould and parchmentsoftened | 3 tablespoons (45 ml / 42 g) |
| all-purpose flour, for rolling | 2 tablespoons (30 ml / 16 g) |
| cold water, for sealing the crust | 1 tablespoon (15 ml / 15 g) |
| dried split peas or lentils, for weighting | 6 cups (1.4 L / 1.1 kg) |
| large eggs, for gildingbeaten | 2 |
Whisk the 4¼ cups (1,005 ml / 510 g) flour with the salt. Rub in the cold butter with your fingertips, or cut it in with a pastry blender, until the mixture resembles coarse crumbs with a few flat flakes of butter remaining. Beat the 2 eggs with 3 tablespoons (45 ml / 45 g) of the ice water, work this into the flour, and add more ice water a teaspoon at a time only until the dough holds when pressed. Bring it together without kneading, flatten it into a thick disc, wrap, and chill for 45 minutes. If it crumbles after a firm squeeze, add another teaspoon of water; if it feels greasy or slack, stop handling it and chill it. Ça se rattrape.
Mix the ½ cup (120 ml / 60 g) flour with the powdered sugar. Add the egg yolk and enough of the 2 teaspoons (10 ml / 10 g) cold water to form a very firm dough, then knead briefly until smooth. This is pâte à nouilles, a stiff egg paste that holds fine relief against the mould. Wrap it and rest it for 20 minutes. If its edges crack when rolled, knead in water one drop at a time; it should become pliable, never sticky.
Coat the base and sides of a 5½-inch (14-cm) wide, 3½-inch (9-cm) high metal Charlotte mould generously with about one-third of the softened butter. Roll the pâte à nouilles about 1⁄16 inch (1.5 mm) thick and cut leaves, diamonds, scrolls, or one simple repeating design. Press the smooth face of each piece against the buttered inner wall, where it will become the timbale's exterior decoration. The powdered sugar encourages deeper colour, but there is too little to make the crust sweet. Chill the decorated mould for 10 minutes so the pattern stays in place.
Reserve about one-fifth of the pâte brisée for the lid, leaves, and repairs. On a lightly floured surface, roll the larger piece into a disc about 13 inches (33 cm) across and an even ⅓ inch (8 mm) thick. Sprinkle the surface lightly with flour, fold the disc in half without pressing a crease, then draw the two ends gently toward the centre until the dough cups like a loose skullcap. Lower it into the mould and open it carefully against the base and sides. Press it into the shape of the mould without stretching, keeping the wall evenly thick, then trim it level with the rim and add the trimmings to the reserved dough. If a thin place or small tear appears, feather a patch of raw pastry over it with a damp fingertip. Keep one walnut-sized scrap chilled for later repair.
Butter a parchment circle and a strip long enough to line the pastry shell, then fit them inside with the buttered surface against the dough. Fill the shell with the dried split peas or lentils, shaking the mould gently so they settle into the bottom and sides. Continue adding pulses until they rise in a smooth dome about 1 inch (2.5 cm) above the rim. Cover the mound with a buttered round of parchment, buttered side facing upward. The raised weight is structural: it supports the cover and keeps the thick shell pressed firmly against its mould.
Combine the reserved pâte brisée with the clean trimmings. If it springs back under the pin, rest it in the cold for 10 minutes, then roll it ⅕ inch (5 mm) thick and cut a round about 7½ inches (19 cm) across. Moisten the inner edge of the lined shell sparingly with the sealing water. Lay the round over the parchment-covered mound and press it firmly onto the shell, pinching the joined pastry between your fingers to form a crest extending ½ inch (1.25 cm) beyond the mould all around. Crimp the crest inside and out with paste pincers, or use your thumb and forefinger followed by the blunt back of a small knife. If the lid cracks, patch it with thin pastry rather than stretching the surrounding dough.
Roll the remaining short pastry very thin, about 1⁄16 inch (1.5 mm). Cut small leaves with a fluted oval or round cutter, or cut triangles and pinch them into leaf shapes. Mark veins with the back of a knife and arrange the leaves in overlapping, superposed rows across the dome. Cut 3 fluted roundels with a second round cutter, pierce a neat hole through the centre of each, and arrange them at the crown. The exact ornament is pâtisserie scaffolding, so a few orderly rows are enough; the thinness and secure overlap matter more than flourishes. Chill the assembled timbale for 20 minutes while the oven heats to 350°F (180°C), or 325°F (165°C) with a fan.
Set the mould on a rimmed baking sheet. Gild the visible lid, leaves, roundels, and crest with a thin, even coating of beaten egg. To gild is to brush with beaten egg so the pastry takes a golden sheen under heat. Keep the brush out of the crevices, because pooled egg blurs the leaf veins and glues delicate edges together. Bake on the lower-middle rack for 55 to 65 minutes, turning once if the oven colours unevenly, until the leafed dome and crest are deep butter-gold and firm. If the leaf tips darken too quickly, lay a loose sheet of foil over the dome after the first 40 minutes.
Reduce the oven to 300°F (150°C). With the timbale still in its mould, trace the inner edge of the crest with a thin knife and lift off the leafed cover in one piece. Save it for service. Spoon the hot pulses carefully into a heatproof bowl, then remove every piece of parchment. Brush the bare interior with a thin coat of beaten egg, taking it fully into the corners without leaving a puddle on the base. If emptying reveals a hairline crack, soften the reserved raw pastry with a drop of water, press a thin smear into the crack, and gild over it. Ça se rattrape. Return the uncovered shell to the oven for 15 to 20 minutes, until the interior is firm, dry, and evenly golden. This low oven is the home equivalent of the drying box, and this second gilding is what keeps a later filling from immediately softening the crust.
Rest the timbale in its mould for 10 minutes, then loosen only the projecting crest with a thin knife. Place a board over the opening, invert the mould, and lift it away slowly. Use a second board to turn the shell upright without gripping its decorated sides. Cool it completely on a rack before filling, and keep the leafed cover separate until the moment it returns to the table. A warm shell traps moisture and loses the crisp interior you worked to build. Fill it shortly before serving, replace the cover, and carry it whole to the table. À table!
1 serving (about 240g)
Culinary guides, cultural storytelling, and the editorial depth that makes cooking meaningful.
Discover Culinary ExplorerChef Juliette
A pale short-paste shell holds silken, lightly sweet carrot purée beneath neat glazed half-discs, their butter syrup catching the light: a classical tart poised between vegetable course and sweet.
Chef Juliette
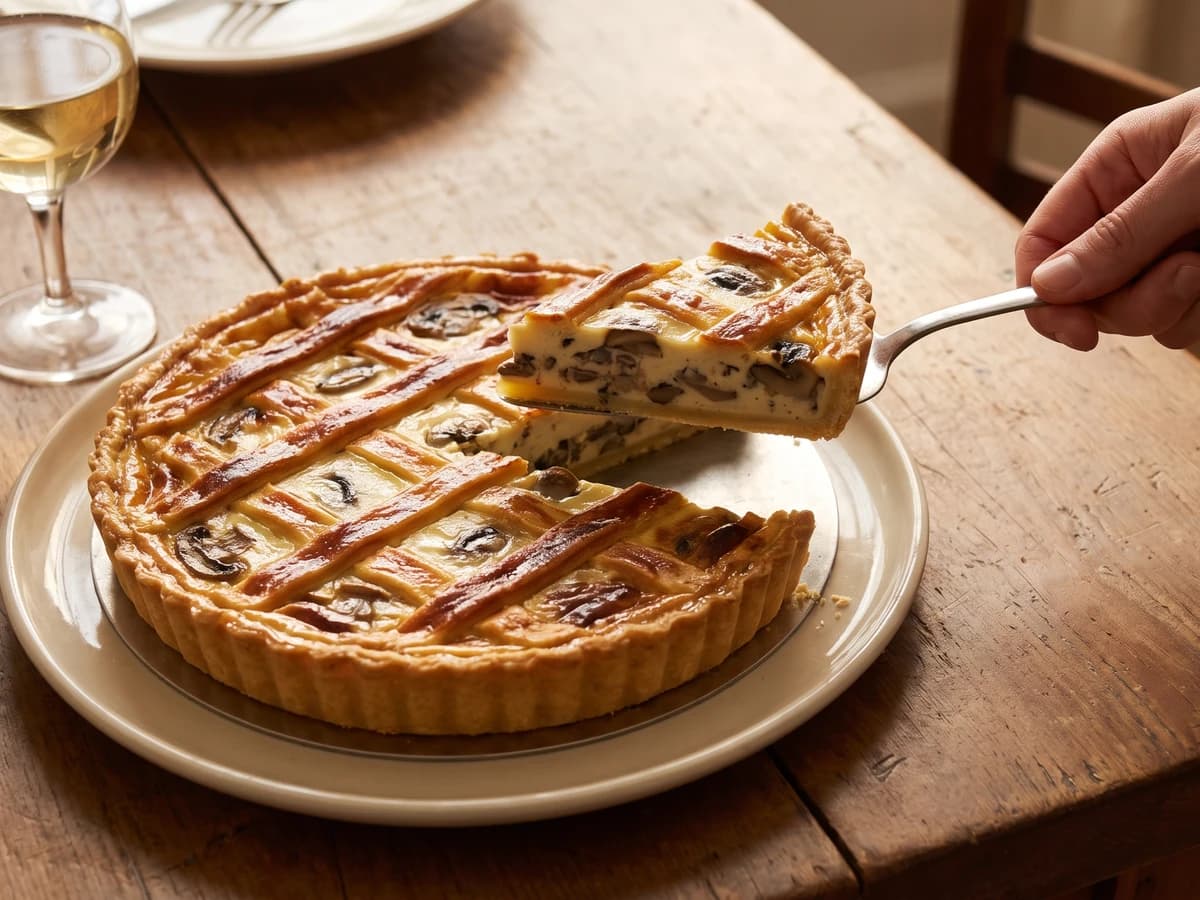
A hot mushroom flan under a butter-gold lattice, with cream reduced close around barely opened caps and a crisp short-paste base protected by one discipline: cool the filling completely.

Chef Juliette
Four little mushroom flans, latticed and gilded, baked hard and fast until butter-gold: a classical garnish scaled to the meat it accompanies and served before its crispness has time to fade.
Chef Juliette
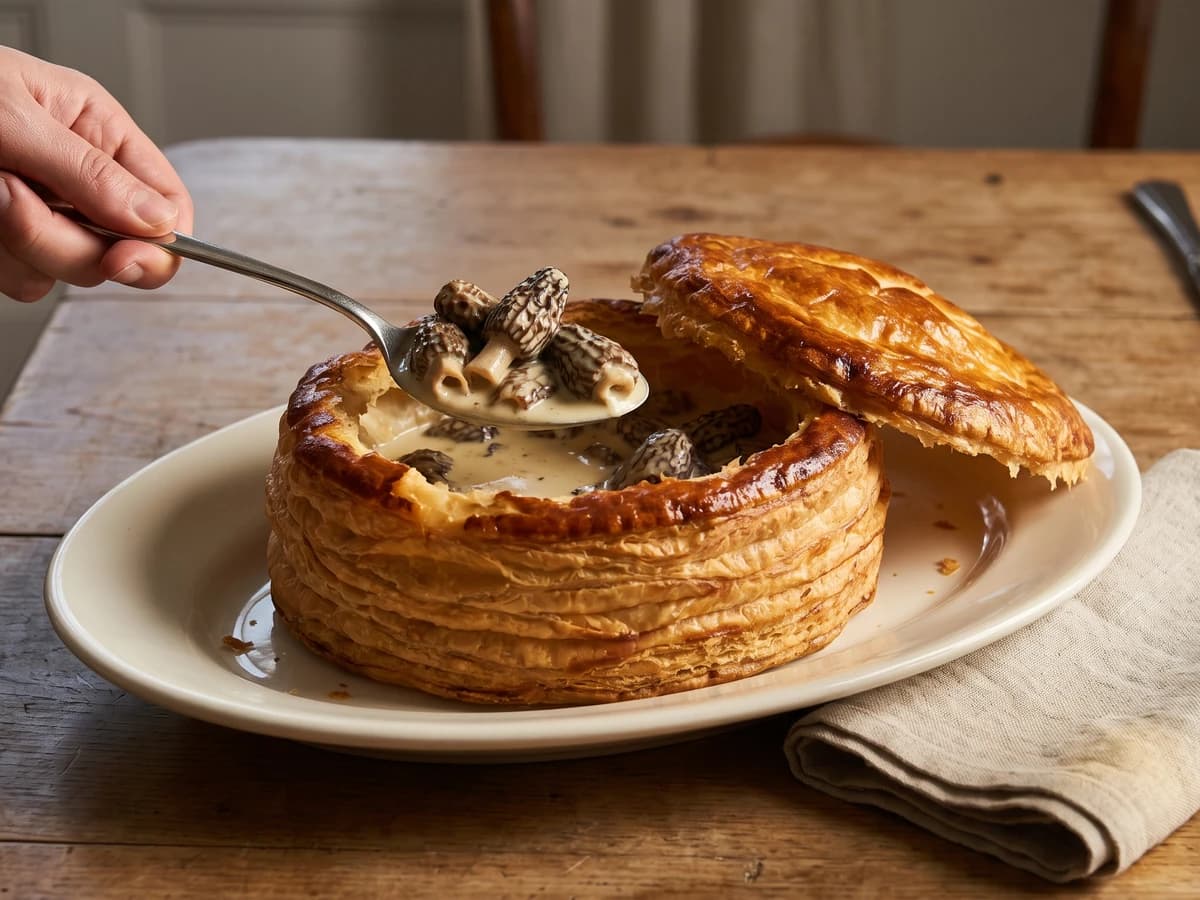
Morels surrender their liquor, then take it back as a glossy cream-and-butter sauce inside burnished puff pastry. The lesson is simple and absolute: reduce with patience, then heat gently and never boil.