
Chef Takumi
Agar Jelly with Anko and Fruit (あんみつ, Anmitsu)
Anmitsu looks like a tray of small tasks, but the work is calm: dissolve the kanten fully, chill the pieces clean, then let fruit, anko, and kuromitsu do the speaking.
A cooking platform built around craft, culture, and the stories behind what we eat.
Created by
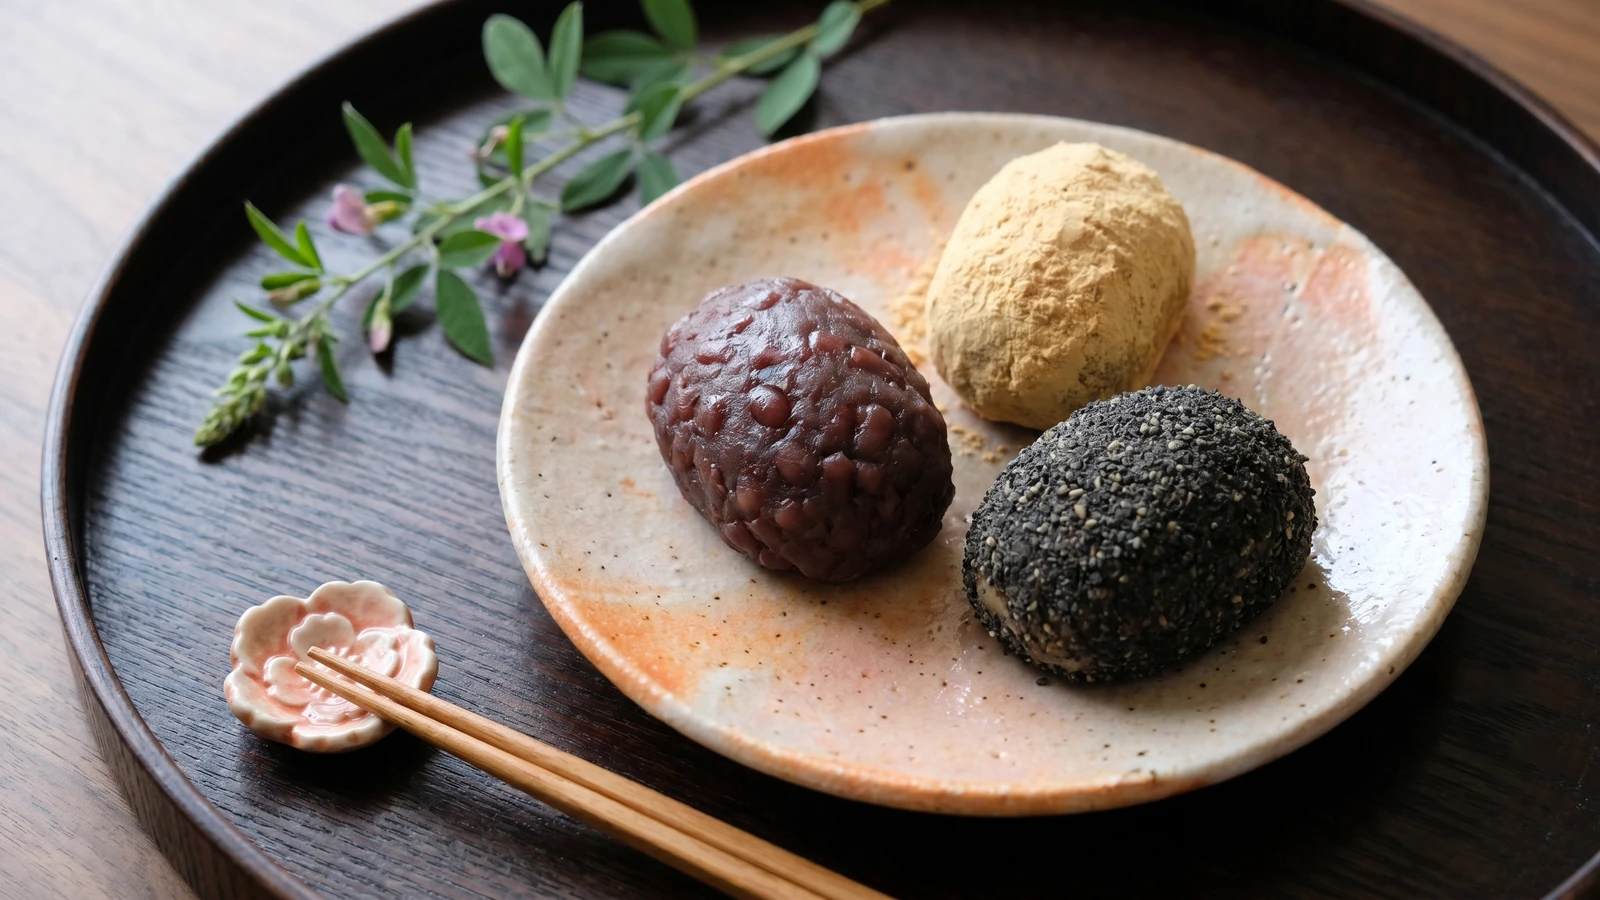
Two names, one humble sweet: half-pounded rice, sweet azuki, and the season deciding whether we call it botamochi or ohagi.
Rice changes character under the pestle. Not fully pounded into mochi, not left as plain rice, it sits in the middle: tender, sticky, and still a little grainy under the teeth. That half-pounded texture is the heart of ohagi and botamochi, and it is easier than people make it sound. You are not making festival mochi. No one needs to swing a mallet in the courtyard like a heroic fool.
The one detail that decides the dish is moisture. Cook the rice soft enough to crush, keep your hands damp so it doesn't cling to you, and make the anko firm enough to hold around it. If the bean paste is too loose, the sweet slumps. If the rice is too dry, it resists the hand and tastes dull. Good ohagi has a quiet chew, a clean sweetness, and the plain comfort of rice doing most of the work.
We eat these around higan, the weeks of the spring and autumn equinoxes, when families visit graves and the season turns in a visible way. In spring the sweet is botamochi, named for the peony. In autumn it is ohagi, named for bush clover. The food is nearly the same, but the name lets the table read the season before the first bite. That is shun in a modest form, not a grand one.
Ohagi and botamochi are tied to higan, the Buddhist observance around the spring and autumn equinoxes, when offerings are made to ancestors. Azuki beans have long been associated in Japan with protection from misfortune, partly because their red color was considered auspicious. A common distinction says botamochi is the spring name, after the peony, and ohagi is the autumn name, after bush clover, though regions and households differ on size, shape, and whether the anko should be smooth or coarse.
Quantity
1 cup
Quantity
3/4 to 1 cup
for the anko
Quantity
1/4 teaspoon
for the anko
Quantity
1 1/2 cups
Quantity
1/2 cup
Quantity
2 1/4 cups
plus more for soaking and cooking beans
Quantity
3 tablespoons
Quantity
1 tablespoon
for kinako coating
Quantity
1 pinch
for kinako coating
Quantity
3 tablespoons
ground
Quantity
1 tablespoon
for sesame coating
| Ingredient | Quantity |
|---|---|
| dried azuki beans | 1 cup |
| sugarfor the anko | 3/4 to 1 cup |
| sea saltfor the anko | 1/4 teaspoon |
| mochigome (Japanese glutinous rice) | 1 1/2 cups |
| Japanese short-grain rice | 1/2 cup |
| waterplus more for soaking and cooking beans | 2 1/4 cups |
| kinako (roasted soybean flour) (optional) | 3 tablespoons |
| sugar (optional)for kinako coating | 1 tablespoon |
| sea salt (optional)for kinako coating | 1 pinch |
| toasted black sesame seeds (optional)ground | 3 tablespoons |
| sugar (optional)for sesame coating | 1 tablespoon |
Rinse the azuki, cover them generously with water, and bring to a boil. Boil for 5 minutes, then drain. This first boil washes away some harshness from the skins, so the anko tastes clean rather than muddy. Return the beans to the pot, cover with fresh water by about 2 inches, and simmer gently until they crush easily between finger and thumb, 60 to 75 minutes.
Drain off most of the liquid, leaving the beans moist but not soupy. Add the sugar and cook over low heat, stirring and crushing some of the beans, until the paste thickens and a spoon dragged through it leaves a brief path. Stir in the salt at the end. Salt does not make it salty. It steadies the sweetness, the way we do it here when sugar might otherwise shout.
Combine the mochigome and short-grain rice in a bowl. Wash with cool water, swirling with your hand, then drain. Repeat until the water is only faintly cloudy. Washing clears away loose starch so the cooked rice is sticky and tender, not gummy on the surface. Soak for 30 minutes, then drain well.
Put the drained rice and 2 1/4 cups water in a rice cooker, or in a heavy pot. Cook as you would Japanese rice, then let it rest covered for 10 minutes. The rest matters. It lets the moisture settle evenly, so the grains crush together instead of leaving wet spots and hard centers.
While the rice is still warm, transfer it to a sturdy bowl or hangiri if you have one. Pound and fold with a damp pestle, surikogi, or wooden spoon until about half the grains are crushed and half remain visible. Stop before it becomes smooth mochi. Ohagi wants a little grain left in it, that quiet chew that tells you this is rice, not paste.
Mix the kinako with 1 tablespoon sugar and a pinch of salt. Mix the ground black sesame with 1 tablespoon sugar. Divide the cooled anko into portions: use larger portions to coat some rice balls, and smaller portions as the filling for the kinako and sesame ones. This gives all three kinds the same sweet bean heart without pretending they are different sweets.
Keep a bowl of water beside you and dampen your palms lightly. Divide the warm rice into 12 oval portions. For anko-coated pieces, flatten a portion of anko on damp plastic wrap, set a rice oval in the center, and draw the paste up around it. For kinako or sesame pieces, tuck a small spoonful of anko inside the rice, close it, then roll the outside in the coating. Damp hands keep the rice from clinging, but wet hands make the surface slippery, so be modest.
Let the ohagi rest at room temperature for 15 to 20 minutes before serving. The rice settles, the anko relaxes against it, and the coatings cling more neatly. Serve the same day, in an odd-number grouping if you're plating for the table, with space around them. Leave it room.
1 serving (about 135g)
Culinary guides, cultural storytelling, and the editorial depth that makes cooking meaningful.
Discover Culinary ExplorerChef Takumi
Anmitsu looks like a tray of small tasks, but the work is calm: dissolve the kanten fully, chill the pieces clean, then let fruit, anko, and kuromitsu do the speaking.

Chef Takumi
A cool square of almond-scented milk, set softly and served with mikan in thin syrup, is dinner-party food without theater. The only stern demand is restraint with the fragrance.

Chef Takumi
Azuki bar asks for patience twice: once while the beans soften, and once while the frozen bar yields. That hardness is not a flaw. It is the character of the thing.
Chef Takumi
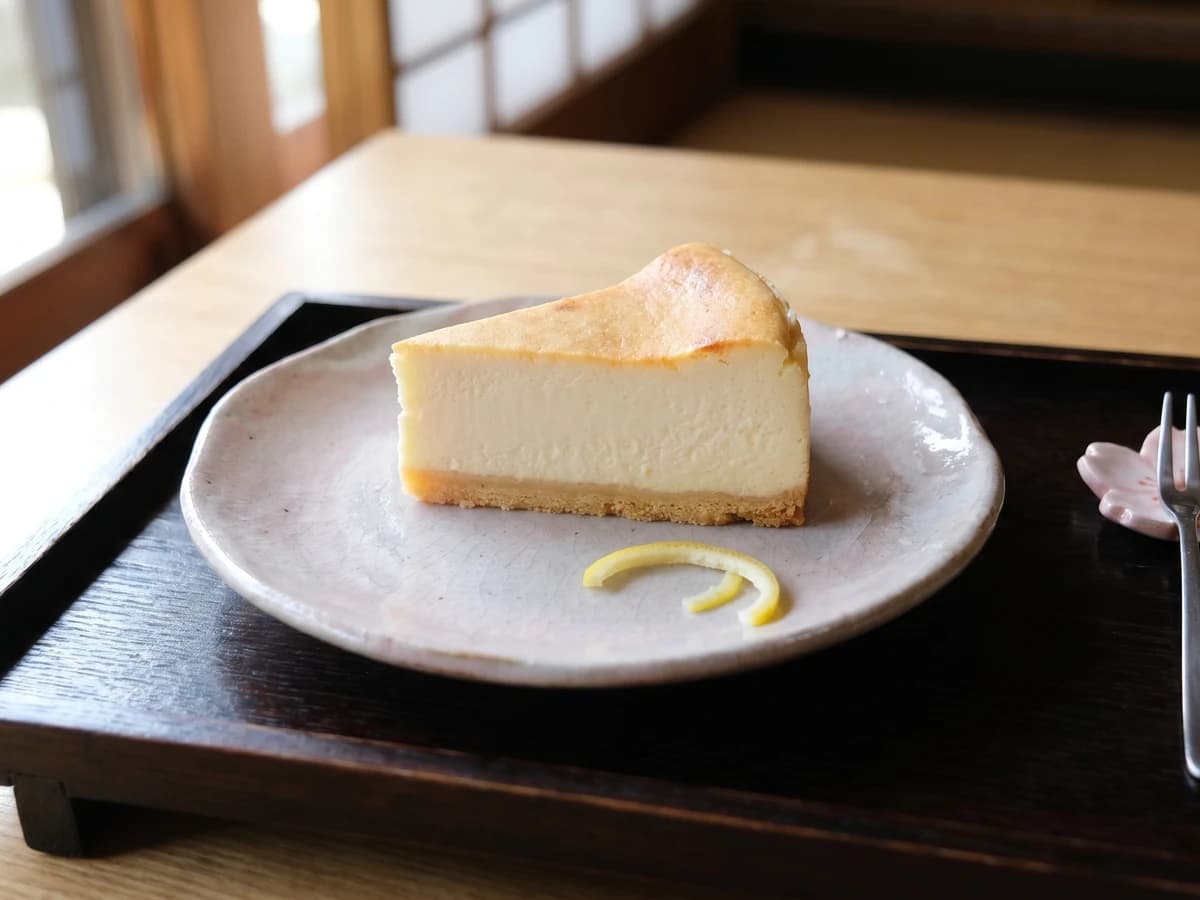
A Japanese baked cheesecake is not trying to float away. It is dense, smooth, and quietly tart, with a clean slice doing the work of decoration.