
Chef Takumi
Agar Jelly with Anko and Fruit (あんみつ, Anmitsu)
Anmitsu looks like a tray of small tasks, but the work is calm: dissolve the kanten fully, chill the pieces clean, then let fruit, anko, and kuromitsu do the speaking.
A cooking platform built around craft, culture, and the stories behind what we eat.

Created by
A thick little cake, browned on both faces and hiding warm anko at its center. The trick is slow heat, not bravery, so the batter cooks through before the crust gets too dark.
Imagawayaki looks like a shopkeeper's secret because of the round brass mold. That is mostly theater, pleasant theater, but theater all the same. What matters is simple: a pourable egg-rich batter, a spoonful of anko, and heat low enough to let the middle cook before the outside burns.
The one detail that decides it is patience with the griddle. Too hot, and the faces brown before the batter has set around the filling. Too cool, and the cake dries out while you wait for color. You want a steady, moderate heat that gives you a lightly crisp shell, a tender crumb, and red bean paste warm enough to soften without leaking everywhere like a small domestic scandal.
Anko is the heart here, so choose it well. Tsubuan, the coarse red bean paste, gives a little texture and feels closer to the old street sweet; koshian, the smooth paste, makes a finer bite. Either is honmono. This is a confection, yes, but not a fussy one. In the method, not the menu, it belongs with everyday Japanese cooking: careful heat, restrained sweetness, and nothing hidden.
Imagawayaki is generally traced to the late Edo period, when it was sold near the Imagawabashi bridge in Edo, now Tokyo, and took its name from that place. The same confection spread under regional names, including obanyaki in Kansai and kaitenyaki in parts of Kyushu, with local debate over which name is proper. Its round form was originally tied to dedicated metal molds heated over charcoal, a practical street-stall tool as much as a sign of the sweet itself.
Quantity
1 cup
Quantity
1 teaspoon
Quantity
2 tablespoons
Quantity
1/4 teaspoon
Quantity
1
Quantity
3/4 cup
Quantity
1 tablespoon, plus more for the mold
Quantity
1 teaspoon
Quantity
300g
divided into 6 portions
| Ingredient | Quantity |
|---|---|
| cake flour | 1 cup |
| baking powder | 1 teaspoon |
| sugar | 2 tablespoons |
| fine sea salt | 1/4 teaspoon |
| large egg | 1 |
| whole milk | 3/4 cup |
| neutral oil | 1 tablespoon, plus more for the mold |
| honey | 1 teaspoon |
| tsubuan or koshian ankodivided into 6 portions | 300g |
Divide the anko into six portions, about 50g each, and shape each into a squat round. This keeps the filling centered and lets you close the batter around it quickly. If the paste is soft, chill it for ten minutes so it holds its shape.
Whisk the flour, baking powder, sugar, and salt in a bowl. In another bowl, whisk the egg, milk, oil, and honey until smooth, then stir the wet mixture into the dry just until no dry flour shows. Don't beat it hard. A little restraint keeps the cake tender instead of rubbery.
Let the batter rest for ten minutes while the flour hydrates and the baking powder begins its quiet work. The batter should pour thickly from a spoon, like heavy cream. If it sits in a lump, loosen it with a teaspoon or two of milk.
Heat an imagawayaki mold over medium-low heat and brush it lightly with oil. No mold? Use six small metal rings set in a heavy skillet. The shape won't be quite the shop version, but the method is honest if the heat is steady.
Spoon batter into each well to cover the bottom by about 1/3 inch. Set one portion of anko in the center, then spoon more batter over it until the filling is just covered. Work neatly, not anxiously. Batter touching the sides helps seal the cake.
Cook until the edges look set and the underside is golden brown, about four to five minutes. Turn the cakes carefully and cook the second side another four to five minutes. If the face darkens in two minutes, the heat is too high. Lower it and let the center catch up.
Move the cakes to a rack for two minutes before serving. That short rest lets the crumb finish setting and keeps the crust from turning wet on the plate. Serve warm, when the anko is soft but still contained.
1 serving (about 105g)
Culinary guides, cultural storytelling, and the editorial depth that makes cooking meaningful.
Discover Culinary ExplorerChef Takumi
Anmitsu looks like a tray of small tasks, but the work is calm: dissolve the kanten fully, chill the pieces clean, then let fruit, anko, and kuromitsu do the speaking.

Chef Takumi
A cool square of almond-scented milk, set softly and served with mikan in thin syrup, is dinner-party food without theater. The only stern demand is restraint with the fragrance.

Chef Takumi
Azuki bar asks for patience twice: once while the beans soften, and once while the frozen bar yields. That hardness is not a flaw. It is the character of the thing.
Chef Takumi
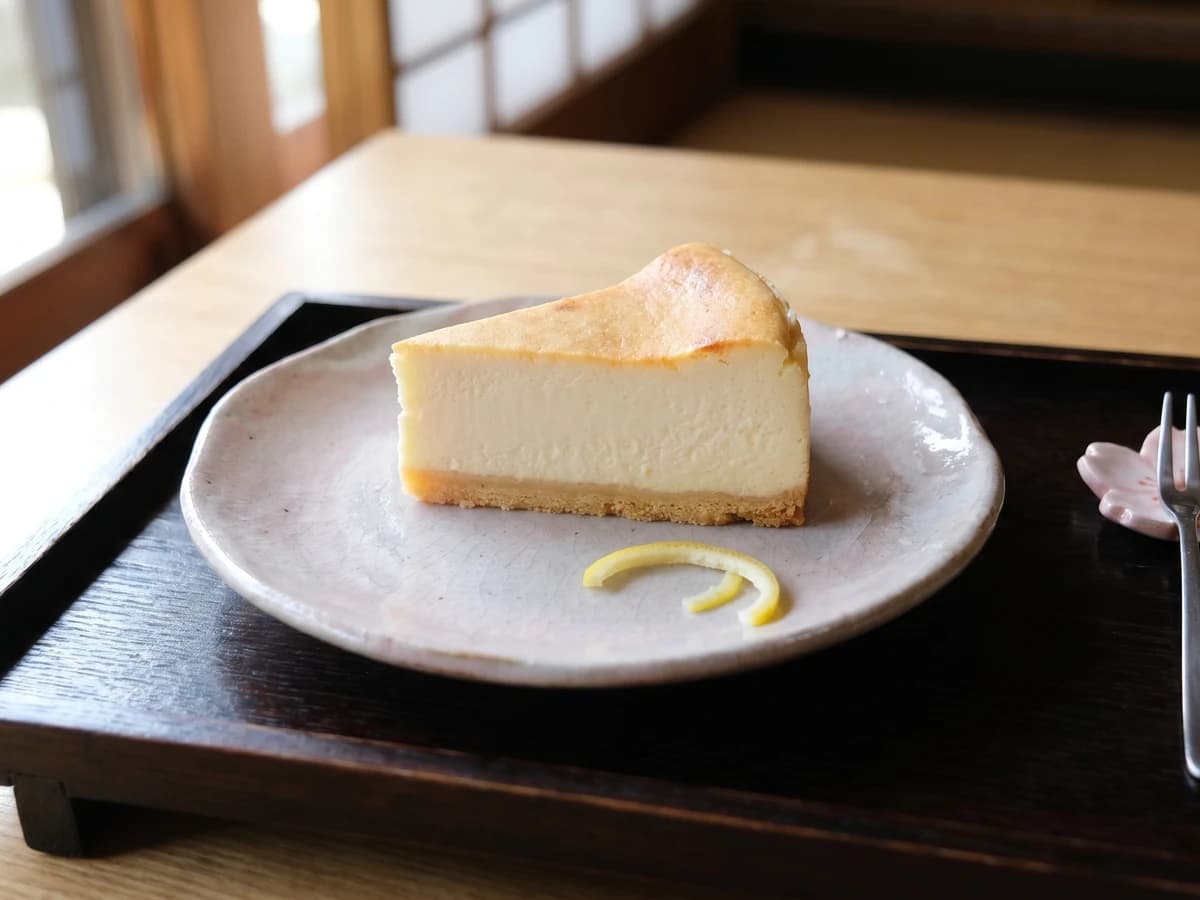
A Japanese baked cheesecake is not trying to float away. It is dense, smooth, and quietly tart, with a clean slice doing the work of decoration.