
Chef Joost
Beschuit met Muisjes
The airy Dutch rusk sold in rolls of thirteen, twice baked until crisp, then buttered and crowned with sugared aniseed for the birth of a child.
A cooking platform built around craft, culture, and the stories behind what we eat.
Created by
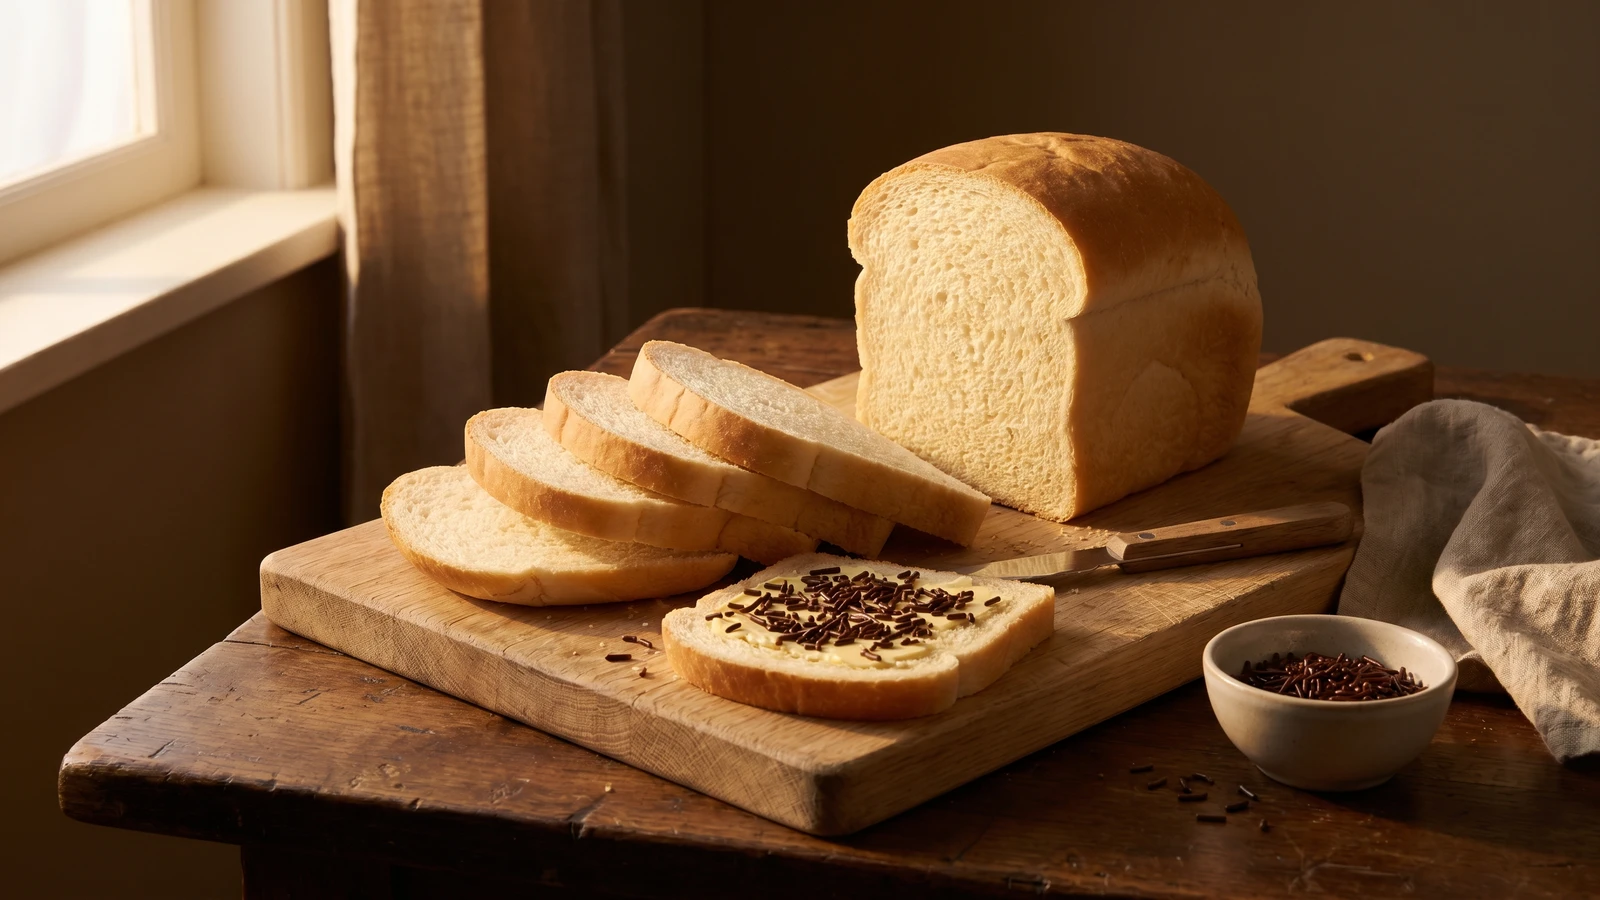
This is the soft white loaf under Dutch breakfasts and school lunches: pale, tender, practical bread, rich enough with milk and butter to remember when whiteness meant a treat.
In my grandmother's second notebook, between jam labels and a careful account of how much yeast cost that year, there is a recipe simply called witbrood, white bread. No flourish. No little drawing. Just flour, milk, butter, yeast, salt, and a line in her hand that says: snijd dun, cut thin. That is the Dutch instruction hiding in plain sight.
But let me tell you a secret. The ordinary Dutch white loaf was not always ordinary. The name already tells you the story, because white meant fine bloem, flour sifted clean of bran, and for centuries that was the expensive bread, the bread of feast days, sickbeds, weddings, and city tables. We still have wittebroodsweken, the honeymoon weeks, a phrase that remembers when white bread meant ease at the start of married life. Language keeps crumbs in its pockets.
What makes Hollands witbrood Dutch is not drama but use. It should be soft enough for a child's lunchbox, firm enough to slice thin, and mild enough to carry hagelslag, pindakaas, jam, or a plakje kaas, a slice of cheese, without arguing. Milk softens the crumb, butter keeps it tender, and a covered first bake gives the loaf that pale, close, sandwich-bread character. Hou het altijd simpel: knead well, let it rise properly, and don't cut it hot. Bread has patience even when we don't.
White bread in the Netherlands long signaled refinement because finely bolted wheat flour was dearer than rye or coarse mixed grains; the old expression wittebroodsweken, literally white-bread weeks, preserves that association with comfort and new marriage. By the nineteenth and twentieth centuries, roller milling, commercial yeast, and urban bakeries helped turn witbrood from a luxury into the everyday loaf of the Dutch broodmaaltijd, the bread meal that structures breakfast and lunch. Its mildness is the point: Dutch table culture made thin-sliced bread a carrier for butter, cheese, jam, hagelslag, and peanut butter rather than a showpiece by itself.
Quantity
500g
plus extra for dusting
Quantity
7g
Quantity
10g
Quantity
25g
Quantity
300ml
lukewarm
Quantity
50g
softened
Quantity
as needed
for greasing
| Ingredient | Quantity |
|---|---|
| strong white bread flour or Dutch bloemplus extra for dusting | 500g |
| instant yeast | 7g |
| fine salt | 10g |
| caster sugar | 25g |
| whole milklukewarm | 300ml |
| unsalted buttersoftened | 50g |
| neutral oil or butterfor greasing | as needed |
Put the flour in a large bowl and stir in the yeast, salt, and sugar, keeping the salt from sitting directly on the yeast at first. Pour in the lukewarm milk and mix until no dry flour remains, then work in the softened butter. The dough will feel slightly tacky and plain, which is correct; this is bread for slicing, not showing off.
Knead on the counter for 10 to 12 minutes, or in a stand mixer with a dough hook for 7 to 8 minutes, until the dough becomes smooth, elastic, and only faintly sticky. Press it with one finger; it should spring back slowly. That spring is your future slice holding together under butter and hagelslag.
Shape the dough into a ball, place it in a lightly greased bowl, cover it, and let it rise until doubled, about 1 to 1 1/2 hours depending on the warmth of the room. Don't rush this. A pale loaf still needs time to build flavour, even if it speaks softly.
Lightly butter a 23 x 13cm loaf tin. Turn the dough out, press it gently into a rectangle about as wide as the tin, then roll it up firmly from the short side, sealing the seam with the heel of your hand. Lay it seam-side down in the tin. A firm roll gives you an even crumb, the kind that slices thin without great tunnels where the butter falls through.
Cover the tin and let the loaf rise until the dough domes about 2cm above the rim, usually 45 to 60 minutes. Heat the oven to 200C while it rises. If the dough springs back at once when pressed, it needs more time; if the dent stays collapsed, it has waited too long. You want the middle ground, like most Dutch virtues.
Bake for 30 to 35 minutes, loosely covering the top with foil after 15 minutes if it browns quickly. Hollands witbrood should be golden, not dark and crusty. It is done when the loaf sounds hollow underneath or the centre reaches 94C.
Lift the loaf from the tin and cool it on a rack for at least 1 hour before cutting. This is the hardest instruction because the kitchen smells persuasive, but hot bread tears and gums under the knife. Wait, then slice thinly. The loaf was built for breakfast, lunchboxes, and the quiet Dutch pleasure of bread doing its work.
1 serving (about 57g)
Culinary guides, cultural storytelling, and the editorial depth that makes cooking meaningful.
Discover Culinary ExplorerChef Joost
The airy Dutch rusk sold in rolls of thirteen, twice baked until crisp, then buttered and crowned with sugared aniseed for the birth of a child.

Chef Joost
The Dutch square loaf baked under a lid, with a quiet crumb, a disciplined crust, and exactly the right shape for the tosti pan.

Chef Joost
Before bread came from a packet of yeast, it came from yesterday: flour, water, salt, and a living desem starter carrying one loaf into the next.

Chef Joost
A round raisin bread for Driekoningen, Three Kings' Day, with a hidden bean, a star in the crust, and one ordinary eater crowned king for a day.