
Chef Joost
Beschuit met Muisjes
The airy Dutch rusk sold in rolls of thirteen, twice baked until crisp, then buttered and crowned with sugared aniseed for the birth of a child.
A cooking platform built around craft, culture, and the stories behind what we eat.
Created by
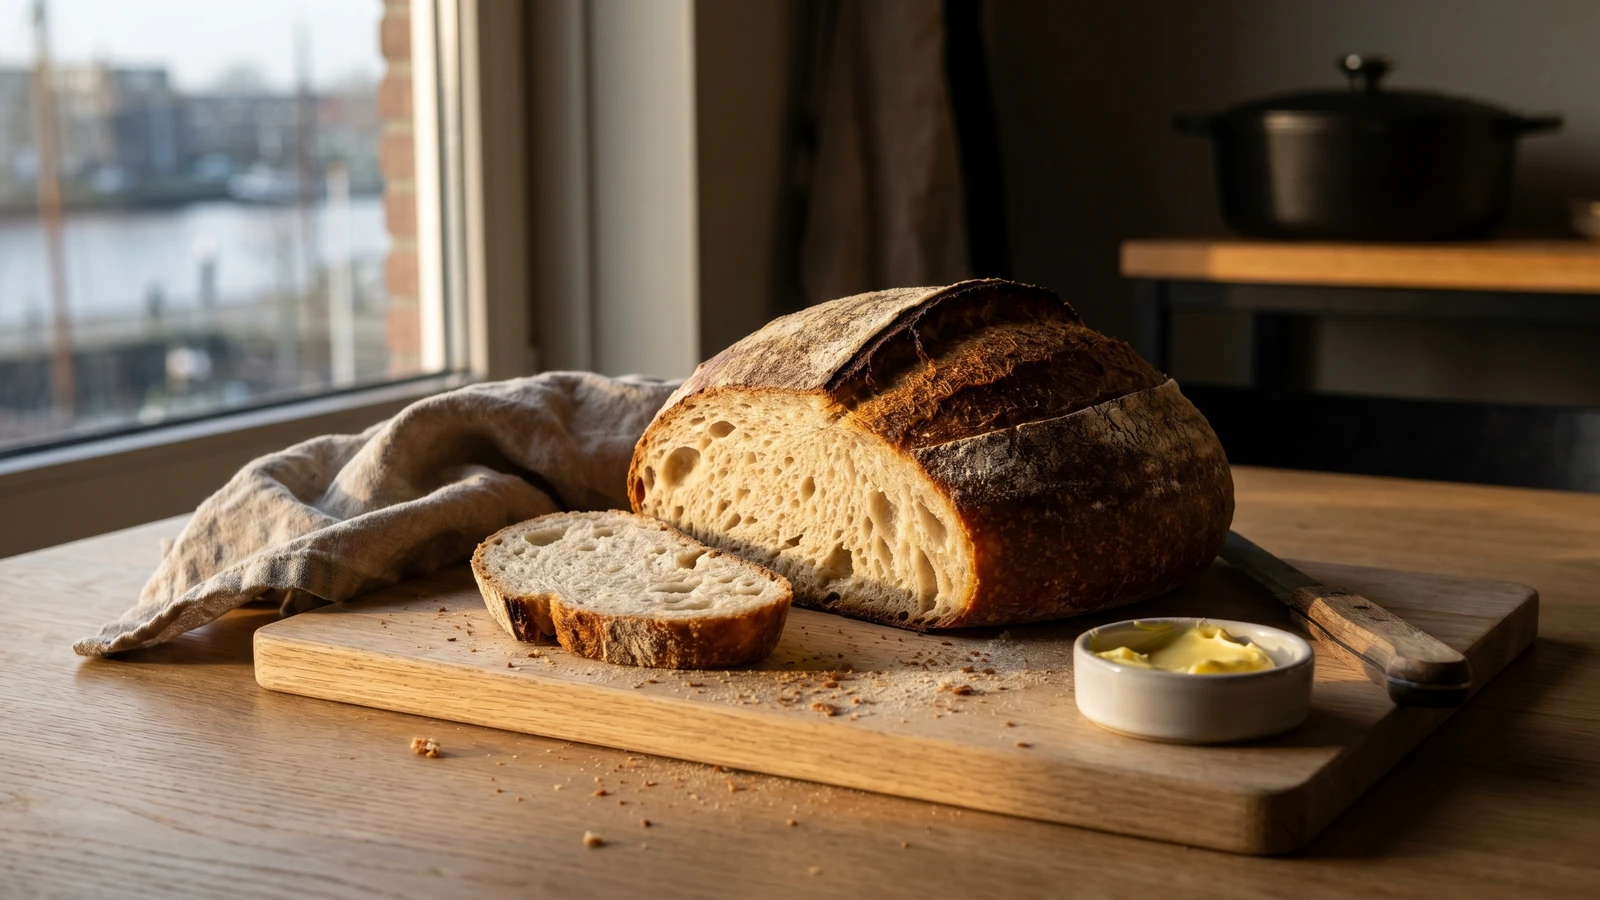
Before bread came from a packet of yeast, it came from yesterday: flour, water, salt, and a living desem starter carrying one loaf into the next.
In my grandmother's second notebook, bread recipes are written with suspicious brevity. Flour. Water. Salt. Desem. Bake when ready. This is how you know the recipe is old: the most important ingredient is assumed to be alive already, sitting somewhere near the warmest wall of the kitchen, being fed because tomorrow also expects breakfast.
The name already tells you the secret, if you let it. Desem is the Dutch word for the leaven itself, the souring mixture of flour and water that raises bread before neat cubes of baker's yeast made impatience respectable. Desembrood is not a modern performance of sourness. It is simply bread made the older way, by keeping a little life back from one bake so the next loaf can rise.
But let me tell you a secret: the loaf asks for less skill than patience. The long rest gives the flour time to drink, the starter time to work, and the crust time to become properly thick in a hot pot or on a baking stone. Hou het altijd simpel, always keep it simple. Mix well, fold gently, wait longer than your schedule wants, and bake boldly. A pale loaf is a missed chance. A dark crust is where the bread remembers the oven.
In the Netherlands, breads leavened with desem or barm were ordinary household and bakery practice long before industrial compressed yeast became widely available in the nineteenth century. The word desem names the leaven, not a fashionable sour flavor, and older Dutch bread culture often relied on maintained starters, brewery yeast, or leftover dough to carry fermentation from one bake to the next. Floor-baked loaves with thick crusts remained common in village and city bakeries, where the retained heat of masonry ovens shaped both the bread's structure and its keeping quality.
Quantity
100g
100 percent hydration, recently fed and bubbly
Quantity
400g
Quantity
100g
Quantity
350g
room temperature
Quantity
10g
Quantity
as needed
for dusting
| Ingredient | Quantity |
|---|---|
| active sourdough starter (desem)100 percent hydration, recently fed and bubbly | 100g |
| strong white bread flour | 400g |
| whole rye flour or whole wheat flour | 100g |
| waterroom temperature | 350g |
| fine sea salt | 10g |
| rice flour or extra bread flourfor dusting | as needed |
Use your desem when it is lively, domed, and full of small bubbles, usually four to eight hours after feeding. Drop a spoonful into water if you like; if it floats, it is ready enough. If it smells sharp, flat, or alcoholic, feed it once more before baking. Bread begins before the bowl, and this is the one part you cannot bully.
In a large bowl, stir the starter and water together until cloudy, then add both flours and mix until no dry patches remain. Cover and leave for 30 minutes. This rest, called autolyse by bakers who enjoy naming things, lets the flour drink properly so the dough becomes supple without heroic kneading.
Sprinkle the salt over the dough and work it in with wet hands, squeezing and folding until the dough tightens and feels more elastic. It will be sticky. That is not failure, that is wet flour becoming bread. Cover the bowl again.
Over the next three hours, give the dough four sets of folds, about 30 to 45 minutes apart. Lift one side, stretch it up without tearing, and fold it over itself; turn the bowl and repeat until the dough has gathered strength. After the last fold, leave it covered until it has risen by about half and looks airy at the edges. Do not wait for it to double like yeast bread; desem is slower and more dignified than that.
Tip the dough onto a lightly floured surface and shape it into a round or oval. Keep the good side down at first, fold the edges toward the centre, then turn it over and pull it gently toward you to tighten the skin. That taut surface is what lets the loaf spring upward instead of spreading like a tired pancake.
Dust a banneton or towel-lined bowl with rice flour, set the shaped loaf in seam-side up, cover, and refrigerate for 10 to 14 hours. The cold slows the rise and deepens the flavor. This is the make-ahead mercy of desembrood: tomorrow's bread improves while you sleep.
Place a heavy Dutch oven or baking stone in the oven and heat to 250C for at least 45 minutes. A floor-baked Dutch loaf needs stored heat under it, and the home oven must be persuaded into behaving like masonry. Be patient here. A lukewarm pot gives you a sulking crust.
Turn the cold loaf onto baking parchment, slash the top with a sharp blade, and lower it into the hot Dutch oven. Cover and bake for 20 minutes at 250C, then uncover, reduce to 220C, and bake for another 20 to 25 minutes until the crust is deep brown and the loaf sounds hollow when tapped underneath. Let it cool at least one hour before cutting. Warm bread smells generous, but cut too soon and the crumb turns gummy under the knife.
1 serving (about 70g)
Culinary guides, cultural storytelling, and the editorial depth that makes cooking meaningful.
Discover Culinary ExplorerChef Joost
The airy Dutch rusk sold in rolls of thirteen, twice baked until crisp, then buttered and crowned with sugared aniseed for the birth of a child.

Chef Joost
The Dutch square loaf baked under a lid, with a quiet crumb, a disciplined crust, and exactly the right shape for the tosti pan.

Chef Joost
A round raisin bread for Driekoningen, Three Kings' Day, with a hidden bean, a star in the crust, and one ordinary eater crowned king for a day.

Chef Joost
A Zaanstreek feast bread with the devil hiding in its name, lemon in its crumb, and a shape old bakers knew before holiday tables learned to behave.