
Chef Takumi
Agar Jelly with Anko and Fruit (あんみつ, Anmitsu)
Anmitsu looks like a tray of small tasks, but the work is calm: dissolve the kanten fully, chill the pieces clean, then let fruit, anko, and kuromitsu do the speaking.
A cooking platform built around craft, culture, and the stories behind what we eat.
Created by
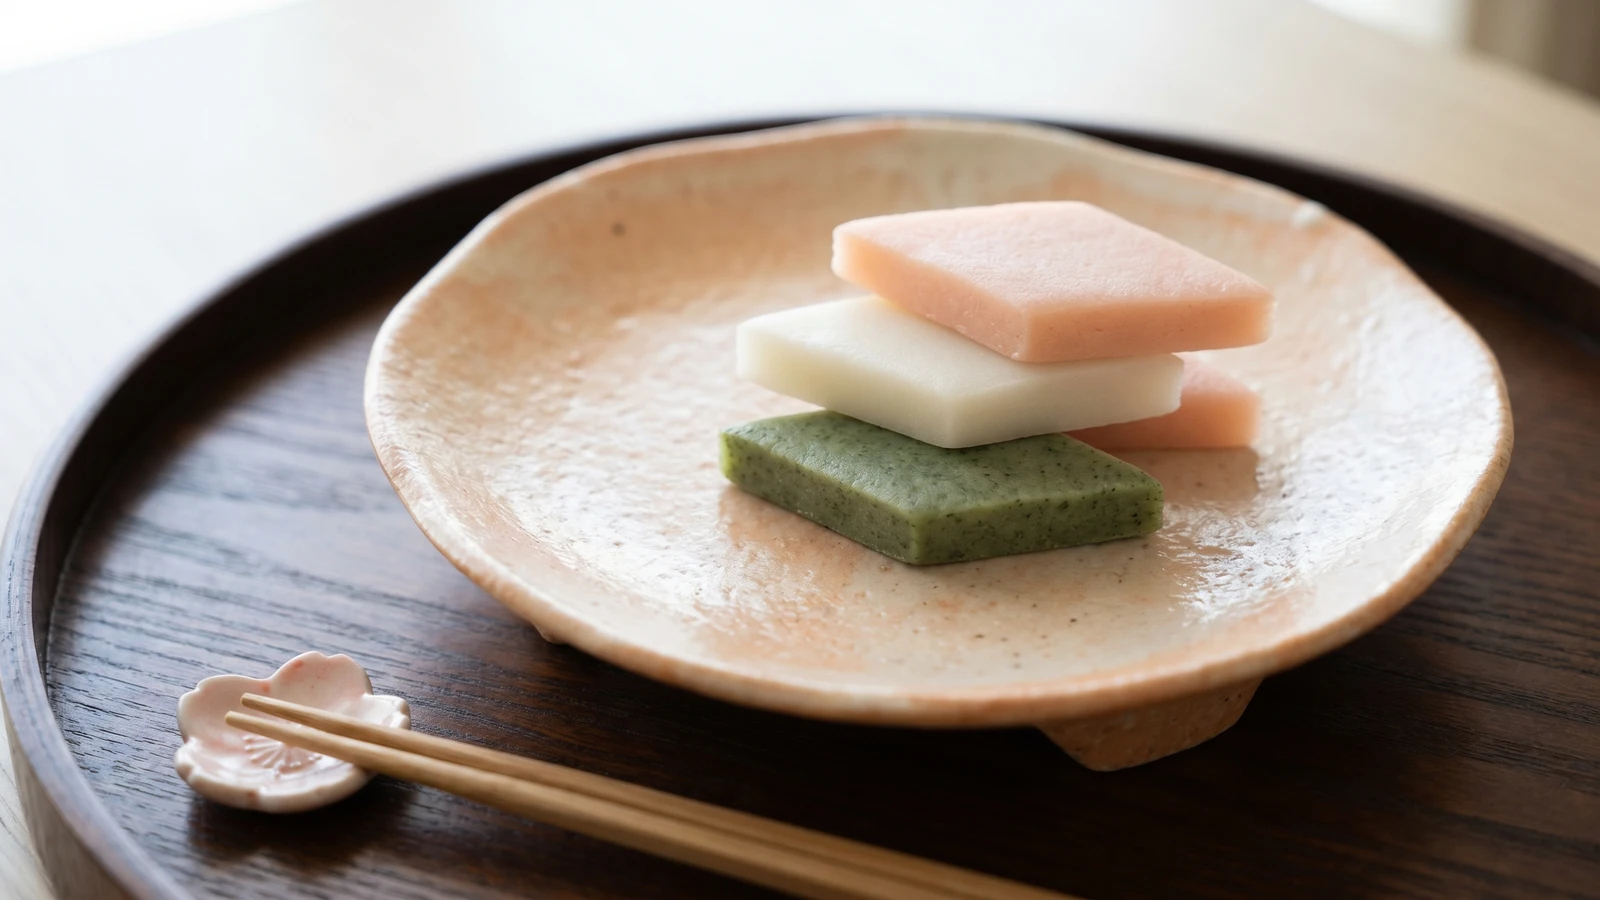
Hishimochi looks ceremonial, but it is only three simple rice cakes stacked with care: green for new growth, white for snow, pink for peach blossom.
The first thing to understand is the shape. Hishimochi is cut as a diamond, not because the cook is trying to be clever, but because Hinamatsuri asks the table to show spring before spring has fully arrived. Green below, white in the middle, pink above: earth waking under snow, peach blossom just beginning its work.
People hesitate at mochi because it sounds like a specialist's business. This version is reachable. We make a soft dough from glutinous rice flour and a little non-glutinous rice flour, steam each layer, then knead it until it turns smooth and elastic. The why is plain: steaming cooks the starch evenly, and kneading gives the mochi its quiet pull instead of a grainy bite.
The one detail that decides the dish is thickness. Each layer should be thin, even, and only lightly sweetened, so the finished stack feels like a festival confection, not a brick in ceremonial clothing. Press gently, cut cleanly, and leave the colors honest. Mugwort, rice, peach-blossom pink. Nothing hidden.
Hishimochi is associated with Hinamatsuri, the dolls' festival held on March 3, and has been displayed with hina dolls since at least the Edo period. Its diamond shape is often linked to hishi, the water caltrop, whose vigorous growth made it a symbol of fertility and protection. The three-color form became common in the modern period, with regional variations that sometimes add yellow or extra layers.
Quantity
180g
divided into three 60g portions
Quantity
90g
divided into three 30g portions
Quantity
75g
divided into three 25g portions
Quantity
255ml
divided into three 85ml portions
Quantity
1 teaspoon
bloomed with hot water
Quantity
1 teaspoon
for yomogi powder
Quantity
small pinch or 1/8 teaspoon
for the pink layer
Quantity
as needed
for dusting
| Ingredient | Quantity |
|---|---|
| shiratamako or mochiko (glutinous rice flour)divided into three 60g portions | 180g |
| joshinko (non-glutinous rice flour)divided into three 30g portions | 90g |
| sugardivided into three 25g portions | 75g |
| waterdivided into three 85ml portions | 255ml |
| dried yomogi powderbloomed with hot water | 1 teaspoon |
| hot waterfor yomogi powder | 1 teaspoon |
| beni koji powder or red food coloringfor the pink layer | small pinch or 1/8 teaspoon |
| potato starch or katakurikofor dusting | as needed |
Line a small square tray, about 18cm across, with parchment and dust it lightly with potato starch. Keep the dusting thin. Too much starch dries the surface and dulls the clean color of the layers.
Bloom the yomogi powder with 1 teaspoon hot water until it smells grassy and deep green. Mix 60g shiratamako, 30g joshinko, 25g sugar, 85ml water, and the yomogi into a smooth batter. Yomogi needs a moment with hot water because dry powder left raw in the dough gives specks instead of an even green.
Scrape the green batter into a heatproof bowl and steam it over steady heat for 8 to 10 minutes, until it turns from milky to slightly translucent and pulls from the side. Turn it onto a starch-dusted surface and knead with a wet spatula until smooth. The dough is hot, so let the tool work first, then use damp hands when it is safe.
Press the green mochi into the lined tray in an even layer. Damp hands help more than force. If the layer is uneven now, the finished diamonds will tell on you, very politely but quite clearly.
Mix 60g shiratamako, 30g joshinko, 25g sugar, and 85ml water until smooth. Steam and knead it the same way, then press it over the green layer while both are still faintly warm. Warm layers join cleanly; cold layers sit apart like strangers.
Mix the final 60g shiratamako, 30g joshinko, 25g sugar, and 85ml water with just enough beni koji or food coloring to make a pale peach-blossom pink. Steam, knead, and press it over the white layer. Keep the color restrained. Hinamatsuri pink is blossom, not theater curtain.
Cover the tray loosely and let the stacked mochi rest at room temperature for 20 to 30 minutes, until cool enough to cut cleanly but still tender. Resting lets the starch settle, so the knife makes a clean face instead of dragging the layers.
Lift the slab from the tray and brush away loose starch. Cut it first into strips, then on the diagonal into diamonds, wiping the knife between cuts. A clean blade keeps the green, white, and pink from smearing into one another. Let the knife do the finishing.
1 serving (about 50g)
Culinary guides, cultural storytelling, and the editorial depth that makes cooking meaningful.
Discover Culinary ExplorerChef Takumi
Anmitsu looks like a tray of small tasks, but the work is calm: dissolve the kanten fully, chill the pieces clean, then let fruit, anko, and kuromitsu do the speaking.

Chef Takumi
A cool square of almond-scented milk, set softly and served with mikan in thin syrup, is dinner-party food without theater. The only stern demand is restraint with the fragrance.

Chef Takumi
Azuki bar asks for patience twice: once while the beans soften, and once while the frozen bar yields. That hardness is not a flaw. It is the character of the thing.
Chef Takumi
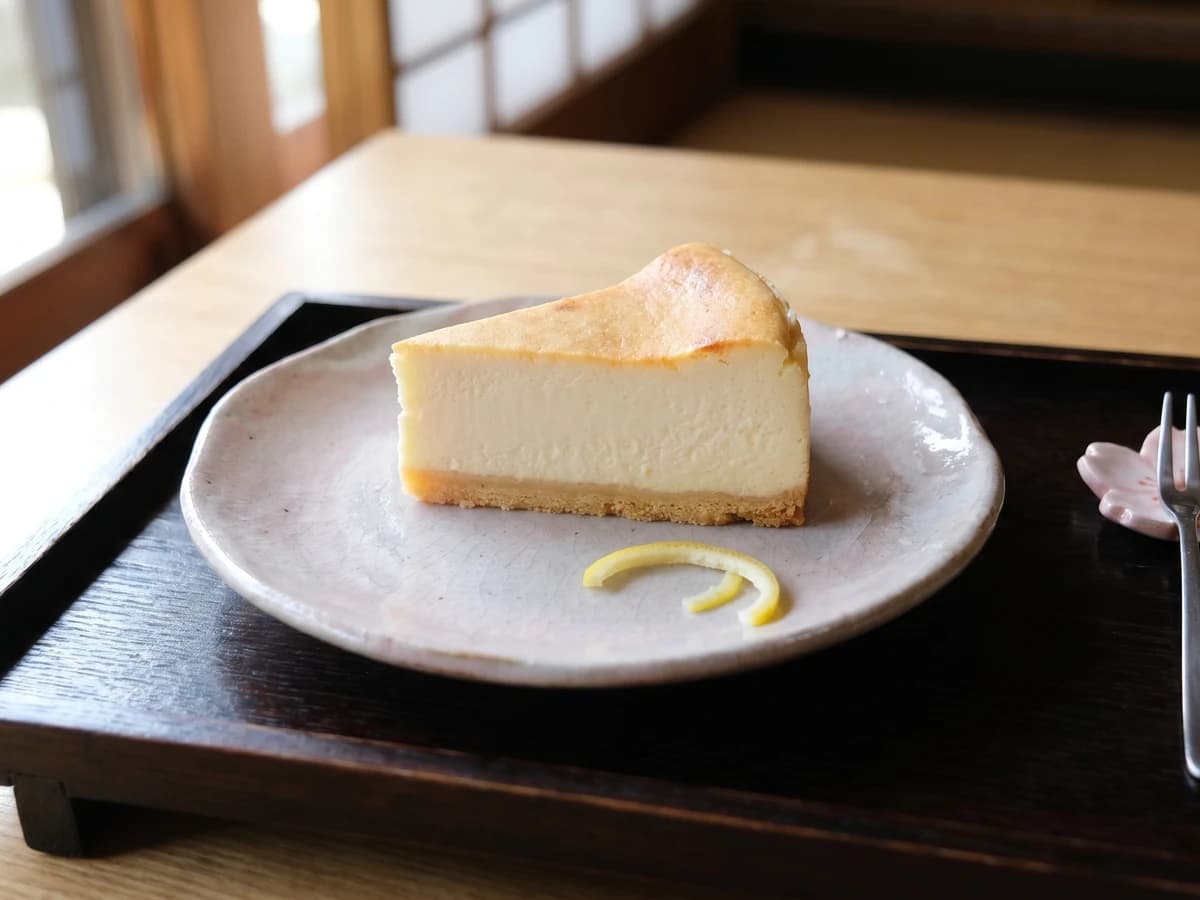
A Japanese baked cheesecake is not trying to float away. It is dense, smooth, and quietly tart, with a clean slice doing the work of decoration.