Chef Makoa
Chinese Almond Cookies (Hawaiʻi Local Red-Dot Cookies)
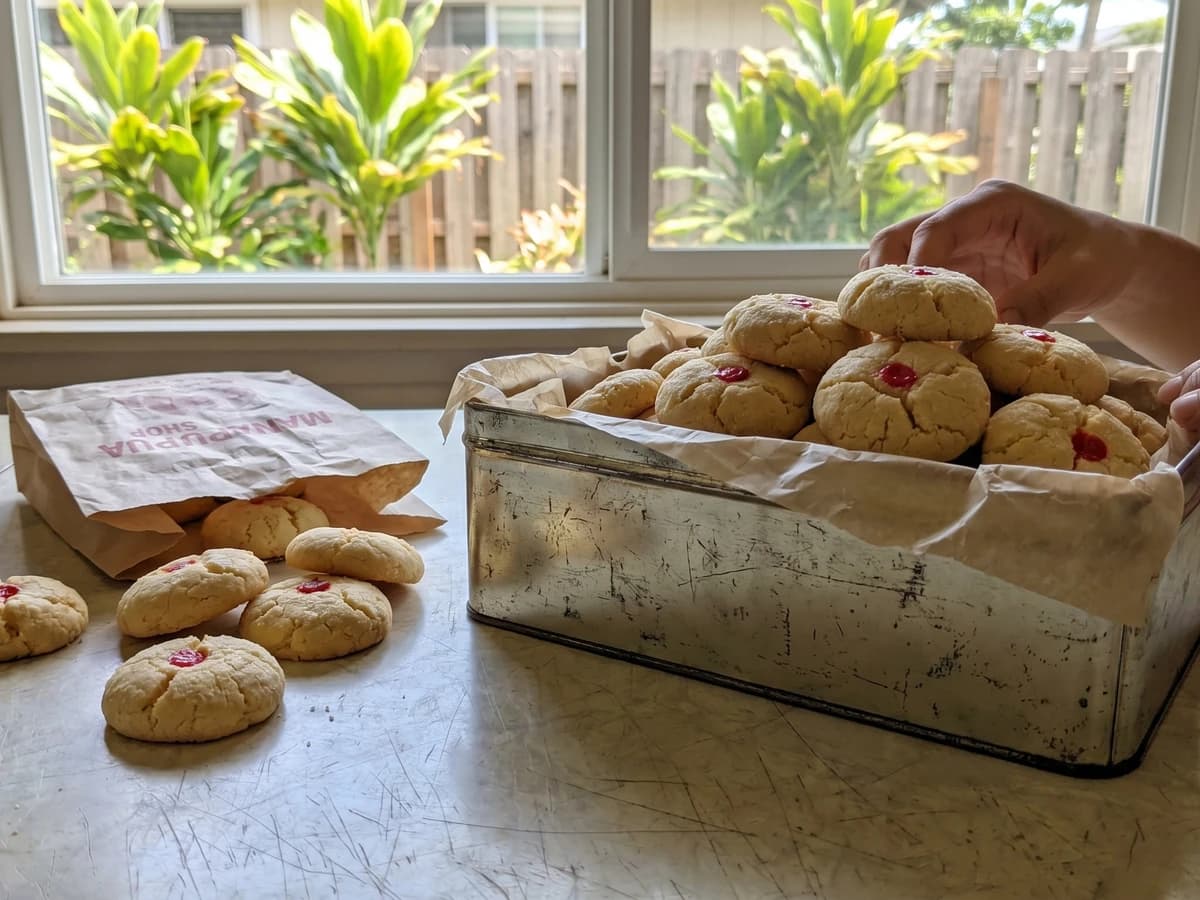
Buttery, sandy Chinese almond cookies from Hawaiʻi's Local table, marked with the lucky red dot, the kind you found in a bakery case, a manapua man's box, or a holiday tin.
A cooking platform built around craft, culture, and the stories behind what we eat.
Created by
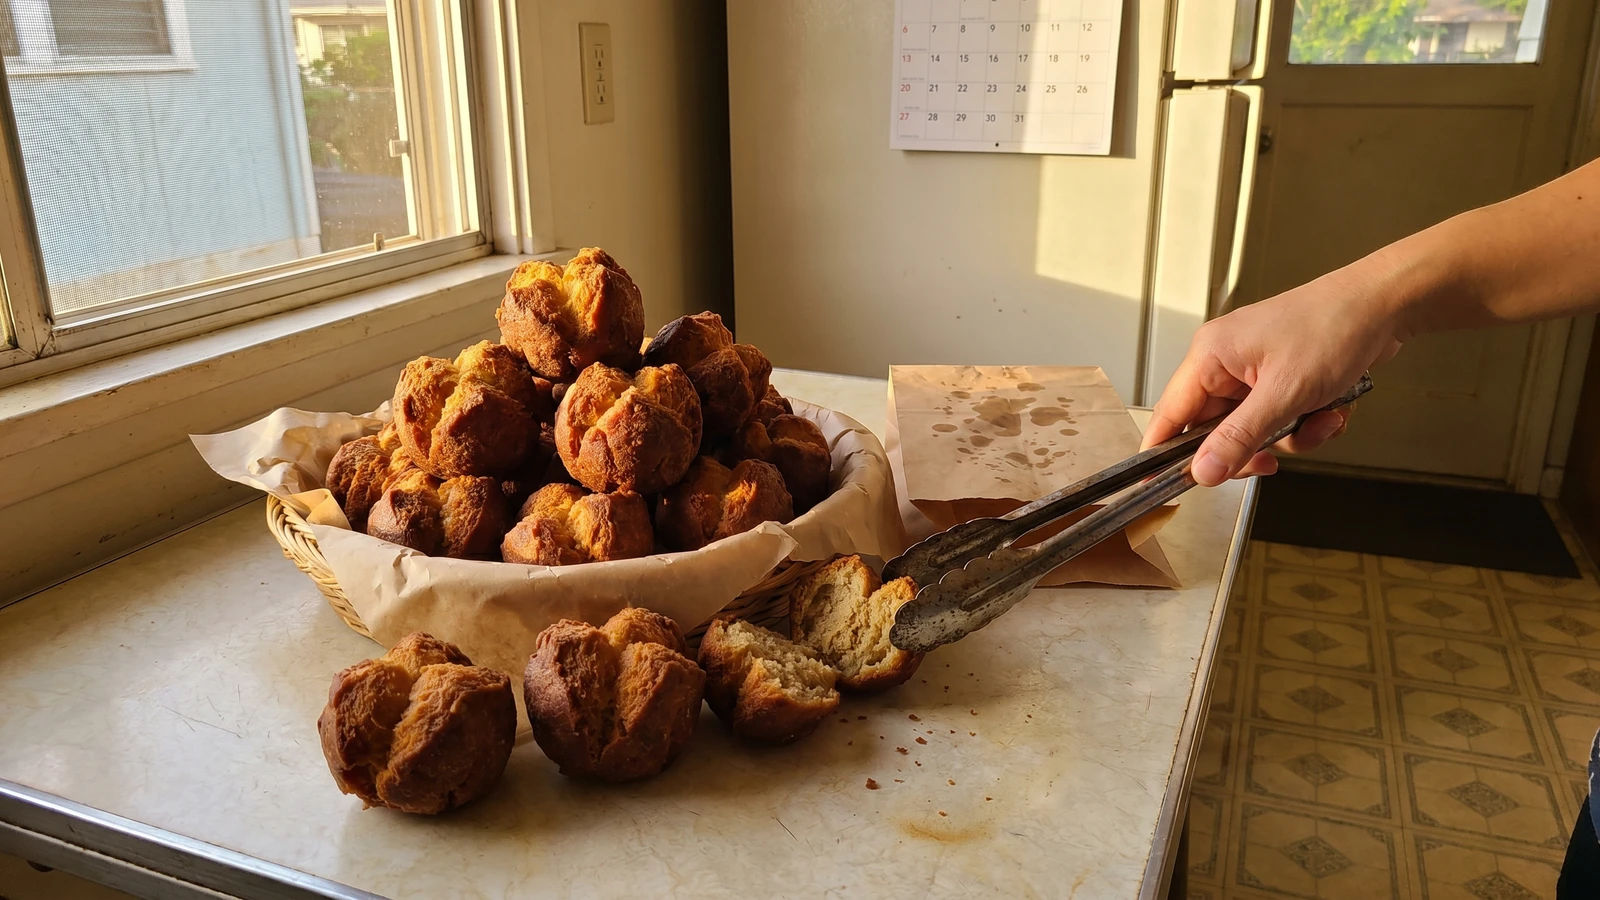
Okinawan sātā andāgī, the sugar doughnut Hawaiʻi knows as andagi: craggy and crisp at the edges, dense and tender inside, made for obon, potluck tables, and one more hand reaching in.
The table in Hawaiʻi got bigger every time another family stepped off the ship and kept feeding their children. This one belongs to Okinawa, to the Uchinanchu people, and in Hawaiʻi it became Local: not food of the loʻi, not Hāloa's deep line, but still somebody's memory carried across water and kept warm in a kitchen.
I remember andagi from fair booths and obon nights, paper bags getting dark with oil, aunties watching the fryer closer than any timer. The dough goes in round and heavy, then it opens at the top like a rough flower, crisp where it cracks and cake-dense in the middle. No need make it precious. Sugar, flour, egg, oil, patience.
So we name the hand straight. The malasada is Portuguese, gau is Chinese, hopia is Filipino, and andagi is Okinawan. Hawaiʻi took all those tables and made them Local, yeah, but Local doesn't mean nameless. It means we remember who brought what, then we pass the bag around.
The first group of Okinawan laborers arrived in Hawaiʻi on January 8, 1900, part of the plantation-era migrations that changed the islands' everyday table. Sātā andāgī, often shortened in Hawaiʻi to andagi, means sugar deep-fried in Okinawan speech and became a familiar sweet at obon festivals, county fairs, school fundraisers, and home kitchens. This is Hawaiʻi Local food: not Kanaka Maoli deep food, but a living island food shaped by Uchinanchu families and the neighbors who learned to love it.
Quantity
3 cups
Quantity
1 cup
Quantity
1 tablespoon
Quantity
1/2 teaspoon
Quantity
3
Quantity
1/2 cup
Quantity
2 tablespoons
plus more for frying
Quantity
1 teaspoon
Quantity
1 tablespoon
optional, for a lighter edge
| Ingredient | Quantity |
|---|---|
| all-purpose flour | 3 cups |
| granulated sugar | 1 cup |
| baking powder | 1 tablespoon |
| fine sea salt | 1/2 teaspoon |
| large eggs | 3 |
| whole milk | 1/2 cup |
| neutral oilplus more for frying | 2 tablespoons |
| vanilla extract | 1 teaspoon |
| mochiko or cornstarch (optional)optional, for a lighter edge | 1 tablespoon |
Whisk the flour, sugar, baking powder, salt, and mochiko if using in a wide bowl. Break up the sugar lumps now, because once the wet goes in, you don't want to work the dough too hard.
Beat the eggs, milk, oil, and vanilla until smooth and glossy. This is everyday pantry food, the kind that shows up because auntie had eggs, flour, sugar, and a reason to feed people.
Pour the wet into the dry and stir just until no dry flour shows. The dough should be thick, sticky, and scoopable, closer to soft cookie dough than pourable batter. If you beat it smooth, the andagi turns tough. No need fight it.
Pour 2 to 3 inches of neutral oil into a heavy pot and heat to 325F. Keep the oil steady between 315F and 335F so the outside crisps while the middle cooks through. Too hot and you get a pretty shell with raw heart. Nobody wants that.
Use a small scoop or two spoons to drop walnut-size balls of dough into the oil, 5 or 6 at a time. Let them roll and turn on their own, nudging only when needed, until they split open at the top and turn deep golden brown, about 6 to 8 minutes.
Lift the andagi to a rack or paper bag and let the surface settle crisp. Eat warm, when the edges have bite and the center is dense-cakey, or pack them room temperature for the potluck. That's how they travel best.
1 serving (about 45g)
Culinary guides, cultural storytelling, and the editorial depth that makes cooking meaningful.
Discover Culinary ExplorerChef Makoa
Buttery, sandy Chinese almond cookies from Hawaiʻi's Local table, marked with the lucky red dot, the kind you found in a bakery case, a manapua man's box, or a holiday tin.

Chef Makoa
A Hawaiʻi Local bakery pie from Oʻahu: firm coconut haupia over chocolate cream in a flaky shell, chilled clean, topped with soft whipped cream.

Chef Makoa
Honolulu bakery-case comfort: crisp choux puffs filled with soft chocolate pudding and capped with Hawaiʻi-style Chantilly, the buttery cooked frosting that belongs to Oʻahu birthdays, office boxes, and after-school hands.

Chef Makoa
The Oʻahu home-tin cookie, buttery and crackly with cornflakes and rice cereal, baked by aunties for Christmas exchanges, church potlucks, and one more cousin reaching across the table.