
Chef Makoa
Baked ʻUlu Coconut Pudding (Hawaiian Ripe Breadfruit Custard)
Very ripe Hawaiian ʻulu, the canoe-crop breadfruit, mashed soft with coconut milk and sugar, then baked until the middle sets like a quiet custard.
A cooking platform built around craft, culture, and the stories behind what we eat.
Created by
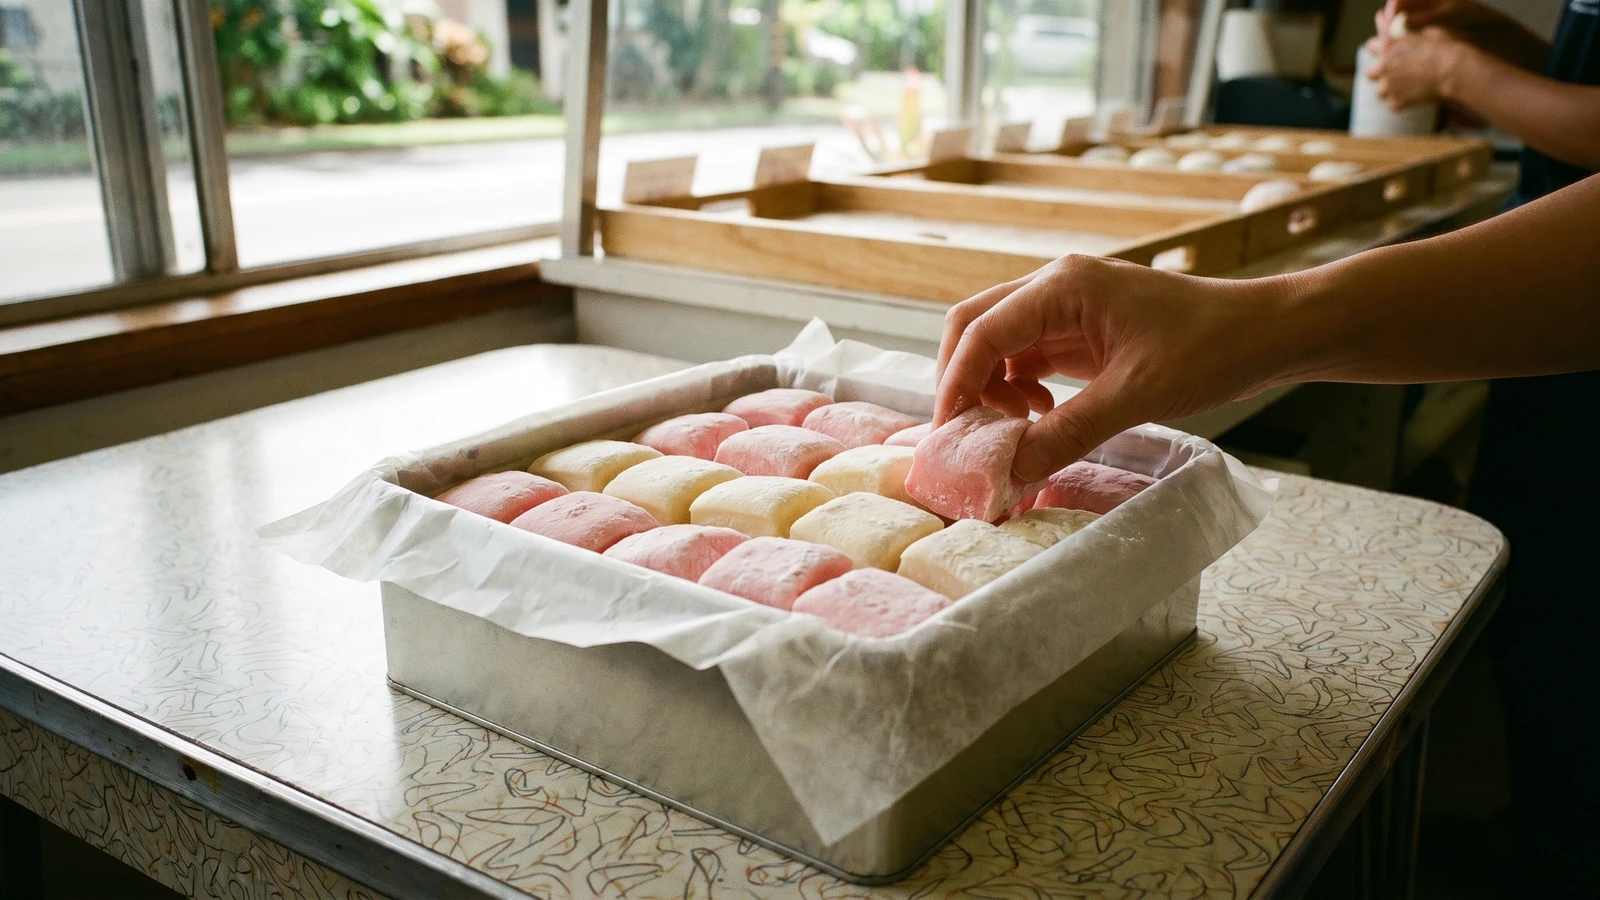
Soft squares of Hawaiʻi Local chichi dango, pale pink and white from the mochi-shop counter, baked with mochiko, milk, and coconut milk, then dusted until every sticky edge turns friendly.
The cookie tin on my auntie's Formica table has its own kind of kinship. Not the loʻi kind, not Hāloa and the board, but the kind Hawaiʻi makes when people arrive with their holidays, their sacks of rice flour, their hands ready to work, and the next generation calls it home. Chichi dango is Hawaiʻi Local by Japanese hand: soft mochiko candy, pink and white, the one families pack for Hina Matsuri, Girls' Day, and for every child who wanders too close to the tray.
So I keep this one honest. The cousins across the Triangle sit beside it, not inside it: Hawaiian poi from kalo, Sāmoan palusami, Tongan lū, Cook Islands rukau, Tahitian ʻia ota, Māori hāngī. One ocean, one canoe, one root still holds the deep table, and this candy shows the other half of Hawaiʻi's table, the Local side, where Portuguese malasada, Okinawan andagi, Chinese gau, Filipino hopia, and Japanese mochi-shop sweets all found a place without pretending to be the same food.
The method is simple, but sticky food asks you to slow down. Whisk the mochiko smooth so no dry pockets hide in the batter. Cover the pans so the candy bakes soft. Cool it all the way before cutting, because warm mochi grabs and tears like it has something to prove. Dust with potato starch so small hands can reach in without taking the whole tray with them. No need make it precious. Just make enough for one more.
Japanese contract laborers began arriving in the Kingdom of Hawaiʻi in 1885, and their rice-flour sweets, festival foods, and home traditions joined the plantation-era table that became Hawaiʻi Local food. Hina Matsuri, Girls' Day on March 3, came with that community; in Hawaiʻi, chichi dango shifted into a soft baked mochiko candy often colored pink and white, sold in mochi shops and packed into family trays. It is post-contact Local food, not Kanaka Maoli deep food, and naming that line lets the loʻi foods and the immigrant sweets both stand in their own truth.
Quantity
as needed
for greasing pans
Quantity
1 box (16 ounces)
Quantity
2 1/4 cups
Quantity
2 teaspoons
Quantity
1/4 teaspoon
Quantity
1 can (13.5 ounces)
well shaken
Quantity
1 can (12 ounces)
Quantity
1 teaspoon
Quantity
4 to 6 drops
for pale pink batter
Quantity
3/4 cup
for dusting and cutting
| Ingredient | Quantity |
|---|---|
| neutral oil or nonstick sprayfor greasing pans | as needed |
| mochiko (Japanese sweet rice flour) | 1 box (16 ounces) |
| granulated sugar | 2 1/4 cups |
| baking powder | 2 teaspoons |
| fine sea salt | 1/4 teaspoon |
| full-fat coconut milkwell shaken | 1 can (13.5 ounces) |
| evaporated milk | 1 can (12 ounces) |
| vanilla extract | 1 teaspoon |
| red food coloringfor pale pink batter | 4 to 6 drops |
| potato starch (katakuriko) or cornstarchfor dusting and cutting | 3/4 cup |
Heat the oven to 350F. Grease two 8-inch square metal pans, line them with foil or parchment with overhang, and grease the lining too. Chichi dango is friendly after starch hits it, but before that it's all grip, so give yourself help now.
In a large bowl, whisk the mochiko, sugar, baking powder, and salt until the sugar is even and no flour pockets are hiding. Mochiko clumps once the liquid hits, like wet sand getting stubborn, so break it up while it's still dry.
Whisk the coconut milk, evaporated milk, and vanilla together until smooth. Pour the milks into the dry mixture and whisk from the center outward until the batter is pourable and glossy, like heavy cream. If you see stubborn lumps, pass it through a fine-mesh sieve. No shame in clean batter.
Divide the batter evenly between two bowls. Leave one bowl white. Tint the other with red food coloring one drop at a time until it turns gentle Girls' Day pink, not neon. Pour each color into its own prepared pan and tap the pans lightly on the counter to settle the batter.
Cover each pan tightly with greased foil, doming it a little so it doesn't rest on the batter. Bake for 55 to 65 minutes, rotating once, until the centers are set, shiny, and spring back softly under a fingertip. A skewer should come out with sticky crumbs, not thin batter.
Set the pans on a rack, remove the foil, and cool at least 2 hours, until the slabs are room temperature all the way through. Warm mochi tears and grabs at the knife. Cool mochi cuts clean. Patience again, even for candy.
Sift potato starch over a cutting surface. Lift out each slab, peel away the lining, and dust the tops and sides. Use a plastic knife or bench scraper dusted in starch to cut 1-inch squares, dusting every fresh sticky edge as you go.
Mix the pink and white squares in a wax-paper-lined tray or cookie tin. Brush off heavy clumps of starch, but leave enough so fingers don't stick. Serve at room temperature, the way it sits on a mochi-shop counter, soft and quiet and ready for one more hand.
1 serving (about 33g)
Culinary guides, cultural storytelling, and the editorial depth that makes cooking meaningful.
Discover Culinary ExplorerChef Makoa
Very ripe Hawaiian ʻulu, the canoe-crop breadfruit, mashed soft with coconut milk and sugar, then baked until the middle sets like a quiet custard.

Chef Makoa
A chewy, golden Hawaiʻi Local square from mochiko, butter, and coconut milk, baked in one pan until the edges pull crisp and the middle stays tender.
Chef Makoa
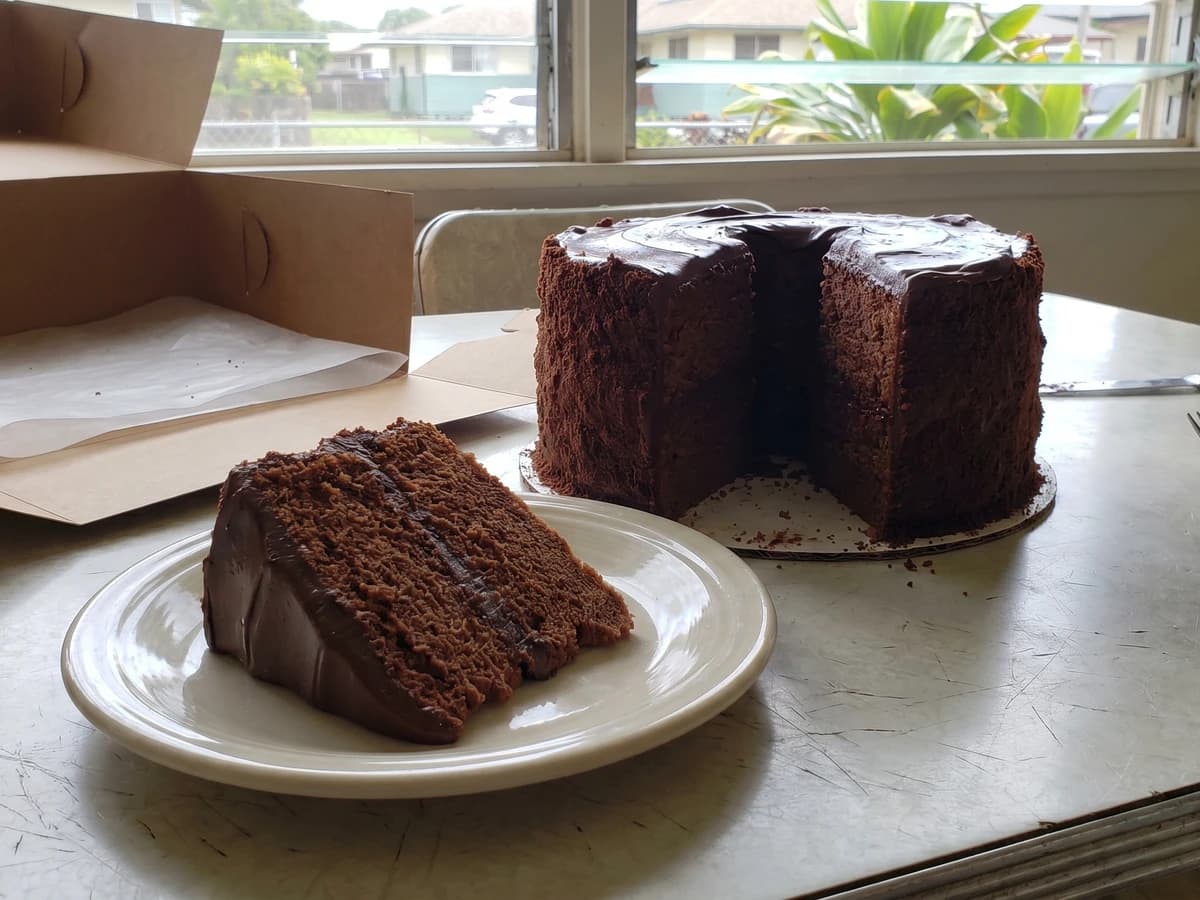
A Hawaiʻi Local chocolate-on-chocolate birthday cake: soft chiffon, cooked pudding icing, and cake crumbs pressed around the sides like the bakery case knew you were coming.
Chef Makoa
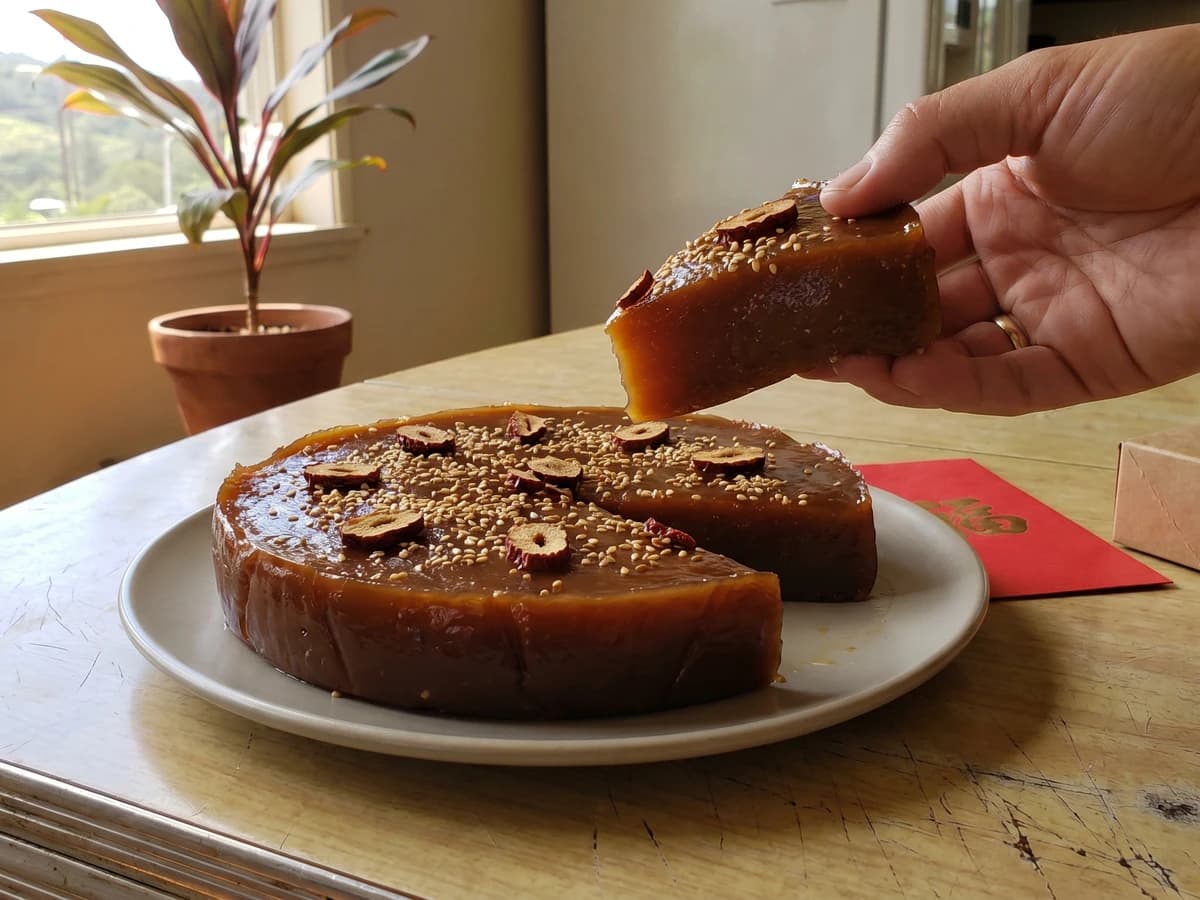
A Hawaiʻi Local Chinese New Year cake, dark with brown sugar and steamed until sticky, glossy, and sliceable. Gau holds the family close, one sweet square at a time.