
Chef Graziella
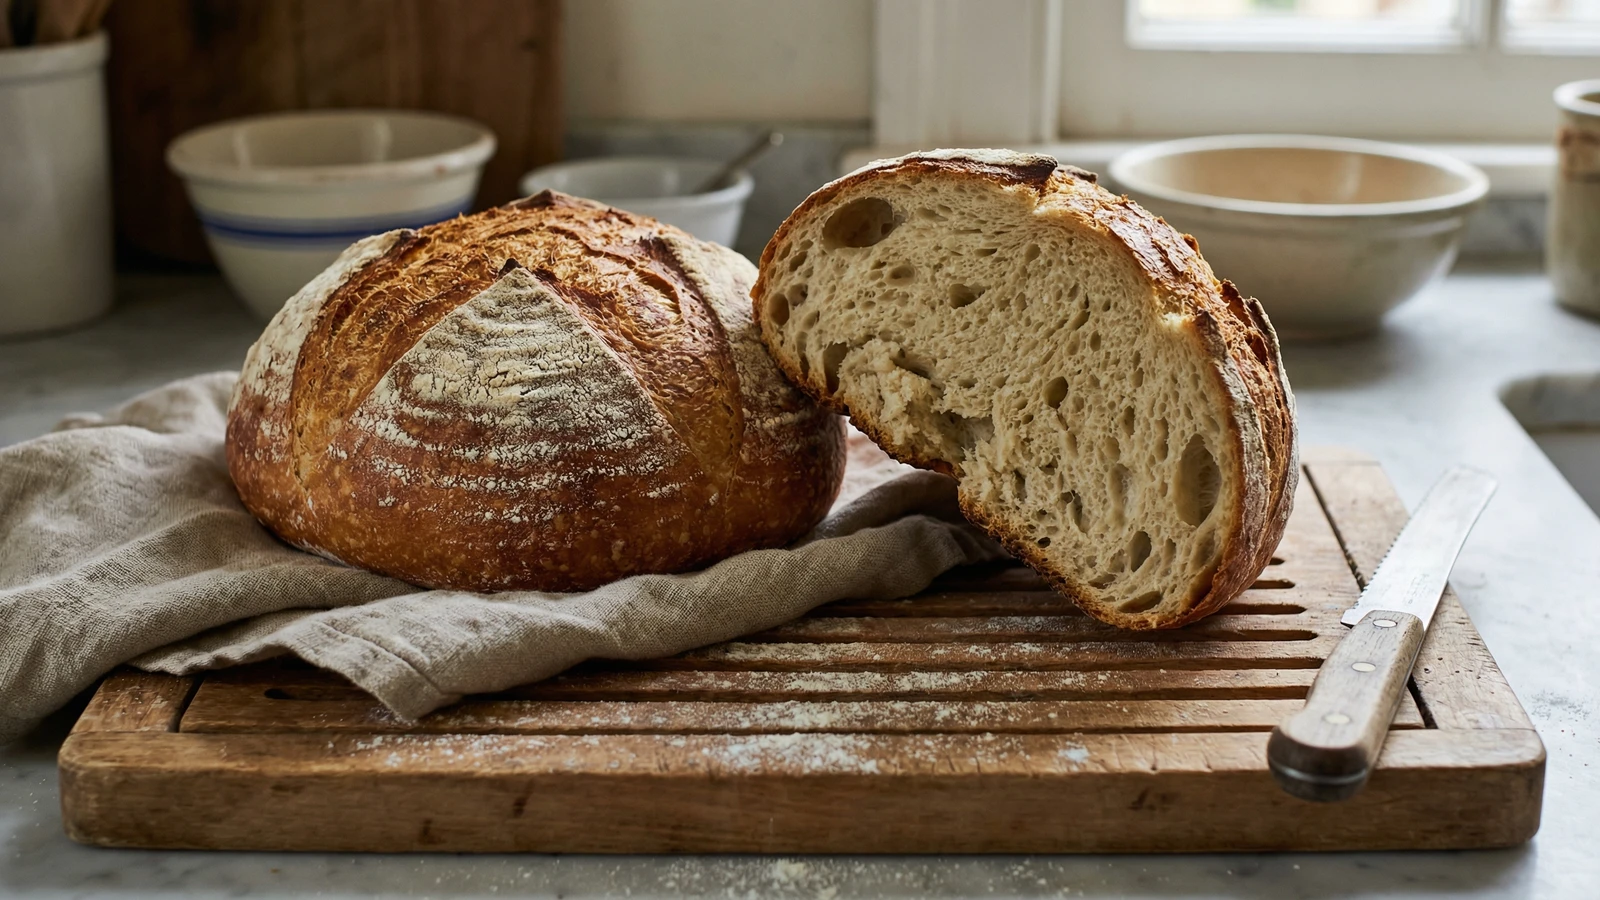
Filone Toscano
The saltless long loaf of Tuscany, shaped to maximize crust and designed to accompany the salty prosciutto, finocchiona, and pecorino that define the region's table.
A cooking platform built around craft, culture, and the stories behind what we eat.
Created by
The saltless bread of Tuscany, made as it has been for centuries. What seems like an absence is actually the point: this bread exists to balance the salty abundance of the Tuscan table.
Pane Toscano contains no salt. This is not an oversight. This is not poverty cooking. This is intentional.
Tuscany produces some of the most intensely flavored cured meats and cheeses in Italy: finocchiona, prosciutto Toscano, pecorino. These are salty, assertive foods. The bread must step back to let them speak. A salted bread would compete; this bread completes. It absorbs the juices of ripe tomatoes in panzanella, soaks up the broth in ribollita, provides the neutral foundation for fettunta drizzled with new olive oil.
Americans taste this bread alone and find it bland. They are missing the point entirely. Pane Toscano is not meant to be eaten alone. It is meant to be eaten with something, always with something. The absence of salt makes room for everything else.
The biga, a pre-ferment left to develop overnight, creates the complex flavor that salt would otherwise provide. Without this step, you have plain flour and water. With it, you have bread worth making.
The origins of Tuscany's saltless bread remain disputed. Some historians trace it to the 12th century, when Pisa blockaded Florence's salt supply during their endless wars. Others point to the papal salt tax of 1540, which made salt prohibitively expensive for common bakers. Whatever the cause, Tuscans turned necessity into tradition, and the bread endured long after salt became affordable again.
Quantity
150g
Quantity
100g (65°F/18°C)
Quantity
1/8 teaspoon
Quantity
350g
Quantity
200g (65°F/18°C)
Quantity
1/2 teaspoon
| Ingredient | Quantity |
|---|---|
| bread flour (for biga) | 150g |
| cool water (for biga) | 100g (65°F/18°C) |
| active dry yeast (for biga) | 1/8 teaspoon |
| bread flour (for dough) | 350g |
| cool water (for dough) | 200g (65°F/18°C) |
| active dry yeast (for dough) | 1/2 teaspoon |
The night before you bake, dissolve the 1/8 teaspoon yeast in the 100g cool water. Let it stand for 5 minutes until slightly cloudy. Add the 150g flour and stir with a wooden spoon until a shaggy, sticky dough forms. Cover tightly with plastic wrap and leave at room temperature for 12 to 14 hours. The biga is ready when it has tripled in size, the surface is covered with bubbles, and it smells yeasty and slightly sour.
Dissolve the 1/2 teaspoon yeast in the 200g cool water. Let it stand for 5 minutes. In a large bowl, tear the biga into rough pieces and add the yeasted water. Squeeze the biga through your fingers until it mostly dissolves into the liquid. It will be lumpy. Add the 350g flour and mix with your hands or a wooden spoon until no dry flour remains. The dough will be shaggy and sticky.
Turn the dough onto an unfloured surface. Knead for 10 to 12 minutes. The dough will be sticky at first. Resist the temptation to add flour. Use a bench scraper to gather it when it sticks. After 10 minutes, the dough should become smooth, elastic, and slightly tacky but no longer sticky. It will feel alive in your hands.
Place the dough in a lightly oiled bowl, turning once to coat. Cover tightly with plastic wrap. Let rise at room temperature until doubled, about 1 1/2 to 2 hours. The dough should feel puffy and light when you press it gently.
Turn the dough onto a lightly floured surface. Divide it in half. Working with one piece at a time, gently pat into a rough rectangle. Fold the top third down and the bottom third up, like a letter. Turn 90 degrees and repeat. Roll the dough under your palms to form a round or oblong loaf. The surface should be taut. Place the shaped loaves on a parchment-lined baking sheet, seam side down, leaving several inches between them.
Cover the loaves loosely with a kitchen towel or oiled plastic wrap. Let rise until nearly doubled, about 45 minutes to 1 hour. The loaves should hold an indentation when you press them lightly with a floured finger, but spring back slowly. Meanwhile, place a baking stone or inverted baking sheet on the middle rack and a metal pan on the bottom rack. Preheat the oven to 450°F (230°C) for at least 30 minutes.
Dust the tops of the loaves with flour. Using a sharp blade or razor, slash the top of each loaf with one or two decisive cuts about half an inch deep. Slide the parchment with the loaves onto the hot stone. Immediately pour one cup of hot water into the metal pan below and close the oven door quickly. The steam is essential for crust development.
Bake for 20 minutes with steam. Then remove the water pan and continue baking for another 20 to 25 minutes, until the crust is deeply golden brown and the loaves sound hollow when tapped on the bottom. The internal temperature should reach 205°F (96°C). Transfer to a wire rack and let cool completely before slicing, at least one hour. The crust will crackle as it cools.
1 serving (about 44g)
Culinary guides, cultural storytelling, and the editorial depth that makes cooking meaningful.
Discover Culinary ExplorerChef Graziella
The saltless long loaf of Tuscany, shaped to maximize crust and designed to accompany the salty prosciutto, finocchiona, and pecorino that define the region's table.
Chef Graziella
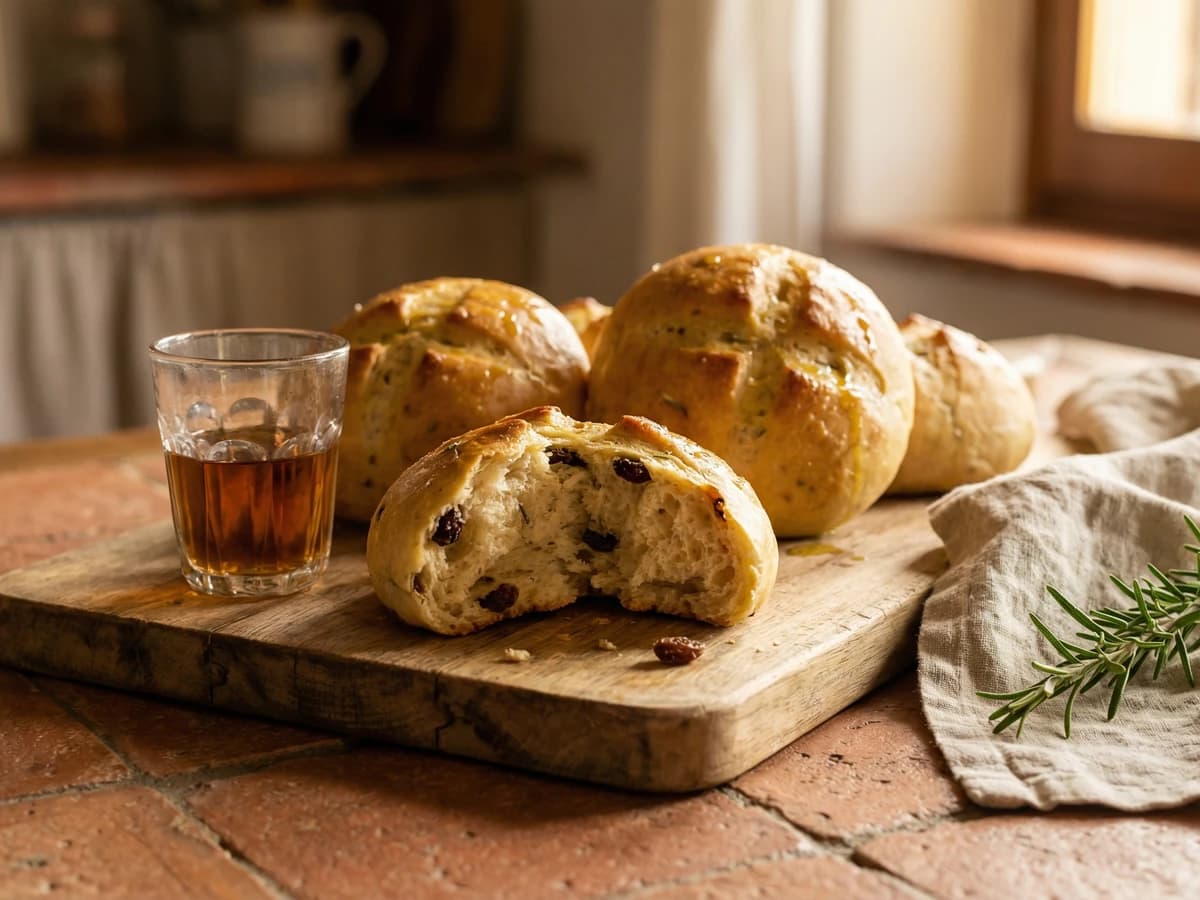
The rosemary bread of Florence, studded with raisins plumped in vin santo, baked in homes across Tuscany on Holy Thursday as they have been for centuries.

Chef Juliette
Pâte à brioche ordinaire teaches enriched dough properly: wake the leaven, build strength before the last egg, then work in pliable butter by stages and let one long fermentation do its quiet work.

Chef Juliette
Ordinary brioche takes one exact measure of butter and a patient rise in the mould, becoming so light and silken that it can cradle fruit without losing its tender crumb.