
Chef Lesia
Arnautka (арнаутка, southern durum-wheat loaf)
Durum wheat makes bread the color of late steppe sun: golden, firm, nutty, and strong enough to hold salo, tomato juice, and green sunflower oil without collapsing.
A cooking platform built around craft, culture, and the stories behind what we eat.
Created by
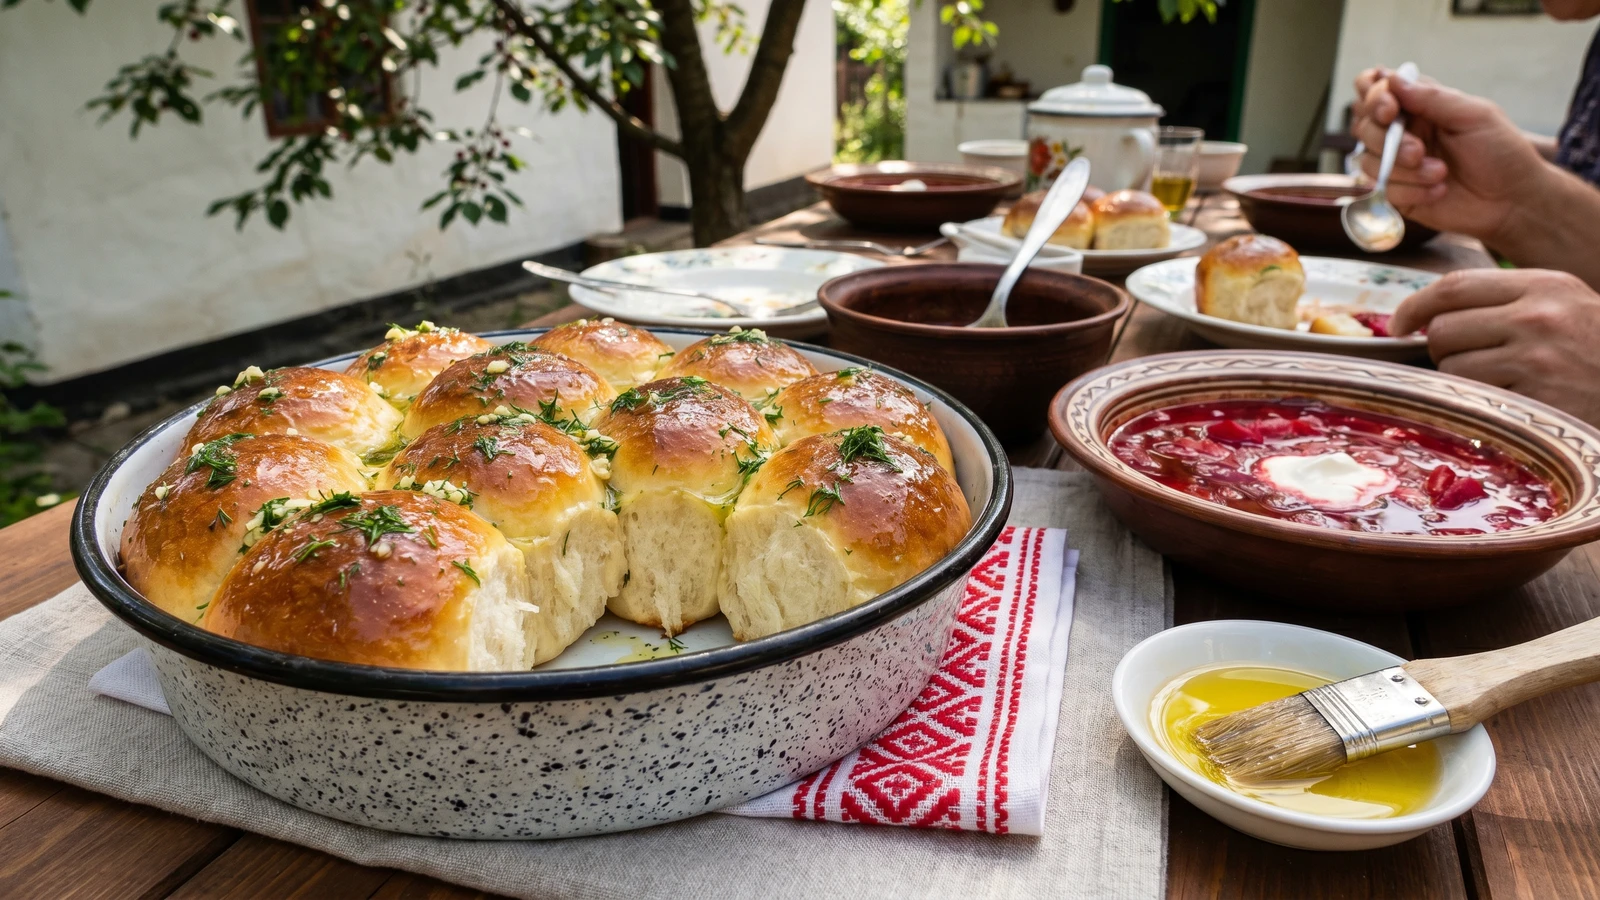
Small golden buns crowd the tin until they rise into each other's shoulders, then take raw garlic and green sunflower oil like a blessing and a threat.
Small golden buns are not polite bread. They crowd the tin until their sides press together, bake into one soft pull-apart crown, then take raw garlic crushed into green sunflower oil while the crust is still warm enough to drink it in. The smell reaches the table first. Good. That is their job.
The one thing that decides them is the poolish. Flour, water, and a pinch of yeast sit overnight in the fridge and do the slow work while you sleep, building a deeper wheat smell and a softer crumb than a hurried dough can give you. Aunt Nadia would have written only "leave it until it sounds right," which is comedy if you are thirteen and furious at bread, but by morning you'll see the answer: bubbles at the surface, a loose wobble, a faint beer smell.
These belong beside borshch, and the spelling matters. Tear one open, let the dill-green oil shine on your fingers, and drag the crumb through the beet-red bowl. Make twelve. That is enough for eight guests or one hungry Ukrainian.
Pampushky sit in the wheat-and-sunflower belt of central and southern Ukraine, where soft yeast buns and unrefined sunflower oil became everyday companions to the borshch pot. The word is related to pampukh, an older Ukrainian name for small round fried or baked festive breads, but the garlic-brushed version is most firmly known today as the bun served with borshch. Soviet canteens made the pairing seem standardized, yet home cooks kept the better rule alive: the garlic oil goes on raw, loud, and green.
Quantity
150g
for the poolish
Quantity
150g
for the poolish
Quantity
1/4 teaspoon
for the poolish
Quantity
350g
Quantity
120ml
Quantity
1
Quantity
1 teaspoon
Quantity
1 teaspoon
Quantity
1 tablespoon
Quantity
30g
Quantity
1
beaten with 1 teaspoon milk, for glazing
Quantity
4 large
crushed to a paste
Quantity
4 tablespoons
Quantity
1 small handful
finely chopped
Quantity
1 pinch
for the garlic oil
| Ingredient | Quantity |
|---|---|
| strong white bread flourfor the poolish | 150g |
| cool waterfor the poolish | 150g |
| dried yeastfor the poolish | 1/4 teaspoon |
| strong white bread flour | 350g |
| warm milk | 120ml |
| large egg | 1 |
| dried yeast | 1 teaspoon |
| fine sea salt | 1 teaspoon |
| sugar | 1 tablespoon |
| soft unsalted butter | 30g |
| egg yolkbeaten with 1 teaspoon milk, for glazing | 1 |
| garlic clovescrushed to a paste | 4 large |
| unrefined green sunflower oil | 4 tablespoons |
| fresh dillfinely chopped | 1 small handful |
| flaky saltfor the garlic oil | 1 pinch |
The night before, stir 150g flour, 150g cool water, and 1/4 teaspoon yeast into a loose batter. Cover and put it in the fridge for 8 to 12 hours. By morning it should be bubbled, slack, and faintly beery, with that good bakery smell just beginning.
Scrape the poolish into a bowl and add the remaining flour, warm milk, egg, yeast, salt, and sugar. Mix until no dry flour is hiding at the bottom, then knead in the soft butter. Work the dough until it turns smooth and elastic, soft under your palms but not gluey.
Cover the dough and leave it somewhere warm until it grows almost double and looks full of breath. Press it gently with one floury finger; the mark should fill back slowly, not spring away at once. If your kitchen is cold, it will take its time. Dough has never cared about your diary.
Turn the dough onto a lightly floured surface and divide it into 12 pieces. Roll each piece under your cupped hand until the top tightens into a smooth little dome. Set them close together in a buttered round tin or enamel baking dish, close enough that they will rise into each other's shoulders.
Cover the tin and let the buns puff until they touch and wobble together when you nudge the pan. Brush the tops with the egg yolk and milk glaze. Be gentle here; you spent the whole morning teaching them to breathe.
Bake at 200C until the tops are deep golden and the joined buns sound hollow when tapped at the edge, about 20 to 22 minutes. They should lift as one piece, with pale soft sides where they held onto each other in the tin.
While the buns are still hot from the oven, stir the crushed garlic, sunflower oil, dill, and flaky salt together. Brush it over every dome and let it run into the seams. Raw garlic is the point. Cook it and you make it sweet; leave it raw and the pampushky speak properly.
1 serving (about 75g)
Culinary guides, cultural storytelling, and the editorial depth that makes cooking meaningful.
Discover Culinary ExplorerChef Lesia
Durum wheat makes bread the color of late steppe sun: golden, firm, nutty, and strong enough to hold salo, tomato juice, and green sunflower oil without collapsing.

Chef Lesia
A proper hearth loaf announces itself before you cut it: dark crust, hollow knock, flour caught in the blisters, and that deep oven smell that makes people move closer.
Chef Lesia
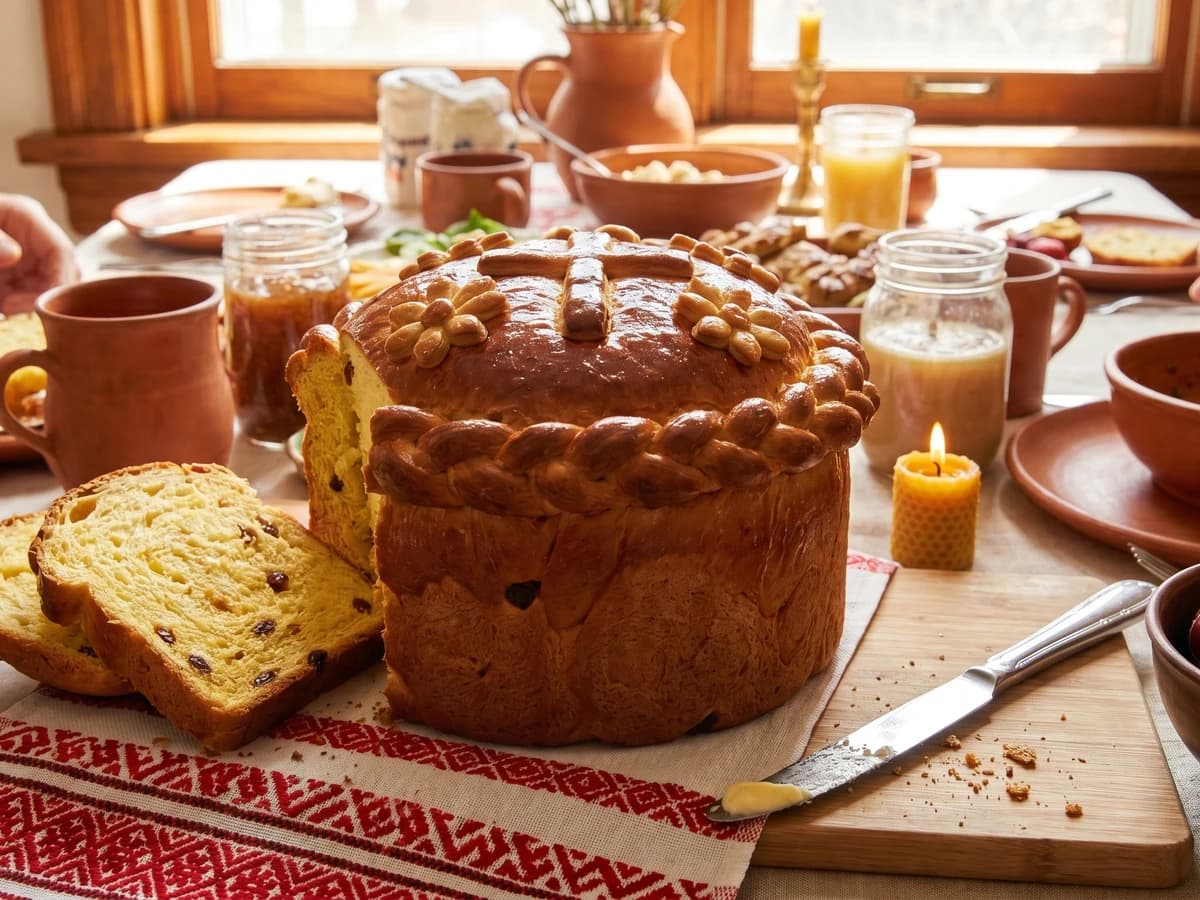
This is the Easter bread that climbs upward before it spreads out, a golden tower of eggs, butter, braids, flowers and crosses from Bukovyna's western table.
Chef Lesia
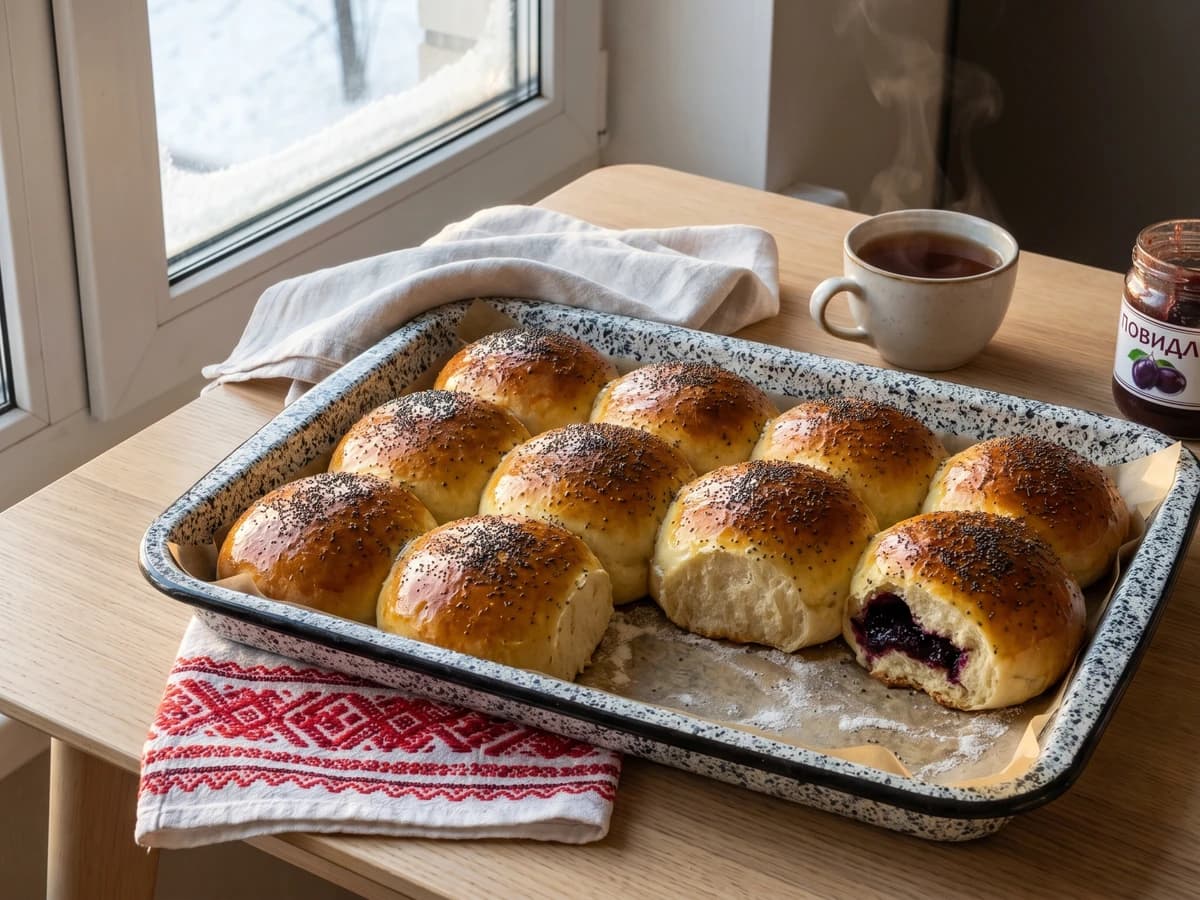
The sweetest part of bulochky is not sugar but milk: it makes a dough that pulls apart in pale threads, ready to stay plain or hide a spoon of thick povydlo.