
Chef Lesia
Arnautka (арнаутка, southern durum-wheat loaf)
Durum wheat makes bread the color of late steppe sun: golden, firm, nutty, and strong enough to hold salo, tomato juice, and green sunflower oil without collapsing.
A cooking platform built around craft, culture, and the stories behind what we eat.
Created by
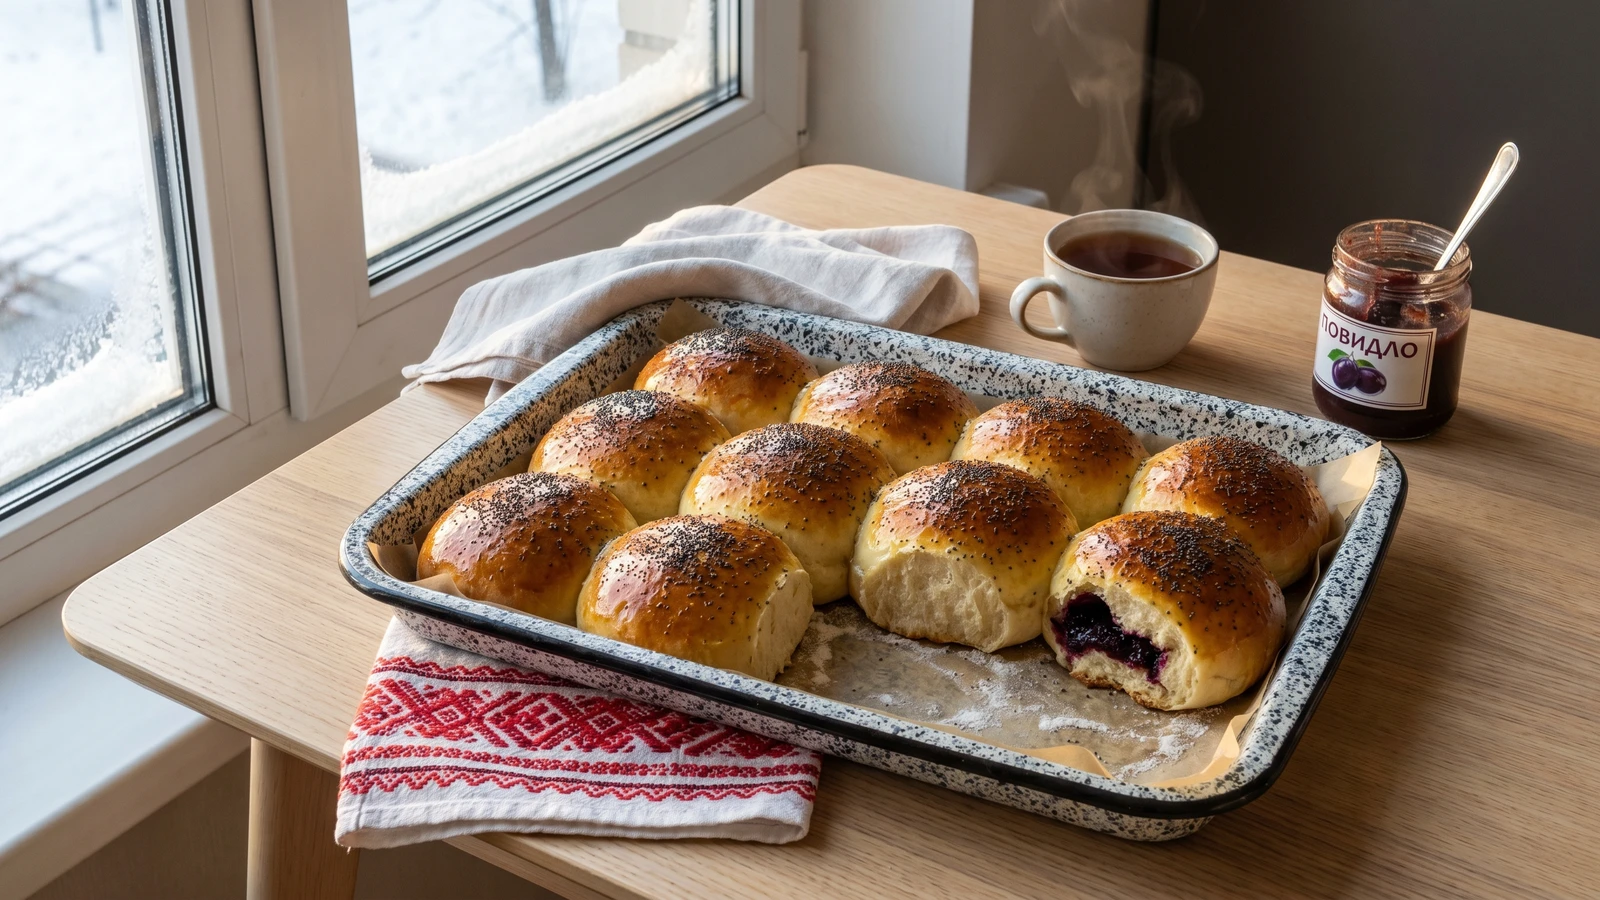
The sweetest part of bulochky is not sugar but milk: it makes a dough that pulls apart in pale threads, ready to stay plain or hide a spoon of thick povydlo.
The smell gives them away before the tray reaches the table. Milk, butter, vanilla sugar, yeast waking up, then that glossy brown top that tells every child in the flat there is something soft waiting under a towel. Bulochky are not ceremony bread. They are weekday bread with a sweet face, the bun wrapped in a napkin for school, the tray a grandmother makes by the dozen because six buns is only a rehearsal.
The one thing that decides them is softness. Milk brings tenderness, butter shortens the crumb, and the towel after baking traps just enough moisture so the crust stays gentle instead of crisp. Don't bury the dough in flour because a number frightened you. Stop when it is soft, slightly tacky, and stretches under your hands, what Aunt Nadia would have called "like an earlobe" before writing no quantity at all.
If you fill them, use povydlo, thick fruit butter, not loose jam. It should sit on the spoon in a mound and behave itself inside the dough. Plum is my favourite when winter gets mean, apricot in the south when the trees have been generous, apple when that is what the shelf gives you. This is smak dytynstva, the taste of childhood, but childhood still has to be baked by somebody. Today that's you.
Bulochky, the plural of bulochka, sit in Ukraine's town-bakery and home-oven tradition rather than one single village ritual; every region has its own sweet yeast dough habits, from central poppyseed rolls to southern buns filled with apricot or plum povydlo. In the nineteenth and twentieth centuries, as commercial yeast and white flour became ordinary in city markets, small milk buns moved easily between bakeries, school bags, and grandmother's trays. Soviet state bakeries fixed them by weight and shape, but the home version stayed more generous: softer dough, egg gloss, and filling thick enough not to run.
Quantity
250ml
warmed to body temperature
Quantity
7g
Quantity
70g
Quantity
500g, plus 30 to 50g more only if needed
Quantity
10g vanilla sugar or 1 teaspoon extract
Quantity
1 teaspoon
Quantity
1 large egg and 1 egg yolk
room temperature, for the dough
Quantity
70g
softened
Quantity
1 teaspoon
for the bowl
Quantity
250g
cold
Quantity
1 egg beaten with 1 tablespoon milk
for glazing
Quantity
1 tablespoon
Quantity
30g
for brushing after baking
| Ingredient | Quantity |
|---|---|
| whole milkwarmed to body temperature | 250ml |
| instant yeast or active dry yeast | 7g |
| caster sugar | 70g |
| strong white flour | 500g, plus 30 to 50g more only if needed |
| vanilla sugar or vanilla extract | 10g vanilla sugar or 1 teaspoon extract |
| fine sea salt | 1 teaspoon |
| egg and egg yolkroom temperature, for the dough | 1 large egg and 1 egg yolk |
| unsalted buttersoftened | 70g |
| neutral sunflower oilfor the bowl | 1 teaspoon |
| thick povydlo (plum, apple, or apricot fruit butter) (optional)cold | 250g |
| egg and milkfor glazing | 1 egg beaten with 1 tablespoon milk |
| poppy seeds (optional) | 1 tablespoon |
| melted butterfor brushing after baking | 30g |
Stir the warm milk with the yeast and a spoonful of the sugar. Leave it until the surface looks creamy and small bubbles gather at the edges. The milk should feel warm against your finger, not hot; if it bites, let it cool before the yeast goes in.
In a large bowl, mix the flour, remaining sugar, vanilla sugar, and salt. Add the yeast milk, egg, and egg yolk, then stir until the dough comes together in rough pieces. Work in the soft butter a little at a time. Hold back extra flour unless the dough is truly sticking to everything; softness lives in that moisture.
Knead by hand on a barely floured table, or with a dough hook, until the dough turns smooth and elastic. It should feel alive under your palms, soft and slightly tacky, stretching before it tears when you pull a corner. If it smears, add flour by the spoonful, not the fistful.
Rub a clean bowl with the sunflower oil, tuck the dough inside, cover it, and leave it until doubled and puffy. Your kitchen decides the clock. Look for a dough that smells milky-sweet and yeasty, with a finger dent that fills slowly instead of springing back at once.
Turn the dough onto the table and divide it into 18 pieces. For plain buns, tuck each piece into a tight ball. For filled buns, flatten one piece into a small disc, set a teaspoon of cold povydlo in the centre, then pinch the dough closed around it like a little purse. Put the buns seam side down on a lined baking tray, with room to swell.
Cover the shaped buns and leave them until puffed, light, and just a little wobbly when you nudge the tray. Brush gently with the beaten egg and milk, then scatter poppy seeds over some of the tops if you like. Use a soft hand here; filled buns can split if you bully them.
Bake at 190C, or 170C fan, until the tops are lacquered deep gold, the sides are pale-gold, and the bottoms sound hollow when tapped. Start checking when the kitchen smell changes from raw yeast to sweet baked milk. Brush the hot buns with melted butter, cover them with a clean towel, and let them sit until the crust softens. That towel is not decoration. It is part of the bun.
1 serving (about 65g)
Culinary guides, cultural storytelling, and the editorial depth that makes cooking meaningful.
Discover Culinary ExplorerChef Lesia
Durum wheat makes bread the color of late steppe sun: golden, firm, nutty, and strong enough to hold salo, tomato juice, and green sunflower oil without collapsing.

Chef Lesia
A proper hearth loaf announces itself before you cut it: dark crust, hollow knock, flour caught in the blisters, and that deep oven smell that makes people move closer.
Chef Lesia
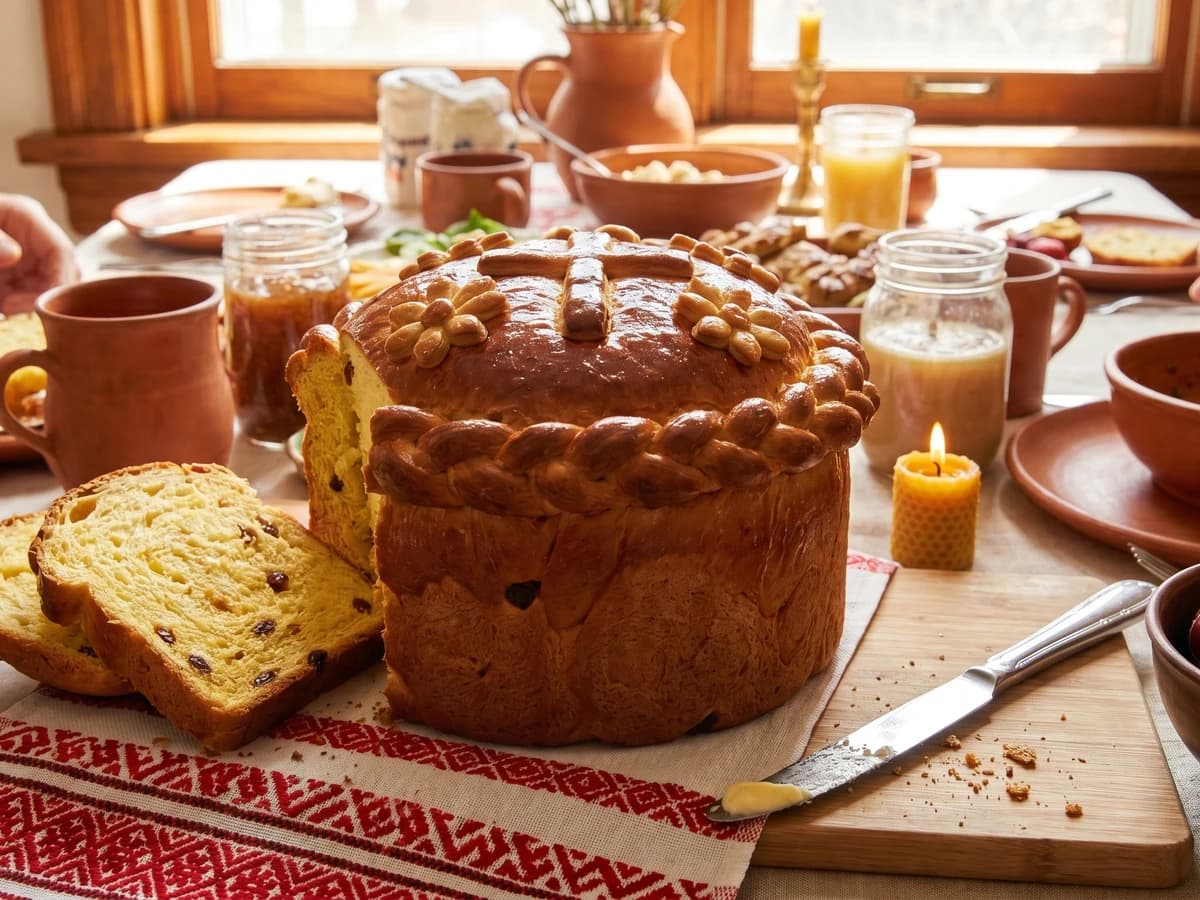
This is the Easter bread that climbs upward before it spreads out, a golden tower of eggs, butter, braids, flowers and crosses from Bukovyna's western table.

Chef Lesia
This is the loaf that does not perform for you. Dark-crusted, close-crumbed, faintly sour, it sits on the board all week and makes butter, soup, and salo behave.