
Chef Margarida
Areias de Cascais
The sand cookies of Cascais, where three simple ingredients become something that melts on your tongue and sparkles like the beach at sunset. Butter, flour, sugar. That's all. That's enough.
A cooking platform built around craft, culture, and the stories behind what we eat.
Created by
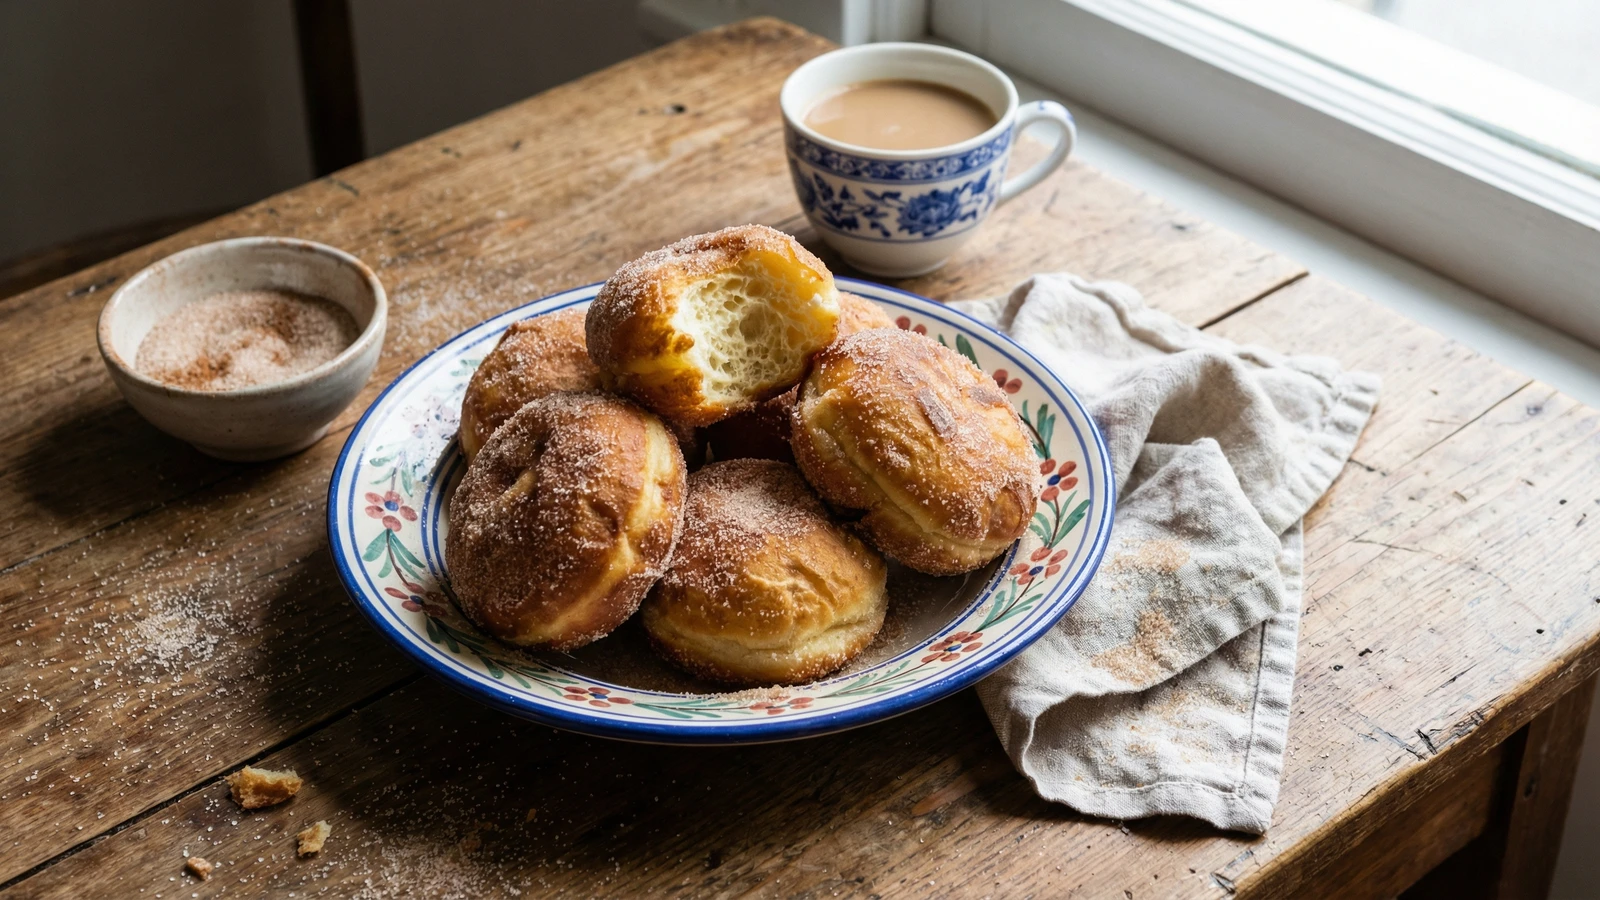
Azorean fried dough that puffs into golden pillows, rolled in cinnamon sugar while still warm. The taste of Carnival, of celebration, of using every good thing in the kitchen before the fasting begins.
In the Azores, the day before Lent begins, kitchens fill with the smell of frying dough and cinnamon. Terça-feira Gorda, Fat Tuesday. The day you use up everything rich in the house: the butter, the eggs, the sugar. The day you feast before the fasting.
Malassadas are that feast made tangible. Soft yeasted dough, fried until golden and hollow inside, then rolled in sugar and cinnamon while still warm enough to make the coating stick. They're imperfect by design, stretched by hand into uneven shapes that puff and blister in the hot oil. No two look the same. That's how you know they're real.
I learned about malassadas not from Avó Leonor (she was Alentejana, not Açoriana) but from the grandmothers I documented on São Miguel and Terceira. They make them by feel, pinching off dough without weighing, testing oil temperature with a fingertip of batter. They've been doing this since they were children, standing on stools beside their own grandmothers. The recipe travels through hands, not books.
The Azorean diaspora carried malassadas to Hawaii, where they became Leonard's Bakery and local tradition. But the heart of the recipe remains on those green islands in the Atlantic, where Carnival still means dough rising on the counter and oil heating on the stove.
Malassadas arrived in the Azores from mainland Portugal, likely in the 15th or 16th century, though their exact origins are debated. The tradition of frying rich dough before Lent is common across Catholic Europe, but the Azorean version became distinct. When Portuguese workers emigrated to Hawaii's sugar plantations in the 1800s, they brought malassadas with them, and the doughnut became a Hawaiian institution, served year-round at bakeries and lunch wagons.
Quantity
500g
plus more for dusting
Quantity
7g
Quantity
100g
Quantity
1/2 teaspoon
Quantity
4 large
at room temperature
Quantity
60g
melted and cooled
Quantity
180ml
warmed to lukewarm
Quantity
1
zested
Quantity
about 1.5 liters
for frying
Quantity
200g
mixed with cinnamon for coating
Quantity
2 tablespoons
mixed with sugar for coating
| Ingredient | Quantity |
|---|---|
| all-purpose flourplus more for dusting | 500g |
| instant yeast | 7g |
| granulated sugar | 100g |
| fine sea salt | 1/2 teaspoon |
| eggsat room temperature | 4 large |
| unsalted buttermelted and cooled | 60g |
| whole milkwarmed to lukewarm | 180ml |
| lemonzested | 1 |
| vegetable oil or light olive oilfor frying | about 1.5 liters |
| granulated sugarmixed with cinnamon for coating | 200g |
| ground cinnamonmixed with sugar for coating | 2 tablespoons |
In a large bowl, whisk together the flour, yeast, sugar, and salt. In a separate bowl, beat the eggs lightly, then add the melted butter, warm milk, and lemon zest. Pour the wet ingredients into the dry and stir with a wooden spoon until a shaggy dough forms. This dough is meant to be soft and sticky. Don't be tempted to add more flour. The stickiness is what makes malassadas light.
Turn the dough onto a lightly floured surface and knead for 8 to 10 minutes. It will start sticky and difficult, then gradually become smooth and elastic. Use a bench scraper to help you manage it at first. When it's ready, it should bounce back when you poke it and feel alive in your hands. Alternatively, use a stand mixer with the dough hook on medium-low for 6 to 7 minutes.
Shape the dough into a ball and place it in a lightly oiled bowl. Cover with a clean kitchen towel or plastic wrap. Let it rise in a warm spot until doubled in size, about 1.5 to 2 hours. Avó Leonor always put hers near the stove, where the pilot light kept things warm. The dough should be puffy and soft when you press it.
Punch down the risen dough gently. Oil your hands lightly and pinch off pieces about the size of a golf ball, roughly 50 grams each. Shape each piece into a rough ball, then stretch it slightly into an oval or irregular disk. Don't worry about perfection. Malassadas should look handmade, a little uneven, a little rustic. Place them on oiled parchment paper, leaving space between each. Cover and let rest for 20 minutes while you heat the oil.
Pour the oil into a heavy pot or Dutch oven to a depth of about 8 cm. Heat to 170°C (340°F). Use a thermometer. Too hot and they'll brown before cooking through. Too cool and they'll absorb oil and turn greasy. The temperature matters more than almost anything else here.
Working in batches of 3 or 4, carefully lower the shaped dough into the hot oil. Fry until deep golden brown on the bottom, about 2 minutes, then flip and fry another 2 minutes. They should puff up beautifully, hollow in the center like a pillow. Lift them out with a slotted spoon and drain briefly on paper towels. Keep the oil temperature steady between batches.
While still warm, toss each malassada in the cinnamon sugar mixture, turning to coat completely. The warmth helps the sugar stick. Serve immediately. Malassadas wait for no one. They're best eaten within minutes of frying, while the outside is still slightly crisp and the inside is soft as a cloud.
1 serving (about 55g)
Culinary guides, cultural storytelling, and the editorial depth that makes cooking meaningful.
Discover Culinary ExplorerChef Margarida
The sand cookies of Cascais, where three simple ingredients become something that melts on your tongue and sparkles like the beach at sunset. Butter, flour, sugar. That's all. That's enough.

Chef Margarida
The Christmas turnovers of Alentejo, where humble chickpeas become something miraculous inside a crispy shell. Proof that Portuguese grandmothers could turn anything into celebration.

Chef Margarida
The butter cookies of the Azores, shaped into golden rings by island grandmothers who knew that the best things in life are simple: good butter, fresh eggs, and a cup of strong coffee.

Chef Margarida
The almond cookies of the Algarve, where Moorish orchards still bloom white against blue January skies. Three ingredients, centuries of tradition, the taste of southern Portugal in every tender bite.