
Chef Takumi
Anpan (あんぱん)
Anpan is not a pastry trick. It is soft bread, sweet azuki, and a careful seal, so the bean paste stays centered while the bun rises round and tender.
A cooking platform built around craft, culture, and the stories behind what we eat.

Created by
Jam pan is plain kashi-pan comfort: a soft milk bun, a bright spoonful of jam, and one careful seal that keeps the filling where it belongs.
Jam looks harmless until it meets a hot oven. Then it remembers it's mostly fruit, sugar, and impatience. Jam pan asks for a soft milk dough and a filling sealed neatly enough that the bun bakes clean, with the sweetness waiting inside rather than escaping onto the tray.
This is kashi-pan, sweet bread, not dessert dressed as bread. The dough should be tender but not rich to the point of heaviness, because the jam needs a quiet room around it. Apricot is the old and excellent choice, tart enough to keep the bun awake. Strawberry is common now and very good if it tastes of fruit first and sugar second.
The detail that decides it is thickness. Use a firm jam, or cook a loose one briefly until it mounds on a spoon. A watery filling pushes through the dough and weeps no matter how piously you pinch the seam, and piety is not a baking technique. Cool the filling, seal the dough with dry edges, and set the seam underneath. That's the whole secret.
We eat jam pan as one of the everyday sweet breads of Japan, tucked into a school bag, a picnic basket, or a quiet afternoon with tea. It isn't difficult. It is only unfamiliar in its restraint: soft bread, honest fruit, nothing hidden.
Jam pan is credited to Kimuraya Sohonten in Ginza, which introduced it in 1900 after its anpan had already made filled sweet buns part of Meiji-period urban life. It became one of the classic kashi-pan trio, usually named with anpan and cream pan, and early versions are closely associated with apricot jam. The form reflects a particular Japanese bakery idea: Western-style bread adapted into a soft, portable sweet for daily eating.
Quantity
280g
plus more for dusting
Quantity
20g
Quantity
30g
Quantity
5g
Quantity
5g
Quantity
160g
lukewarm
Quantity
1
beaten and divided
Quantity
35g
softened
Quantity
200g
Quantity
1 teaspoon
Quantity
1 teaspoon
for egg wash
| Ingredient | Quantity |
|---|---|
| bread flourplus more for dusting | 280g |
| cake flour | 20g |
| sugar | 30g |
| fine sea salt | 5g |
| instant yeast | 5g |
| whole milklukewarm | 160g |
| large eggbeaten and divided | 1 |
| unsalted buttersoftened | 35g |
| firm apricot or strawberry jam | 200g |
| lemon juice (optional) | 1 teaspoon |
| milkfor egg wash | 1 teaspoon |
Put the jam in a small pan. If it runs like syrup, cook it over low heat for three to five minutes, stirring, until it mounds softly on a spoon. Cool it completely. A loose filling turns to liquid in the oven and searches for any weak place in the seal.
Combine the bread flour, cake flour, sugar, salt, and yeast in a bowl. Add the milk and about half the beaten egg, reserving the rest for glazing. Mix until no dry flour remains. The cake flour softens the bite, while bread flour gives enough strength to hold the filling.
Knead the dough until it begins to smooth out, then work in the softened butter a little at a time. Keep kneading until the dough is elastic, slightly tacky, and can stretch without tearing at once. Butter goes in after the flour is hydrated because fat coats flour and slows gluten if it arrives too early.
Shape the dough into a ball, cover it, and let it rise in a warm place until doubled, about 60 to 75 minutes. Press it gently with a floured finger. If the dent fills slowly, the dough is ready. If it springs back hard, give it more time.
Turn the dough out and divide it into 8 equal pieces, about 65g each. Round each piece, cover, and rest for 15 minutes. This short rest relaxes the dough so it rolls open without fighting you, which makes a cleaner seal.
Flatten one piece into a 10cm round, leaving the center a little thicker than the edge. Spoon 25g of cold jam into the middle. Bring the edges together and pinch firmly until the seam is dry and tight. Keep jam off the rim, because sugar on the edge prevents dough from sticking to dough.
Set each bun seam-side down on a parchment-lined tray, spaced well apart. Cover and proof until puffy and almost doubled, about 35 to 45 minutes. The seam goes underneath so the bun's own weight helps hold it closed as the dough expands.
Heat the oven to 180 C. Mix the remaining beaten egg with 1 teaspoon milk and brush the buns lightly. Bake for 13 to 15 minutes, until evenly golden on top. A light glaze gives the familiar bakery shine without making the crust tough.
Move the buns to a rack and cool at least 20 minutes before opening one. Hot jam burns fiercely and tastes dull while it is molten. Warm, not blazing, is when the fruit returns to itself.
1 serving (about 90g)
Culinary guides, cultural storytelling, and the editorial depth that makes cooking meaningful.
Discover Culinary ExplorerChef Takumi
Anpan is not a pastry trick. It is soft bread, sweet azuki, and a careful seal, so the bean paste stays centered while the bun rises round and tender.
Chef Takumi
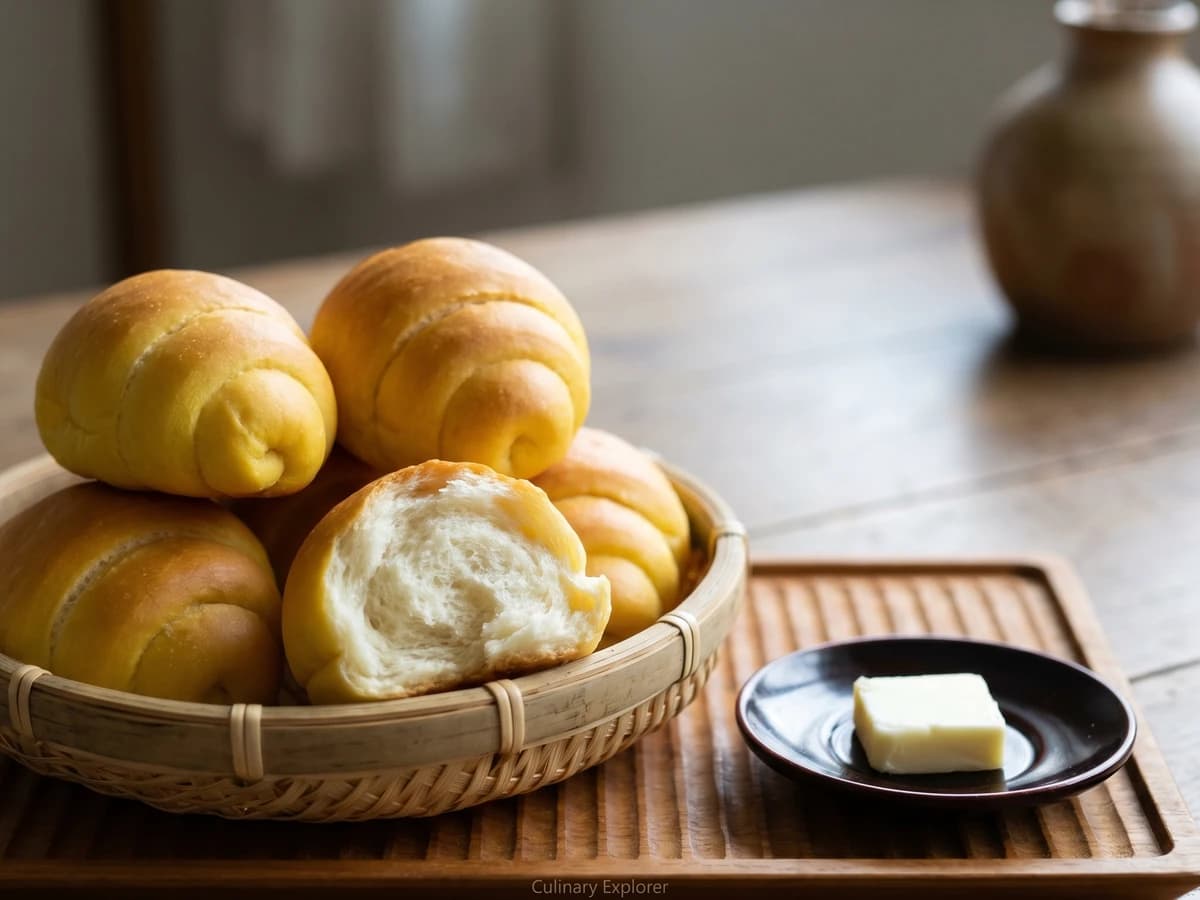
A panya staple made reachable: soft milk dough rolled wide-to-narrow into its little horn shape, proofed until light, then brushed with egg for that quiet gold crust.

Chef Takumi
Chigiri-pan is bread made small on purpose: soft enriched dough portioned into neat balls, crowded in a square tin, and baked until every tender roll tears away with its own golden edge.

Chef Takumi
Choco cornet looks clever, which is how bakery bread frightens sensible people. Wrap a soft rope around a cone, bake it golden, then pipe in chocolate cream only after the shell is cool.