
Chef Takumi
Anpan (あんぱん)
Anpan is not a pastry trick. It is soft bread, sweet azuki, and a careful seal, so the bean paste stays centered while the bun rises round and tender.
A cooking platform built around craft, culture, and the stories behind what we eat.
Created by
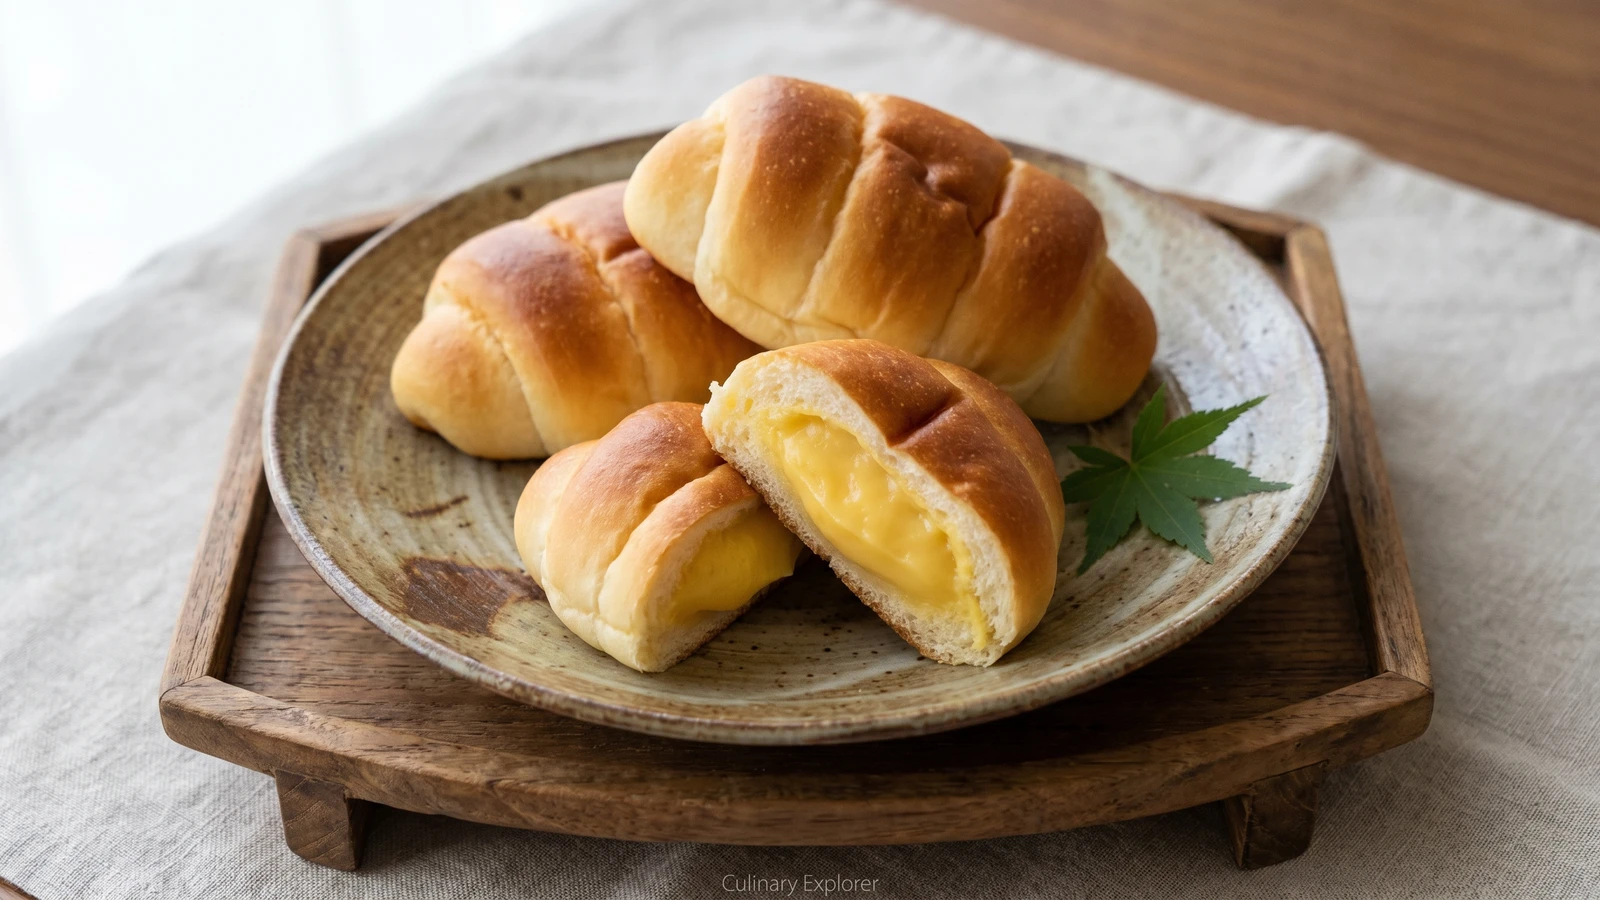
Cream pan asks for two calm things: a custard thick enough to stay put, and a soft dough sealed with patience. Do that, and the little glove-shaped bun behaves.
Cream pan looks like bakery work, and that makes people stand too far away from it. Come closer. It is only a soft milk dough wrapped around thick custard, cut with a few little fingers so the bun opens like a glove. The shape is charming, yes, but charm is never enough to hold cream inside bread. The seal is the cook.
The first secret is the custard. Make it thicker than spooning custard, glossy and heavy, because the oven will warm it and test every weak place in the dough. Chill it before filling. Warm custard softens the dough and makes sealing miserable, and then everyone blames the bun, poor thing.
The dough should be tender, not rich to the point of collapse. Knead it until smooth, give it time to rise, then divide it evenly so each bun bakes at the same pace. When you fold the dough over the cream, press the edge firmly and leave a margin clear of filling. That plain little margin is what keeps the custard where it belongs.
Cream pan belongs to the Japanese bakery case, not the formal washoku tray, but it carries the same lesson we use everywhere: nothing hidden. A pale, pillowy skin, a cool vanilla-warm cream, and one clean bite from the spine in. Honmono is often less complicated than its reputation, provided you respect the part that decides it.
Cream pan is closely associated with Nakamuraya, the Tokyo bakery founded by Aizō and Kokkō Sōma, which introduced the custard-filled bun in 1904 after adapting the idea of a cream-filled puff to bread dough. The glove-like shape became a familiar form because the cut fingers helped distinguish the filling and gave the sealed bun room to expand as it baked. The word pan itself is older, from Portuguese pão, a trace of sixteenth-century contact that later found new life in Meiji-era Japanese bakeries.
Quantity
250g
plus more for dusting
Quantity
30g
Quantity
4g
Quantity
4g
Quantity
120ml
lukewarm
Quantity
1
beaten and divided
Quantity
35g
softened
Quantity
250ml
for custard
Quantity
3
Quantity
50g
for custard
Quantity
20g
Quantity
1 teaspoon
Quantity
15g
for custard
Quantity
1 teaspoon
for egg wash
| Ingredient | Quantity |
|---|---|
| bread flourplus more for dusting | 250g |
| granulated sugar | 30g |
| fine sea salt | 4g |
| instant yeast | 4g |
| whole milklukewarm | 120ml |
| large eggbeaten and divided | 1 |
| unsalted buttersoftened | 35g |
| whole milkfor custard | 250ml |
| large egg yolks | 3 |
| granulated sugarfor custard | 50g |
| cake flour or cornstarch | 20g |
| vanilla extract | 1 teaspoon |
| unsalted butterfor custard | 15g |
| milkfor egg wash | 1 teaspoon |
Warm the 250ml milk until small bubbles gather at the edge. In a bowl, whisk the yolks, 50g sugar, and cake flour until pale and smooth. Pour in the warm milk slowly while whisking, then return everything to the pan and cook over medium-low heat, stirring constantly, until thick, glossy, and able to hold a line from the spoon. It must be thicker than a pouring custard, because thin cream will run when the bun bakes.
Take the custard off the heat and stir in the vanilla and 15g butter until smooth. Spread it on a shallow tray, press plastic wrap directly onto the surface, and chill until cold and firm, at least 1 hour. The wrap prevents a skin, and the shallow tray cools it quickly so the custard won't soften the dough later.
In a bowl, combine the bread flour, 30g sugar, salt, and yeast. Add the lukewarm milk and about half the beaten egg, reserving the rest for the egg wash. Mix until no dry flour remains, then knead until the dough begins to smooth out. Add the softened butter and knead again until the dough is supple, elastic, and only lightly tacky.
Shape the dough into a ball, set it in a lightly buttered bowl, cover, and let it rise in a warm place until doubled, about 60 to 75 minutes. The dough should look puffy and relaxed, and a floured fingertip pressed into it should leave an indentation that slowly eases back.
Turn the dough onto a lightly floured surface and divide it into 8 equal pieces, about 50g each. Shape each piece into a small ball, cover, and rest for 15 minutes. This rest is not idleness. It lets the gluten loosen, so the dough rolls out without snapping back and squeezing the custard later.
Roll one dough ball into an oval about 12cm long. Spoon 30 to 35g chilled custard onto one half, keeping a clean border around the edge. Fold the dough over the custard, press the edge firmly to seal, then use a bench scraper or knife to cut 4 short slits into the rounded sealed edge, making the glove shape. Do not cut into the custard pocket. The slits help the outer edge expand neatly, while the uncut spine keeps the cream held inside.
Set the filled buns on a parchment-lined baking sheet, leaving space between them. Cover loosely and proof until slightly puffy, 30 to 40 minutes. Mix the reserved beaten egg with 1 teaspoon milk and brush the tops lightly. A thin glaze gives color without weighing down the soft skin.
Bake at 180 C for 15 to 18 minutes, until the buns are golden on top and pale gold along the sides. Cool on a rack until just warm, then let them cool fully if you want the custard to set cleanly before biting. Eat from the uncut spine toward the fingers, the neat way to meet the cream first without chasing it across the table.
1 serving (about 100g)
Culinary guides, cultural storytelling, and the editorial depth that makes cooking meaningful.
Discover Culinary ExplorerChef Takumi
Anpan is not a pastry trick. It is soft bread, sweet azuki, and a careful seal, so the bean paste stays centered while the bun rises round and tender.
Chef Takumi
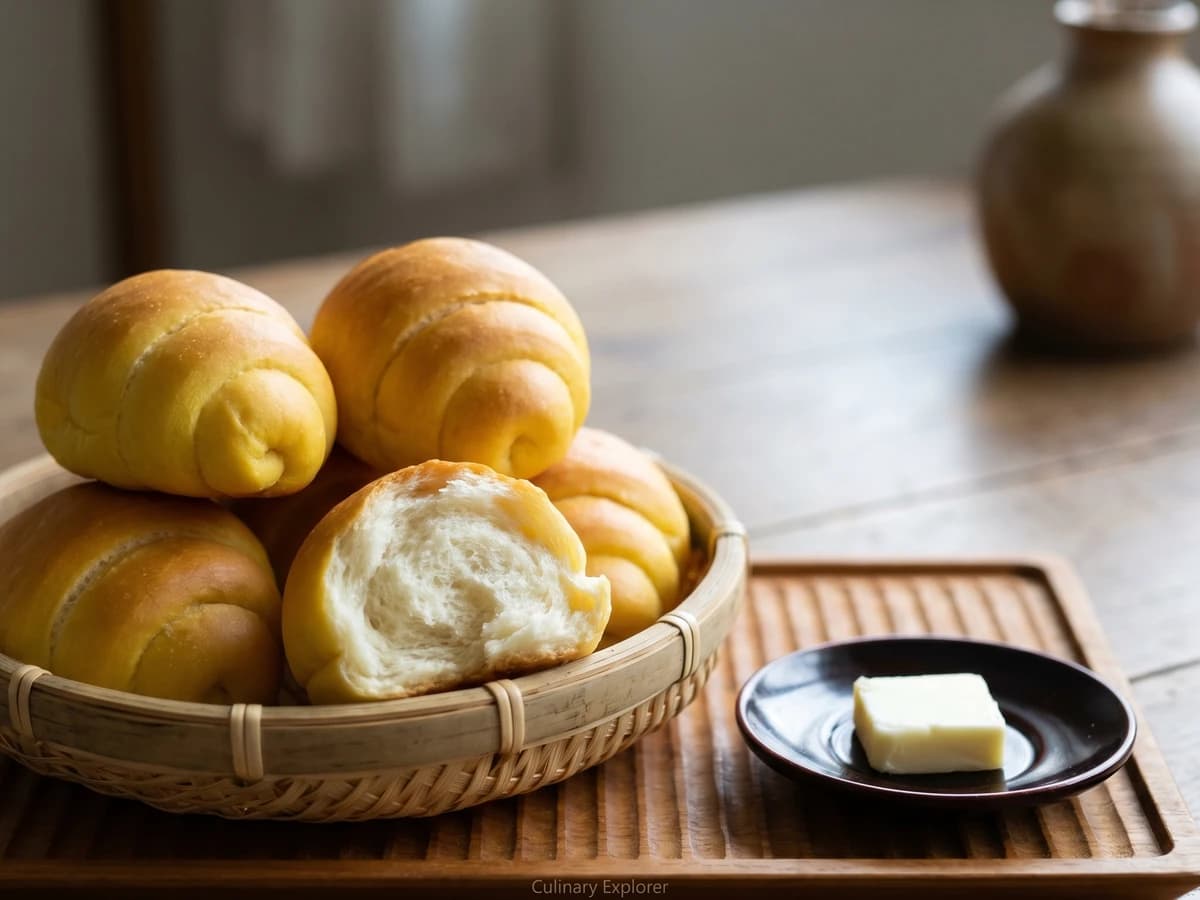
A panya staple made reachable: soft milk dough rolled wide-to-narrow into its little horn shape, proofed until light, then brushed with egg for that quiet gold crust.

Chef Takumi
Chigiri-pan is bread made small on purpose: soft enriched dough portioned into neat balls, crowded in a square tin, and baked until every tender roll tears away with its own golden edge.

Chef Takumi
Choco cornet looks clever, which is how bakery bread frightens sensible people. Wrap a soft rope around a cone, bake it golden, then pipe in chocolate cream only after the shell is cool.