
Chef Takumi
Anpan (あんぱん)
Anpan is not a pastry trick. It is soft bread, sweet azuki, and a careful seal, so the bean paste stays centered while the bun rises round and tender.
A cooking platform built around craft, culture, and the stories behind what we eat.
Created by
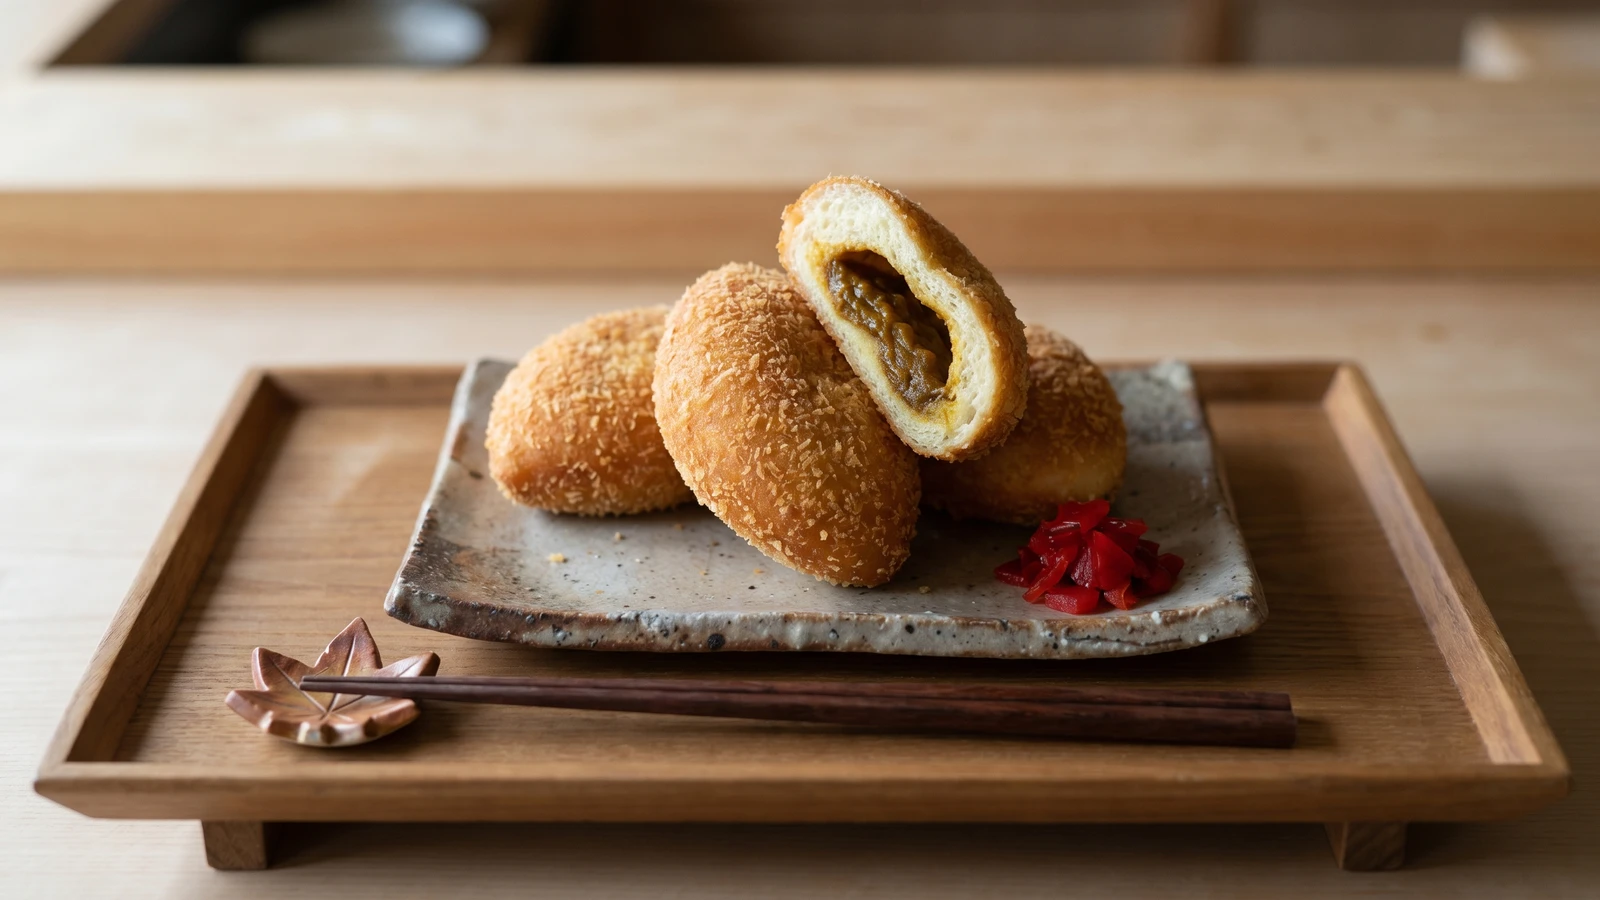
Curry pan looks like bakery magic, but it is only cooled curry, patient sealing, and oil at the right heat. Keep the filling thick and the bread closes around it neatly.
Curry pan frightens people for the wrong reason. They look at the breading, the frying, the hidden filling, and decide it must belong to a shop window. It doesn't. The first secret is less romantic: make the curry thick and let it cool until it holds its shape.
Hot curry is unruly. Thin curry is worse, a little flood looking for a weak seam. Cook it down until a spoon dragged through the pan leaves a clear trail, then chill it. Once the filling is firm, the dough wraps around it calmly, and the panko has a fair chance to cling. This is not difficult, only unfamiliar.
Curry pan sits in the happy corner where yōshoku, Japan's old Western-style cooking, meets the everyday bakery. We eat it as a quick lunch, a school snack, a thing bought warm and eaten before anyone becomes too dignified about it. The detail that decides the dish is the seal. Pinch it closed with dry fingers, rest it seam-side down, and give the dough time to relax before frying. Nothing hidden, except the curry where it belongs.
Curry pan is commonly traced to Tokyo's Fukagawa area in 1927, when the bakery now known as Cattlea registered and sold a fried bread filled with Japanese curry under the name yōshoku pan, or Western-style bread. Its shape brought together three Meiji and Taishō era habits that had become Japanese in practice: curry rice, soft bakery bread, and panko-coated frying. The dish remains especially tied to neighborhood bakeries, where each shop's filling is guarded less like a secret recipe than like a house accent.
Quantity
1 tablespoon
Quantity
1/2 small
finely chopped
Quantity
150g
Quantity
1 small
finely diced
Quantity
1 small
finely diced
Quantity
1 1/4 cups
Quantity
45g
chopped
Quantity
1 teaspoon
Quantity
1 teaspoon
Quantity
250g
Quantity
20g
Quantity
4g
Quantity
4g
Quantity
160ml
lukewarm
Quantity
20g
softened
Quantity
1 large
beaten
Quantity
1 1/2 cups
Quantity
for deep-frying
| Ingredient | Quantity |
|---|---|
| neutral oil | 1 tablespoon |
| onionfinely chopped | 1/2 small |
| ground beef and pork mixture, or ground beef | 150g |
| carrotfinely diced | 1 small |
| potatofinely diced | 1 small |
| dashi or water | 1 1/4 cups |
| Japanese curry rouxchopped | 45g |
| soy sauce | 1 teaspoon |
| Worcestershire sauce | 1 teaspoon |
| bread flour | 250g |
| sugar | 20g |
| fine salt | 4g |
| instant yeast | 4g |
| whole milklukewarm | 160ml |
| unsalted buttersoftened | 20g |
| eggbeaten | 1 large |
| panko | 1 1/2 cups |
| neutral oil | for deep-frying |
Warm the oil in a skillet over medium heat. Cook the onion until soft and lightly sweet, then add the meat and break it up finely. Add the carrot and potato and cook two minutes more. Pour in the dashi or water, simmer until the vegetables are tender, then stir in the chopped curry roux, soy sauce, and Worcestershire sauce. Keep cooking until the curry is thick enough that a spoon dragged through the pan leaves a clean trail.
Spread the curry in a shallow dish and cool it completely, then refrigerate until firm, at least one hour. Cold curry can be portioned cleanly and sealed inside the dough. Warm curry softens the dough from the inside and looks innocent until it escapes.
Mix the bread flour, sugar, salt, and yeast in a bowl. Add the lukewarm milk and knead until the dough comes together, then knead in the softened butter. Continue until smooth and elastic, about eight minutes by hand. The dough should feel soft but not sticky, because it needs enough strength to stretch around the filling without tearing.
Cover the dough and let it rise in a warm place until nearly doubled, about one hour. Press it gently with a floured finger. If the dent slowly fills halfway, it is ready. If it springs back at once, give it more time. Yeast works by its own clock, not ours.
Turn the dough out and divide it into eight equal pieces. Shape each into a ball, cover, and rest for ten minutes. This short rest relaxes the gluten, so the dough rolls out without snapping back like a stubborn thought.
Flatten one dough ball into an oval about 12cm long, leaving the center slightly thicker than the edges. Place a firm spoonful of curry in the middle, about 35g. Bring the long edges together and pinch tightly from one end to the other, then tuck and pinch the ends closed. Set it seam-side down and repeat.
Brush each bun lightly with beaten egg, then roll it in panko, pressing gently so the crumbs cling. Use a light hand. Too much egg makes a heavy shell, while dry patches fry pale and bare.
Set the coated buns seam-side down on parchment and let them rise for 25 to 35 minutes, until slightly puffy. They should not double. A modest rise gives a soft bread layer; too much rise makes the seal fragile and the bun drinks oil.
Heat 6cm of oil to 170°C. Fry two or three buns at a time, seam-side down first, turning gently, until deep golden and even, about three minutes per side. Keep the oil between 165°C and 175°C. Too cool and the bread grows greasy; too hot and the panko darkens before the dough cooks through.
Lift the curry pan to a rack, not paper towels, so the crust stays crisp all around. Rest five minutes before eating. The filling stays very hot, and patience here is cheaper than a burned tongue. Serve warm, with the cut face glistening and the curry held neatly inside.
1 serving (about 135g)
Culinary guides, cultural storytelling, and the editorial depth that makes cooking meaningful.
Discover Culinary ExplorerChef Takumi
Anpan is not a pastry trick. It is soft bread, sweet azuki, and a careful seal, so the bean paste stays centered while the bun rises round and tender.
Chef Takumi
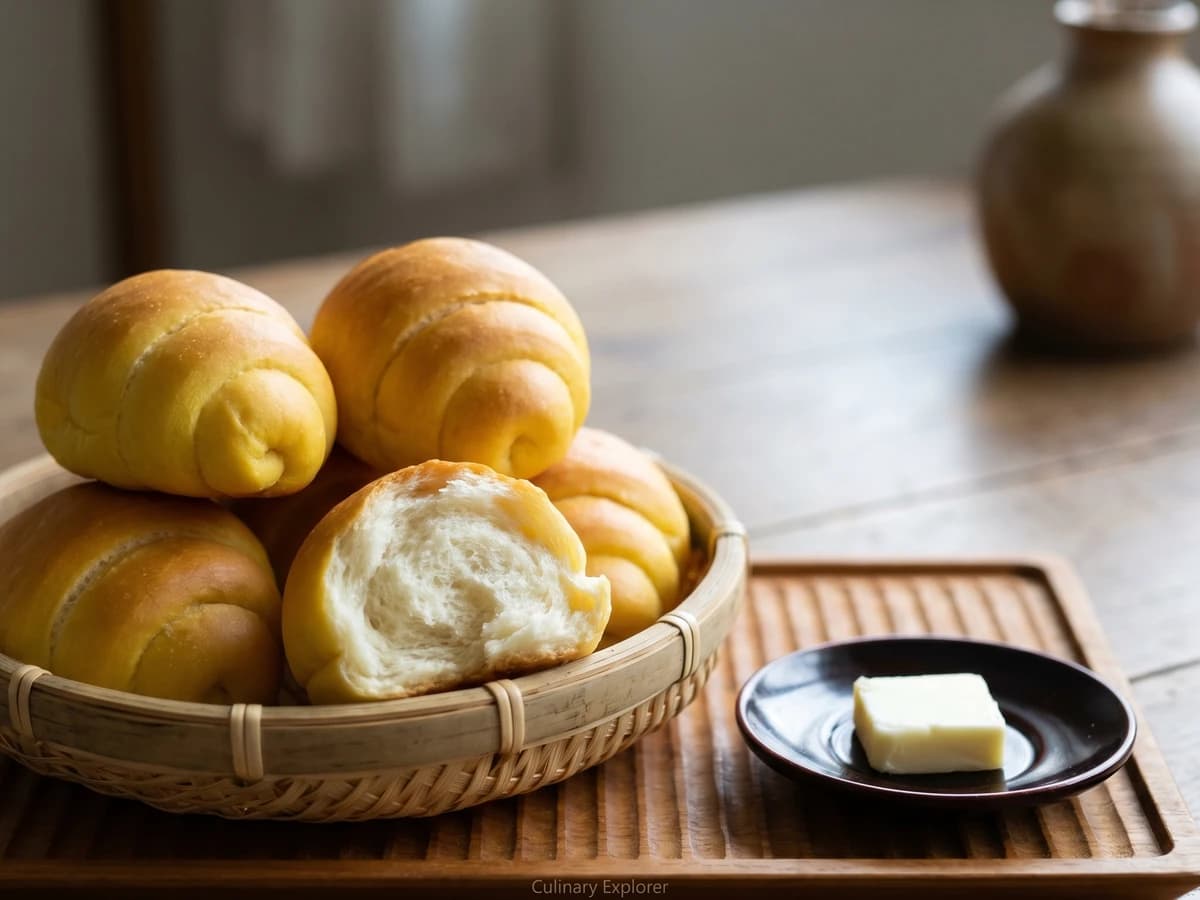
A panya staple made reachable: soft milk dough rolled wide-to-narrow into its little horn shape, proofed until light, then brushed with egg for that quiet gold crust.

Chef Takumi
Chigiri-pan is bread made small on purpose: soft enriched dough portioned into neat balls, crowded in a square tin, and baked until every tender roll tears away with its own golden edge.

Chef Takumi
Choco cornet looks clever, which is how bakery bread frightens sensible people. Wrap a soft rope around a cone, bake it golden, then pipe in chocolate cream only after the shell is cool.