Chef Thomas
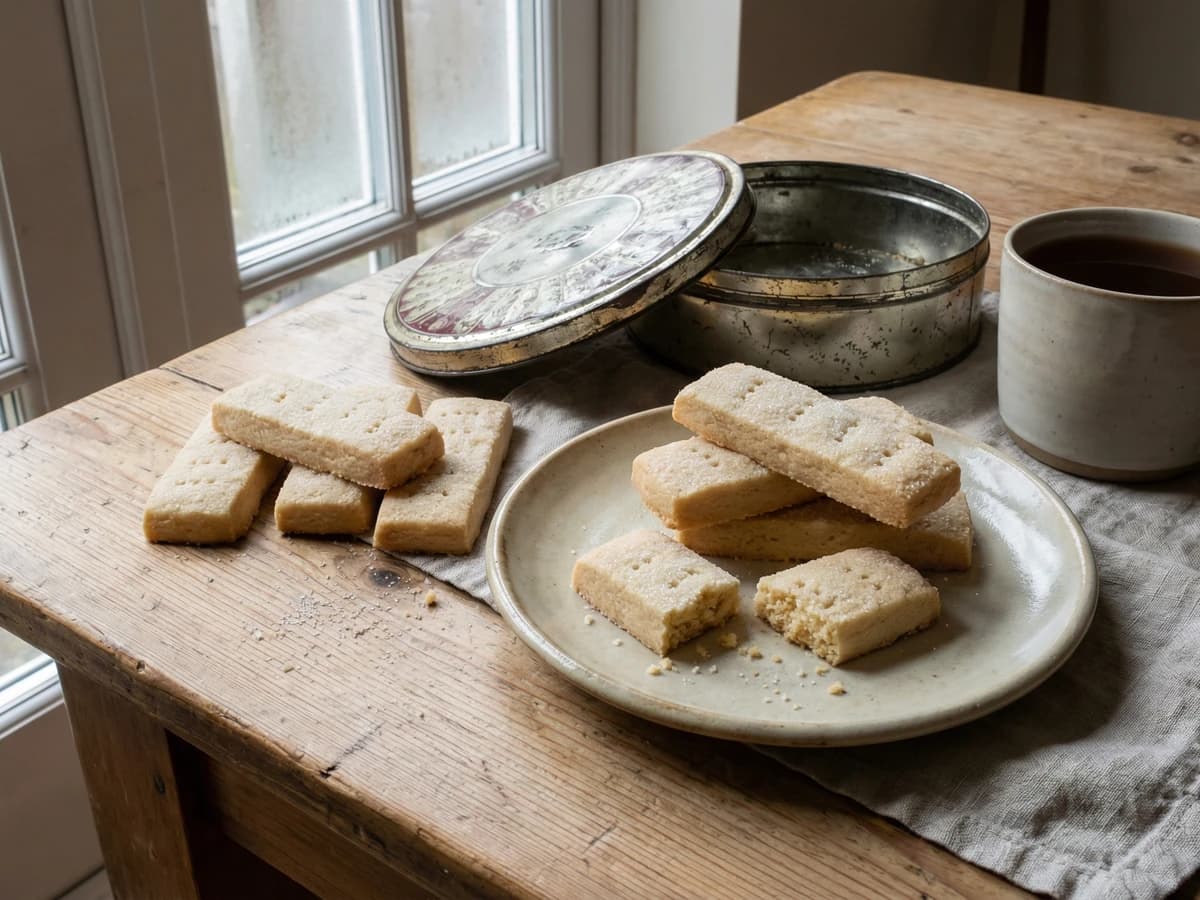
All-Butter Shortbread Fingers
The plainest biscuit in the tin and the hardest one to stop eating, three ingredients and a slow oven turning good butter into something quietly perfect with a cup of tea.
A cooking platform built around craft, culture, and the stories behind what we eat.
Created by Chef Thomas
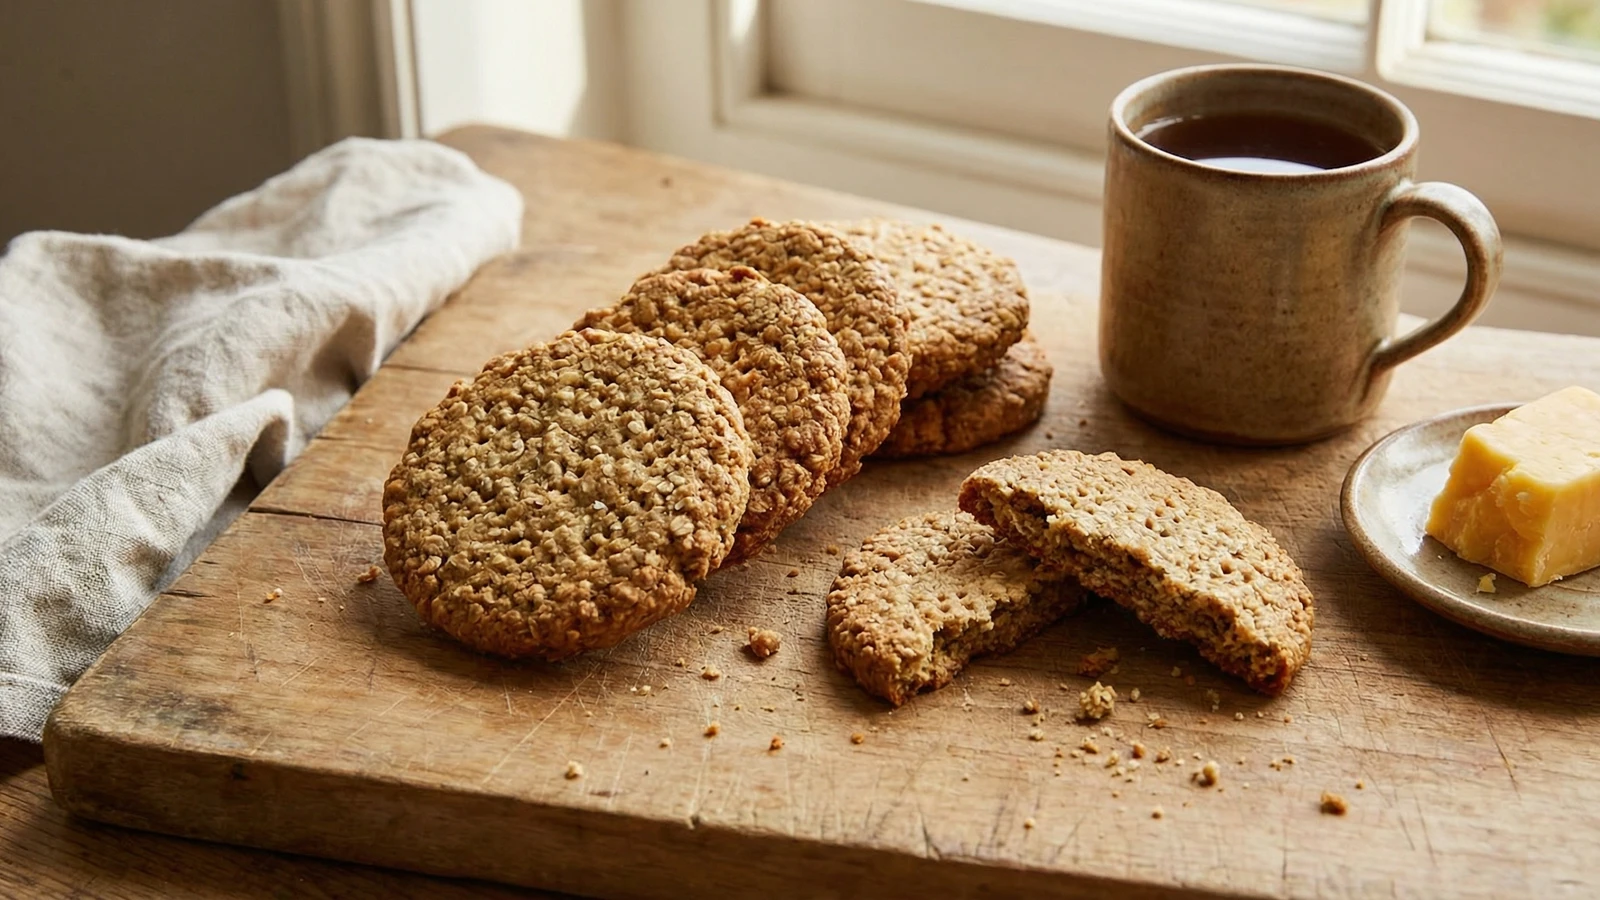
Nutty, oaty, properly biscuity digestives made by hand on a quiet afternoon, the kind that ask for nothing more than a hot mug of tea and a chair by the window.
There's a particular kind of afternoon that wants a biscuit. Grey light at the window, the heating just clicked on, a cup of tea cooling next to you on the side. Shop-bought will do at a push. But once you've made digestives at home, you stop reaching for the packet quite so readily.
This is a biscuit of grain and butter and not much else. Wholemeal flour, oatmeal, a bit of muscovado for the toffee note, milk to bring it together. No eggs, no fuss. The dough comes together in ten minutes and rests in the fridge while you put the kettle on. By the time you've drunk your tea and read a chapter of something, they're ready to roll.
What I love about a homemade digestive is the texture. Properly nubbly, slightly sandy in the way only oatmeal can be, with a deep nutty flavour that the supermarket version only hints at. They're firm enough to hold up to a serious dunk in tea, sturdy enough for a wedge of strong cheddar and a slice of apple, and good enough on their own that you'll find yourself eating them straight from the tin while pretending you weren't.
I wrote it down in the notebook last week: oats, butter, kettle on, rain. That was the whole afternoon, and there are few better ways to spend one.
Quantity
150g
Quantity
100g
Quantity
75g
cold, cubed
Quantity
50g
Quantity
1 teaspoon
Quantity
1/2 teaspoon
Quantity
3-4 tablespoons
Quantity
for rolling
| Ingredient | Quantity |
|---|---|
| wholemeal flour | 150g |
| medium oatmeal | 100g |
| unsalted buttercold, cubed | 75g |
| light muscovado sugar | 50g |
| baking powder | 1 teaspoon |
| fine sea salt | 1/2 teaspoon |
| whole milk | 3-4 tablespoons |
| plain flour (optional) | for rolling |
Tip the wholemeal flour, oatmeal, sugar, baking powder and salt into a bowl. Stir them through with your hand. The oatmeal should feel coarse against your fingers, the sugar slightly damp and clumpy. This is a biscuit that wants to taste of grain, so use the best wholemeal you can find. The cheaper stuff tastes of nothing in particular.
Add the cold butter to the bowl and rub it into the dry ingredients with your fingertips. Lift the mixture up as you go to keep it cool and aerated. Stop when it looks like rough, sandy crumbs with a few buttery flecks still visible. Don't overwork it. A bit of unevenness is what gives these their craggy character.
Add three tablespoons of milk and stir with a butter knife. The dough should start to clump. If it still looks dry and refuses to come together, add the last tablespoon. You want a firm, slightly rough dough that just holds itself in one piece when you press it. Wholemeal dough is never silky. Don't try to make it so.
Press the dough into a flat disc, wrap it, and put it in the fridge for thirty minutes. This isn't optional. The oatmeal needs time to drink up the milk, and the butter needs to firm up again before you roll. Use the time to put the kettle on. While you're at it, heat the oven to 170C/150C fan and line two baking trays with parchment.
Dust the work surface with a little plain flour. Roll the dough out to about half a centimetre thick. Not paper-thin, not chunky. About the thickness of a pound coin. Cut into rounds with a 6cm cutter, or the rim of a small glass if you don't have one, and lay them on the trays. Gather the offcuts, press them gently back together, and roll again. The second batch will be a touch craggier than the first. They'll still be lovely.
Bake for sixteen to eighteen minutes, swapping the trays halfway through if your oven runs hotter on one side. They're done when the edges have gone a deep golden brown and the tops look dry and set. Trust your nose. When the kitchen smells of toasted oats and warm butter, they're nearly there. They'll firm up properly as they cool, so resist the urge to leave them in until they're rock hard. A slightly underbaked digestive becomes a perfect one ten minutes later.
1 serving (about 20g)
Culinary guides, cultural storytelling, and the editorial depth that makes cooking meaningful.
Discover Culinary ExplorerChef Thomas
The plainest biscuit in the tin and the hardest one to stop eating, three ingredients and a slow oven turning good butter into something quietly perfect with a cup of tea.
Chef Thomas
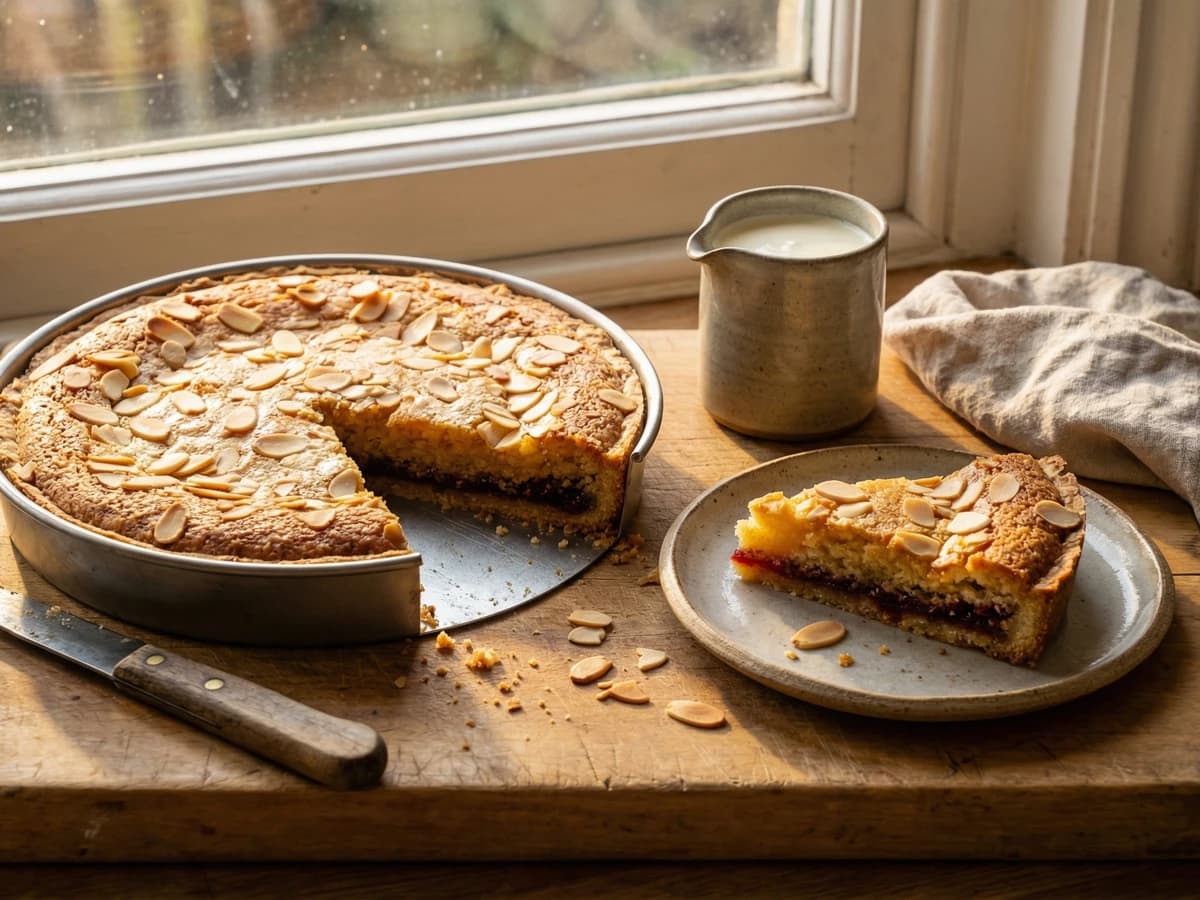
A proper Bakewell tart with buttery shortcrust, a thick layer of raspberry jam, and almond frangipane baked golden under a scattering of flaked almonds. No icing. No nonsense.
Chef Thomas
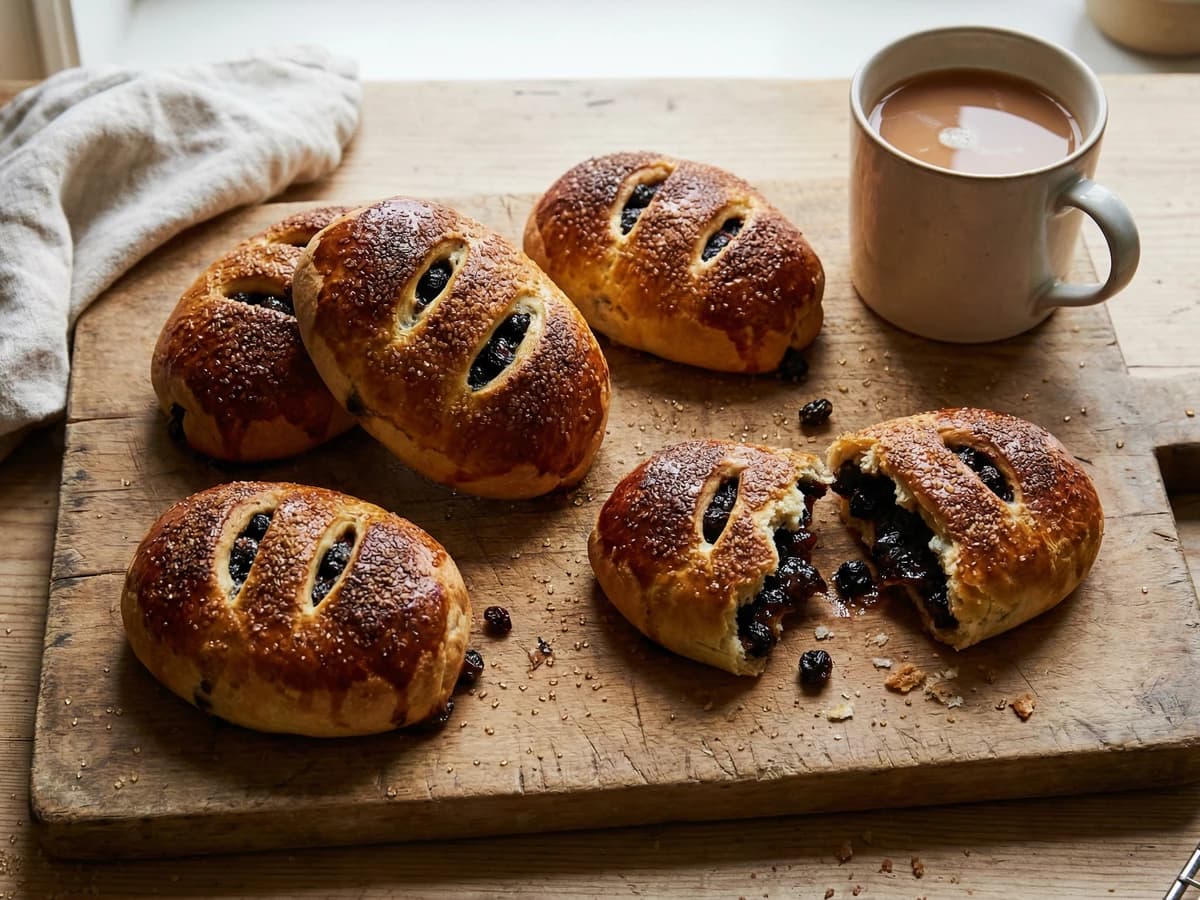
Oval pastries filled with rum-soaked currants and spice, baked until the tops crackle with sugar. The kind of thing to make on a wet Sunday afternoon when you want the kitchen to smell of something.
Chef Thomas
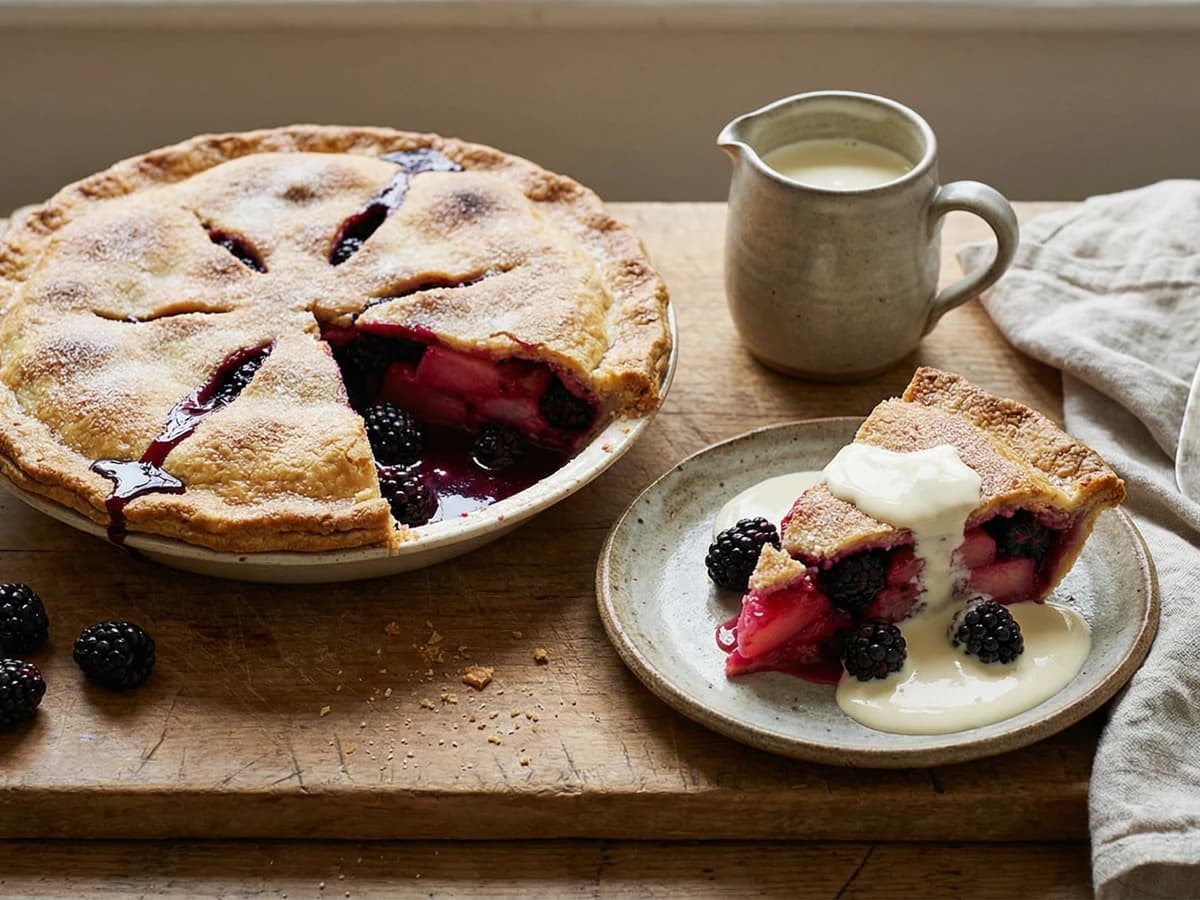
A proper hedgerow pie of Bramley apples and blackberries under a sugar-crusted pastry lid, the kind of pudding that turns a Sunday in September into something you'll remember.