
Chef Graziella
Fritole Veneziane
The yeasted fritters of Venice, golden and pillowy, studded with grappa-soaked raisins and toasted pine nuts. Once sold exclusively by licensed fritoleri during Carnevale, now yours to master at home.
A cooking platform built around craft, culture, and the stories behind what we eat.
Created by
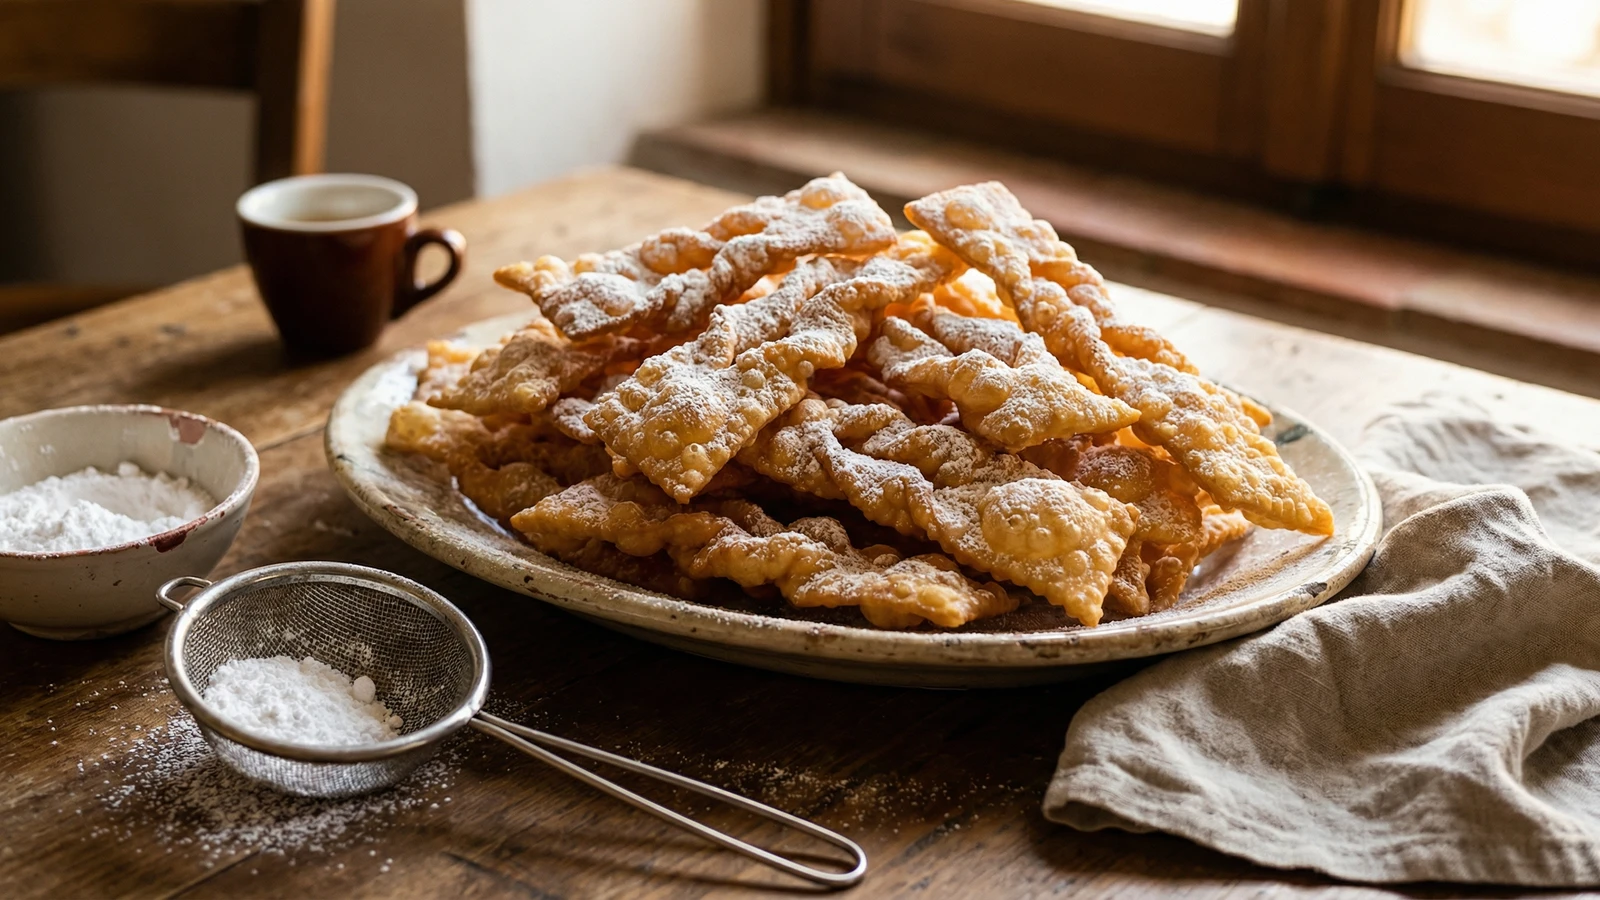
Venice's Carnival ribbons, rolled impossibly thin and fried until they shatter at the first bite. Every region of Italy claims its own version, but the Venetians call them galani.
The dough must be thin. I cannot say this strongly enough. When you hold a sheet up to the light, you should see the shadow of your hand through it. If the dough is too thick, you will have something chewy and ordinary. Galani must shatter.
Every region of Italy has these fried ribbons, and every region insists its name is the correct one. In Tuscany they are cenci. In Emilia-Romagna, where I was raised, we called them sfrappe or intrigoni. Rome has frappe. Milan has chiacchiere. The Venetians, with typical stubbornness, insist on galani. The name changes, but the principle remains: flour, eggs, a little fat, a splash of something alcoholic, and the courage to roll the dough thinner than you think possible.
The grappa is not optional. The alcohol evaporates during frying and helps create the blistered, bubbled surface that makes these pastries so light. Without it, you will have something flat and dull. If you do not have grappa, use vin santo or a dry white wine. What you cannot do is substitute water and expect the same result.
These pastries descend from the frictilia of ancient Rome, fried in lard during Saturnalia and the festival days preceding Lent. Roman cooks shaped scraps of dough into knots and ribbons, creating treats that could be made quickly and eaten by the handful. The tradition spread across the peninsula with the Empire, each region developing its own name and slight variation, but the essential form has remained unchanged for two thousand years.
Quantity
300g (2 1/3 cups)
plus more for rolling
Quantity
50g (1/4 cup)
Quantity
3 large
Quantity
1 large
Quantity
50g (3 1/2 tablespoons)
softened
Quantity
1
finely grated zest
Quantity
1/4 teaspoon
Quantity
3 tablespoons
Quantity
about 1 liter
for frying
Quantity
for dusting
| Ingredient | Quantity |
|---|---|
| all-purpose flourplus more for rolling | 300g (2 1/3 cups) |
| granulated sugar | 50g (1/4 cup) |
| egg yolks | 3 large |
| whole egg | 1 large |
| unsalted buttersoftened | 50g (3 1/2 tablespoons) |
| lemonfinely grated zest | 1 |
| fine sea salt | 1/4 teaspoon |
| grappa | 3 tablespoons |
| vegetable oil or lardfor frying | about 1 liter |
| powdered sugar | for dusting |
Mound the flour on a wooden board or clean work surface. Create a wide well in the center. Add the sugar, egg yolks, whole egg, softened butter, lemon zest, salt, and grappa to the well. Using a fork, beat the wet ingredients together, gradually drawing in flour from the inner walls of the well. When the mixture becomes too thick for the fork, use your hands to bring it together into a rough mass.
Knead the dough firmly for 8 to 10 minutes. Push it away with the heel of your hand, fold it back, turn it, and repeat. The dough should become completely smooth and slightly elastic. It will feel drier than pasta dough. This is correct. Wrap it tightly in plastic and let it rest at room temperature for 30 minutes. Do not skip the resting. The gluten must relax or the dough will fight you when you roll it.
Divide the rested dough into four portions. Work with one at a time, keeping the rest covered. Using a rolling pin or pasta machine, roll each portion as thin as you possibly can. If using a machine, pass it through progressively thinner settings until you reach the second-thinnest. The dough should be nearly translucent. Hold it up to the light. You should see the shadow of your hand through it. If you cannot, roll it thinner.
Using a fluted pastry wheel or a sharp knife, cut the rolled dough into ribbons about 2 inches wide and 5 to 6 inches long. The fluted edge is traditional and creates a prettier fry. If you wish, tie each ribbon into a loose knot, or twist it once. You may also leave them as flat rectangles. Lay the cut pieces on clean kitchen towels, not touching each other, while you cut the remaining dough.
Pour oil to a depth of 2 inches in a heavy, deep pot or Dutch oven. Heat over medium-high until the oil reaches 340 to 350 degrees Fahrenheit. Test with a small scrap of dough. It should sink, then rise immediately and begin bubbling vigorously. If it browns too fast, the oil is too hot. If it sits there doing nothing, the oil is too cold.
Slide three or four ribbons into the hot oil. Do not crowd them. They will puff and blister almost immediately. Fry until golden on the bottom, about 30 seconds, then flip them with a slotted spoon or spider and fry the second side until evenly golden, another 20 to 30 seconds. The galani should be covered with small bubbles and feel almost weightless when lifted. Transfer to a baking sheet lined with paper towels.
While the galani are still slightly warm but no longer hot, dust them generously with powdered sugar through a fine-mesh sieve. Pile them high on a serving plate. They should be eaten within hours, while still perfectly crisp. By the next day, they will have softened. This is why Carnival is a time of abundance. You make more than you need and eat them all.
1 serving (about 10g)
Culinary guides, cultural storytelling, and the editorial depth that makes cooking meaningful.
Discover Culinary ExplorerChef Graziella
The yeasted fritters of Venice, golden and pillowy, studded with grappa-soaked raisins and toasted pine nuts. Once sold exclusively by licensed fritoleri during Carnevale, now yours to master at home.

Chef Graziella
The little yellow ones from Venice: rustic cornmeal cookies that crumble perfectly, scented with grappa-soaked raisins and the barest whisper of lemon. Peasant baking at its most honest.

Chef Juliette
A pale short-paste shell holds silken, lightly sweet carrot purée beneath neat glazed half-discs, their butter syrup catching the light: a classical tart poised between vegetable course and sweet.
Chef Juliette
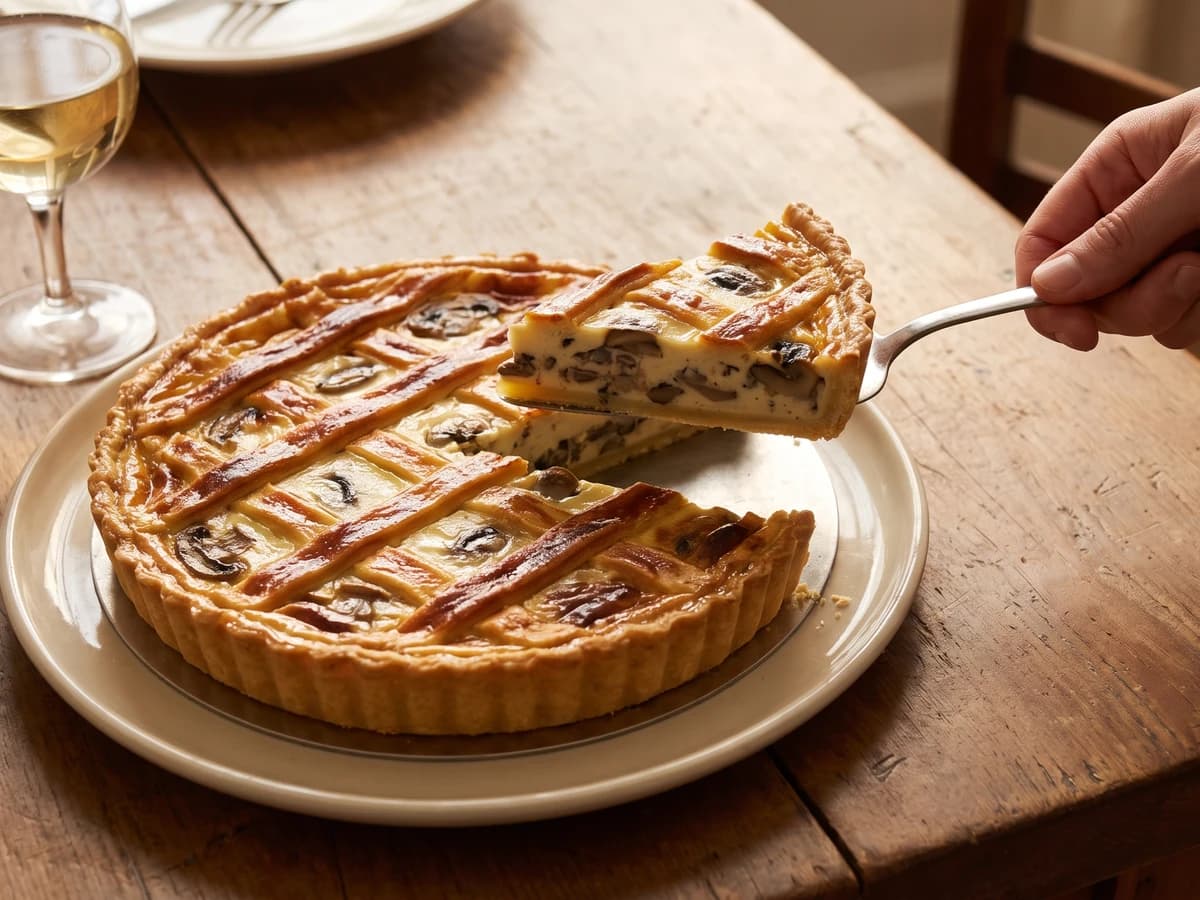
A hot mushroom flan under a butter-gold lattice, with cream reduced close around barely opened caps and a crisp short-paste base protected by one discipline: cool the filling completely.