Chef Makoa
Chinese Almond Cookies (Hawaiʻi Local Red-Dot Cookies)
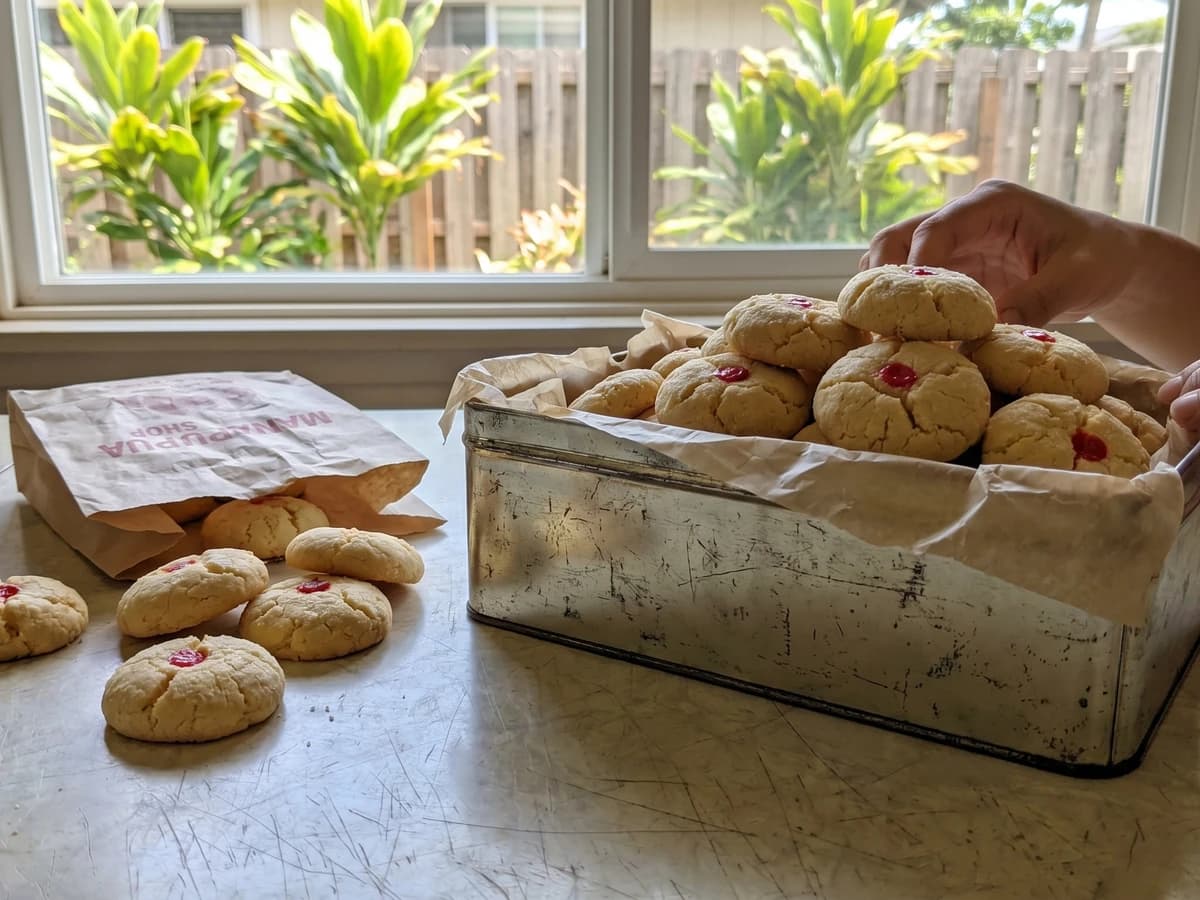
Buttery, sandy Chinese almond cookies from Hawaiʻi's Local table, marked with the lucky red dot, the kind you found in a bakery case, a manapua man's box, or a holiday tin.
A cooking platform built around craft, culture, and the stories behind what we eat.

Created by
The Oʻahu home-tin cookie, buttery and crackly with cornflakes and rice cereal, baked by aunties for Christmas exchanges, church potlucks, and one more cousin reaching across the table.
The cookie tin on a worn Oʻahu Formica table can tell you who came through the door. This is Hawaiʻi Local, not Kanaka Maoli deep food from the loʻi, the taro patch, and I no need pretend otherwise. It comes from aunties, plantation-camp kitchens, church bazaars, school fundraisers, supermarket cereal boxes, and the habit Hawaiʻi has of feeding whoever is standing there until they stop saying no.
Back home, Christmas means somebody is baking by the dozen, the oven warming the house while trade wind comes through the screen. Portuguese malasada, the fried dough brought by Portuguese hands, Okinawan andagi, Chinese gau, the New Year rice cake, Filipino hopia, and Japanese mochi all sit on that Local side of the table. ʻĀina, kānaka, meaʻai, land, people, food, still matters here, but the story is not the canoe crop. It's the harbor, the plantation road, the store shelf, and the neighbors who kept swapping what they knew.
Across the Triangle the cousins do the same everyday work in their own hands: Sāmoan panikeke, Tongan keke, Tahitian poʻe, Cook Islands sweets after church, Aotearoa biscuit tins on the bench. Don't blur them. This cookie is Hawaiʻi's Local cookie-tin child, buttery, crackly, and full of market cereal. The why is simple: make plenty, pack the tin, send some home.
Cornflake cookies are a Hawaiʻi Local, 20th-century home-baking cookie, not pre-contact Kanaka Maoli deep food. Corn Flakes entered U.S. grocery life after Kellogg's launched the cereal in 1906, and by the postwar decades in Hawaiʻi the box sat beside sugar, butter, and rice cereal in kitchens shaped by plantation work, military groceries, church sales, and school fundraisers. The cookie tin became one small record of Local Hawaiʻi's mixed table, where Portuguese, Japanese, Okinawan, Chinese, Filipino, Kanaka Maoli, and other hands traded sweets without turning them into one nameless plate.
Quantity
1 cup
softened
Quantity
3/4 cup
Quantity
1/2 cup
packed
Quantity
1
room temperature
Quantity
2 teaspoons
Quantity
1 3/4 cups
Quantity
1/2 teaspoon
Quantity
1/2 teaspoon
Quantity
1/2 teaspoon
Quantity
2 cups
lightly crushed, for the dough
Quantity
2 cups
Quantity
1 cup
lightly crushed, for coating
Quantity
1/2 cup
chopped
| Ingredient | Quantity |
|---|---|
| unsalted buttersoftened | 1 cup |
| granulated sugar | 3/4 cup |
| light brown sugarpacked | 1/2 cup |
| large eggroom temperature | 1 |
| vanilla extract | 2 teaspoons |
| all-purpose flour | 1 3/4 cups |
| baking soda | 1/2 teaspoon |
| baking powder | 1/2 teaspoon |
| fine sea salt | 1/2 teaspoon |
| cornflakeslightly crushed, for the dough | 2 cups |
| crispy rice cereal | 2 cups |
| cornflakeslightly crushed, for coating | 1 cup |
| macadamia nuts or walnuts (optional)chopped | 1/2 cup |
Set the oven to 350F with racks in the upper and lower thirds. Line two half-sheet pans with parchment. Set out cooling racks and the cookie tin now, because once the baking starts the house moves fast, same as every auntie's kitchen before the exchange.
Lightly crush the 2 cups cornflakes for the dough in your hands, leaving some flakes big enough to show. Do the same with the 1 cup for coating and keep it in a separate shallow bowl. Leave the crispy rice cereal whole so it gives that small crackle under your teeth.
Beat the softened butter, granulated sugar, and brown sugar on medium speed for 2 to 3 minutes, until lighter and soft around the edges of the bowl. It doesn't need to look like cake batter. It should look creamy, sandy, and ready to hold all that cereal.
Beat in the egg until the dough turns smooth, then beat in the vanilla. Scrape the bowl well. Little steps like that are where the cookie stays even, no dry pocket hiding at the bottom.
Whisk the flour, baking soda, baking powder, and salt together, then add them to the butter mixture on low speed. Stop when the last flour streaks are almost gone. Don't beat it hard now, or the cookie turns tough and no auntie is putting that in the good tin.
Fold in the 2 cups crushed cornflakes, the crispy rice cereal, and the nuts if you're using them. Use a sturdy spatula and turn from the bottom until the dough is full of crunch in every scoop. It will look crowded. That's the point.
Scoop heaping tablespoons of dough, roll each one gently in the reserved crushed cornflakes, and set them 2 inches apart on the pans. Press each mound just a little so it sits steady, not flat. The coating should cling in rough flakes around the outside.
Bake 10 to 12 minutes, rotating the pans halfway, until the edges turn light amber, the tops look dry, and the cornflake tips are toasted gold. The centers will still feel a touch soft when you lift the pan. Trust that. They finish setting as they cool.
Let the cookies sit on the pan for 5 minutes, then move them to racks until fully cool. Pack them into a metal tin lined with wax paper, layers of cookies and paper, cookies and paper. That's how they keep their crackle, and that's how they travel to the next kitchen.
1 serving (about 23g)
Culinary guides, cultural storytelling, and the editorial depth that makes cooking meaningful.
Discover Culinary ExplorerChef Makoa
Buttery, sandy Chinese almond cookies from Hawaiʻi's Local table, marked with the lucky red dot, the kind you found in a bakery case, a manapua man's box, or a holiday tin.

Chef Makoa
A Hawaiʻi Local bakery pie from Oʻahu: firm coconut haupia over chocolate cream in a flaky shell, chilled clean, topped with soft whipped cream.

Chef Makoa
Honolulu bakery-case comfort: crisp choux puffs filled with soft chocolate pudding and capped with Hawaiʻi-style Chantilly, the buttery cooked frosting that belongs to Oʻahu birthdays, office boxes, and after-school hands.
Chef Makoa
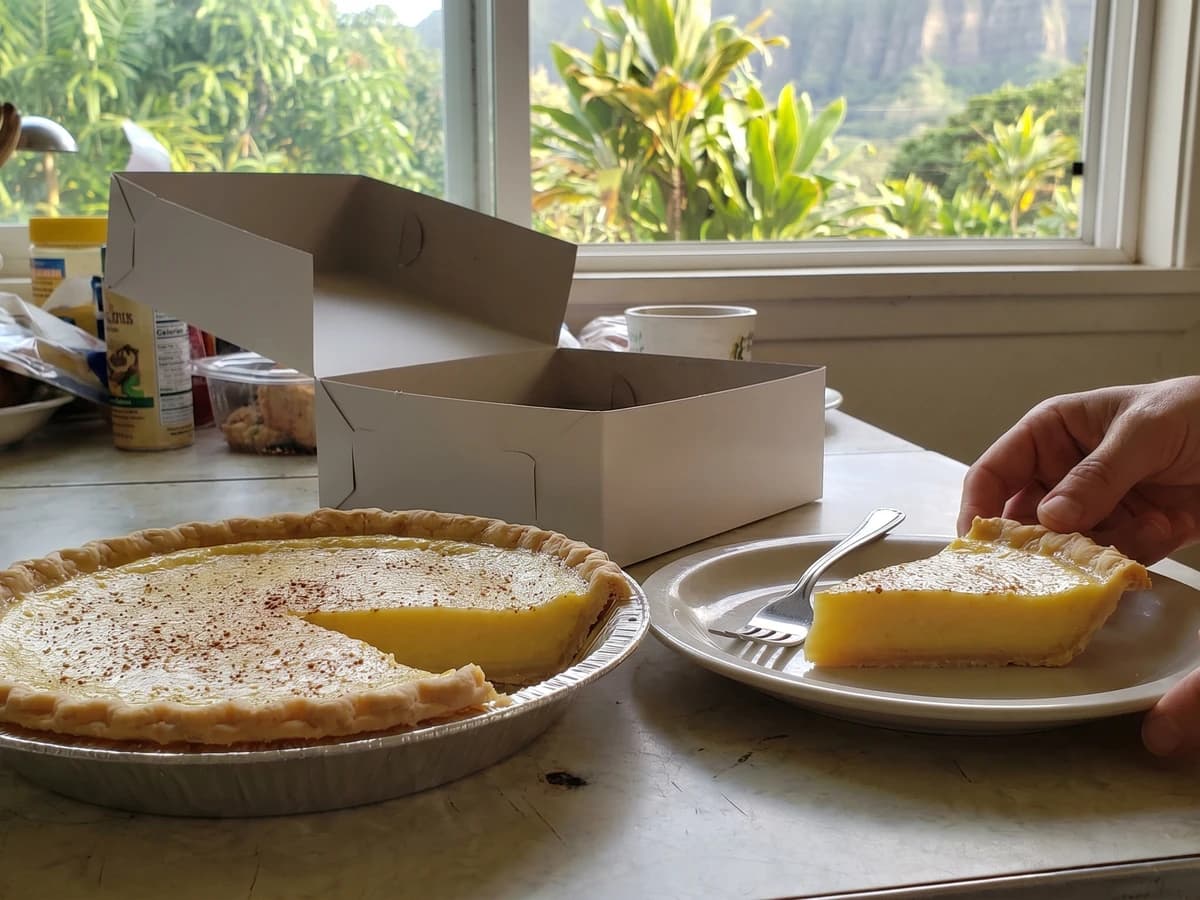
Hawaiʻi Local custard pie from the neighborhood bakery box: silky egg-and-evaporated-milk custard in a flaky crust, nutmeg freckles on top, the soft slice a grandparent kept ready for potluck and coffee.