
Chef Ally
Autumn Apple Tarte Tatin
Farmers' market apples sink into butter and caramel, then emerge beneath shatteringly crisp pastry, a French provincial classic that proves the best desserts are the simplest ones.
A cooking platform built around craft, culture, and the stories behind what we eat.
Created by
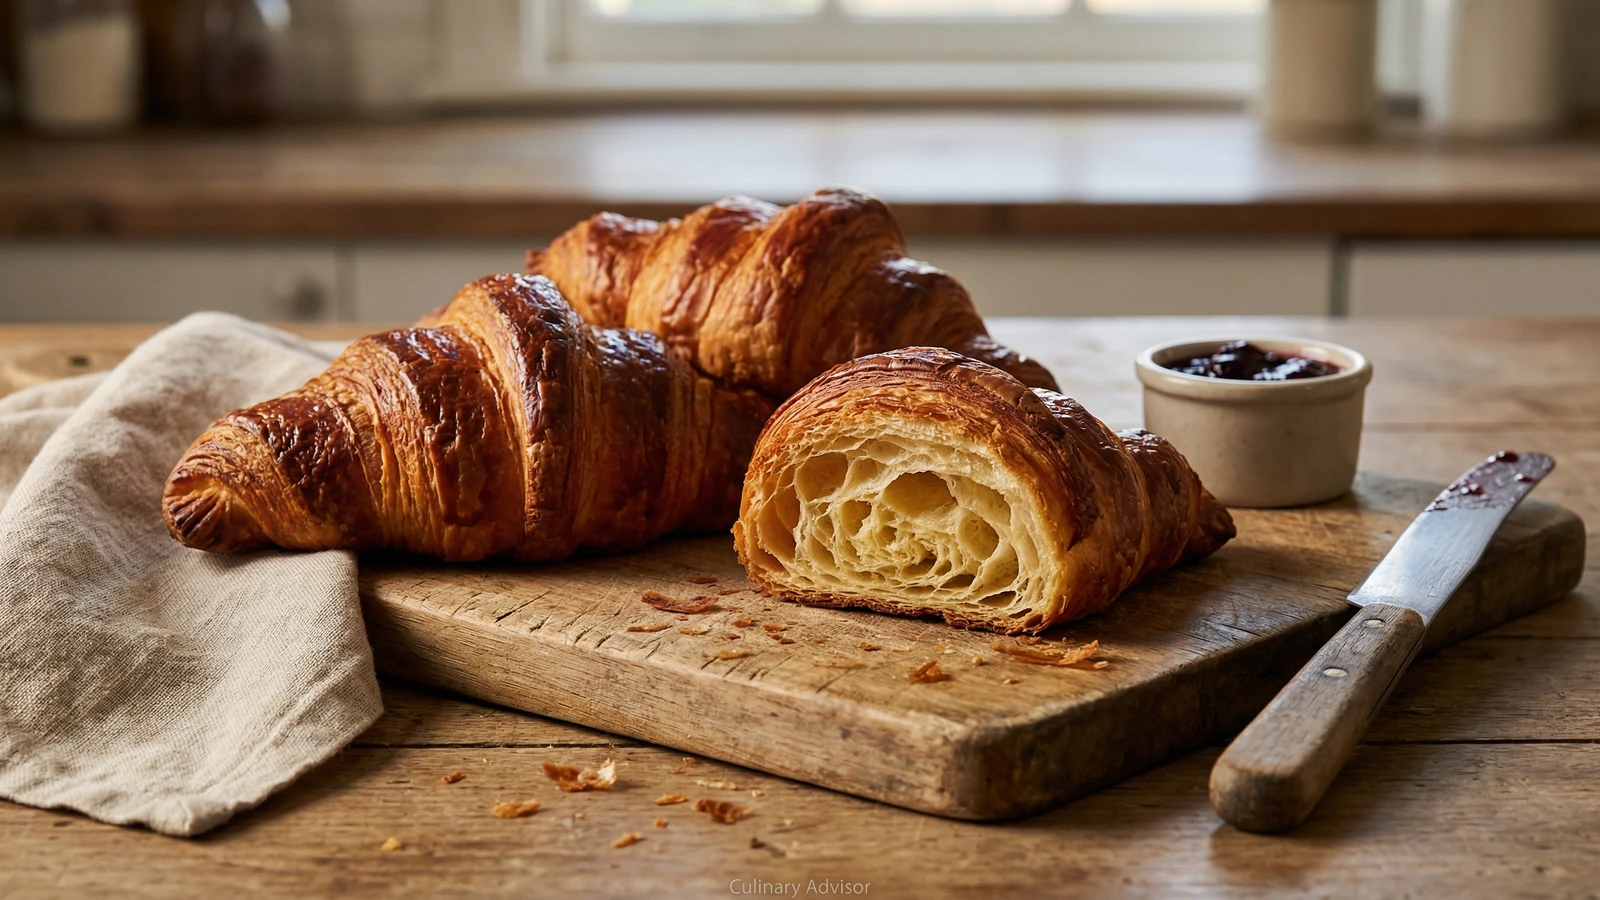
Shatteringly crisp, impossibly tender, and layered with the finest butter you can find. Two days of patience rewarded with the most honest croissant you will ever bake.
Start with the butter. Everything depends on it. You want European-style, at least 82 percent butterfat, from cows that ate grass. The butter should smell faintly of cream and pasture, not like the refrigerator case. Hold it in your hand. Good butter has weight and density. It breaks cleanly when cold.
Croissants are not difficult. They are patient. You fold butter into dough, let it rest, fold again, let it rest. The lamination builds slowly, layer upon layer, until you have something that shatters when you bite through it and melts on your tongue. There is no rushing this. The dough needs cold. The butter needs time to firm between folds. You need two days.
I learned to make croissants in Paris, watching a baker who had done it every morning for forty years. His hands moved without thinking. He never measured the butter block, never checked the clock. He knew by feel when the dough was ready, when the butter was the right temperature, when to stop folding. That knowledge comes only from repetition. Your first batch will teach you. Your tenth will delight you.
Every meal is a meaningful choice. A croissant made with good butter, from a farmer who cares for the land and the animals, tastes different. It tastes like something real. Let things taste of what they are.
Quantity
500g (4 cups)
plus more for rolling
Quantity
10g (2 teaspoons)
Quantity
80g (6 tablespoons)
Quantity
10g (1 tablespoon)
Quantity
300ml (1 1/4 cups)
cold
Quantity
340g (1 1/2 cups)
cold, at least 82% butterfat
Quantity
1
for egg wash
Quantity
1 tablespoon
for egg wash
| Ingredient | Quantity |
|---|---|
| unbleached all-purpose flourplus more for rolling | 500g (4 cups) |
| fine sea salt | 10g (2 teaspoons) |
| granulated sugar | 80g (6 tablespoons) |
| instant yeast | 10g (1 tablespoon) |
| whole milkcold | 300ml (1 1/4 cups) |
| European-style unsalted buttercold, at least 82% butterfat | 340g (1 1/2 cups) |
| large eggfor egg wash | 1 |
| whole milk or creamfor egg wash | 1 tablespoon |
In a large bowl, whisk together the flour, salt, sugar, and yeast. Pour in the cold milk and stir with a wooden spoon until a shaggy dough forms. Turn onto a clean surface and knead gently for two to three minutes, just until the dough comes together. It should feel slightly sticky but workable. Do not overwork it. You are not building gluten for bread; you are creating a tender base for butter.
Pat the dough into a rough rectangle about one inch thick. Wrap tightly in plastic and refrigerate for at least one hour, or overnight. The dough needs to be thoroughly cold before you introduce the butter. This is your first rest. Use it.
Place the cold butter between two sheets of parchment paper. Using a rolling pin, pound and roll the butter into a 15 by 15 centimeter (6 by 6 inch) square, about 1 centimeter thick. The butter should be pliable but still cold, like firm clay. If it cracks when you bend it, it is too cold. If it sticks to the parchment, it is too warm. Return to the refrigerator until the dough is ready.
On a lightly floured surface, roll the chilled dough into a rectangle roughly 30 by 20 centimeters (12 by 8 inches). Place the butter square in the center, rotated 45 degrees so it looks like a diamond. Fold the four corners of the dough over the butter, pinching the seams to seal completely. You have made an envelope. No butter should be visible.
Turn the dough so a short side faces you. Roll it away from you into a long rectangle, about 50 by 20 centimeters (20 by 8 inches). Keep your strokes even and firm. If the butter breaks through, dust with flour and refrigerate for fifteen minutes. Fold the bottom third up, then the top third down, like a business letter. This is your first single fold. Wrap in plastic and refrigerate for at least thirty minutes.
Repeat the rolling and folding process two more times, refrigerating for at least thirty minutes between each fold. After three single folds, you have created 27 layers of butter and dough. Mark the dough with three fingertip indents. Wrap tightly and refrigerate overnight, at least eight hours. The gluten needs this rest. So do you.
The next morning, roll the dough on a lightly floured surface into a large rectangle about 50 by 30 centimeters (20 by 12 inches) and 5 millimeters (1/4 inch) thick. Work slowly. If the dough resists or springs back, let it rest for ten minutes. Using a sharp knife or pizza wheel, trim the edges to straighten. Cut the rectangle into long triangles with 10 centimeter (4 inch) bases.
Working with one triangle at a time, make a small notch at the center of the base. Stretch the triangle gently to elongate it slightly. Starting at the base, roll toward the point, tucking the tip underneath. Curve the ends inward to form the classic crescent. The shaping should feel natural, not forced. Place on parchment-lined baking sheets, leaving space between each croissant.
Cover loosely with plastic wrap and let rise at cool room temperature (18 to 21°C / 65 to 70°F) for two to three hours, until nearly doubled and visibly puffy. The croissants should wobble when you gently shake the pan. You will see the layers beginning to separate at the edges. Do not rush this. Warm proofing melts the butter and destroys the layers you built.
Preheat your oven to 200°C (400°F). Beat the egg with the tablespoon of milk until smooth. Using a soft brush, gently paint each croissant with the egg wash, taking care not to let it pool in the crevices or drip down the sides onto the pan. The wash seals the layers and creates that deep mahogany shine.
Bake for 15 to 20 minutes, rotating the pan halfway through, until the croissants are deeply golden brown and feel light when you lift one. They should sound hollow when tapped on the bottom. The color should remind you of burnished wood, not pale toast. Underbaked croissants taste doughy inside. Do not be timid.
Transfer to a wire rack and let cool for at least ten minutes. The inside continues cooking as they rest. Tear one open. You should see a honeycomb of airy layers, each one distinct, the whole thing impossibly light for its size. Eat while still slightly warm, with good butter and jam if you like, though a perfect croissant needs nothing at all.
1 serving (about 95g)
Culinary guides, cultural storytelling, and the editorial depth that makes cooking meaningful.
Discover Culinary ExplorerChef Ally
Farmers' market apples sink into butter and caramel, then emerge beneath shatteringly crisp pastry, a French provincial classic that proves the best desserts are the simplest ones.

Chef Ally
Tender, buttery shells filled with jewel-toned curd made from blood oranges at their peak, the kind of winter dessert that reminds you the sun will return.

Chef Ally
A French butter cookie made extraordinary by one patient act: browning the butter until it smells of hazelnuts and caramel, then finishing each round with crystals of fleur de sel that spark against the sweetness.
Chef Ally
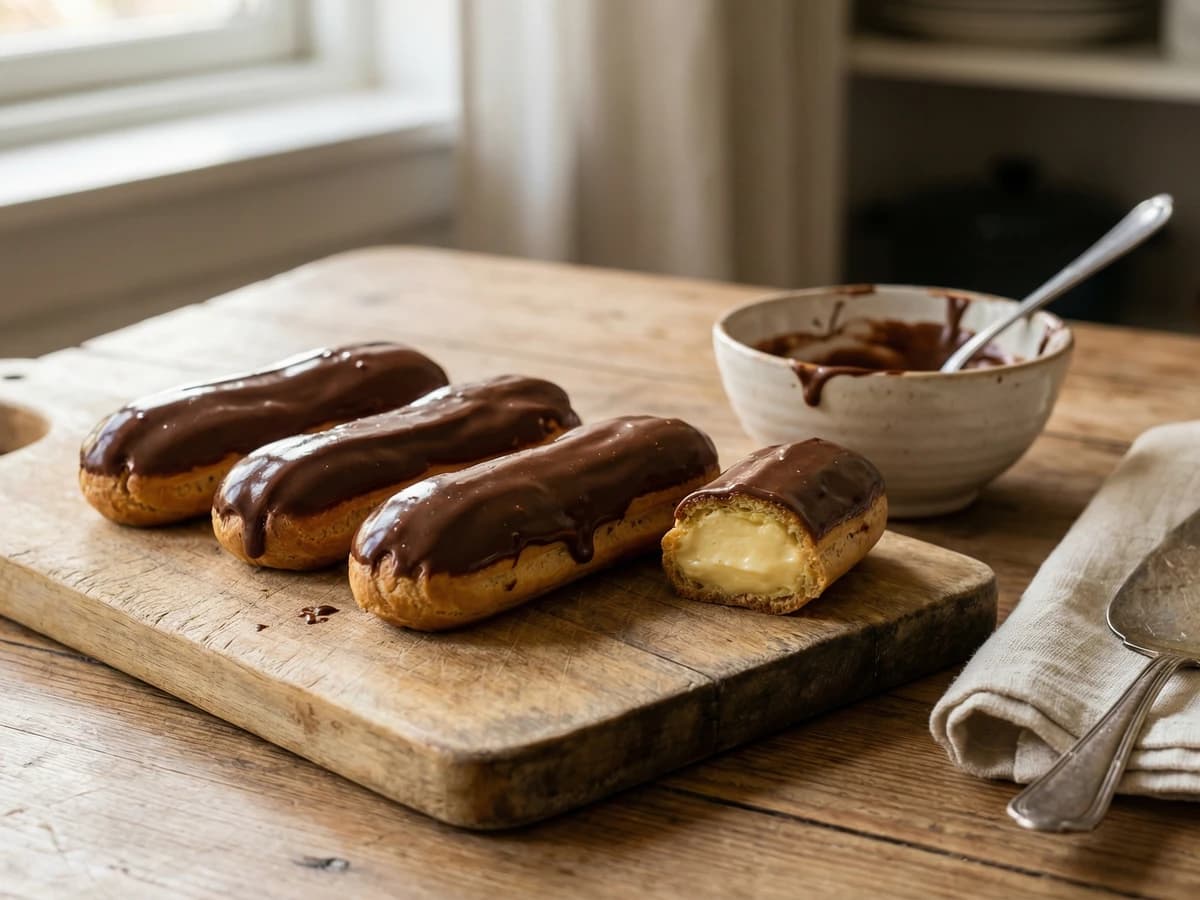
Crisp, hollow choux pastry shells filled with cool vanilla cream and capped with glossy dark chocolate, made the way they have been made in France for two hundred years, because some things do not need improvement.