
Chef Graziella
Agnolotti del Plin
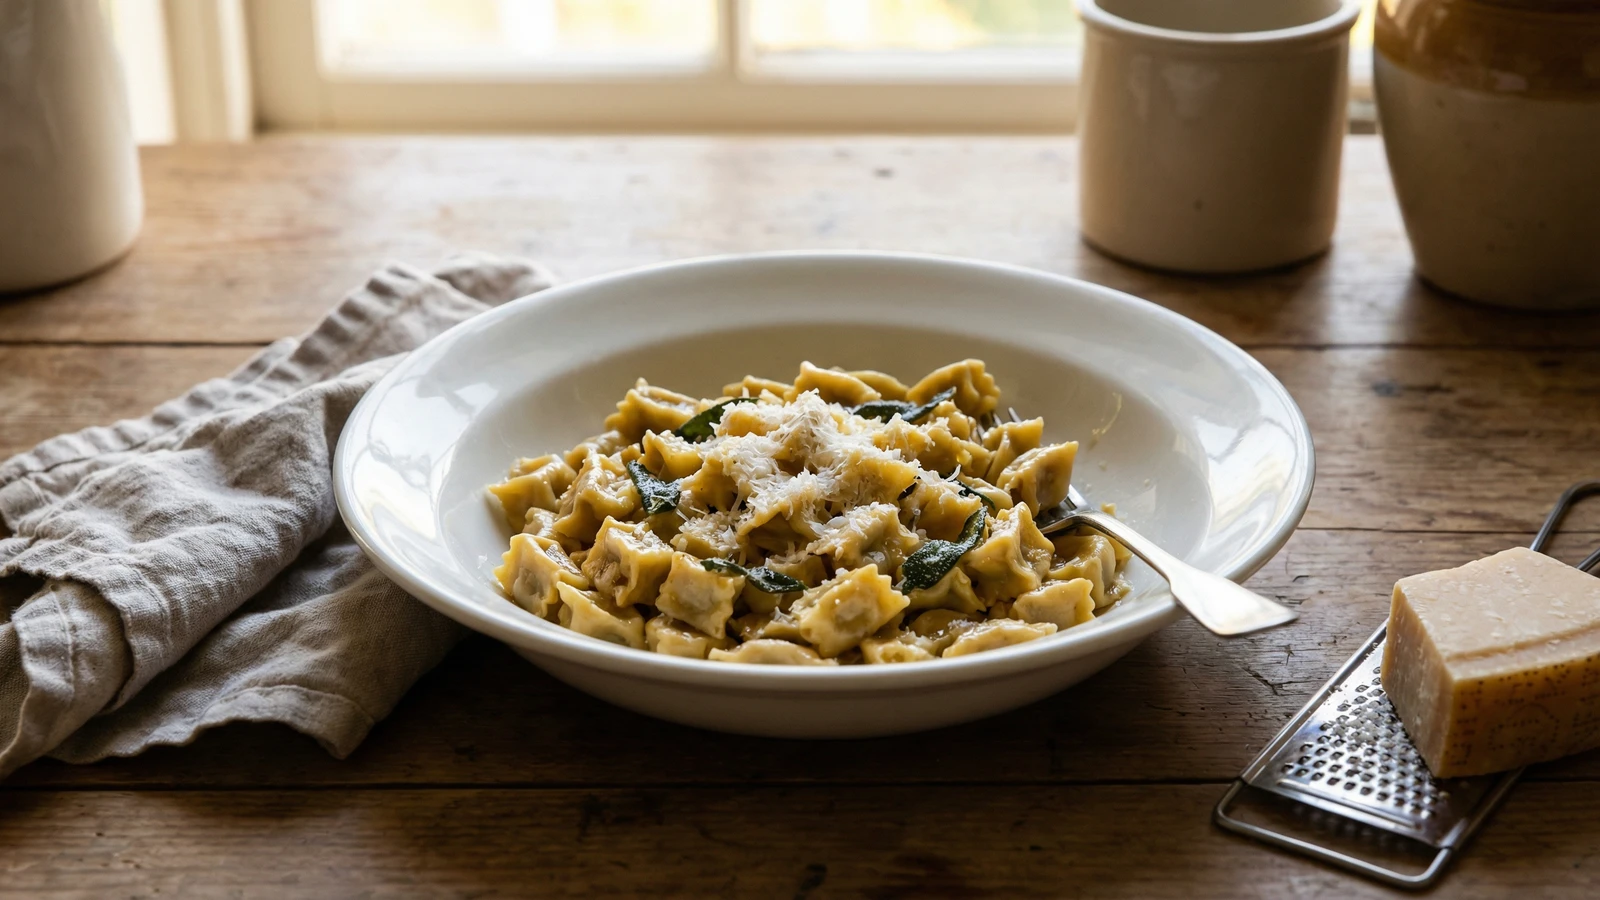
The tiny pinched parcels of Piedmont, filled with braised meat and sealed with a gesture that has passed from grandmother to granddaughter for centuries. The pinch is both technique and signature.
A cooking platform built around craft, culture, and the stories behind what we eat.
Created by
The pinched pasta of Piedmont, each tiny parcel sealed with thumb and forefinger, filled with braised meat that has surrendered to hours of slow cooking. Butter or broth. Nothing more.
In the hills of the Langhe, where the fog settles between rows of Nebbiolo vines, grandmothers have made these tiny parcels for as long as anyone remembers. The name comes from the Piedmontese word for pinch: plin. You seal each one between thumb and forefinger, creating a small ridge that catches the butter. This is not decorative. It is functional. The pinch ensures the filling stays inside during cooking.
The filling is braised meat, typically whatever the family had available: beef, pork, rabbit, sometimes veal. The meat cooks for hours with aromatics until it falls apart, then it is ground fine and enriched with Parmigiano and nutmeg. Some families add escarole or spinach. Others consider this heresy. Both traditions have merit.
Agnolotti del plin are served three ways in Piedmont, and all are correct. Al tovagliolo, in a napkin, to keep them soft and warm. With butter and sage, nothing more. Or swimming in rich meat broth, where they release their flavor into the liquid. What you do not do is drown them in tomato sauce or cover them with cream. What you keep out is as significant as what you put in.
Agnolotti del plin originated in the Langhe and Monferrato hills of southern Piedmont, where they remain a marker of special occasions and Sunday tables. The earliest written references appear in 19th-century Piedmontese cookbooks, though the tradition is certainly older. The dish reflects the region's thrift: leftover braised meats transformed into something worthy of celebration.
Quantity
1 pound
cut into 2-inch pieces
Quantity
8 ounces
cut into 2-inch pieces
Quantity
4 ounces
diced
Quantity
2 tablespoons
Quantity
2 tablespoons
Quantity
1 medium
diced
Quantity
1 medium
peeled and diced
Quantity
1
diced
Quantity
2
lightly crushed
Quantity
1 cup
Quantity
1 cup
Quantity
2 sprigs
Quantity
4
Quantity
1/4 teaspoon
freshly grated
Quantity
4 ounces
blanched and squeezed dry
Quantity
1 large
Quantity
1 cup
freshly grated
Quantity
to taste
Quantity
to taste
freshly ground
Quantity
400 grams (about 3 cups)
Quantity
4 large
Quantity
pinch
Quantity
8 tablespoons
Quantity
12
Quantity
for passing at table
freshly grated
| Ingredient | Quantity |
|---|---|
| beef chuckcut into 2-inch pieces | 1 pound |
| pork shouldercut into 2-inch pieces | 8 ounces |
| pancettadiced | 4 ounces |
| unsalted butter (for filling) | 2 tablespoons |
| extra virgin olive oil | 2 tablespoons |
| yellow oniondiced | 1 medium |
| carrotpeeled and diced | 1 medium |
| celery stalkdiced | 1 |
| garlic cloveslightly crushed | 2 |
| dry red wine | 1 cup |
| beef or chicken broth | 1 cup |
| fresh rosemary | 2 sprigs |
| fresh sage leaves (for filling) | 4 |
| nutmegfreshly grated | 1/4 teaspoon |
| escarole or spinach (optional)blanched and squeezed dry | 4 ounces |
| egg yolk | 1 large |
| Parmigiano-Reggiano (for filling)freshly grated | 1 cup |
| kosher salt | to taste |
| black pepperfreshly ground | to taste |
| tipo 00 flour | 400 grams (about 3 cups) |
| eggs (for pasta) | 4 large |
| fine salt (for pasta) | pinch |
| unsalted butter (for serving) | 8 tablespoons |
| fresh sage leaves (for serving) | 12 |
| Parmigiano-Reggiano (for serving)freshly grated | for passing at table |
In a heavy Dutch oven, heat the butter and olive oil over medium-high heat. Season the beef and pork generously with salt and pepper. Brown the meat on all sides, working in batches to avoid crowding. This takes 15 to 20 minutes total. Remove the meat and set aside.
Reduce heat to medium. Add the pancetta and cook until it renders its fat and begins to crisp, about 5 minutes. Add the onion, carrot, and celery. Cook until softened and golden, about 15 minutes. Add the crushed garlic and cook one minute more. The garlic should perfume the vegetables, not dominate them.
Return the meat to the pot. Pour in the wine and let it bubble until reduced by half. Add the broth, rosemary, and sage. The liquid should come about halfway up the meat. Bring to a simmer, then cover and reduce heat to the lowest setting. Braise until the meat is completely tender and falls apart when prodded, about 2 to 2 1/2 hours. Check occasionally and add water if the pot threatens to dry out.
Remove the meat from the braising liquid and let it cool slightly. Discard the rosemary stems and garlic. Pass the meat through a meat grinder fitted with the fine plate, or pulse in a food processor until finely ground but not paste. Transfer to a bowl. Add about 3 tablespoons of the strained braising liquid, the nutmeg, egg yolk, Parmigiano, and the blanched greens if using. Mix thoroughly. Season with salt and pepper. The filling should be moist but hold its shape when pinched. Refrigerate for at least one hour.
Mound the flour on a clean wooden board. Create a well in the center. Crack the eggs into the well and add the salt. Using a fork, beat the eggs while gradually incorporating flour from the inner walls of the well. When the mixture becomes too thick for the fork, use your hands to bring the dough together. Knead vigorously for 8 to 10 minutes until the dough is smooth, elastic, and springs back when pressed. The surface should feel like your earlobe. Wrap tightly in plastic and rest at room temperature for 30 minutes.
Divide the dough into four pieces. Work with one piece at a time, keeping the others wrapped. Using a pasta machine, roll the dough starting at the widest setting, folding it in thirds and rolling again at each setting until you reach the second-thinnest setting. The pasta should be thin enough to see your hand through it, but not so thin that it tears. Cut the sheet into strips about 3 inches wide and 12 inches long.
Working quickly so the pasta does not dry, place small mounds of filling (about 1/2 teaspoon each) in a line along the center of each pasta strip, spacing them about 3/4 inch apart. Fold the pasta lengthwise over the filling. Press firmly around each mound to seal and eliminate air pockets. Now comes the plin: using your thumb and forefinger, pinch firmly between each mound to create individual parcels. Cut between the pinches with a fluted pastry wheel or sharp knife. Each agnolotto should be about the size of a large postage stamp.
Bring a large pot of well-salted water to a gentle boil. Add the agnolotti carefully. They will sink, then float. Cook for 2 to 3 minutes after they float. The pasta should be tender, the filling hot throughout. Remove with a slotted spoon or spider, letting excess water drain.
While the pasta cooks, melt the butter in a large skillet over medium heat. When it foams, add the sage leaves and let them sizzle until the butter turns golden and smells of hazelnuts. This is brown butter. Remove from heat immediately. Transfer the drained agnolotti to the skillet and toss gently to coat. The butter should cling to each parcel. Serve immediately. Once the pasta is sauced, invite your guests and family to put off talking and start eating. Pass Parmigiano-Reggiano at the table.
1 serving (about 250g)
Culinary guides, cultural storytelling, and the editorial depth that makes cooking meaningful.
Discover Culinary ExplorerChef Graziella
The tiny pinched parcels of Piedmont, filled with braised meat and sealed with a gesture that has passed from grandmother to granddaughter for centuries. The pinch is both technique and signature.

Chef Graziella
The grand boiled dinner of Piedmont, where seven cuts of meat surrender slowly to the poaching liquid, emerging tender enough to cut with a fork. This is a dish for the table you set when everyone comes home.
Chef Graziella
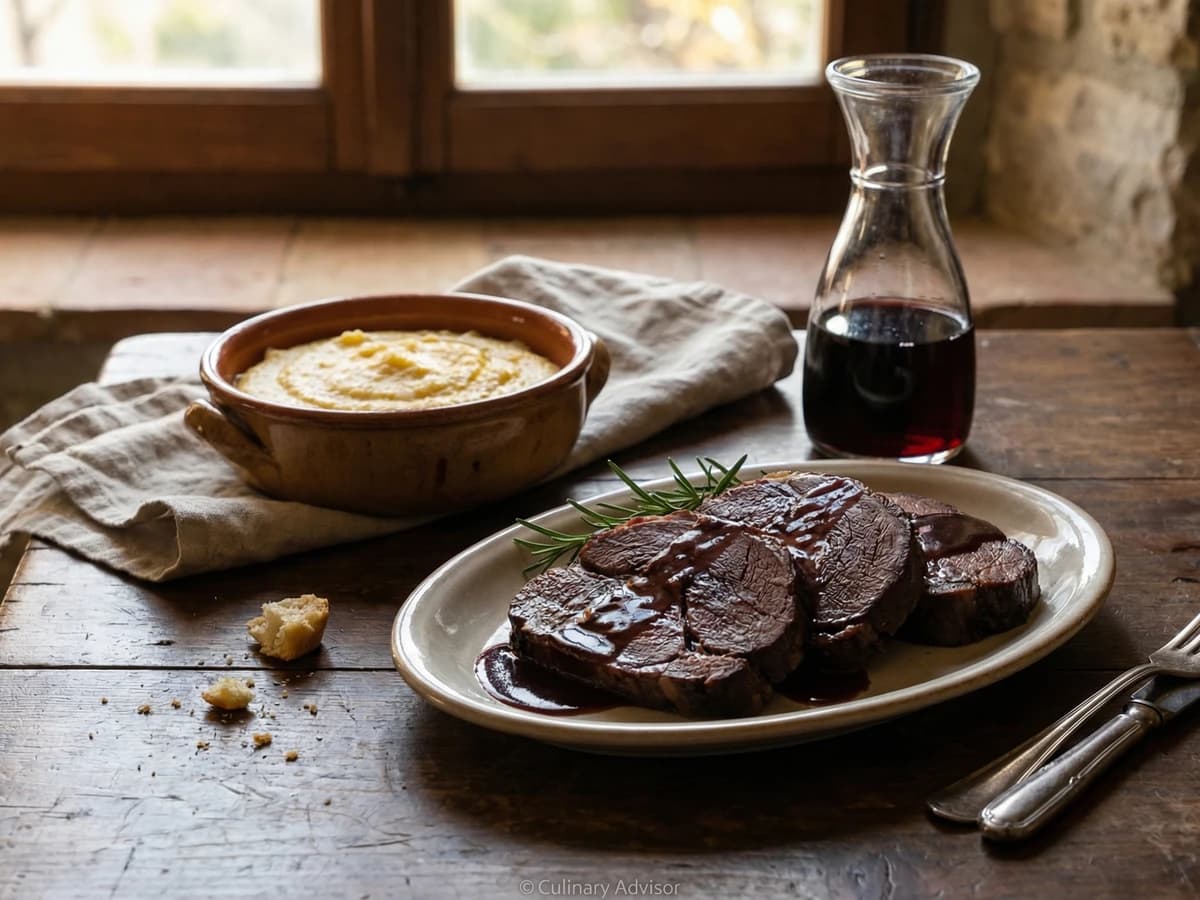
Piedmont's great celebration braise, where beef surrenders to a full bottle of Barolo over 24 hours of marinating and 4 hours of gentle heat. The wine of kings becomes the sauce itself.
Chef Graziella
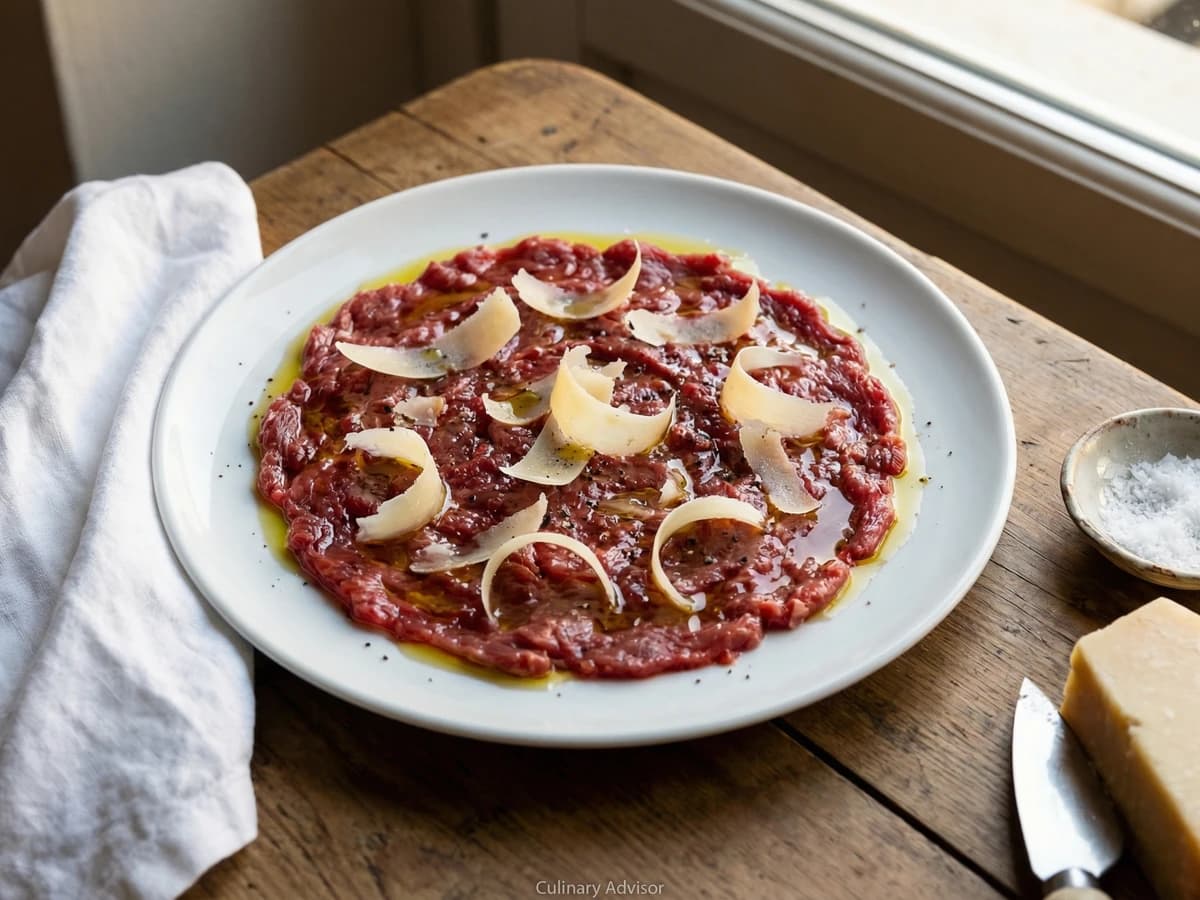
The refined raw beef of Alba, where hand-chopped meat meets nothing but lemon, olive oil, and shaved cheese. This is not French tartare. This is Piedmontese restraint at its most eloquent.