Chef Graziella
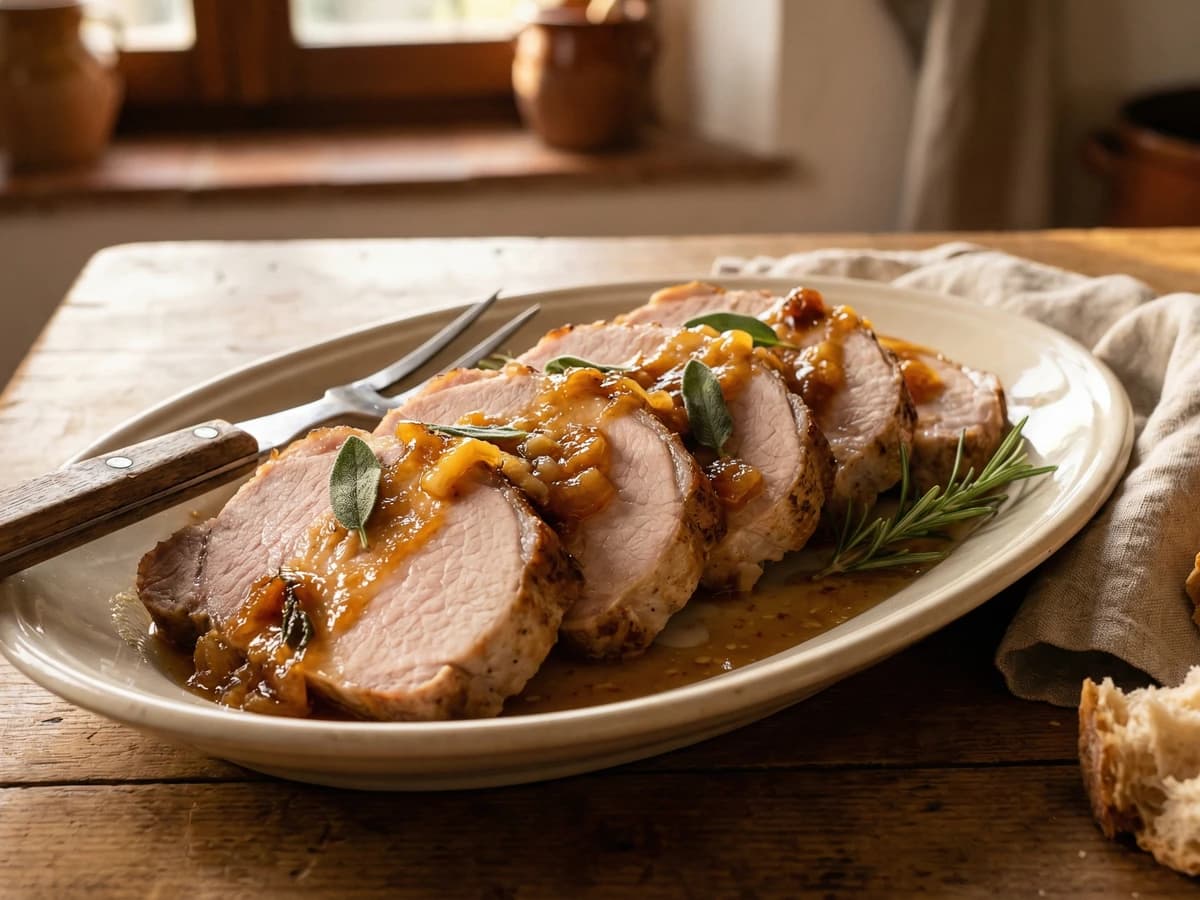
Arrosto di Maiale al Latte
Pork loin braised in milk until the liquid transforms into nutty, golden curds that cling to impossibly tender meat. The technique looks like failure and tastes like triumph.
A cooking platform built around craft, culture, and the stories behind what we eat.
Created by
The crowned jewel of Emilian pasta, tiny rings of egg dough cradling a filling so balanced that no single ingredient dominates. Served floating in golden broth, as Bologna has done for centuries.
Tortellini are not dumplings. They are not ravioli. They are not meant to be drowned in cream or tossed with butter. They are small, precise packages of filling wrapped in the thinnest possible sfoglia, shaped with a movement so particular that Bolognese grandmothers can tell by watching your hands whether you learned properly.
The filling is not negotiable. Pork loin, prosciutto, mortadella, Parmigiano-Reggiano, egg, and nutmeg. Each ingredient in proportion. The mortadella provides fat and its distinctive perfume of pistachios and spice. The prosciutto gives salt and depth. The pork loin adds sweetness. The Parmigiano binds everything and brings its crystalline sharpness. If you change the filling, you have made something else. Call it what you like, but do not call it tortellini.
The shape comes from legend: a innkeeper peering through a keyhole at Venus, seeing only her navel, and recreating what he saw in pasta. Whether the story is true matters less than what it tells you about how Bolognesi feel about their tortellini. This is not just food. This is identity.
In Bologna, on Christmas Day, you serve tortellini in brodo. Golden capon broth, clear and rich, with small tortellini floating like treasures. That is the dish. Cream is an insult. Tomato sauce is incomprehensible. What you keep out is as significant as what you put in.
Tortellini appear in Bolognese records as early as the 12th century, though the modern filling became codified in the kitchens of wealthy families during the Renaissance. The Confraternita del Tortellino, established in 1965, registered the official recipe to protect the dish from bastardization. They would be horrified by what most of the world calls tortellini.
Quantity
400g, plus more for dusting
Quantity
4
Quantity
150g
Quantity
100g
sliced thin
Quantity
100g
Quantity
150g
finely grated
Quantity
1
Quantity
1/4 teaspoon
freshly grated
Quantity
to taste
Quantity
to taste
freshly ground
Quantity
1 capon (6 pounds) or 1 chicken plus 2 pounds beef bones
Quantity
2
peeled and halved
Quantity
2
halved, leaves included
Quantity
1 medium
halved
Quantity
1
Quantity
small bunch
Quantity
1 tablespoon
Quantity
to taste
Quantity
freshly grated
| Ingredient | Quantity |
|---|---|
| tipo 00 flour | 400g, plus more for dusting |
| large eggs | 4 |
| pork loin | 150g |
| prosciutto di Parmasliced thin | 100g |
| mortadella di Bologna | 100g |
| Parmigiano-Reggianofinely grated | 150g |
| large egg | 1 |
| nutmegfreshly grated | 1/4 teaspoon |
| fine sea salt | to taste |
| black pepperfreshly ground | to taste |
| capon or chicken with beef bones | 1 capon (6 pounds) or 1 chicken plus 2 pounds beef bones |
| carrotspeeled and halved | 2 |
| celery stalkshalved, leaves included | 2 |
| yellow onionhalved | 1 medium |
| ripe tomato | 1 |
| flat-leaf parsley stems | small bunch |
| whole black peppercorns | 1 tablespoon |
| kosher salt | to taste |
| Parmigiano-Reggiano for serving | freshly grated |
Place the capon (or chicken and beef bones) in a large stockpot. Cover with cold water by four inches. Bring to a simmer over medium heat. This takes time. Do not rush it. As foam rises to the surface, skim it away. Continue skimming until the liquid is relatively clear.
Add the carrots, celery, onion, tomato, parsley stems, and peppercorns. Season with salt. Continue simmering gently, uncovered, for 2 to 3 hours. The liquid should reduce by about one-third and become golden. Strain through a fine-mesh sieve lined with cheesecloth. Discard the solids. You should have approximately 3 quarts of clear, golden broth.
Season the pork loin with salt and pepper. In a small skillet, cook it in a little butter over medium heat until just cooked through, about 15 minutes. The meat should be cooked completely but not dried out. Let it cool completely before proceeding.
Cut the cooled pork, prosciutto, and mortadella into small pieces. Pass them through a meat grinder fitted with the fine plate, or pulse in a food processor until you have a very fine, homogeneous mixture. Transfer to a bowl. Add the grated Parmigiano, egg, and nutmeg. Mix thoroughly with your hands until completely combined. Season with a pinch of salt and pepper. The filling should taste balanced, with no single ingredient dominating.
Mound the flour on a wooden board or clean work surface. Create a well in the center large enough to hold the eggs. Crack the eggs into the well. Using a fork, beat the eggs gently, then begin incorporating flour from the inner walls of the well. Continue until the mixture becomes too thick to work with a fork. Use your hands to bring the dough together, incorporating most of the flour.
Knead the dough vigorously for 10 full minutes. Push it away with the heel of your hand, fold it over, rotate it, and push again. The dough will transform from rough and shaggy to smooth and supple. When done, it should feel like your earlobe when pressed. Not too wet, not too dry. Wrap tightly in plastic and rest at room temperature for 30 minutes.
Cut the rested dough into four pieces. Keep the pieces you are not working with covered. Using a hand-crank pasta machine, roll one piece starting at the widest setting. Fold it in thirds like a letter, rotate 90 degrees, and roll again at the same setting. Repeat this folding and rolling three times to develop the gluten. Then progress through the settings, rolling once at each, until you reach the second-thinnest setting. The pasta should be thin enough that you can see the shadow of your hand through it.
Lay the sheet of pasta on a lightly floured surface. Using a sharp knife or fluted pastry wheel, cut the pasta into 2-inch squares. Work quickly. Fresh pasta dries fast, and dry pasta does not seal. Keep cut squares covered with a barely damp towel.
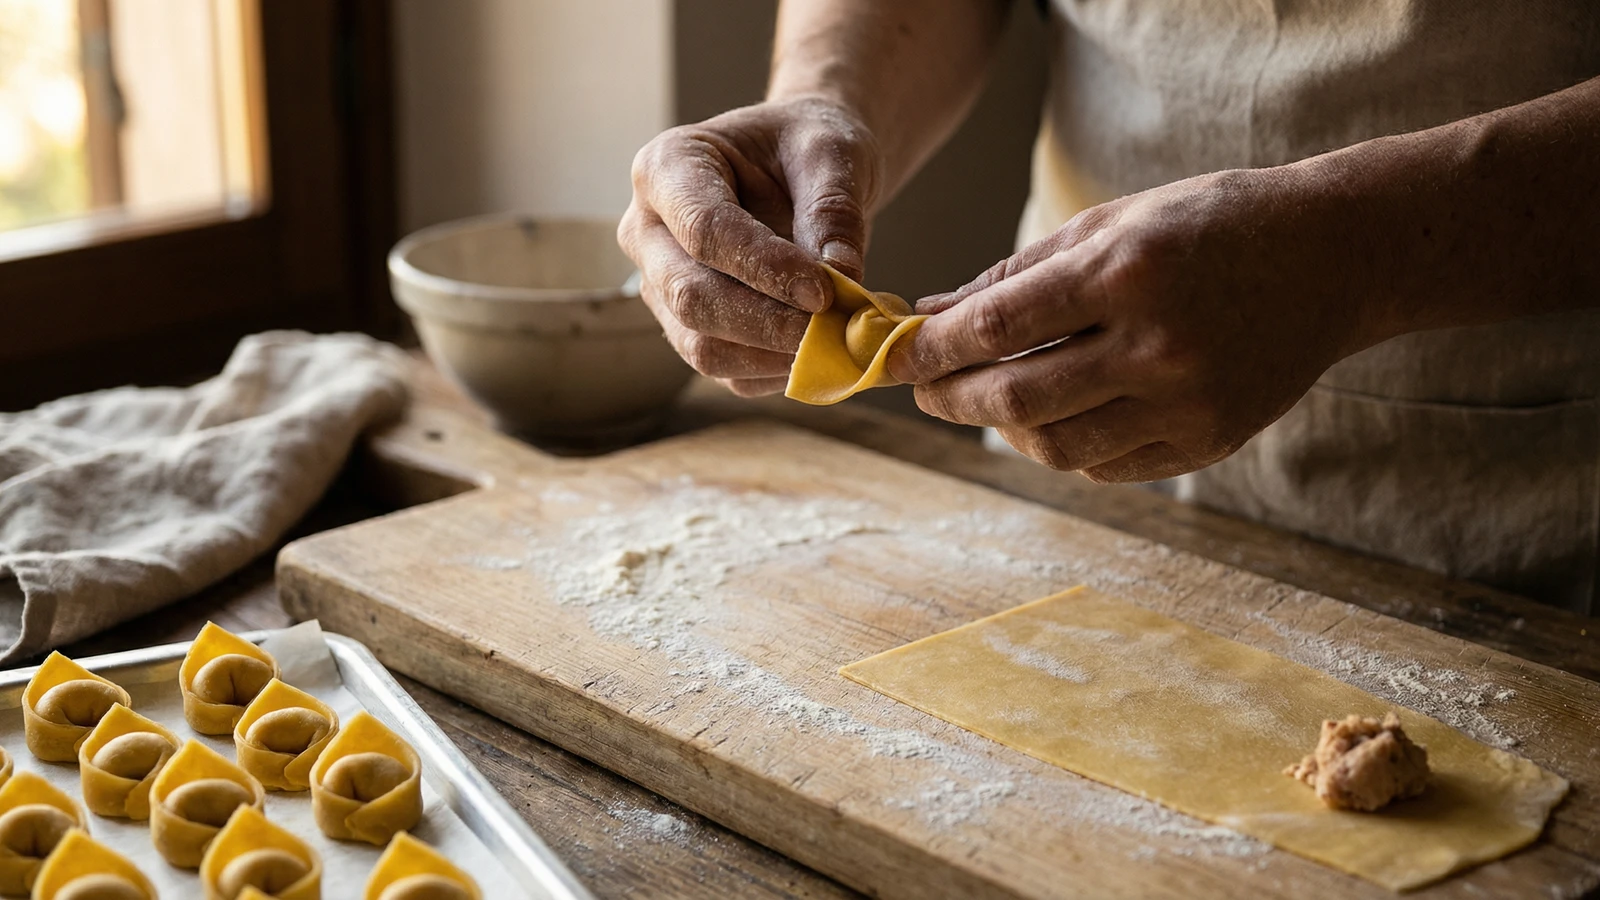
Place a scant half-teaspoon of filling in the center of each square. Fold the square diagonally to form a triangle, pressing the edges firmly to seal. Expel any air as you seal. Bring the two bottom corners of the triangle together around your index finger, overlapping them slightly and pressing to seal. The peak of the triangle should flip up like a little hat. Set the finished tortellini on a flour-dusted tray, not touching each other.
Continue rolling, cutting, and shaping until all dough and filling are used. You should have approximately 150 tortellini. They can sit at room temperature for up to one hour before cooking. For longer storage, freeze them in a single layer on a sheet pan, then transfer to a freezer bag. They keep frozen for two months.
Bring the strained brodo to a gentle simmer. Taste and adjust salt. Add the tortellini, cooking in batches if necessary to avoid crowding. Fresh tortellini cook in 3 to 4 minutes. Frozen take 5 to 6 minutes. They are done when they float and the pasta is tender. Ladle the brodo and tortellini into warm shallow bowls. Pass freshly grated Parmigiano-Reggiano at the table. Serve immediately.
1 serving (about 400g)
Culinary guides, cultural storytelling, and the editorial depth that makes cooking meaningful.
Discover Culinary ExplorerChef Graziella
Pork loin braised in milk until the liquid transforms into nutty, golden curds that cling to impossibly tender meat. The technique looks like failure and tastes like triumph.

Chef Graziella
Thick pork chops rubbed with salamoia bolognese and grilled over live fire. This is how we eat in summer in Emilia-Romagna: simply, outdoors, with family.
Chef Graziella
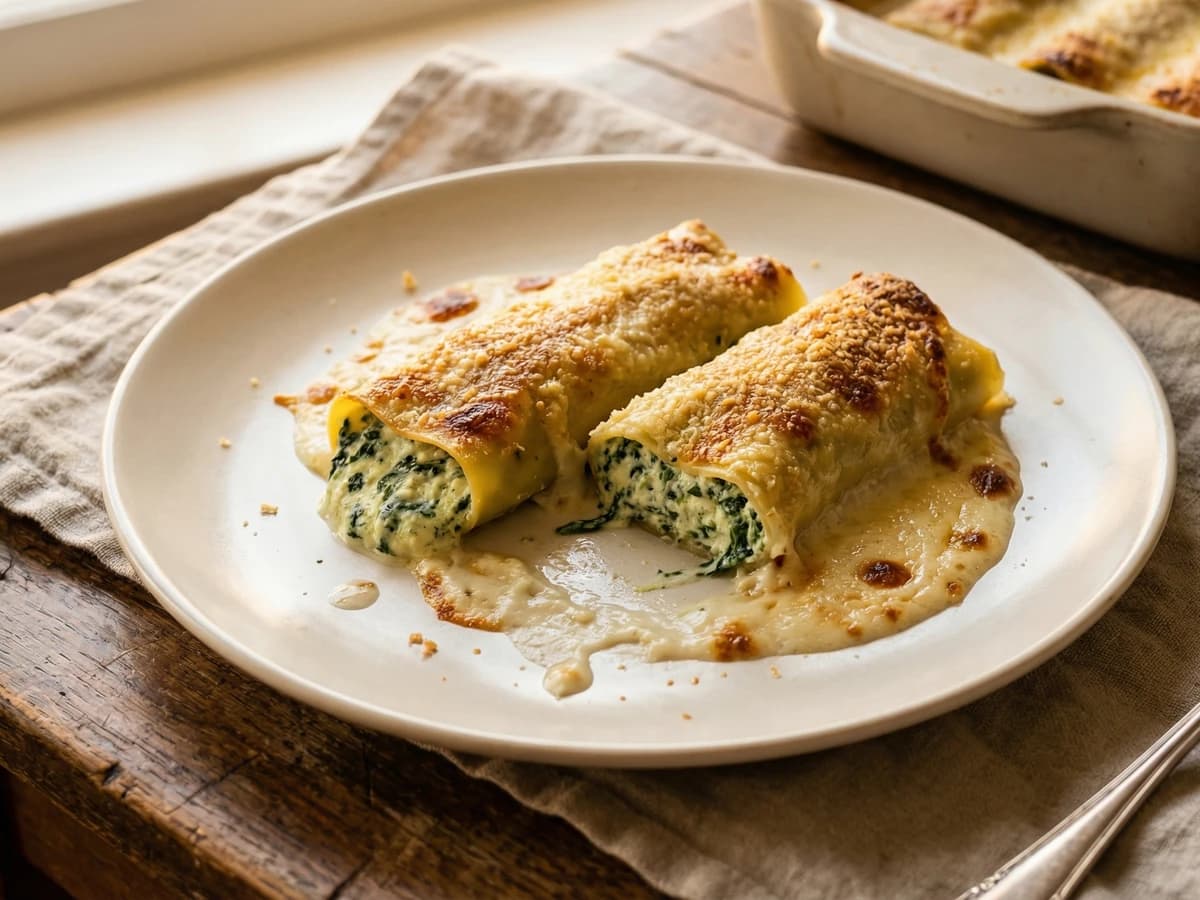
Hand-rolled pasta sheets wrapped around a filling of ricotta and spinach, covered in besciamella and baked until golden. This is the Sunday cooking of Emilia-Romagna, made without shortcuts.
Chef Graziella
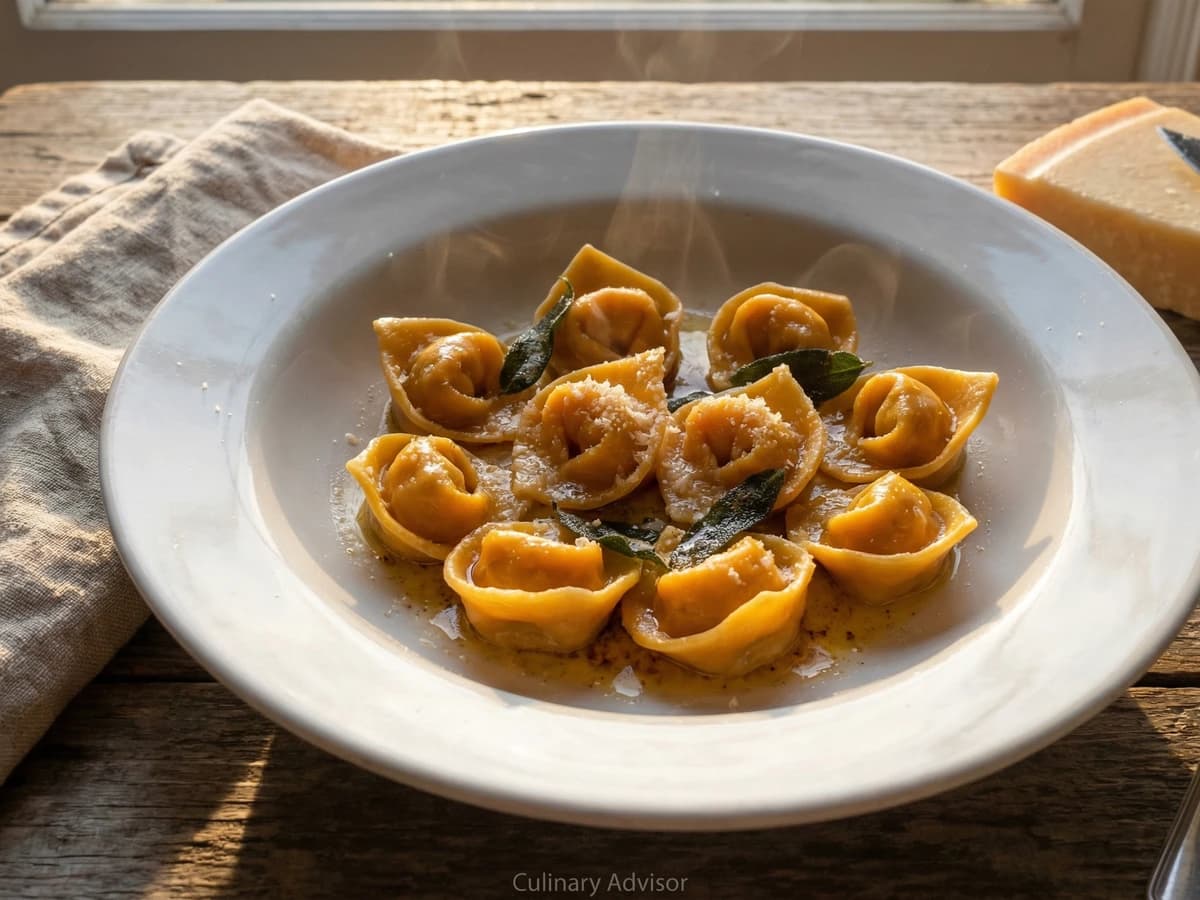
The pasta of the Este dukes, where sweet roasted pumpkin meets fresh egg pasta in shapes like little peasant hats. Dressed only with butter and sage, as Ferrara has done since the Renaissance.