
Chef Takumi
Abura Soba (油そば, brothless ramen)
Abura soba is ramen without the hiding place of soup: hot noodles, strong shōyu tare, fragrant oil, and the discipline to mix while every strand is still hot.
A cooking platform built around craft, culture, and the stories behind what we eat.

Created by
Sukiyaki looks grand because it arrives in one pot. The work is plain: good thin beef, a balanced sweet soy warishita, and the patience to keep the simmer gentle.
Sukiyaki is not a stew you abandon to the stove. It is a table dish, cooked in front of everyone, which makes nervous cooks think it must be theater. It isn't. The pot is only a meeting place for thin beef, tofu, negi, mushrooms, greens, and a sweet soy broth called warishita.
The one detail that decides it is the heat. Beef cut this thin asks for seconds, not endurance. Let it tighten hard in a boiling pot and you've paid for tenderness only to make it sulk. Keep the liquid shallow and lively but not violent, add ingredients in small rounds, and let each one finish while it still knows what it is.
We have two honorable habits here. Kanto style mixes the warishita first and simmers from the start. Kansai style begins by searing a few slices of beef with beef fat, sugar, and soy before the liquid joins. This recipe gives you the Kanto method, steadier for the home table, with the Kansai opening offered in the notes. Both are honmono when the balance is right and nothing is hidden.
Sukiyaki belongs to cold evenings and company. The pot sits in the center, rice waits beside it, and each person draws a piece through beaten raw egg if good eggs can be sourced safely. Sweetness, soy, beef, and green things, all kept in order. It is generous food, but it still needs ma: don't crowd the pot. Leave it room.
Sukiyaki became widespread in the Meiji period after the 1872 lifting of official restrictions on meat eating helped make beef fashionable in urban Japan. Kanto and Kansai developed distinct methods: Kanto cooks generally use a prepared warishita, while Kansai cooks often sear the beef first with sugar and soy before adding liquid. The name is older than the modern dish and is often linked to cooking on a spade-like tool, suki, though the exact origin remains debated.
Quantity
600g
sliced very thin for sukiyaki
Quantity
1 piece (about 20g)
Quantity
1 block (about 350g)
drained and cut into 8 pieces
Quantity
1 package (about 200g)
rinsed and parboiled
Quantity
2 large negi or 4 thick scallions
cut diagonally into 2-inch pieces
Quantity
8
stems removed and caps scored
Quantity
1 small bunch
cut into bite-size lengths
Quantity
1/2 bunch
trimmed
Quantity
1 cup
Quantity
1 cup
Quantity
1/2 cup
Quantity
1/4 cup
Quantity
1/2 cup, plus more as needed
Quantity
4
one per person, for dipping
Quantity
for serving
| Ingredient | Quantity |
|---|---|
| well-marbled beef ribeye or sirloinsliced very thin for sukiyaki | 600g |
| beef fat (optional) | 1 piece (about 20g) |
| firm tofudrained and cut into 8 pieces | 1 block (about 350g) |
| shirataki noodlesrinsed and parboiled | 1 package (about 200g) |
| negi or thick scallionscut diagonally into 2-inch pieces | 2 large negi or 4 thick scallions |
| fresh shiitake mushroomsstems removed and caps scored | 8 |
| shungiku or napa cabbagecut into bite-size lengths | 1 small bunch |
| enoki mushroomstrimmed | 1/2 bunch |
| soy sauce | 1 cup |
| mirin | 1 cup |
| sake | 1/2 cup |
| sugar | 1/4 cup |
| dashi or water | 1/2 cup, plus more as needed |
| very fresh pasteurized eggs (optional)one per person, for dipping | 4 |
| steamed Japanese short-grain rice | for serving |
Combine the soy sauce, mirin, sake, sugar, and dashi in a small pot. Warm just until the sugar dissolves, then taste. It should be sweet and salty in clear balance, stronger than soup because the tofu, noodles, and greens will soften it in the pan.
Drain the tofu well and cut it into sturdy pieces. If you have time, brown the tofu lightly in a dry pan or under a grill. This firms the surface so it can sit in the simmer without breaking, and it gives the warishita something to cling to.
Rinse the shirataki under running water, then parboil for two minutes and drain well. This removes the alkaline smell from the package. Keep the noodles away from the raw beef on the platter, since shirataki can toughen meat when they sit together before cooking.
Arrange the beef, tofu, shirataki, negi, mushrooms, and greens on separate sections of a platter. Set a shallow iron sukiyaki pan or wide heavy skillet on a portable burner. Give each person rice and, if using, a small bowl with one pasteurized egg to beat lightly at the table.
Heat the pan over medium heat and rub it with the beef fat. Lay in three or four slices of beef and let them color briefly on one side. This first sear perfumes the pan and rewards the cook at once, but stop while the meat is still tender. Thin beef has no patience for lectures.
Pour in enough warishita to cover the bottom of the pan by about 1/2 inch. Add a few pieces each of tofu, negi, shiitake, shirataki, and greens, keeping them in loose groups rather than stirring everything together. The shallow liquid seasons boldly without turning the pot into soup.
Keep the pan at a gentle simmer. Turn tofu and vegetables once as they cook, and add beef slices in small batches so each piece just loses its raw color. If the liquid reduces too sharply, add a splash of dashi or water. If it tastes weak, add a little more warishita.
Serve directly from the pan as each ingredient is ready. Dip hot pieces through the beaten egg if using, then eat with rice. Continue adding ingredients in rounds, keeping the pot uncrowded. The last bites should taste deeper than the first, not saltier.
1 serving (about 705g)
Culinary guides, cultural storytelling, and the editorial depth that makes cooking meaningful.
Discover Culinary ExplorerChef Takumi
Abura soba is ramen without the hiding place of soup: hot noodles, strong shōyu tare, fragrant oil, and the discipline to mix while every strand is still hot.
Chef Takumi
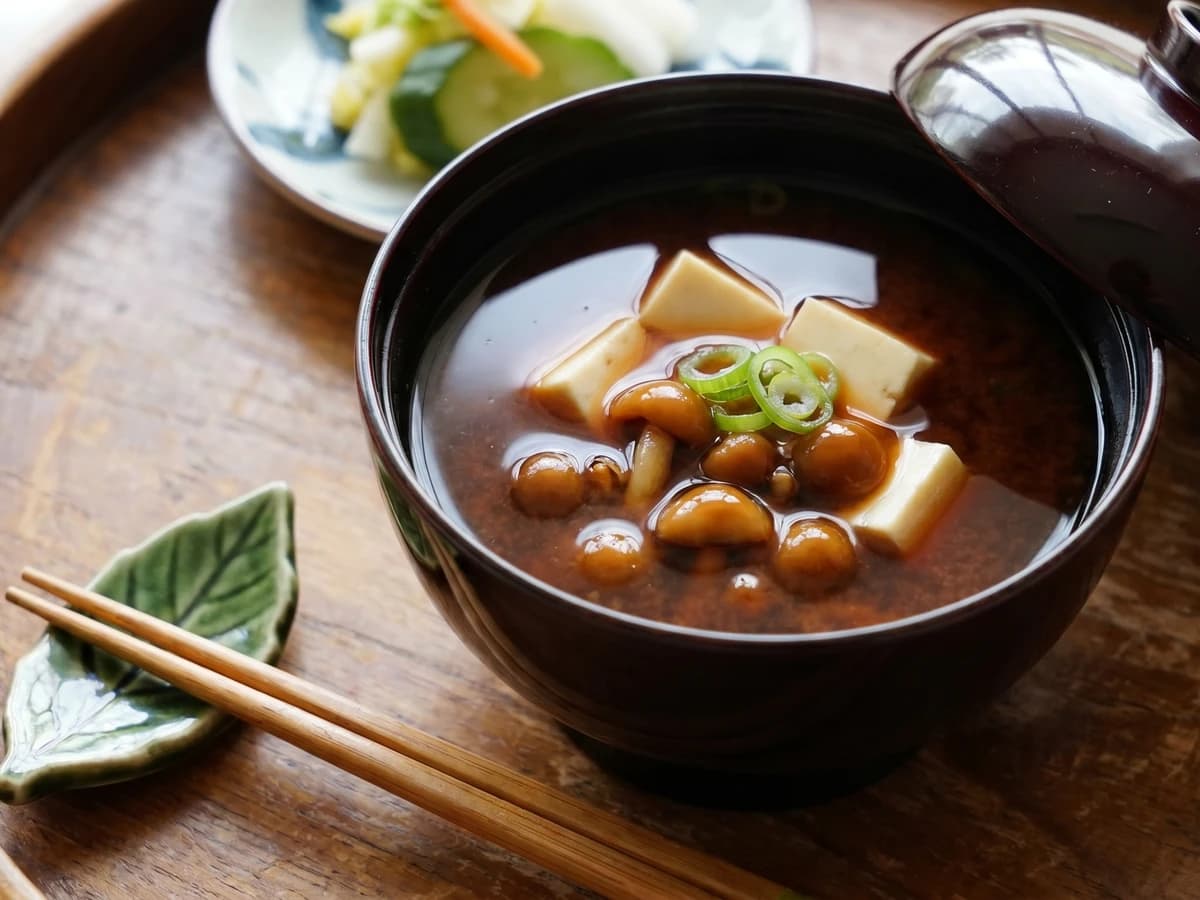
Akadashi asks you to trust the dark miso. Build a clear dashi, loosen the Hatchō mame-miso gently, and the soup turns coffee-dark, savory, and clean.

Chef Takumi
Toast the rice until its skin is firm, then let it meet chicken broth, burdock, maitake, and seri. The pot looks grand, but the work is rice, broth, and patience.
Chef Takumi
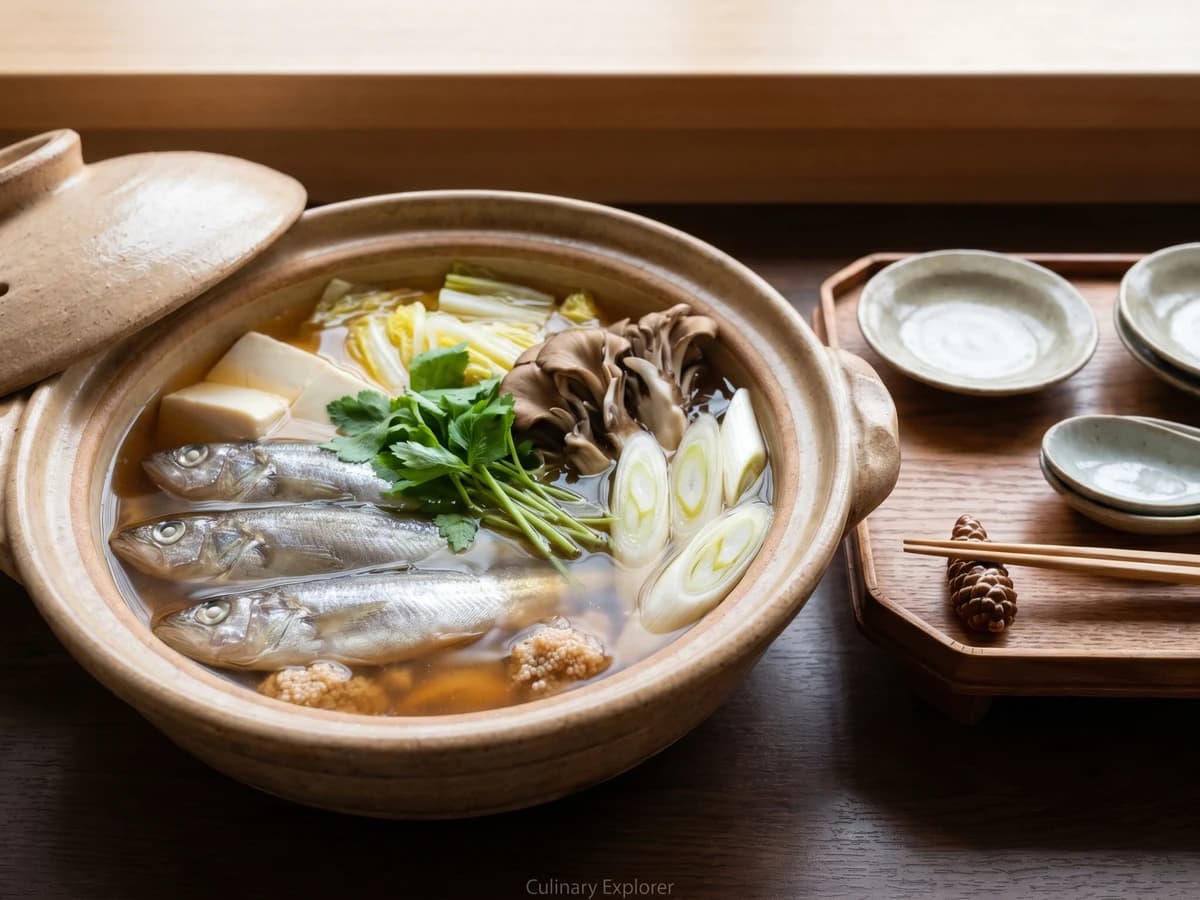
Shottsuru nabe is Akita winter in one pot: clean dashi, hatahata at shun, tofu and napa cabbage carrying a salt-deep broth without anything heavy enough to hide the fish.