Chef Thomas
Anchovy Sauce
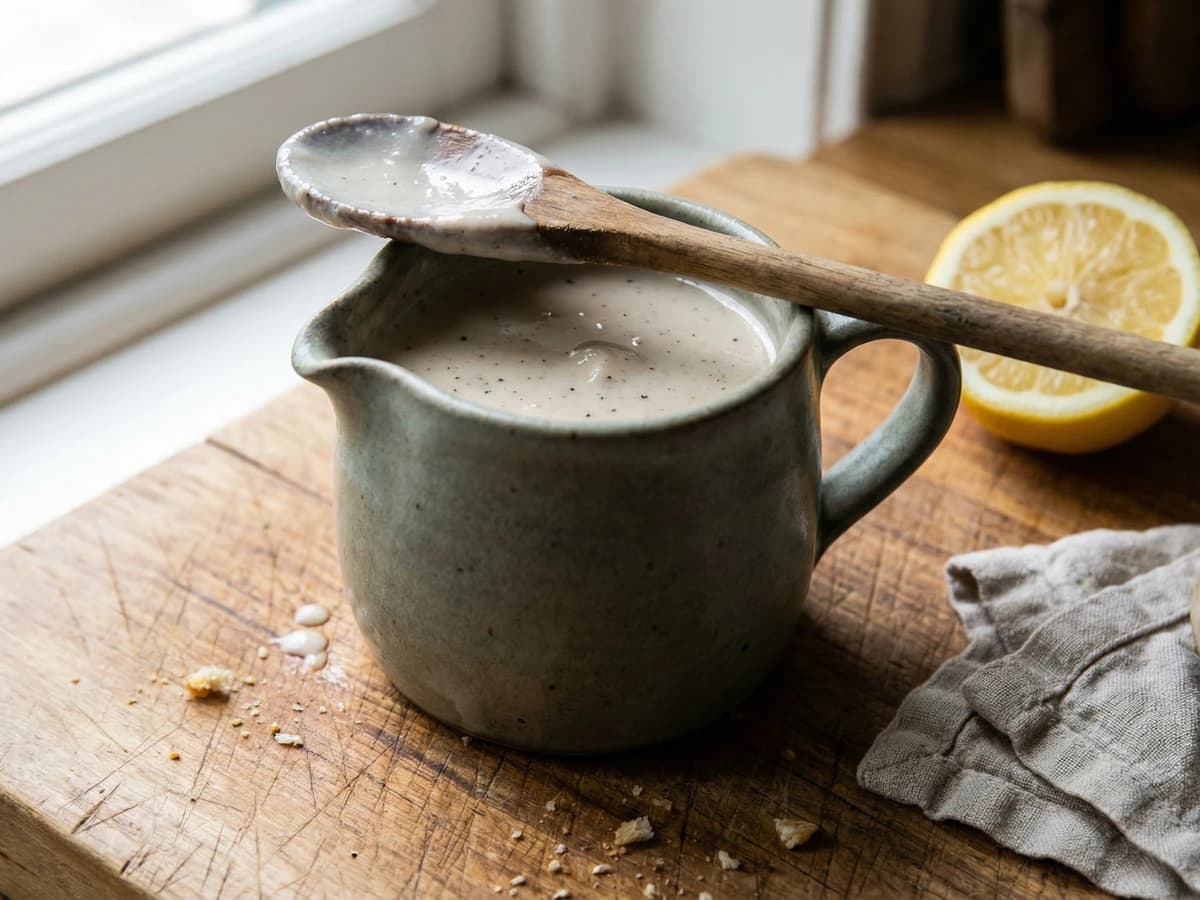
A proper white sauce sharpened with pounded anchovy, the old Georgian trick for waking up a piece of poached fish or a slice of roast lamb on a Sunday in spring.
A cooking platform built around craft, culture, and the stories behind what we eat.

Created by Chef Thomas
A small batch of garnet-bright redcurrant jelly made in early summer, the kind of preserve that sits in the cupboard waiting patiently for a roast lamb in October.
Redcurrants come in a hurry. One week the bushes are still tight and green, the next they're hung with strings of glossy red beads, and you have about ten days to do something about it before the birds beat you to them. This is when you make jelly. Not later. Now.
There's nothing complicated here. Currants, water, sugar, a squeeze of lemon. The fruit gives up its juice with very little persuasion, and the pectin in the stalks does most of the setting work for you. It's one of those preserves that feels far cleverer than it is. You stand at the stove for twenty minutes, you wait overnight while gravity strains the juice, and the next morning you boil it up into something that will last you the year.
I make a few jars every July and they sit in the cupboard, quietly waiting. By the time the first proper roast lamb of autumn lands on the table, the jelly is exactly where it should be: trembling on a small spoon, a sharp, sweet, fruity counterpoint to the rich meat. It's also good with cold game, stirred into pan juices, melted into a gravy, or spread on bread with butter when no one is looking.
I wrote it down in the notebook the first time I made it: redcurrants, July, rain on the kitchen window. We're only making jelly. But there are few better feelings than lining up three little jars of summer on the shelf and knowing they'll still be there when the evenings have drawn in.
Quantity
1.5kg
stalks and all, no need to strip
Quantity
300ml
Quantity
about 450g per 600ml of strained juice
Quantity
1
juiced
| Ingredient | Quantity |
|---|---|
| redcurrantsstalks and all, no need to strip | 1.5kg |
| water | 300ml |
| granulated sugar | about 450g per 600ml of strained juice |
| lemonjuiced | 1 |
Tip the redcurrants into a colander and rinse them under cold water. Don't bother stripping them from their stalks. The stalks contain pectin and will help the jelly set, and you're going to strain it all anyway. Pile them into a heavy-bottomed pan with the water.
Bring to a gentle simmer over a medium heat. As the currants warm, they'll begin to burst and release their juice. Help them along with the back of a wooden spoon, pressing gently against the side of the pan. Twenty minutes or so is about right. The pan should look like a deep, sloppy mass of crushed fruit and stalks, the colour of garnet held up to a window.
Set a jelly bag over a deep bowl. If you don't have one, line a colander with a square of muslin or a clean tea towel. Ladle the fruit and juice into the bag. Now leave it. Don't squeeze, don't push, don't help. Squeezing forces solids through and turns a clear jelly cloudy. Let gravity do the work overnight, or for at least six hours. The juice that drips through should be a clear, jewelled red.
Measure the strained juice into a clean preserving pan. For every 600ml of juice, weigh out 450g of sugar. Add the lemon juice. Warm gently over a low heat, stirring with a wooden spoon, until every grain of sugar has dissolved. You should be able to draw the spoon through and see no graininess at the bottom. Don't let it boil yet.
Now turn the heat right up and bring it to a rolling boil. Properly rolling. The kind that climbs the sides of the pan and won't be stirred down. This is when the magic happens. After about eight to ten minutes, start testing for a set. Drop a teaspoon of jelly onto a cold saucer (keep one in the freezer for the purpose), wait a moment, then push it with your finger. If the surface wrinkles, it's ready. If it slides about like syrup, give it another minute or two and try again.
Take the pan off the heat the moment it sets. Have your jars warmed and waiting (a low oven for ten minutes does the job). Ladle the jelly carefully into the jars, filling almost to the brim, and seal at once with the lids. As they cool, you'll hear the small, satisfying click of the lids drawing down. Label them. Write the date on. You'll thank yourself in November.
1 serving (about 20g)
Culinary guides, cultural storytelling, and the editorial depth that makes cooking meaningful.
Discover Culinary ExplorerChef Thomas
A proper white sauce sharpened with pounded anchovy, the old Georgian trick for waking up a piece of poached fish or a slice of roast lamb on a Sunday in spring.

Chef Thomas
A spiced autumn chutney made from a glut of apples and a quiet afternoon, simmered down until the kitchen smells of October and the jars line up on the counter like a small, useful insurance policy.
Chef Thomas
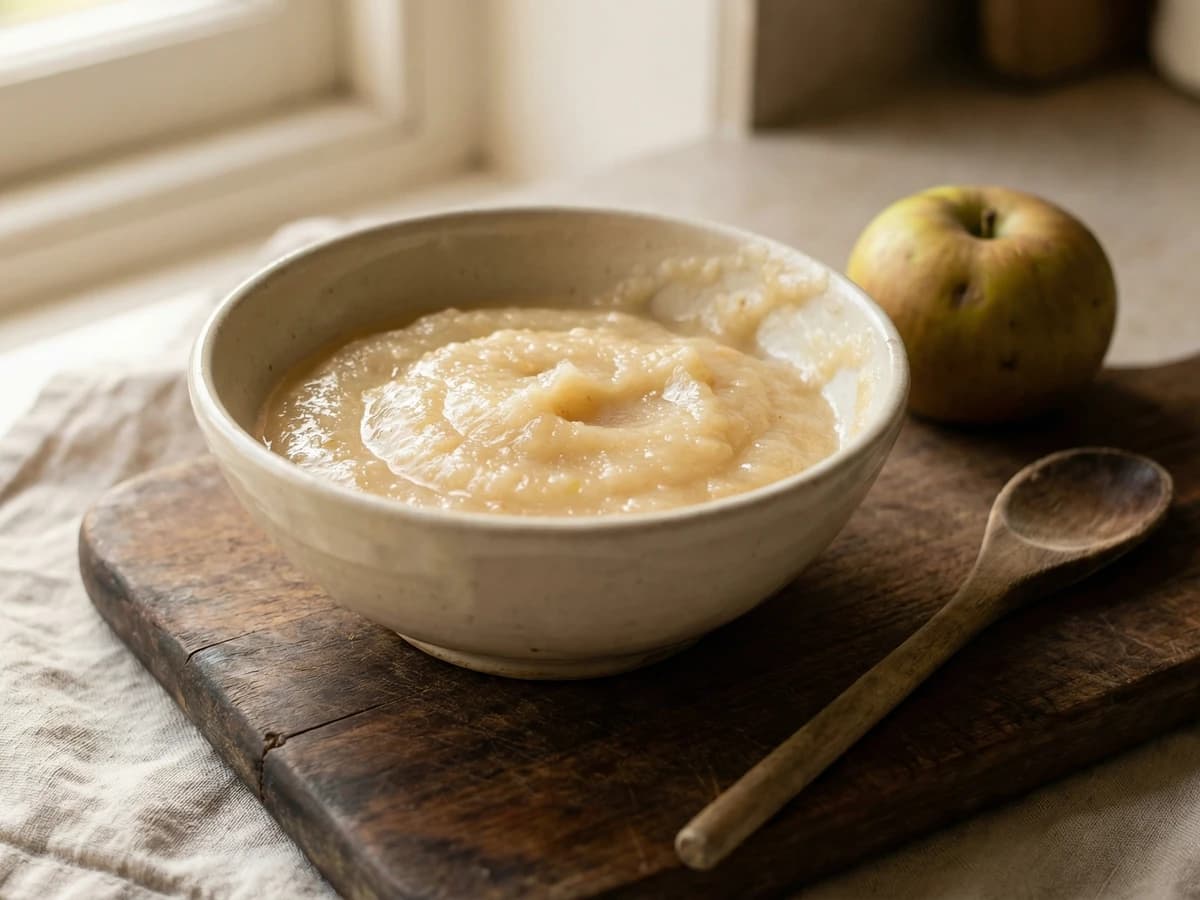
A bowl of sharp, fluffy Bramley apple sauce, made in the time it takes to carve the pork, the kind of small condiment that quietly makes the whole meal make sense.
Chef Thomas
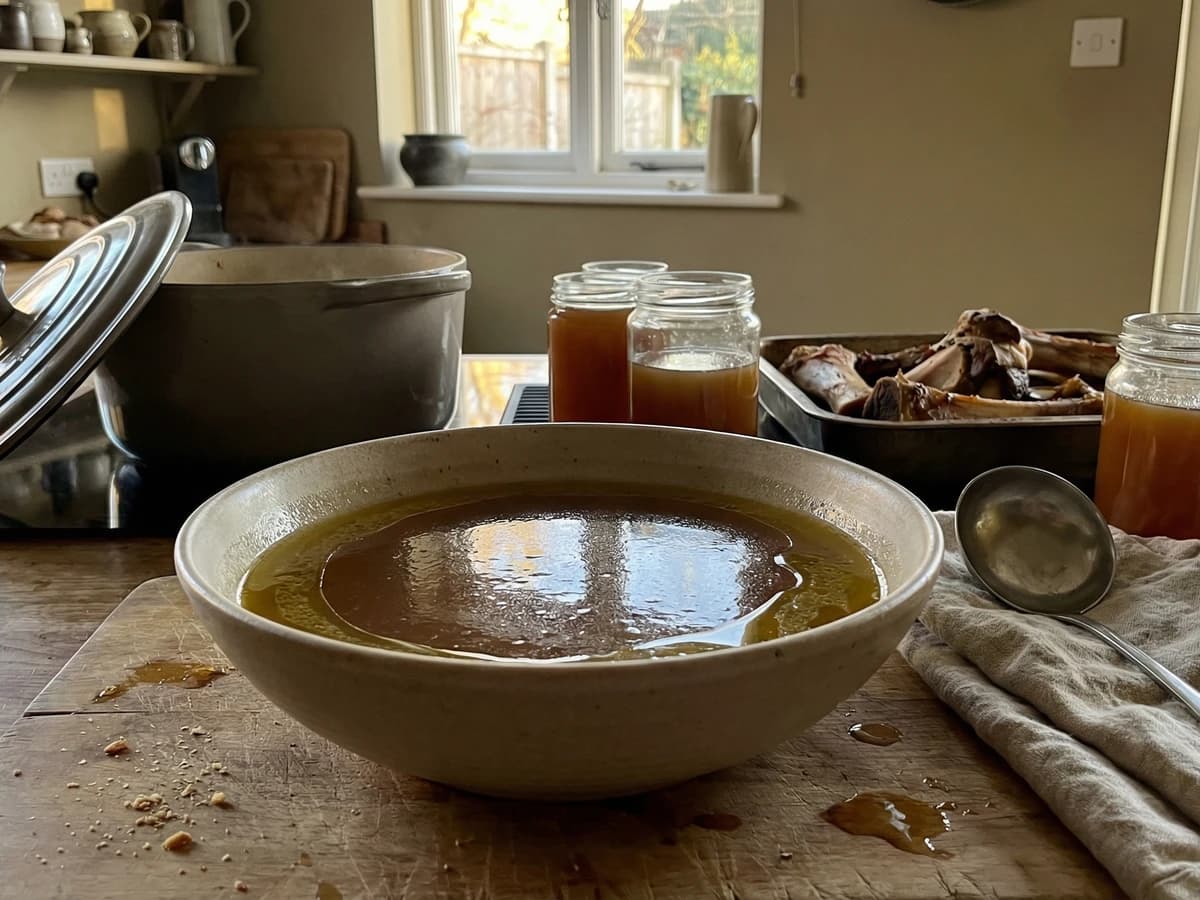
Beef bones roasted until dark, then coaxed for a long afternoon into a deep amber stock, the foundation of every good gravy, every braise, every bowl of winter soup worth the trouble.