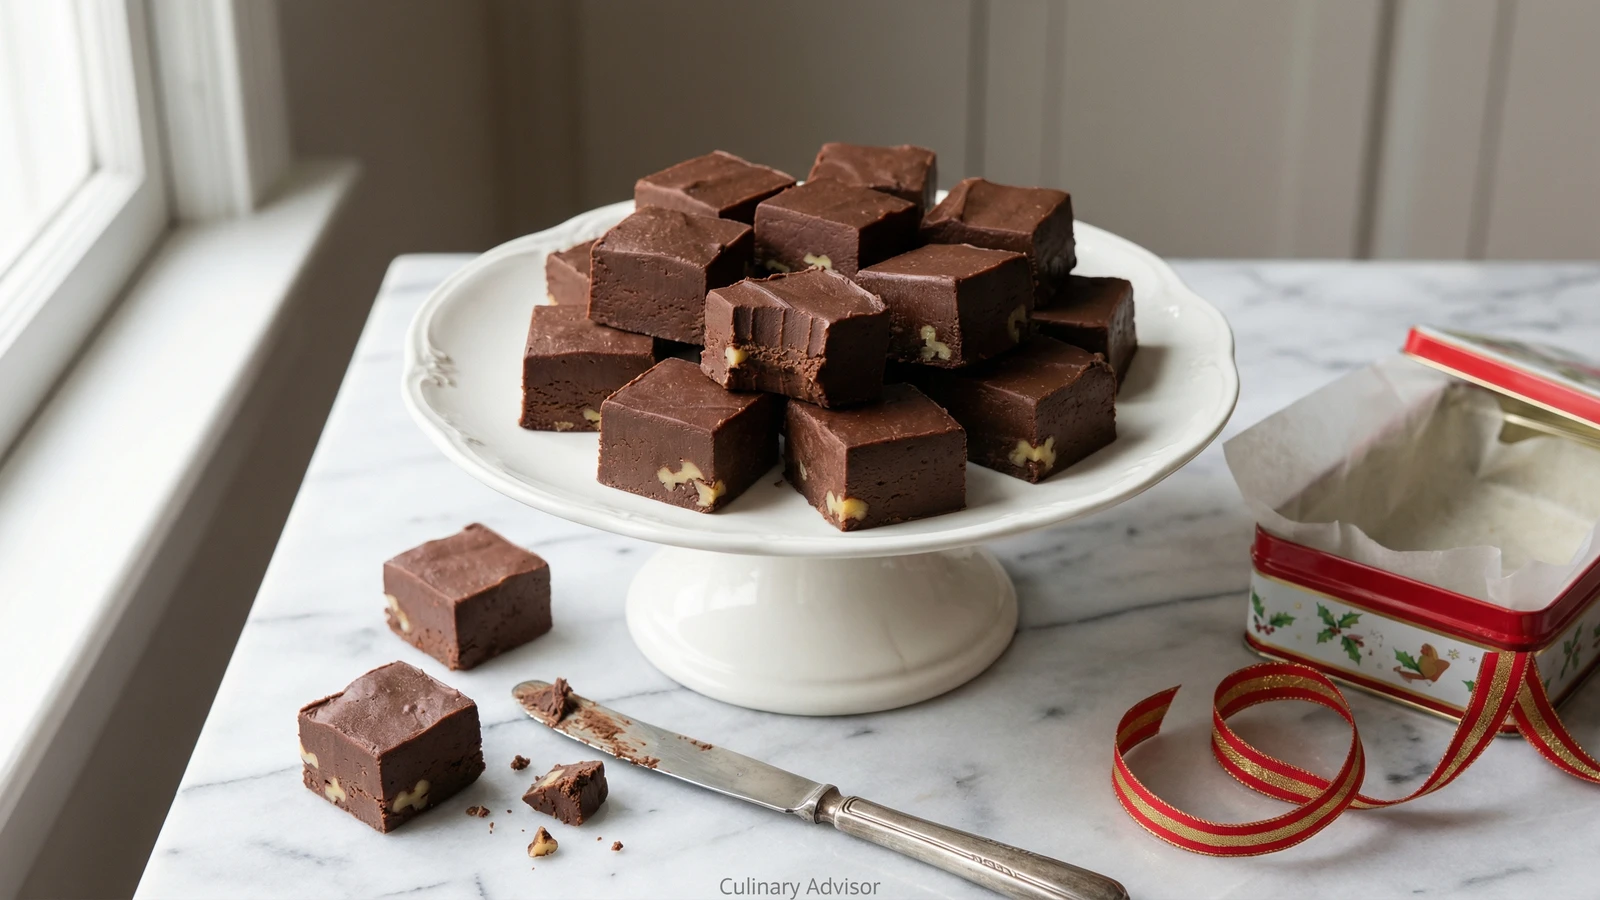
Deeply chocolatey and impossibly smooth, this is the fudge your grandmother made when she wanted to impress—cooked to the soft-ball stage and beaten by hand until it transforms from glossy syrup to velvety confection.
Desserts
American
Christmas
Holiday
Make Ahead
15 min
Active Time
25 min cook•1 hr 30 min total
YieldAbout 64 pieces (one 8-inch pan)
There was a time when every home cook worth her salt knew how to make fudge. Not the marshmallow-laden shortcuts that appeared on condensed milk cans in the 1950s, but real fudge, the kind that requires a candy thermometer and the patience to stand at the stove watching sugar dissolve.
This is that fudge. The method dates to the 1880s, when American college women popularized the confection. They'd make it in dormitory rooms over gas burners, testing doneness by dropping hot syrup into cold water. The technique hasn't changed because it doesn't need to. Sugar, butter, chocolate, and cream transformed by heat and agitation into something greater than its parts.
The magic happens in two stages. First, you cook the mixture to precisely 234 degrees, the soft-ball stage where sugar syrup dropped into cold water forms a pliable ball. Then comes the beating, which seems to do nothing at first and then suddenly everything. The glossy mass turns matte. It thickens. It sets. Pour it a moment too late and you'll be scraping fudge from your pot. Pour it at the right moment and you'll have created something worthy of a gift box.
Don't let the precision frighten you. I've taught this recipe to hundreds of students, and most succeed on their first attempt. A good thermometer and careful attention are all you need. The reward is fudge so creamy it practically dissolves on your tongue, with a depth of chocolate flavor no quick-method recipe can match.
The technique, the tradition, and the story behind every dish.
Line an 8-inch square baking pan with aluminum foil, leaving a 2-inch overhang on two sides. Butter the foil generously. This isn't optional vanity. Hot fudge poured into an unlined pan becomes a permanent resident. The overhang lets you lift the finished slab out cleanly.
For thinner fudge, use a 9x13-inch pan. For gift-worthy thickness, stick with the 8-inch square.
2
Combine sugar mixture
Place the sugar, butter, and evaporated milk in a heavy-bottomed 4-quart saucepan. Heavy is the operative word here. Thin pans develop hot spots that scorch sugar before you notice. Clip your candy thermometer to the side, making sure the tip doesn't touch the bottom of the pot.
3
Dissolve the sugar
Set the pot over medium heat and stir constantly with a wooden spoon until the sugar dissolves completely. Run your spoon across the bottom of the pot. You should feel no grittiness, only smooth liquid. This takes four to five minutes of patient stirring. Undissolved sugar crystals are the enemy of smooth fudge.
If sugar crystals form on the sides of the pot, brush them down with a wet pastry brush. Those crystals can seed unwanted crystallization in your finished fudge.
4
Cook to soft-ball stage
Once the sugar dissolves, stop stirring entirely. Increase heat to medium-high and bring the mixture to a rolling boil. Let it cook undisturbed, watching your thermometer climb. You're aiming for exactly 234°F, the soft-ball stage. This takes eight to twelve minutes depending on your stove. The mixture will bubble vigorously and smell of hot caramel.
Stirring during this stage can cause premature crystallization, resulting in grainy fudge. Keep your hands off the spoon.
5
Test if thermometer-free
If you lack a thermometer, test by dropping a small amount of the boiling syrup into a glass of ice water. When it forms a soft, pliable ball that flattens when pressed between your fingers, you've reached the right stage. The ball should hold its shape briefly, then collapse. Too firm means you've overcooked.
A candy thermometer removes all guesswork. If you plan to make candy with any regularity, invest the fifteen dollars.
6
Remove and add chocolate
The moment your thermometer hits 234°F, remove the pot from heat. Add the chopped unsweetened chocolate, chocolate chips, and marshmallow creme. Do not stir yet. Let everything sit for one minute. The residual heat begins melting the chocolate while the mixture cools slightly.
7
Beat until transformed
Now stir vigorously with your wooden spoon, incorporating the chocolate and marshmallow until smooth. Add the vanilla and salt. Continue stirring with purpose. For the first two minutes, nothing much happens. Then the mixture begins to lose its glossy sheen. It thickens. It starts to hold its shape when you lift the spoon. This is the moment. If adding walnuts, fold them in now.
The transformation from shiny to matte happens quickly. Watch for the moment the fudge pulls away from the pot sides and loses its gloss. That's your cue to pour.
8
Pour and set
Immediately pour the fudge into your prepared pan. Work quickly because it sets fast. Use a buttered spatula to spread it evenly, pushing into corners. Don't fuss over perfection. The top will never be mirror-smooth, and that's part of the charm.
9
Cool completely
Let the fudge cool at room temperature until completely set, at least two hours. Rushing this in the refrigerator can cause condensation and a grainy texture. Once firm, lift the slab out using the foil overhang. Peel away the foil and cut into one-inch squares with a sharp knife.
Warm your knife under hot water and dry it between cuts for the cleanest edges.
Chef Tips
•Evaporated milk is not the same as sweetened condensed milk. Using the wrong one will ruin your fudge. Check the label twice.
•Humidity affects candy-making. On rainy days, cook your fudge to 236°F instead of 234°F to compensate for the extra moisture in the air.
•If your fudge turns grainy, you likely stirred during the boiling phase or didn't dissolve all the sugar initially. Next batch, be more patient at the dissolving stage.
•For gift-giving, wrap individual squares in waxed paper, then pack in decorative tins. Fudge keeps beautifully and ships well in cool weather.
•The marshmallow creme isn't cheating. It provides interfering agents that help prevent crystallization, making success more reliable. Professional candy-makers use similar techniques.
Advance Preparation
•Fudge keeps at room temperature in an airtight container for up to 2 weeks. Layer squares between waxed paper to prevent sticking.
•For longer storage, refrigerate for up to 1 month or freeze for up to 3 months. Bring to room temperature before serving for the best texture.
•Toast walnuts up to 3 days ahead and store in an airtight container at room temperature.
Frequently Asked Questions
Nutrition Information
1 piece (about 26g)
Calories
105 calories
Total Fat
4 g
Saturated Fat
1 g
Trans Fat
0 g
Unsaturated Fat
3 g
Cholesterol
8 mg
Sodium
5 mg
Total Carbohydrates
12 g
Dietary Fiber
0 g
Sugars
12 g
Protein
0 g
Where cooking meets culture.
Culinary guides, cultural storytelling, and the editorial depth that makes cooking meaningful.