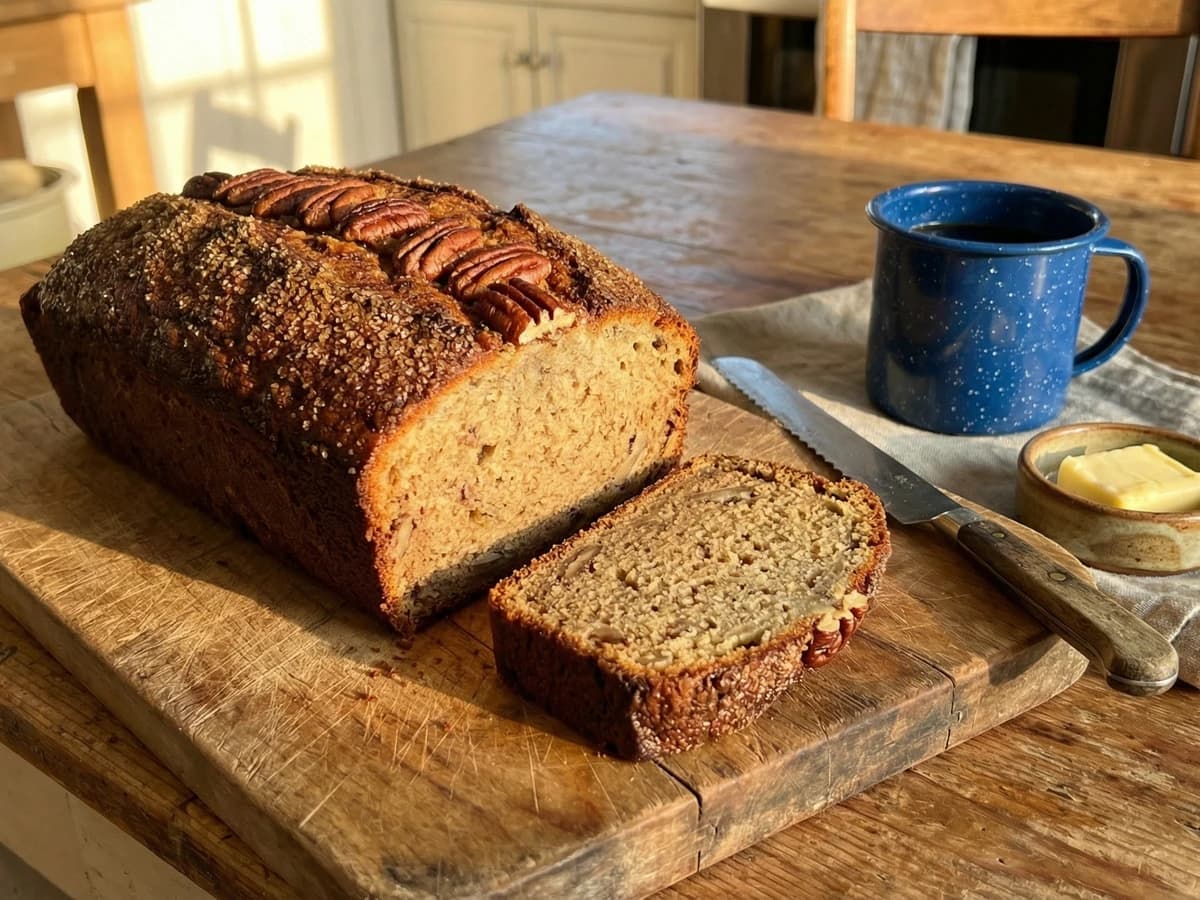
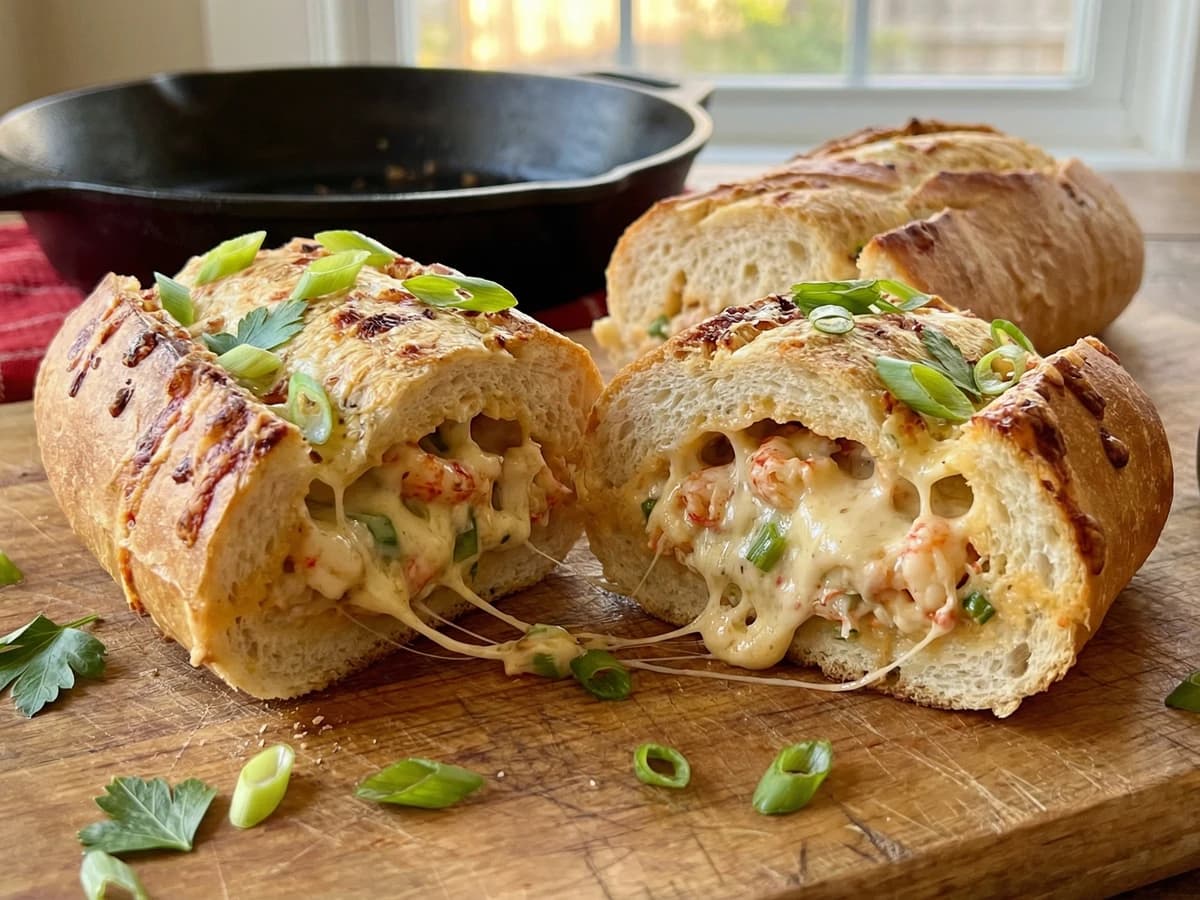
A crusty Louisiana heirloom with rice flour tucked into the dough, creating that distinctive tender crumb bayou bakers have guarded for generations, shaped into a beautiful torpedo and baked until the crust sings.
Breads
Cajun
Make Ahead
Dinner Party
45 min
Active Time
45 min cook•18 hr total
Yield1 large batard (about 1.5 pounds)
Good bread takes time. That's the first thing my grandmother Evangeline taught me about baking, standing at her flour-dusted counter in Lafayette Parish while she worked dough with hands that had been doing this for sixty years. You can't rush bread any more than you can rush a roux.
This batard carries the Louisiana baking tradition in every bite. The rice flour is our secret, something the Acadian bakers brought with them and refined over generations. It creates a crumb that's tender almost to the point of creamy, with a crust that shatters when you tear into it. At Lagniappe, we serve warm slices alongside our gumbo, and guests always ask what makes it different. Now I'm telling you.
The technique requires patience but not complicated skills. You'll mix, you'll fold, you'll wait. The dough does most of the work while you sleep. When that loaf comes out of the oven crackling and golden brown, smelling of wheat and something almost sweet from the long fermentation, you'll understand why I believe bread baking is an act of faith rewarded.
The technique, the tradition, and the story behind every dish.
Mix the bread flour and rice flour together in a large bowl. Pour in the room temperature water and stir with your hand or a wooden spoon until no dry patches remain. The dough will look shaggy and rough. That's exactly right. Cover the bowl with a damp towel and let it rest for 30 minutes to an hour. This rest, what the old French bakers called autolyse, lets the flour drink up the water and begins developing gluten without any work from you.
Rice flour is the secret my grandmother Evangeline brought from her mother's kitchen. It creates that tender, almost creamy interior that sets Louisiana bread apart from the rest.
2
Add starter and salt
After the rest, spread your active starter over the dough surface along with the salt and cane syrup. Now work it in by squeezing the dough through your fingers, folding it over itself, and squeezing again. This takes three to four minutes of determined kneading in the bowl. The dough will feel sticky and reluctant at first, then smooth out as everything incorporates. You'll know it's ready when you can stretch a small piece thin enough to see light through it without tearing.
Your starter should double in size within 4 to 6 hours of feeding. If it's sluggish, your bread will be too. Feed it the night before and let it peak in the morning.
3
Stretch and fold
Over the next four hours, you'll perform stretch and folds every 30 minutes for the first two hours, then let the dough rest undisturbed for the remaining time. To stretch and fold: wet your hand, grab the dough from one side, stretch it up as high as it will go without tearing, and fold it over the center. Rotate the bowl a quarter turn and repeat. Do this four times, once from each direction. The dough will transform from slack and sticky to smooth and billowy, holding its shape when you stop touching it.
4
Bulk fermentation
After your last fold, cover the bowl and let the dough rise at room temperature until it has grown by about 50 percent and shows bubbles on the surface and along the sides. In a 75 degree kitchen, this takes four to five hours total from when you mixed in the starter. Watch the dough, not the clock. Every kitchen is different. The dough should feel airy and jiggly when you gently shake the bowl, like a water balloon filled with something lighter than water.
5
Pre-shape the dough
Lightly flour your work surface and turn the dough out. Dust the top with just enough flour to prevent sticking. Using a bench scraper or your hands, gently shape the dough into a rough round by tucking the edges underneath. Work quickly and with intention, but don't be rough. Let this rest uncovered for 20 minutes. The dough will relax and spread slightly. This rest makes final shaping easier and prevents you from fighting the gluten.
6
Shape the batard
Flour your hands lightly. Flip the dough so the floured side is down. Fold the top third down toward the center and press gently to seal. Fold the bottom third up to meet it, pressing again. Now roll the dough toward you, sealing the seam with the heel of your hand as you go. You want a torpedo shape, thicker in the middle and tapered at the ends, about 12 inches long. Place seam-side up in a floured couche or a kitchen towel set inside a baking sheet.
A proper batard has pointed ends and a rounded middle. Think of a football, not a baguette. The shape ensures even baking throughout.
7
Cold proof overnight
Cover the shaped loaf loosely with plastic wrap or another towel and slide the whole setup into the refrigerator. Let it proof for 10 to 14 hours. This cold, slow rise develops complex flavors and makes the dough easier to score. The loaf will grow slightly but won't double. In the morning, it should feel puffy when you poke it gently, springing back slowly rather than bouncing right back or staying dented.
This patience is like making a proper roux. You can't rush it. The long cold fermentation is where the soul of the bread develops.
8
Prepare for baking
An hour before baking, place your Dutch oven with its lid on in a cold oven and preheat to 475 degrees. The pot needs to be screaming hot. If you're using a baking stone and steam pan instead, preheat those. Cut a piece of parchment paper slightly larger than your loaf. When the oven is ready, take your loaf from the refrigerator. Don't wait for it to warm up. Cold dough scores better and holds its shape when it hits the heat.
9
Score and load
Gently turn the loaf seam-side down onto the parchment. Using a sharp razor blade or lame held at a 30 degree angle, make one long slash down the center of the loaf, about half an inch deep, with confidence and speed. A hesitant hand makes a ragged score. The blade should glide, not drag. Carefully lower the loaf on its parchment into the hot Dutch oven. Cover immediately with the lid.
10
Bake with steam
Bake covered for 25 minutes. The lid traps steam from the dough itself, which keeps the crust pliable so the loaf can expand fully before setting. After 25 minutes, remove the lid. The loaf will be pale but visibly larger, with the score opened into an ear. Continue baking uncovered for 18 to 22 minutes until the crust is deep mahogany brown. Don't be shy about color. A dark crust has flavor a pale one never will.
11
Cool completely
Transfer the batard to a wire rack immediately. The bread will sing and crackle as it cools, the crust contracting against the soft interior. This is the sound of success. Wait at least one hour before cutting. I know it's hard. The bread is still cooking inside as it cools, and cutting too soon releases all that precious steam, leaving you with a gummy crumb. The wait is worth it.
Chef Tips
•Weigh your ingredients. Bread baking is one place where precision matters. A cup of flour can vary by 30 percent depending on how you scoop it.
•Your water temperature affects fermentation speed. In summer, use cool water. In winter, lukewarm. The goal is dough around 75 to 78 degrees after mixing.
•If your starter isn't vigorous, your bread won't rise properly. Test it by dropping a spoonful in water. If it floats, it's ready to use.
•The cane syrup adds subtle sweetness and helps the crust caramelize. It's optional, but it's the bayou way.
Advance Preparation
•Feed your starter 8 to 12 hours before you plan to mix the dough. It should be at peak activity when you use it.
•The cold proof can extend up to 18 hours if needed. Life happens. The bread will wait.
•Baked bread keeps at room temperature wrapped in a kitchen towel for 2 to 3 days. After that, slice and freeze. Toast frozen slices directly without thawing.
Frequently Asked Questions
Nutrition Information
1 serving (about 57g)
Calories
155 calories
Total Fat
1 g
Saturated Fat
0 g
Trans Fat
0 g
Unsaturated Fat
1 g
Cholesterol
0 mg
Sodium
325 mg
Total Carbohydrates
32 g
Dietary Fiber
1 g
Sugars
1 g
Protein
5 g
Where cooking meets culture.
Culinary guides, cultural storytelling, and the editorial depth that makes cooking meaningful.