Culinary Explorer

A cooking platform built around craft, culture, and the stories behind what we eat.
Discover Culinary Explorer
Mushy Peas

Mushy Peas

Created by Chef Thomas

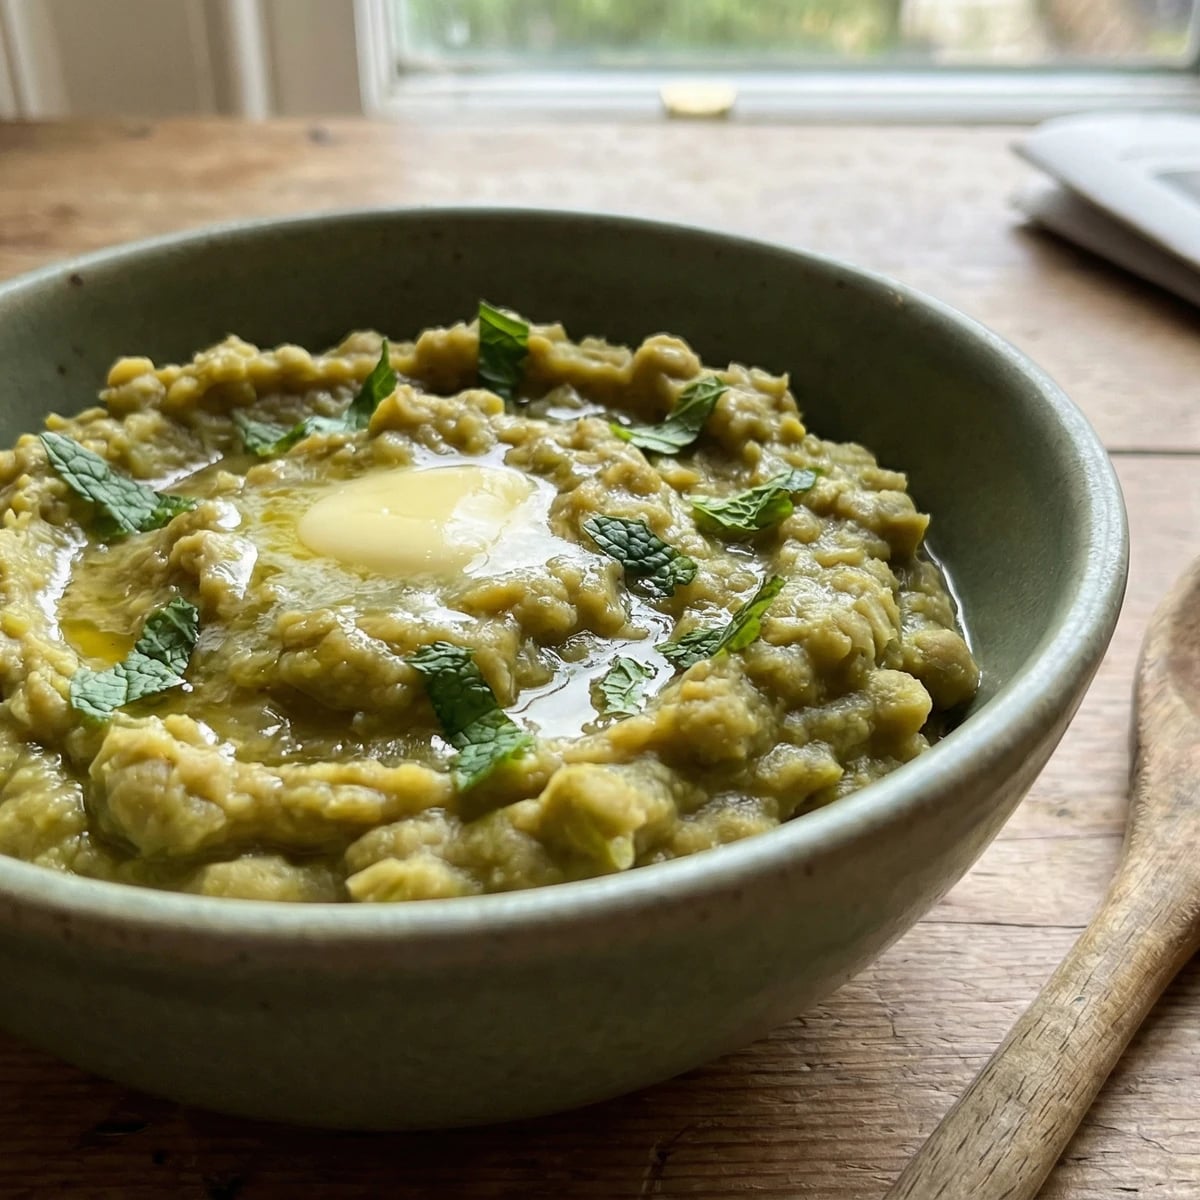
Dried marrowfat peas soaked overnight and simmered slowly until they give up and fall apart, finished with butter and torn mint into something the chip shop only half remembers.

Side Dishes
British
Weeknight
Comfort Food
10 min
Active Time
40 min cookPT50M plus overnight soaking total
Yield4 servings

The smell of mushy peas cooking is the smell of something that doesn't need to prove itself. Earthy, starchy, quietly green. It fills the kitchen in a way that's more comforting than dramatic, the kind of smell that makes you check what's on the hob even though you already know.

I know what you're thinking. You can buy them in a tin. And you can, and sometimes I do, and there's no shame in it. But a tin of mushy peas and a pot of the real thing are two different foods living under the same name. The tinned sort is sweet, uniform, bright green in a way that doesn't quite occur in nature. The homemade sort is rougher, deeper, a kind of khaki green with whole peas still scattered through the mash. It tastes like what it is: a dried pea, brought back to life with water and time and a bit of butter.

This is Friday night food. Fish and chips food. But I make them on Tuesday as well, spooned next to a piece of grilled lamb or alongside a baked potato with nothing else. We're only making dinner. There are few better feelings than putting a warm plate in front of someone, and a bowl of mushy peas on the table, made from a bag of dried peas that cost almost nothing, is a good reminder that money and effort are not the same thing.

You do need to start the night before. The soaking can't be hurried. But the actual cooking is hands-off, a pan on the back of the stove doing its work while you do something else. A recipe is a conversation, not a contract. If your peas are softer or firmer than mine, that's your kitchen, your rules.

The technique, the tradition, and the story behind every dish.

Discover Culinary Explorer

Ingredients

dried marrowfat peas

Quantity

300g

bicarbonate of soda

Quantity

1 teaspoon

unsalted butter

Quantity

30g

fresh mint

Quantity

a few sprigs

leaves picked

fine sea salt

Quantity

to taste

lemon juice

Quantity

a squeeze

black pepper

Quantity

to taste

Equipment Needed

  • Large bowl for soaking
  • Heavy-bottomed saucepan with lid
  • Wooden spoon

Instructions

  1. 1

    Soak the peas overnight

    Put the marrowfat peas in a large bowl, add the bicarbonate of soda, and cover with plenty of cold water. They'll swell to nearly twice their size, so be generous. Leave them overnight, or for at least twelve hours. This is the step you can't skip. A dried pea that hasn't been properly soaked will sit in the pan for hours and never surrender.

    The bicarbonate softens the skins and helps the peas break down. Without it, you'll have tender peas that hold their shape instead of collapsing into the mash you're after.
  2. 2

    Drain and rinse

    Drain the soaked peas and rinse them well under cold running water. The soaking liquid will be murky and slightly foamy. Let it go. You want to start with clean peas and fresh water.

  3. 3

    Simmer until they collapse

    Put the peas in a saucepan with enough fresh water to cover them by a couple of centimetres. Bring to a gentle simmer, not a boil, and skim off any grey foam that rises in the first few minutes. Then turn the heat down low, put a lid on slightly ajar, and let them tick away. Stir every now and then. After thirty minutes or so, the peas will start to lose their shape. Some will still be whole, others will have gone soft and broken apart. That's what you want: a rough, uneven texture, not a smooth puree. If they look dry, add a splash of water. If they're too loose, cook uncovered for a few minutes more.

    Keep the heat gentle. Peas scorched on the bottom of the pan will taste of it, and there's no disguising that. A quiet simmer and the occasional stir are all you need.
  4. 4

    Finish with butter and mint

    When the peas have reached a consistency somewhere between a mash and a thick porridge, take the pan off the heat. Stir in the butter and let it melt through. Tear the mint leaves and fold them in. Add a good squeeze of lemon, a generous pinch of salt, and some black pepper. Taste it. The lemon and mint should brighten everything without announcing themselves. You want to taste peas first, then butter, then just a whisper of something green and sharp at the edges. Adjust until it tastes right to you. Season and taste. Then taste again.

Chef Tips

  • Marrowfat peas are the only ones worth using here. Garden peas, split peas, frozen peas: all fine for other things, but they won't give you the starchy, collapsing texture that makes mushy peas what they are. You'll find dried marrowfat peas in any supermarket, usually near the dried beans and lentils.
  • Don't over-stir. You want some peas to keep their shape while others break apart around them. That rough, uneven texture is what separates homemade from tinned. A smooth puree is a different thing entirely, and not what we're after.
  • The mint is not negotiable, but it should be subtle. Tear the leaves rather than chopping them, and fold them in at the end. You're not making mint sauce. You want a quiet green note, barely there, that lifts the whole bowl without anyone quite identifying it.
  • Leftovers, if there are any, reheat well the next day with a splash of water and another knob of butter. They thicken as they cool, so loosen them gently. The flavour deepens overnight. I wrote it down in the notebook once: better the second day, like most honest things.

Advance Preparation

  • Peas must be soaked overnight, or for at least twelve hours. There is no shortcut for this. Plan ahead.
  • Cooked mushy peas keep well in the fridge for up to three days. Reheat gently with a splash of water and a knob of butter, as they thicken considerably once cold.
  • They freeze adequately for up to two months, though the texture softens further. Best made fresh when you can.

Frequently Asked Questions

Nutrition Information

1 serving (about 200g)

Calories
310 calories
Total Fat
7 g
Saturated Fat
4 g
Trans Fat
0 g
Unsaturated Fat
3 g
Cholesterol
16 mg
Sodium
360 mg
Total Carbohydrates
45 g
Dietary Fiber
19 g
Sugars
6 g
Protein
18 g

Note: Chef personas and recipes are created with AI assistance. Cook with care: follow safe food-handling practices, check doneness with a thermometer when needed, and adapt for allergies and your kitchen.

Where cooking meets culture.

Culinary guides, cultural storytelling, and the editorial depth that makes cooking meaningful.

Discover Culinary Explorer

More from British Side Dishes & Accompaniments

Browse the full collection