
Chef Elsa
Allerheiligenstriezel
A rich, buttery braided bread that Austrian godfathers bring their godchildren on All Saints' Day. The golden six-strand braid is as much ritual as recipe, and the kitchen smells like love while it bakes.
A cooking platform built around craft, culture, and the stories behind what we eat.

Created by
Vienna's five-petaled imperial roll, hand-folded into a star and baked until the crust shatters at first touch, with a crumb so soft and airy it barely weighs a thing.
Every morning in Salzburg, before anything else happens, the Bäckereien put out fresh Kaisersemmel. You hear them before you taste them. The crust cracks when the baker tips them from the basket. That sound, dry and sharp like a knuckle tapping a hollow door, tells you everything you need to know about whether the roll is worth eating.
I watched Gretel pick up a Semmel at a bakery in the Grünmarkt once, when I was maybe ten, and she squeezed it gently and put it back. 'Too dense,' she said, and moved on to the next stall. A proper Kaisersemmel should feel almost weightless for its size. The crust gives just slightly under your fingers, then shatters when you tear it open. Inside, the crumb is pulled and airy, full of irregular holes, soft as cotton wool. If it feels like a bread roll from anywhere else in the world, it isn't a Kaisersemmel.
The shaping is where this roll earns its name. You fold each piece of dough five times, tucking the edges under to create a star pattern, a rosette with five petals radiating from the center. It's called the Handsemmel technique, and Austrian bakers train for years to do it fast. You won't be that fast on your first try. That's fine. The fold is simple once you understand the motion, and even an imperfect star bakes into something beautiful. What matters is the crumb structure: those folds create layers that separate in the oven, giving you the signature pull-apart texture that no machine-stamped roll can replicate.
This is good Austrian home cooking at its most elemental. Flour, water, yeast, salt, a touch of malt and butter. Six ingredients. The rest is technique, patience, and a hot oven.
The Kaisersemmel has been a protected designation in Austria since the 19th century, and its origins trace to the Viennese baking guilds that standardized bread production under Habsburg rule. The name 'Kaiser' (emperor) likely refers to the crown-like rosette shape rather than to a specific monarch, though some historians connect it to the court bakeries of Emperor Franz Josef's era. The hand-folding technique, Handsemmel, distinguishes the original from the machine-stamped Maschinensemmel introduced in the 20th century, and Austrian bakers still consider the hand-folded version a mark of professional skill and pride.
Quantity
500g
Quantity
10g
Quantity
10g
softened
Quantity
7g
Quantity
1 tablespoon
Quantity
300ml
lukewarm, about 24°C
Quantity
for dusting
Quantity
for topping
| Ingredient | Quantity |
|---|---|
| Austrian Type 700 flour or strong bread flour | 500g |
| fine sea salt | 10g |
| unsalted buttersoftened | 10g |
| instant dried yeast | 7g |
| barley malt syrup | 1 tablespoon |
| waterlukewarm, about 24°C | 300ml |
| flour | for dusting |
| poppy seeds or sesame seeds (optional) | for topping |
Dissolve the malt syrup in the lukewarm water and stir until combined. In a large bowl, combine the flour, salt, and yeast. Keep the salt and yeast on opposite sides of the bowl before mixing, because direct contact kills yeast. Add the softened butter and the malt water. Stir everything together with a wooden spoon until a shaggy mass forms and no dry flour remains. The malt does two things: it feeds the yeast for a better rise, and it gives the crust that deep golden color you see on every Kaisersemmel in every Viennese bakery window.
Turn the dough out onto a clean, unfloured surface. Knead for ten to twelve minutes by hand, or seven minutes in a stand mixer with a dough hook on medium speed. The dough should become smooth, elastic, and slightly tacky but not sticky. Press a finger into it: if it springs back slowly and leaves a shallow dent, it's ready. If it snaps back immediately, keep going. You're developing the gluten network that will trap the gas from the yeast and give you that open, airy crumb. No shortcuts here.
Shape the dough into a smooth ball and place it in a lightly oiled bowl. Cover with a damp tea towel or cling film. Let it rise at room temperature until doubled in size, about one hour. The timing depends on your kitchen. A warm room speeds things up, a cool one slows them down. Don't watch the clock. Watch the dough. It's ready when it has clearly doubled, feels puffy and light, and a floured finger poked into the surface leaves an indentation that fills back halfway.
Turn the risen dough onto a lightly floured surface. Press it gently into a rectangle to release the large gas bubbles. Divide into ten equal pieces, about 80g each. A kitchen scale is your friend here. Equal pieces mean even baking. Shape each piece into a tight, smooth ball by pulling the surface taut and pinching the seam closed at the bottom. Cover the balls loosely with a tea towel and let them rest for ten minutes. This rest relaxes the gluten so the dough cooperates when you fold it instead of fighting you.
This is the heart of the whole recipe. Take one dough ball, seam side up, and flatten it into a disc about 10 centimeters across. Now imagine a clock face. Fold the edge at 12 o'clock down to the center, pressing firmly with the heel of your hand to seal. Turn the disc slightly and fold the next section down to the center, overlapping the first fold. Repeat until you've made five folds going around the disc, each one overlapping the last, creating a pinwheel pattern. After the fifth fold, tuck the loose end under the first fold to close the rosette. Flip the roll over so the smooth side faces up. The folds are now on the bottom. Press down gently with your palm to flatten slightly. The five-petaled star should be visible through the top surface. Repeat with the remaining dough balls.
Place the shaped rolls fold-side down on baking trays lined with parchment, spaced well apart because they will spread. If you want seeds, brush the tops lightly with water and press them gently into poppy seeds or sesame seeds. Cover loosely and let them proof for forty to fifty minutes. They should look visibly puffed and the star pattern will become more pronounced as the folds push apart. Don't rush this proof. Underproofed Kaisersemmel are dense and chewy instead of light and shattering.
Set your oven to 230°C (450°F) at least twenty minutes before baking. Place an empty metal roasting tin on the bottom rack. You'll need it for creating the burst of moisture that gives Kaisersemmel their crackling crust. The oven must be properly hot. If you put rolls into a lukewarm oven, the yeast keeps working too long and the structure collapses before the crust sets.
Slide the trays into the oven. Immediately pour about 150ml of hot water into the roasting tin on the bottom rack and close the door fast. That initial burst of moisture keeps the crust flexible for the first few minutes, letting the rolls expand fully before the surface hardens. Bake for sixteen to eighteen minutes. The rolls are done when they're a deep golden brown all over, including the sides and bottom. They should feel hollow and light when you tap the base. If you pull them out too early because the tops look done, you'll have pale, soft sides and a soggy bottom. Don't do that.
Transfer the rolls to a wire rack immediately. Don't leave them on the tray or the bottoms will go soggy from trapped condensation. Let them cool for at least ten minutes. The crust will crackle and tick as it cools, contracting around the soft interior. A fresh Kaisersemmel torn open at the breakfast table, with good butter and Marillenmarmelade, is one of the finest simple pleasures Austrian cooking has to offer. Mahlzeit!
1 serving (about 75g)
Culinary guides, cultural storytelling, and the editorial depth that makes cooking meaningful.
Discover Culinary ExplorerChef Elsa
A rich, buttery braided bread that Austrian godfathers bring their godchildren on All Saints' Day. The golden six-strand braid is as much ritual as recipe, and the kitchen smells like love while it bakes.

Chef Elsa
Austria's rye sourdough farmhouse loaf, dark-crusted and tangy, laced with hand-crushed Brotgewürz, the kind of bread that fills a kitchen with the smell of caraway and makes everything else on the table taste better.
Chef Elsa
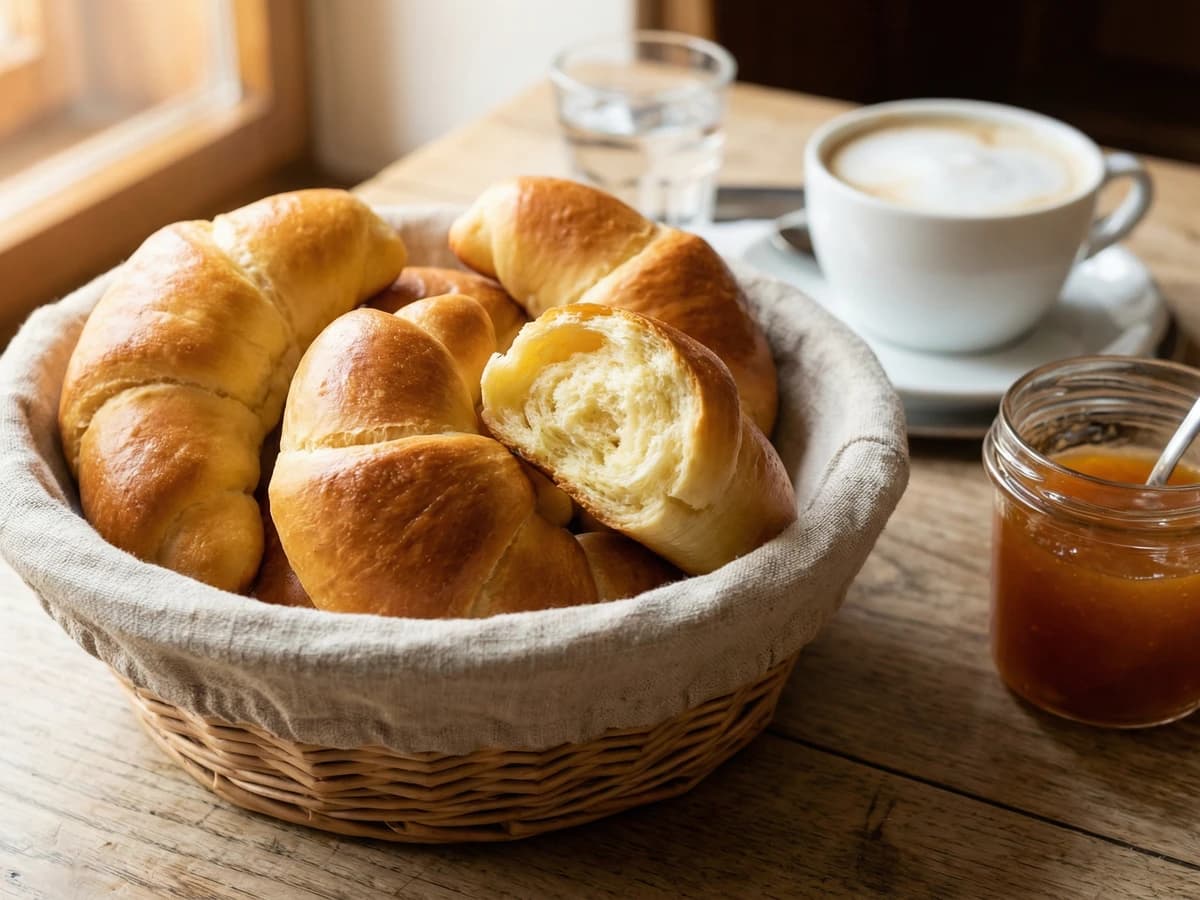
Buttery Viennese crescents, golden with egg wash and soft as a Sunday morning, shaped the way Viennese bakers have shaped them for eight hundred years.

Chef Elsa
Tyrolean Advent bread so dense with rum-soaked pears, figs, walnuts, and warming spices that the dough is barely holding things together. Baked on St. Thomas's Day, patient until Christmas.