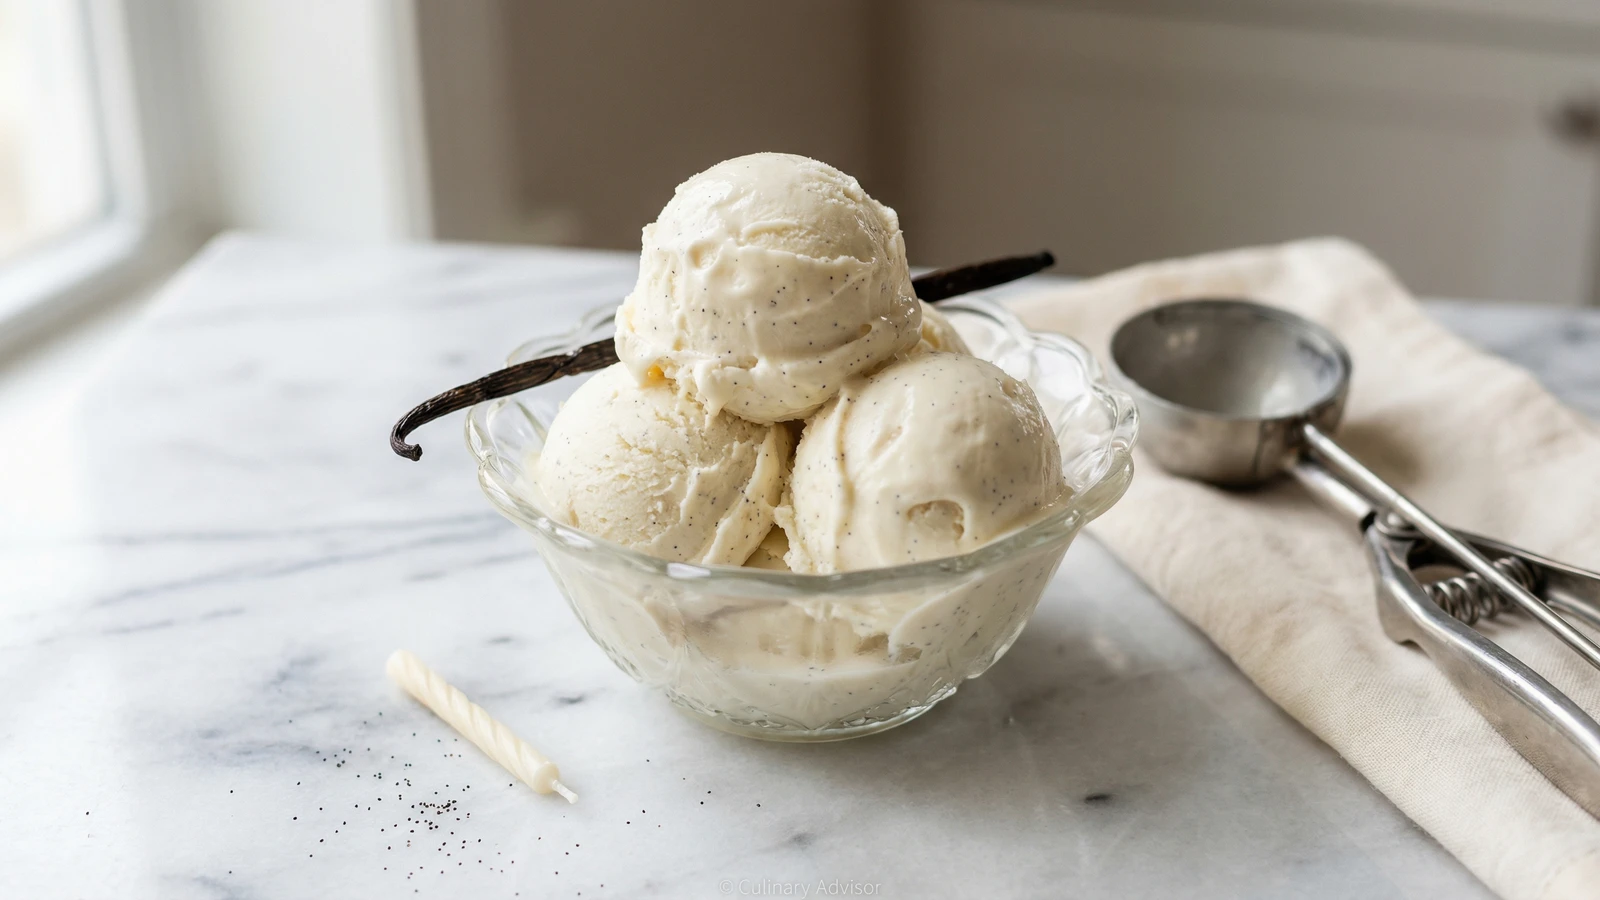
A custard-based ice cream studded with the fragrant seeds of real vanilla beans, churned to impossible creaminess. This is the recipe that reminds you why ice cream from a carton will never quite satisfy.
Desserts
American
Make Ahead
Birthday
30 min
Active Time
15 min cook•9 hr total
YieldAbout 1 1/2 quarts
There is no ice cream more honest than vanilla. It hides nothing. Every flaw in technique shows, every shortcut reveals itself. This is why most commercial vanilla ice cream disappoints: manufacturers mask inferior methods with gums, stabilizers, and artificial flavorings that leave a waxy film on your tongue. Real vanilla ice cream should taste clean, rich, and hauntingly fragrant.
The French gave us the custard base, but Americans made ice cream democratic. George Washington spent two hundred dollars on ice cream equipment in a single summer, and Thomas Jefferson brought a recipe home from France. By the mid-1800s, ice cream socials had become an American institution. This recipe honors that tradition while teaching you a technique that transfers to any flavor you might dream up.
The vanilla bean is the heart of this recipe. Those tiny black seeds suspended in pale cream aren't just visual, they're pockets of concentrated flavor that burst on your tongue. One taste and you'll understand why vanillin extract, however useful, can never fully replace the real thing. Once you've made this base, you'll find yourself adding ribbons of caramel, chunks of brownie, swirls of fruit, confident in the foundation beneath.
The technique, the tradition, and the story behind every dish.
Lay each vanilla bean flat on your cutting board. Using a sharp paring knife, split them lengthwise from end to end. Hold each half open and scrape the blade along the inside, dragging out the sticky caviar of seeds. These tiny black specks contain the true soul of vanilla. Reserve both the seeds and the spent pods.
Plump, pliable vanilla beans indicate freshness. If yours feel dry and brittle, soak them in the warm milk for thirty minutes before scraping.
2
Steep the cream base
Combine the heavy cream, milk, half the sugar, and salt in a heavy-bottomed saucepan. Add the vanilla seeds and drop in the scraped pods. Set over medium heat and warm, stirring occasionally, until the mixture just begins to steam and small bubbles form around the edges. Do not let it boil. Remove from heat, cover, and let the vanilla infuse for thirty minutes. The longer it steeps, the more the pods surrender their flavor.
3
Prepare the egg yolks
While the cream steeps, whisk the egg yolks with the remaining sugar in a large bowl until the mixture turns pale yellow and falls from the whisk in thick ribbons, about two minutes of vigorous work. This dissolves the sugar and begins building the structure of your custard. Set the bowl on a damp kitchen towel to keep it steady.
4
Temper the eggs
Return the cream mixture to medium heat until steaming. Remove the vanilla pods and set them aside to dry for another use. Now comes the critical moment: ladle about half a cup of the hot cream into the egg yolks while whisking constantly. Add another half cup, still whisking. This gradual warming prevents the eggs from scrambling. Once the yolks are warmed through, pour the entire egg mixture back into the saucepan while stirring.
The whisking must be constant during tempering. Stop for even a moment and you risk cooking bits of egg into sweet scrambled curds.
5
Cook the custard
Set the saucepan over medium-low heat. Stir constantly with a wooden spoon or silicone spatula, reaching into the corners and across the bottom where the custard wants to stick. Cook until the mixture thickens enough to coat the back of your spoon and holds a clear line when you draw your finger through it, eight to twelve minutes. A thermometer should read between 170°F and 175°F. Do not rush this step. High heat curdles eggs; patience makes silk.
If you see small bits forming, immediately remove from heat and strain. A few tiny curds can be whisked smooth, but a full scramble cannot be saved.
6
Strain and chill
Pour the custard through a fine-mesh strainer into a clean bowl, pressing gently to extract every drop of vanilla-flecked cream. Stir in the vanilla extract. Press a piece of plastic wrap directly onto the surface to prevent a skin from forming. Refrigerate until completely cold, at least four hours or overnight. The custard must be thoroughly chilled before churning, or the ice cream will churn into butter.
For faster chilling, set the bowl in a larger bowl filled with ice water and stir occasionally until cold to the touch, about thirty minutes.
7
Churn the ice cream
Freeze your ice cream maker's bowl according to manufacturer's instructions, typically overnight. Pour the cold custard into the machine and churn until it reaches the consistency of soft-serve, about twenty to twenty-five minutes depending on your machine. The ice cream should hold its shape when lifted with a spoon but still look glossy and wet.
8
Freeze to scooping consistency
Transfer the churned ice cream to a freezer-safe container, pressing plastic wrap directly onto the surface before sealing with a lid. Freeze until firm enough to scoop, at least four hours. Homemade ice cream is best within the first week, before ice crystals develop. Before serving, let it sit at room temperature for five minutes to soften slightly, making scooping easier and the texture more luxurious.
Chef Tips
•Madagascar Bourbon vanilla beans offer the classic flavor most Americans expect: creamy, sweet, and deeply aromatic. Tahitian beans are more floral and fruity, beautiful but unfamiliar. Mexican beans have spicy undertones. Start with Madagascar.
•Save your spent vanilla pods. Rinse them, dry thoroughly, and bury them in a jar of granulated sugar. Within two weeks you'll have vanilla sugar for baking, coffee, or fresh fruit.
•The egg whites leftover from this recipe make excellent meringue cookies, angel food cake, or can be frozen for later use. Nothing goes to waste in a proper kitchen.
•If you don't own an ice cream maker, you can still make this. Pour the chilled custard into a shallow metal pan and freeze, whisking vigorously every thirty minutes for three hours to break up ice crystals. The texture won't be as fine, but the flavor will still sing.
Advance Preparation
•The custard base can be refrigerated for up to three days before churning. The flavor deepens as it rests.
•Finished ice cream keeps well for up to two weeks in the freezer, though quality begins declining after the first week as ice crystals form.
•For parties, scoop the ice cream into balls and freeze them on a parchment-lined baking sheet. Transfer to a container once solid. This lets you serve quickly without wrestling with a frozen block.
Frequently Asked Questions
Nutrition Information
1 serving (about 115g)
Calories
450 calories
Total Fat
36 g
Saturated Fat
24 g
Trans Fat
0 g
Unsaturated Fat
10 g
Cholesterol
138 mg
Sodium
100 mg
Total Carbohydrates
16 g
Dietary Fiber
0 g
Sugars
13 g
Protein
5 g
Where cooking meets culture.
Culinary guides, cultural storytelling, and the editorial depth that makes cooking meaningful.