
Chef Ally
Apricot Flaugnarde
A golden custard that puffs and billows around halved summer apricots, then settles into something tender and barely sweet, the kind of dessert that reminds you fruit is the point.
A cooking platform built around craft, culture, and the stories behind what we eat.
Created by
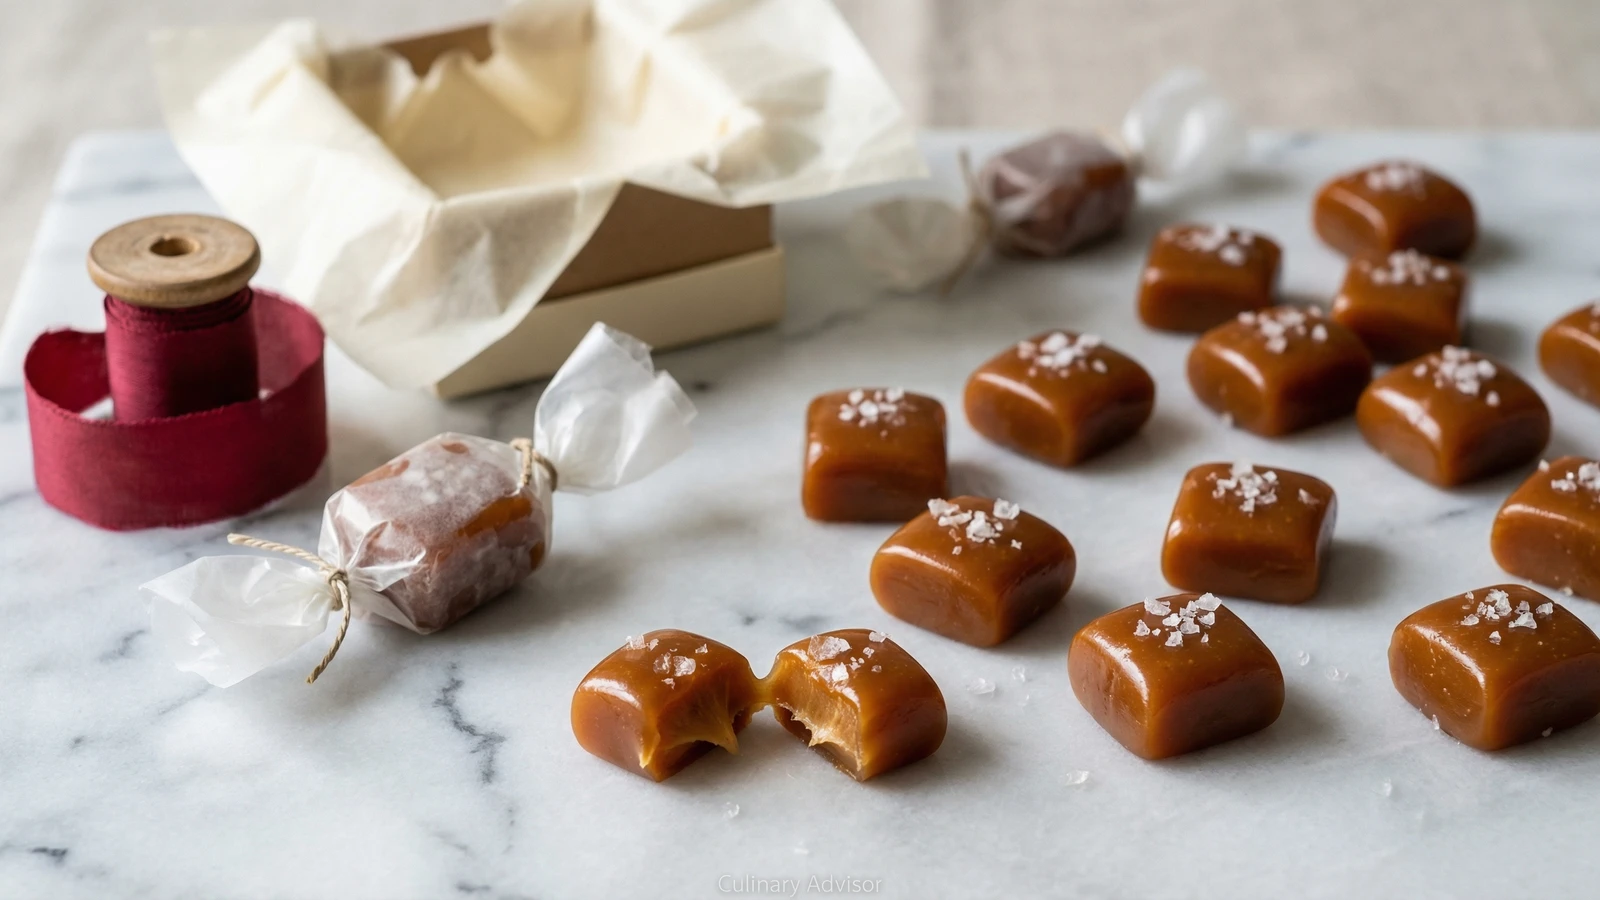
Buttery, chewy confections with that perfect balance of sweet and salt, wrapped in wax paper and ready to become the gift everyone requests year after year.
The salted caramel emerged from Brittany in the 1970s, but Americans adopted it with such fervor that we've made it our own. There's something deeply satisfying about candy-making. You're performing alchemy, transforming white sugar into something amber, complex, and irresistible through nothing more than heat and patience.
Candy-making intimidates people. It shouldn't. You need a thermometer, a heavy pot, and the willingness to pay attention for twenty-five minutes. That's the whole secret. The sugar does the work. You just have to watch it.
These caramels land in that perfect zone between soft and chewy. They yield when you bite but don't stick to your teeth. The salt isn't an afterthought. It's applied twice: once stirred into the hot caramel to season the candy itself, once pressed onto the surface so your tongue hits crystals of mineral crunch with each bite. That contrast is what makes people close their eyes when they eat these.
Wrap them in wax paper, tuck them into a box, and you have a gift that costs a fraction of the fancy confectionery shops but tastes better. Nothing says you care quite like candy you made with your own hands.
Quantity
1 cup (2 sticks/226g)
cut into tablespoons
Quantity
2 cups (400g)
Quantity
1 cup
Quantity
1 cup (240ml)
at room temperature
Quantity
1/2 cup (120ml)
Quantity
1 teaspoon
Quantity
1 teaspoon
Quantity
as needed
| Ingredient | Quantity |
|---|---|
| unsalted buttercut into tablespoons | 1 cup (2 sticks/226g) |
| granulated sugar | 2 cups (400g) |
| light corn syrup | 1 cup |
| heavy cream (first addition)at room temperature | 1 cup (240ml) |
| heavy cream (second addition) | 1/2 cup (120ml) |
| pure vanilla extract | 1 teaspoon |
| fine sea salt | 1 teaspoon |
| flaky sea salt for finishing | as needed |
Line an 8x8-inch baking pan with parchment paper, leaving generous overhang on two sides for easy removal later. Lightly coat the parchment with cooking spray or butter. Set this next to your stovetop before you begin, because once your caramel reaches temperature, you'll have about thirty seconds to act.
Pour both portions of cream into a small saucepan and warm gently over low heat. You want it hot but not simmering. Cold cream added to molten sugar causes violent bubbling and can seize the mixture. Keep it warm on a back burner while you work.
In a heavy-bottomed 4-quart saucepan, combine the butter, sugar, and corn syrup. Set over medium heat and stir gently with a wooden spoon or silicone spatula until the butter melts and the sugar dissolves completely. The mixture will look grainy at first, then smooth and glossy. This takes about five minutes of patient stirring.
Once the sugar has dissolved and the mixture is smooth, clip your candy thermometer to the side of the pan, ensuring the tip is submerged but not touching the bottom. Stop stirring entirely. From this point forward, stirring encourages crystallization, which produces grainy caramels. Increase heat to medium-high.
Let the mixture bubble undisturbed. It will climb in temperature slowly at first, then race upward after 300°F. Watch carefully. The color will shift from pale yellow to light gold. When your thermometer reads 320°F, you're ready for the cream. This takes 12 to 15 minutes depending on your stove.
Remove from heat. Carefully pour in the first cup of warm cream, stirring constantly. The mixture will bubble violently and steam. This is normal. Keep stirring until it calms, about thirty seconds. Add the remaining half cup of cream and the vanilla, stirring until smooth. The color will be a deep amber, the consistency like warm honey.
Return the pan to medium heat. Stir constantly now, scraping the bottom to prevent scorching. Cook until the thermometer reaches 248°F for soft, chewy caramels or 252°F for firmer candies that hold their shape better for wrapping. This second cooking takes 8 to 12 minutes.
Remove from heat, stir in the fine sea salt, and immediately pour into your prepared pan. Do not scrape the bottom of the pot, as those bits may be slightly scorched. Work quickly. The caramel begins setting within a minute. Tilt the pan to spread evenly rather than using a spatula, which creates marks.
Let the caramel rest for exactly three minutes. The surface will have developed a slight skin but remain tacky. Sprinkle flaky sea salt evenly across the top, pressing very gently so the crystals adhere. Let cool at room temperature for at least two hours, until completely set and no longer warm to the touch.
Use the parchment overhang to lift the caramel slab onto a cutting board. With a sharp knife lightly coated with cooking spray, cut into 1-inch squares, wiping the blade clean between cuts. Wrap each caramel in a 4-inch square of wax paper, twisting the ends like a candy wrapper. Store in an airtight container.
1 caramel (about 21g)
Culinary guides, cultural storytelling, and the editorial depth that makes cooking meaningful.
Discover Culinary ExplorerChef Ally
A golden custard that puffs and billows around halved summer apricots, then settles into something tender and barely sweet, the kind of dessert that reminds you fruit is the point.

Chef Ally
A custard of browned butter and dark sugar, baked until barely trembling and chilled until impossibly silky. The kind of dessert that makes a room go quiet, spoons scraping ramekins for every last bit.

Chef Ally
Winter citrus transformed into glistening confections, the bitter pith turned sweet through patience, then kissed with dark chocolate. A recipe that proves the best parts of the fruit are the ones most people throw away.

Chef Dean
Impossibly silky French chocolate custard that trembles on the spoon, deeply flavored and unapologetically rich, requiring nothing more than good chocolate, fresh cream, and a little patience to master.