Chef Juliana
Abobrinha Refogada
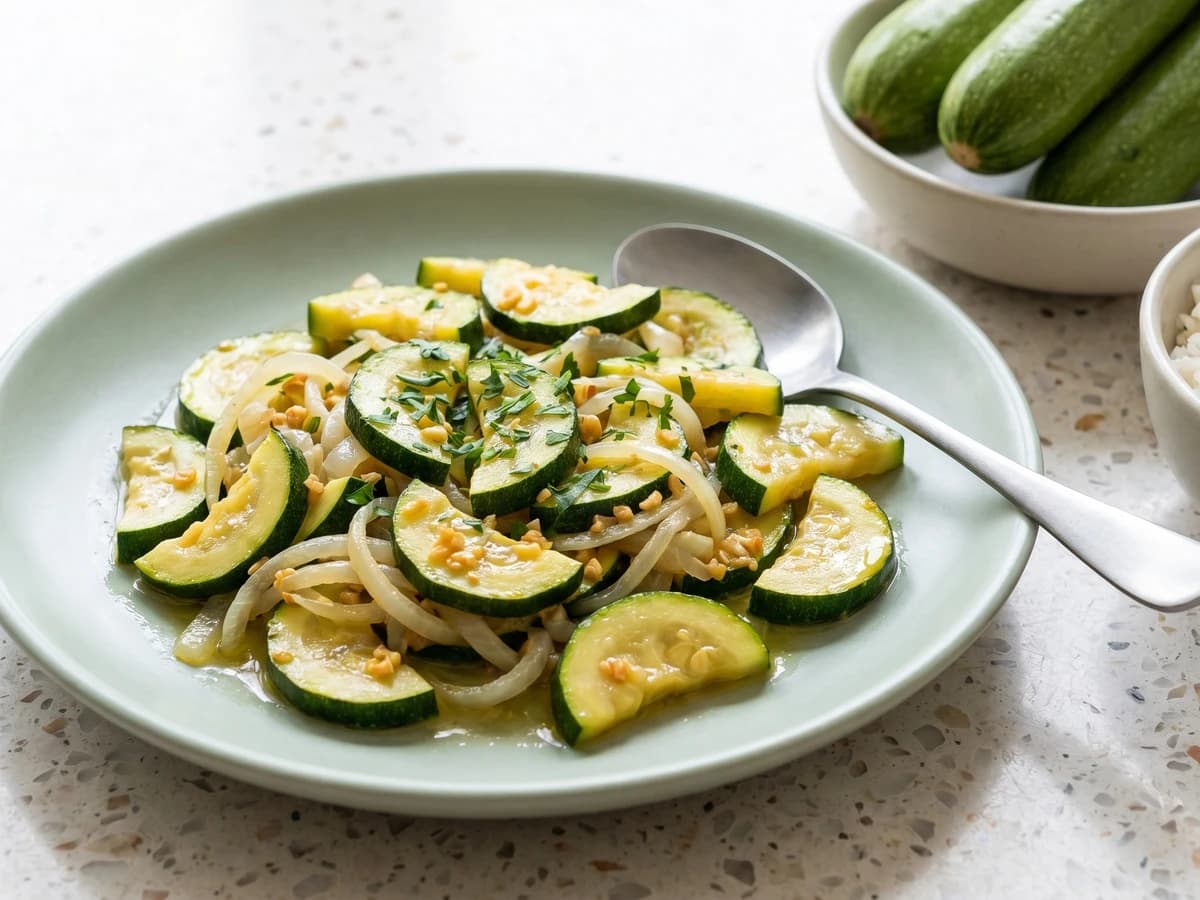
You think you'll turn zucchini into mush. Fine. Anota aí: high heat, wide pan, salt at the end, and suddenly this little green side starts solving dinner.
A cooking platform built around craft, culture, and the stories behind what we eat.
Created by
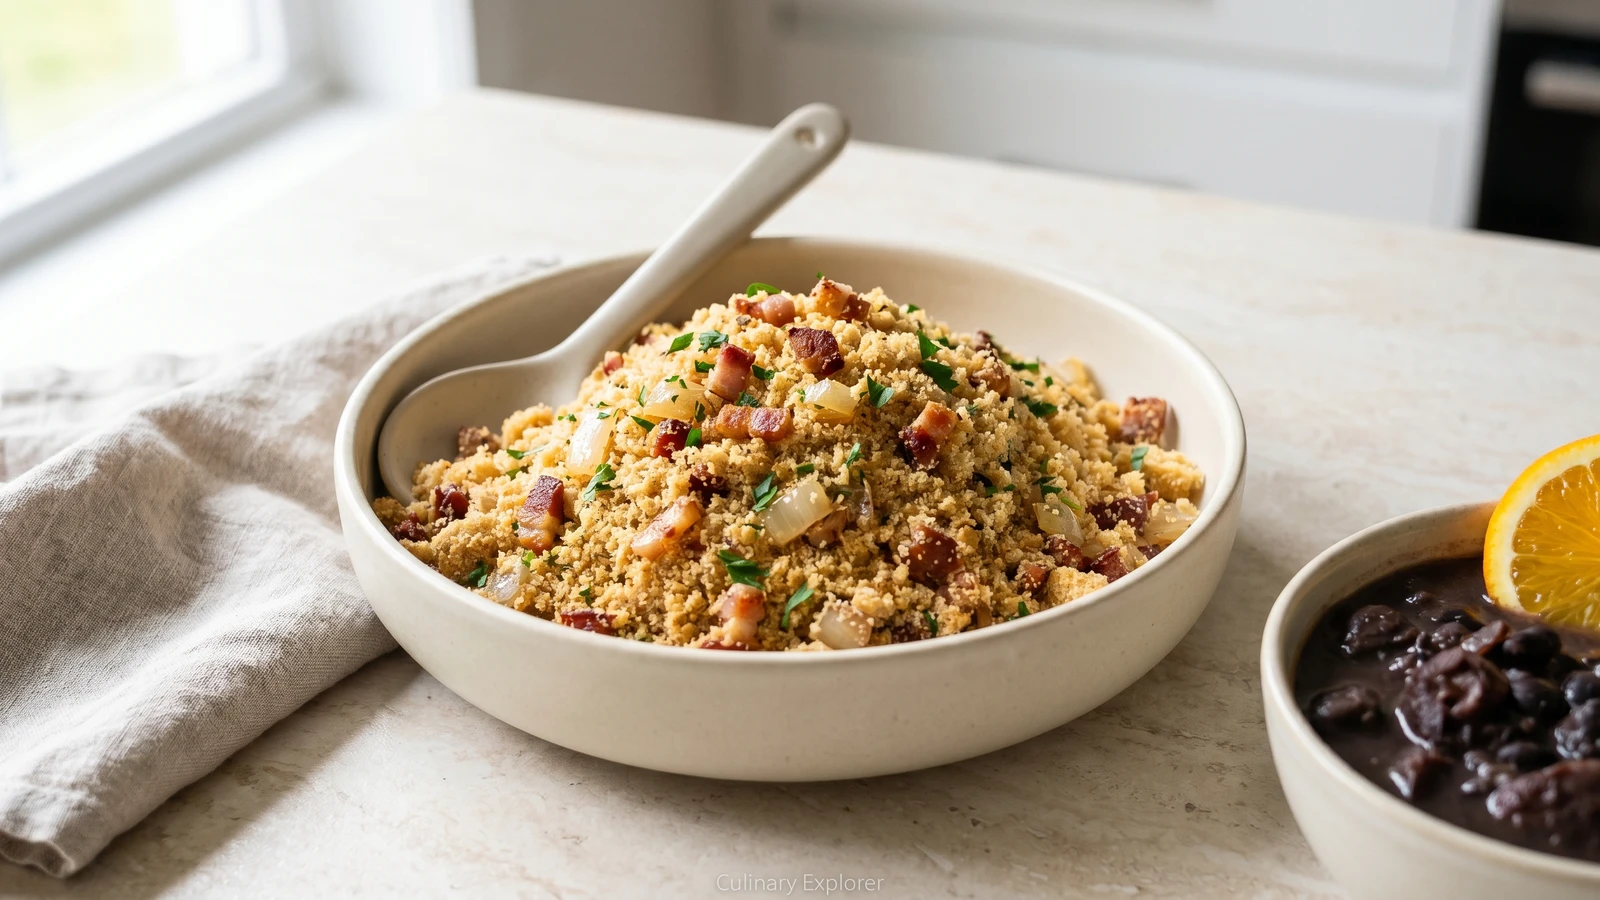
You don't need courage for farofa. You need a pan, cassava flour, good fat, and ten minutes of attention so every grain turns golden, savory, and loose.
You know that quiet little voice, "isso não é pra mim," that shows up right when the pan gets hot? Tell it to sit down. Farofa is not a test of talent. Cozinhar não é dom, é um aprendizado. This is cassava flour learning to behave in butter, bacon fat, onion, and garlic.
I love farofa because it tells the truth about the Brazilian plate. Feijoada without it feels unfinished, like rice without beans or couve without garlic. The farofa catches the caldo, gives crunch to the beans, and turns the whole pê-efe into a plate with contrast: soft, creamy, crisp, green, bright orange on the side.
The method is small, but it matters. You render the bacon slowly so the fat comes out and carries flavor. You murchar the onion until sweet, not browned to bitterness. You add the garlic late because burnt garlic is a punishment nobody ordered. Then the flour goes in and a gente stirs until every grain is dressed and lightly toasted.
No packet, no powdered imitation of dinner. Anota aí: real farofa is cheap, fast, make-ahead, and absolutely learnable. Tuesday food, Saturday feijoada food, comida de verdade.
Farofa comes from Indigenous Brazilian cassava traditions, built around farinha de mandioca, a dried cassava flour that became one of the country's essential table foods. Across Brazil it appears in many forms, plain, buttery, with eggs, banana, bacon, dendê, or herbs, depending on region and table. With feijoada, the dry crunch of farofa is not decoration; it balances the rich black-bean stew and helps carry the caldo on the plate.
Quantity
2 cups
medium or coarse
Quantity
4 ounces
diced small
Quantity
2 tablespoons
Quantity
1 tablespoon
only if the bacon is very lean
Quantity
1 medium
finely chopped
Quantity
2 cloves
minced
Quantity
1/2 teaspoon, plus more to taste
Quantity
1/4 teaspoon
Quantity
2 tablespoons
chopped
| Ingredient | Quantity |
|---|---|
| toasted cassava flour (farinha de mandioca torrada)medium or coarse | 2 cups |
| bacondiced small | 4 ounces |
| unsalted butter | 2 tablespoons |
| neutral oil (optional)only if the bacon is very lean | 1 tablespoon |
| onionfinely chopped | 1 medium |
| garlicminced | 2 cloves |
| salt | 1/2 teaspoon, plus more to taste |
| black pepper (optional) | 1/4 teaspoon |
| parsley or cilantro (optional)chopped | 2 tablespoons |
Put the cassava flour near the stove before you start, because this goes fast once the pan is ready. Use farinha de mandioca, medium or coarse, not tapioca starch, not polvilho, and not a seasoning packet pretending to be farofa. The right flour looks like dry crumbs or grains, and it stays loose when toasted.
Set a wide skillet over medium-low heat and add the diced bacon. Cook, stirring now and then, until the pieces are browned and crisp at the edges and the fat has melted into the pan, about 6 to 8 minutes. Don't blast the heat. Slow rendering gives you crisp bacon and flavorful fat; high heat scorches the outside before the fat has done its job.
Add the butter to the bacon fat, plus the oil only if the pan looks dry. Add the onion and cook until it goes soft, glossy, and see-through, about 5 minutes. This is the refogado doing its quiet work: the onion sweetens the fat so the flour tastes cooked and savory, not like dry sawdust with salt.
Add the garlic and stir for about 1 minute, just until you can smell it. Stop there. Garlic goes from fragrant to bitter fast, and once it burns it follows you through the whole farofa like a bad decision in a small kitchen.
Lower the heat to medium-low and sprinkle in the cassava flour gradually, stirring as you add it so the fat coats every grain. Keep stirring for 4 to 6 minutes, until the farofa turns lightly golden, smells nutty, and moves in loose, dry crumbs. If you dump the flour in and walk away, some grains drink all the fat while others stay pale and raw. A gente quer everything dressed.
Stir in the salt and black pepper, then taste. The farofa should be savory enough to stand beside feijoada, but not so salty it fights the beans and rice. Fold in parsley or cilantro if using, then take it off the heat. The herbs stay bright because they're warmed, not cooked to sadness.
Serve a spoonful beside feijoada, arroz soltinho, couve refogada, and orange slices. The farofa gives crunch, the rice catches the caldo, the beans bring the body, the greens cut through the richness, and the orange brightens the plate. That's the everyday Brazilian formula dressed for Saturday.
1 serving (about 70g)
Culinary guides, cultural storytelling, and the editorial depth that makes cooking meaningful.
Discover Culinary ExplorerChef Juliana
You think you'll turn zucchini into mush. Fine. Anota aí: high heat, wide pan, salt at the end, and suddenly this little green side starts solving dinner.

Chef Juliana
You think this is sacred enough to be impossible. It isn't. Acaçá is patience, stirring, and ponto, taught plainly, with respect for the terreiros that carry it.
Chef Juliana
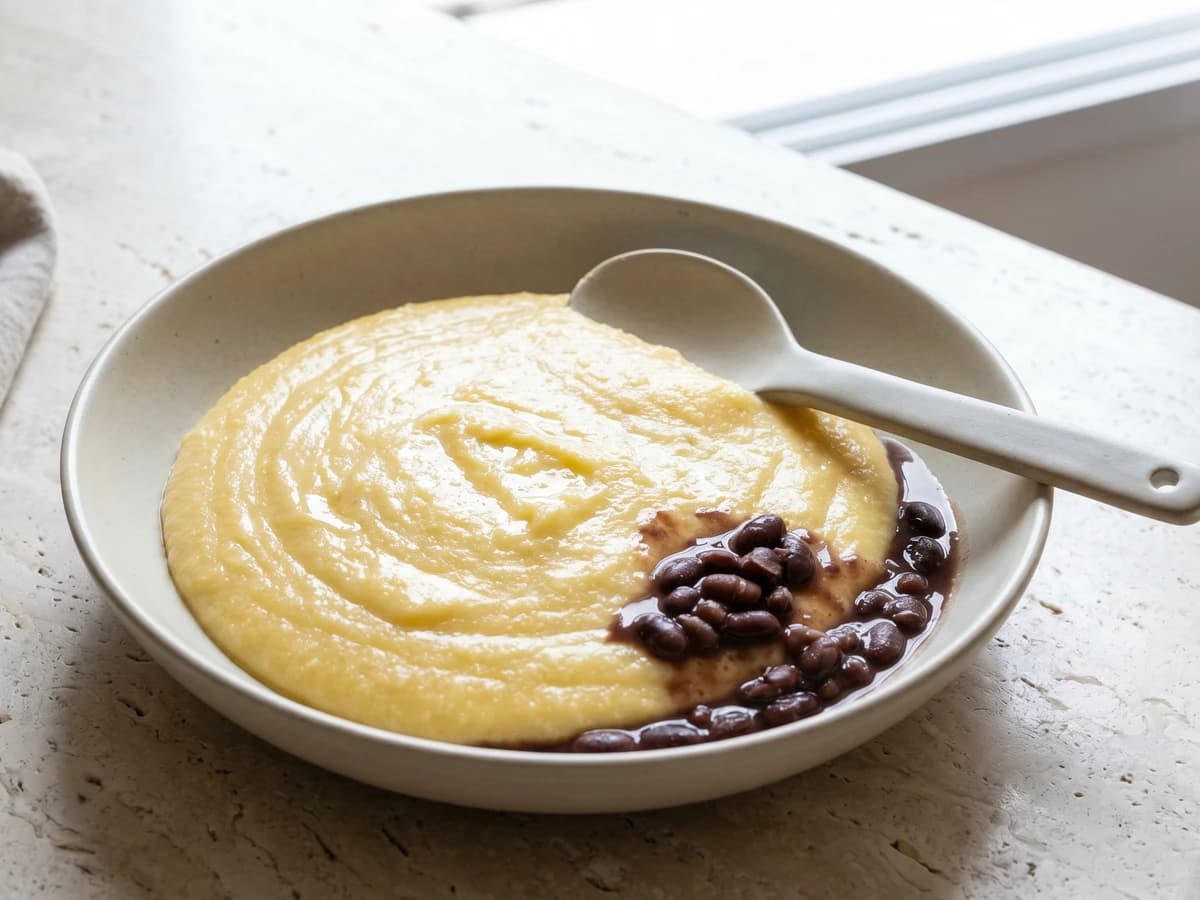
You think cornmeal will turn into lumps and shame. It won't. Cold water first, patient stirring, and a real garlic base give you angu that solves dinner.
Chef Juliana
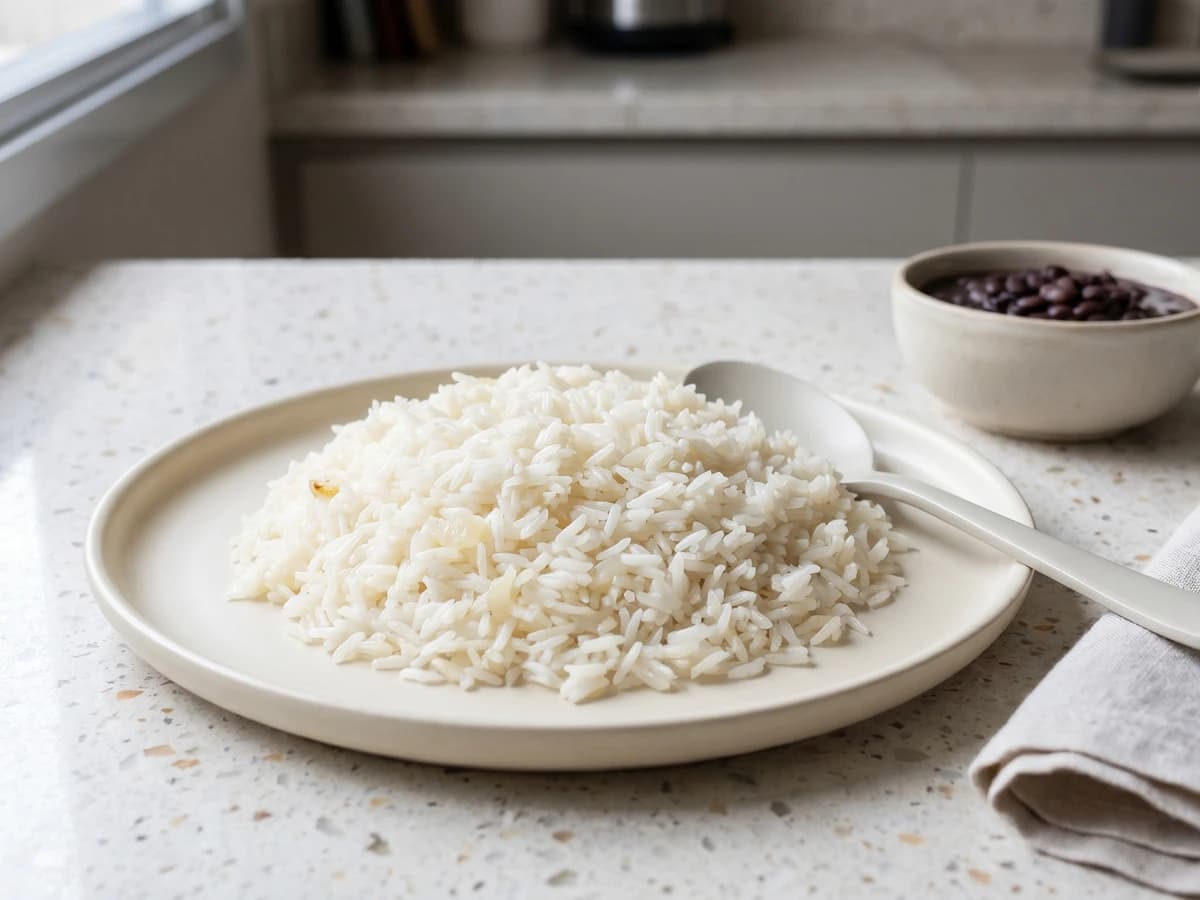
Everyone swears they can't make good rice. They're wrong. Refogue onion and garlic, use two parts water to one rice, then close the lid and leave the poor thing alone.