
Chef Thomas
A Bloomer
A proper British bloomer, slashed deep and baked until the cuts open wide and the crust turns deep, glossy gold. The kind of loaf that makes the rest of the day feel deliberate.
A cooking platform built around craft, culture, and the stories behind what we eat.
Created by Chef Thomas
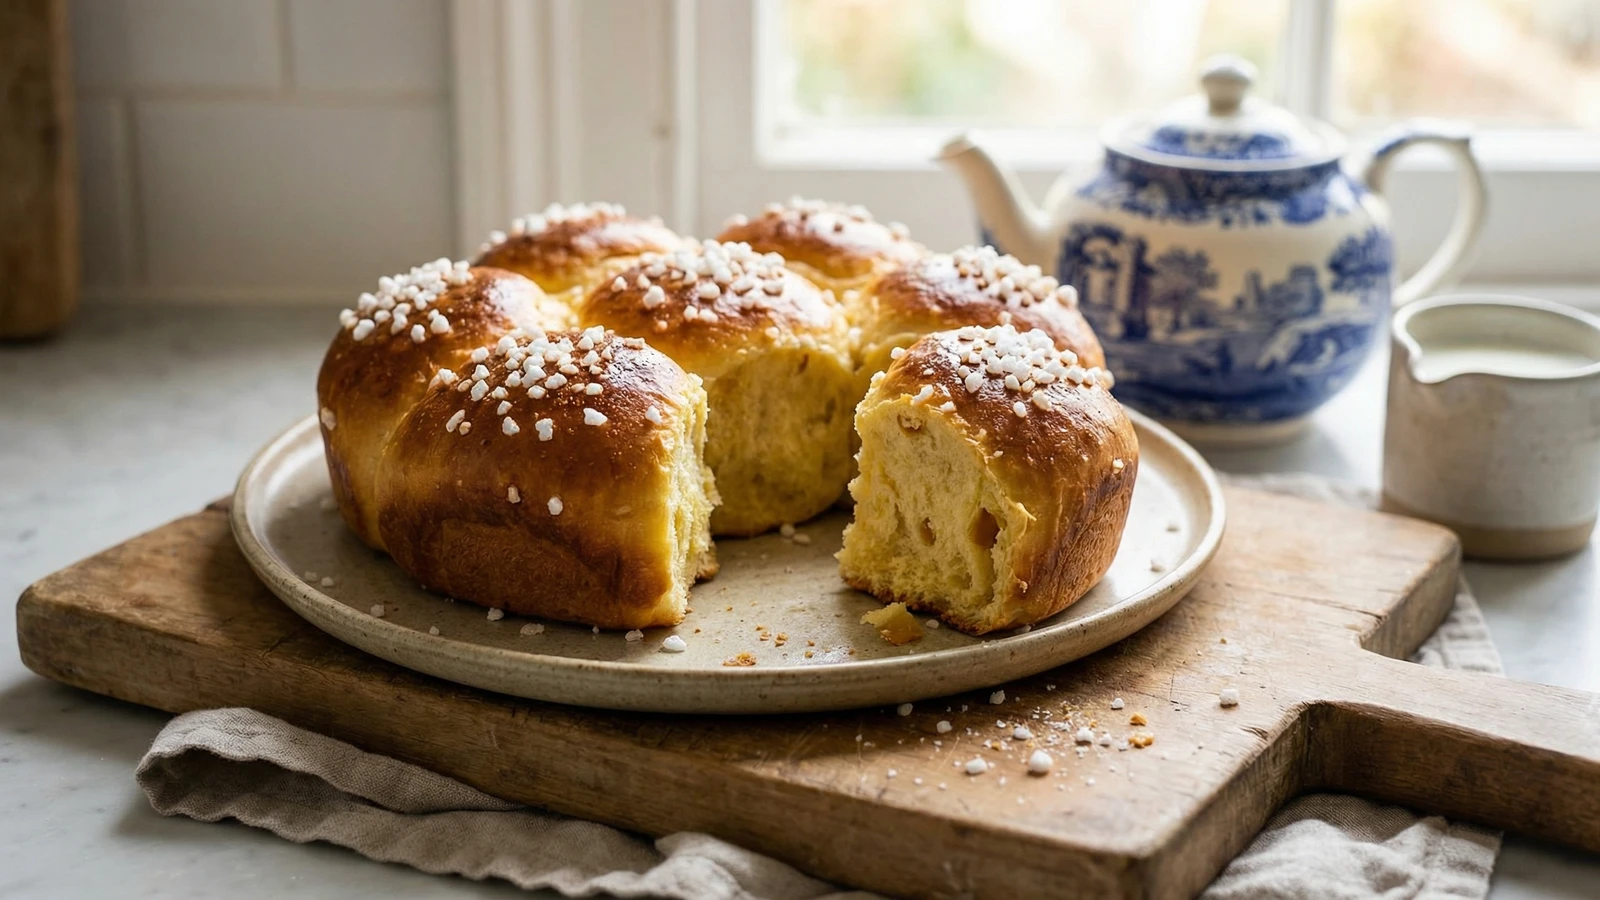
Rich, butter-laden Georgian buns from Bath, glazed deep gold and crowned with crushed sugar nibs that crack beneath your teeth, the kind of bake that turns a Sunday afternoon into something deliberate.
There's a particular kind of grey weekend afternoon, the sort where the light goes flat by three and the rain settles in for the duration, that asks for something yeasted in the oven. Bath Buns are the answer. The kitchen fills with the smell of warm butter and lemon and bread, the windows fog gently, and for a few hours nothing else needs your attention.
These aren't fashionable. Bath Buns belong to a slower tradition: Georgian tea tables, the kind of bun you ate in a pump room with a cup of strong tea. Rich with butter and eggs, studded with candied peel and sultanas, sometimes scented with caraway, always topped with crushed sugar nibs that bake into a glittering, crackling crown. Sweeter and denser than you might expect. They are not a breakfast roll. They are a pudding pretending to be bread.
The sugar on top is the point. When you bite in, the nibs crack between your teeth and dissolve into the soft, buttery crumb beneath. It's a small, specific pleasure. I wrote it down in the notebook once after a wet Saturday in March: "Bath Buns. Tea. The afternoon saved." That was the whole entry.
Make these when you have a few hours and the inclination to be at home. They reward attention but ask very little technique. A recipe is a conversation, not a contract. Skip the caraway if it isn't your thing. Use currants instead of sultanas. The dough won't mind. There are few better feelings than putting a warm plate of these in front of someone with a pot of tea between you.
Quantity
500g
Quantity
7g
Quantity
75g
Quantity
1 tsp
Quantity
200ml
warmed to blood temperature
Quantity
100g
softened
Quantity
2
beaten, plus 1 for glazing
Quantity
1
zest only
Quantity
100g
roughly chopped
Quantity
50g
Quantity
1 tsp
Quantity
75g
for the top
Quantity
2 tbsp
for glazing
| Ingredient | Quantity |
|---|---|
| strong white bread flour | 500g |
| fast-action dried yeast | 7g |
| golden caster sugar | 75g |
| fine sea salt | 1 tsp |
| whole milkwarmed to blood temperature | 200ml |
| unsalted buttersoftened | 100g |
| large eggsbeaten, plus 1 for glazing | 2 |
| unwaxed lemonzest only | 1 |
| mixed candied peelroughly chopped | 100g |
| sultanas | 50g |
| caraway seeds (optional) | 1 tsp |
| sugar nibs or crushed sugar cubesfor the top | 75g |
| milkfor glazing | 2 tbsp |
Tip the flour into a large bowl. Add the yeast to one side and the salt and sugar to the other. They don't get on if they meet too soon. Pour in the warm milk, beaten eggs, and lemon zest, and bring it together with a wooden spoon until you have a rough, shaggy dough. It should feel sticky and a little reluctant. That's right.
Turn the dough onto a lightly floured surface and knead for five minutes. It will be sticky. Resist the urge to add more flour. Once it starts to feel smoother, begin adding the softened butter a knob at a time, kneading each piece in fully before the next. The dough will go slack and shiny, then come back together. Keep going until it feels silky, elastic, and faintly cool to the touch. Eight to ten minutes by hand. Less in a mixer, but you'll miss the feel of it.
Put the dough in a clean, lightly buttered bowl. Cover with a damp tea towel and leave somewhere warm but not hot. A cool kitchen is fine; it just takes longer. The dough is ready when it has roughly doubled and feels pillowy when you press it with a fingertip. An hour and a half on a warm day, two hours on a cooler one. Trust your eye, not the clock.
Tip the risen dough back onto the surface and flatten it gently into a rough rectangle. Scatter over the candied peel, sultanas, and caraway seeds if you're using them. Fold the dough over itself and knead briefly until the fruit is evenly distributed. Don't overwork it. A few sultanas peeking through is exactly right.
Divide the dough into ten equal pieces. The easiest way is to halve it, halve each half, then divide each quarter into two and a half. Or weigh them if that suits you better. Shape each piece into a tight, round bun by cupping your palm over it and rolling on an unfloured patch of the surface until the surface goes taut and smooth. Place them on a parchment-lined baking sheet, leaving room between for them to spread.
Cover loosely with the tea towel and leave to prove for forty minutes to an hour. They should look puffy and pillowy and have nearly doubled. When you press one gently, the indent should spring back slowly rather than vanish at once. Heat the oven to 200C/180C fan while you wait.
Beat the remaining egg with the two tablespoons of milk and brush the buns generously. Don't be shy. The glaze is what gives them that deep, lacquered, mahogany top. Scatter the sugar nibs over each bun, pressing them in lightly so they stay put. They should look like little crowns.
Bake for eighteen to twenty minutes. They're ready when the tops are deep gold, the sugar nibs have started to crackle and catch in places, and the bottoms sound hollow when you tap them. The kitchen will smell of warm butter, citrus, and yeast, which is one of the better smells a kitchen produces. Cool on a wire rack for at least fifteen minutes before tearing into one. They need a moment to settle.
1 serving (about 115g)
Culinary guides, cultural storytelling, and the editorial depth that makes cooking meaningful.
Discover Culinary ExplorerChef Thomas
A proper British bloomer, slashed deep and baked until the cuts open wide and the crust turns deep, glossy gold. The kind of loaf that makes the rest of the day feel deliberate.

Chef Thomas
A simple white loaf made from flour, water, yeast, and salt. The kind of bread that fills the kitchen with the smell of a Saturday morning and teaches you, slowly, everything you need to know about baking.

Chef Thomas
A dark, fruit-heavy Welsh tea loaf, soaked overnight in strong tea and baked slowly until the kitchen smells of spice and orange peel. Sliced thick and buttered cold.
Chef Thomas
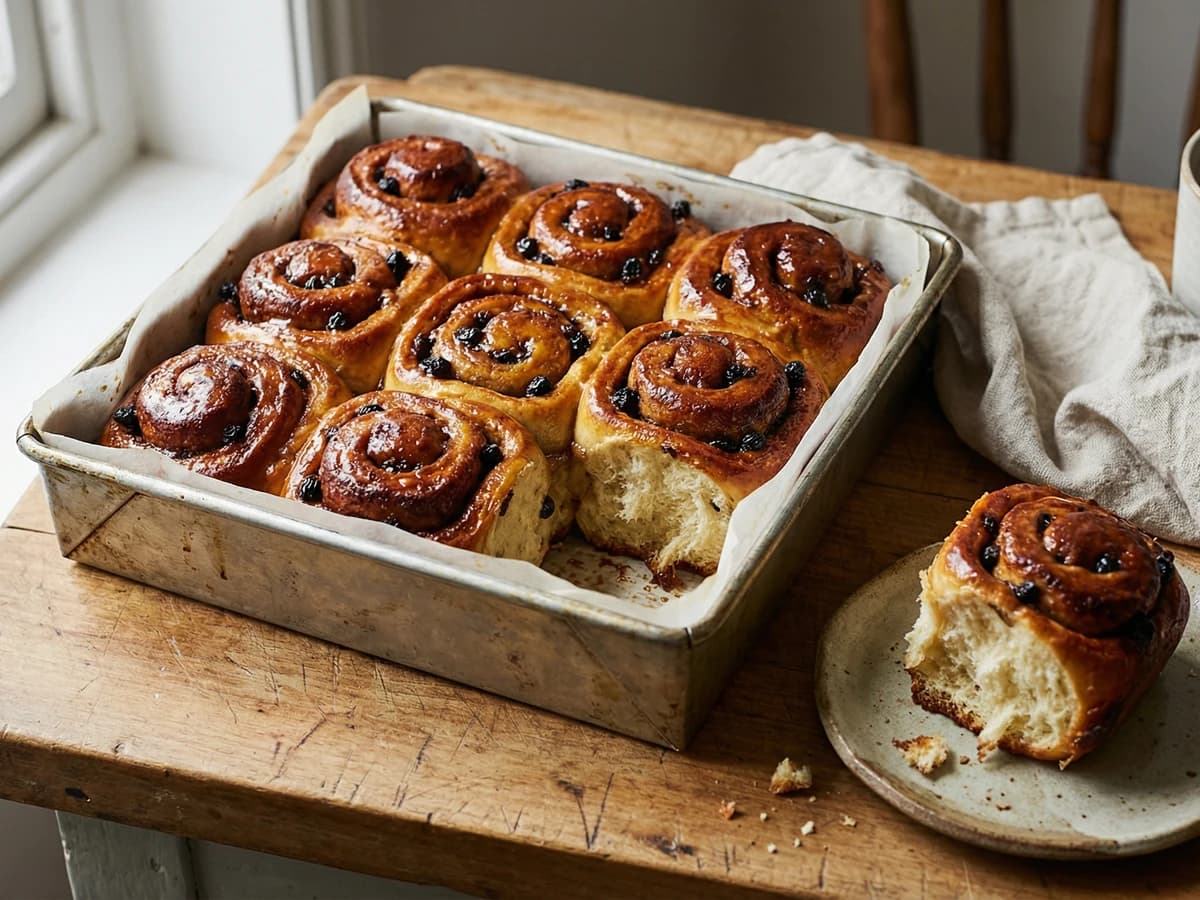
Soft, spiralled buns full of spiced sugar and currants, glazed sticky while still warm from the oven. The kind of baking that turns a wet Sunday into something worth getting out of bed for.