
Chef Juliette
Various Almond Preparations
Five almond preparations, one discipline: remove the skins cleanly, dry every kernel through, then cut, toast, or cloak it in pale caramel without letting its fragrant oils escape.
A cooking platform built around craft, culture, and the stories behind what we eat.
Created by Chef Juliette
Based on No. 2744, The Making of Ices, from Le Guide Culinaire (1907) by Auguste Escoffier
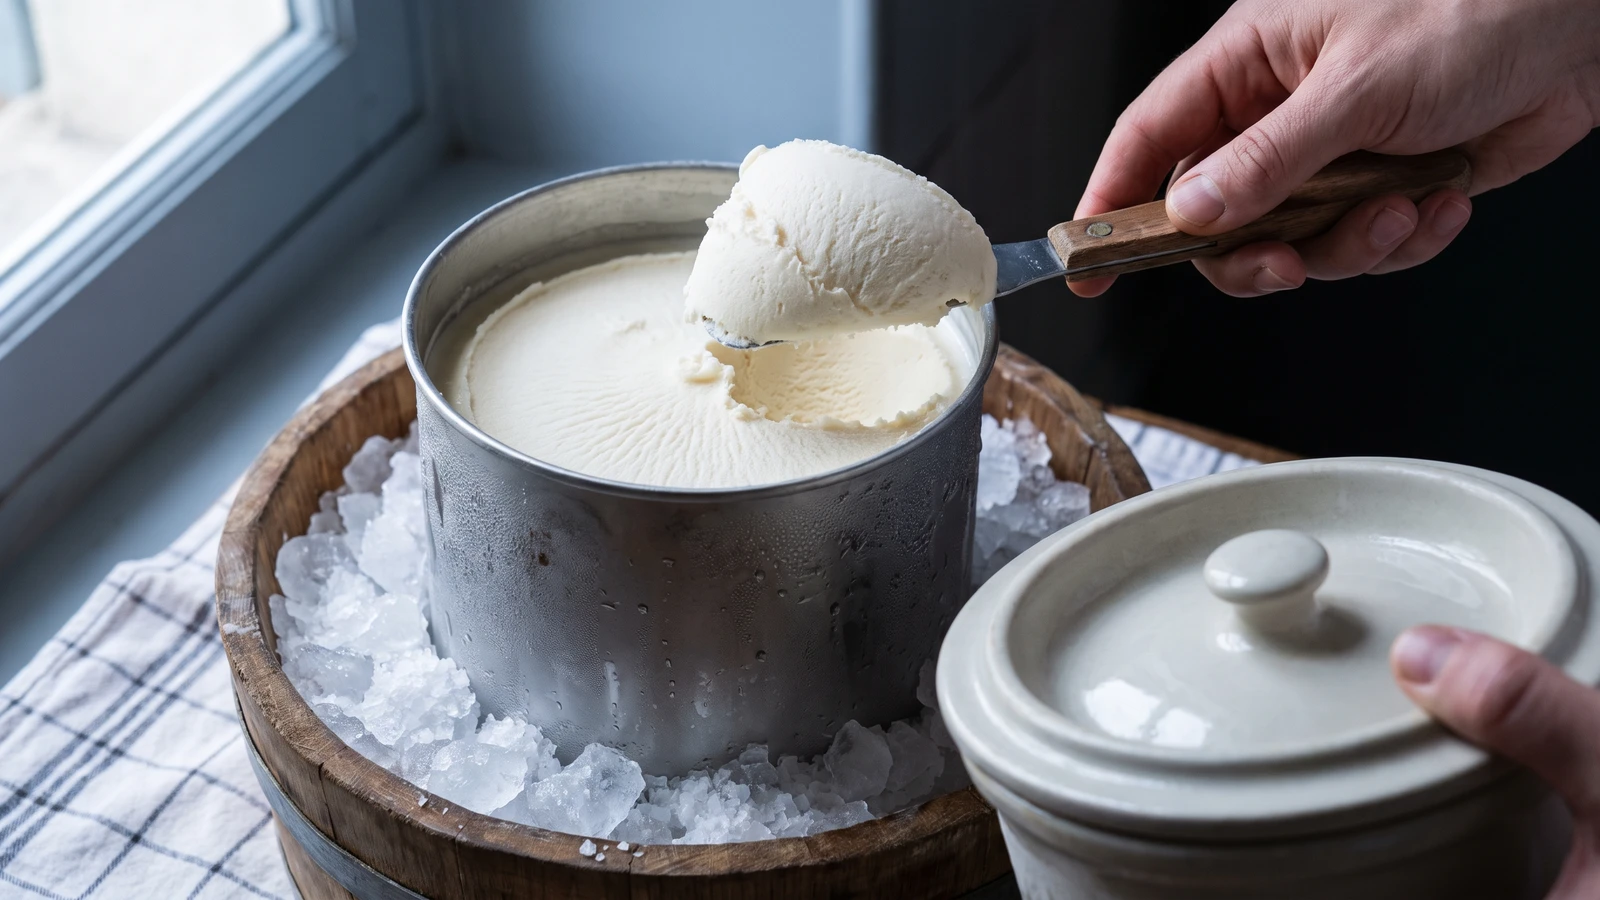
Freezing is the recipe: pack ice hard with salt, keep the canister moving, and scrape each frozen film into the base until the Glaces turn smooth, fine, and homogeneous.
Glaces teach one true thing: freezing is the recipe. The cream or syrup preparation may be perfectly balanced, but leave it still against the cold wall and you get large crystals; keep it moving while every newly frozen film is scraped back into the mass and it becomes fine, smooth, and homogeneous.
The original method assumed a pure-tin freezer turning on a central pivot, a wooden case, a special pestle, saltpetre in the freezing bath, and enough hands to tend the apparatus without pause. The honest home equivalent is a 2-quart ice-and-salt freezer whose dasher moves against the canister, doing the work of those opposing fans for one cook. The original salt-to-ice proportion stays. Saltpetre goes because coarse salt alone makes a sufficiently cold brine in modern equipment, and the household freezer takes over the final hardening.
The ornamental mould and brigade-sized packing operation are scaffolding and can go; the ten-minute prechill, close-packed salted ice, constant movement, and second hard freeze are the dish. Keep the churn moving and remove the frozen film as quickly as it forms. That is the step that decides everything.
Glaces made in a salted-ice freezer belong to French confectionery and the Parisian grand-kitchen service that separated preparation from freezing: one station made the cream or syrup base, while another packed, churned, and moulded it. The rotating tin freezer repeatedly spread liquid against a very cold wall and removed the set film, producing finer crystals than still freezing. The canon distinguishes these churned cream and syrup Glaces from light ices such as Soufflé and Mousses, which are moulded and frozen directly; the surprising point is that freezing, not flavouring, is treated as the decisive recipe.
Quantity
4 cups (950 ml / about 1 kg)
chilled to 40°F (4°C) or colder
Quantity
about 10 quarts (9.5 L / 10 lb or 4.5 kg)
broken into pieces no larger than a walnut
Quantity
2 cups (475 ml / 1 lb 3 oz or 545 g)
| Ingredient | Quantity |
|---|---|
| prepared cream-ice or syrup-ice mixturechilled to 40°F (4°C) or colder | 4 cups (950 ml / about 1 kg) |
| small broken icebroken into pieces no larger than a walnut | about 10 quarts (9.5 L / 10 lb or 4.5 kg) |
| coarse sea salt or ice-cream salt | 2 cups (475 ml / 1 lb 3 oz or 545 g) |
Finish the cream-ice or syrup-ice preparation according to its own formula, then chill it thoroughly to 40°F (4°C) or colder. This entry begins with a finished preparation and governs only its freezing and moulding. A warm base spends too long passing through the freezing range, which gives crystals time to grow; if it is not properly cold, wait. The salted ice cannot repair a careless chill.
Set the clean, dry canister on its pivot with the lid closed. Pack alternating layers of broken ice and coarse salt firmly around it, using the source proportion of 3 pounds of salt for every 25 pounds of ice. Tamp the packing snugly with a clean wooden tamper or the handle of an ice scoop, stopping at two-thirds of the canister's height so its upper third remains safely above the salted ice. Keep the drain open below the lid line, reserve some ice and salt for replenishing, and let the packed freezer stand for ten minutes. Saltpetre is omitted; it is unnecessary for this home-scale bath.
Brush every grain of salt and chip of ice away from the canister lid before opening it. Pour in the chilled preparation, filling the 2-quart canister only halfway so the Glaces have room to expand. Fit the dasher, close the lid tightly, and cover its opening or cork according to the machine. Salted ice must never fall into the preparation; a few grains can spoil the whole batch, and salt cannot be churned away.
Turn the crank steadily, or start the motor, so the preparation is carried continuously against the freezing wall while the dasher removes each film as it sets. Keep the motion regular rather than frantic. If you must stop and a hard frozen collar forms, disconnect the machine, brush the lid clean, open it, and scrape the collar back into the softer centre with a stiff spatula before resealing and continuing. Ça se rattrape. Never put a utensil near a moving dasher.
After 20 to 35 minutes, the crank should grow resistant and the preparation should mound in smooth, dense folds like very soft ice cream, with no liquid sloshing beneath. That smooth resistance, not the clock, marks the finish. If it remains loose after 25 minutes, drain excess meltwater below the lid, repack the bucket with the reserved ice and salt in the same proportion, wait five minutes, and resume churning. Stop once the mass is homogeneous; forcing a rich cream preparation far beyond that point can work its butterfat into grains.
Lift out the canister and wipe away every trace of brine before opening it. Remove the dasher, scrape the clinging Glaces back into the mass, and fold briefly with a chilled spatula to distribute the texture evenly. Pack the Glaces firmly into a chilled 1½-quart lidded container or mould, pressing out air pockets and levelling the surface. An ornamental mould is brigade scaffolding; the close packing and second freezing must stay.
Press parchment or reusable freezer wrap directly against the surface, close the container, and harden the Glaces in the coldest part of a 0°F (-18°C) freezer for at least three hours. Before serving, let the container stand in the refrigerator for 10 minutes, or at room temperature for 5 minutes, until a spoon enters cleanly without crushing the texture. If it is still too firm, give it another five minutes rather than attacking it with heat. Serve immediately. À table!
1 serving (about 125g)
Culinary guides, cultural storytelling, and the editorial depth that makes cooking meaningful.
Discover Culinary ExplorerChef Juliette
Five almond preparations, one discipline: remove the skins cleanly, dry every kernel through, then cut, toast, or cloak it in pale caramel without letting its fragrant oils escape.

Chef Juliette
A pastry pantry lesson in one tray: filberts warmed only until their red skins release, rubbed clean, cooled, and chopped into a fragrant mise-en-place for cakes, creams, pralines, and petits fours.

Chef Juliette
The smallest pâtisserie discipline decides whether a cake leaves its mould intact: clarified butter in every corner, followed by the lightest veil of dry flour or fécule.

Chef Juliette
Four whites, one spotless bowl, and a patient change of speed: whisk gently until loosened, then briskly to glossy stiffness, with powdered sugar waiting if the foam begins to granulate.