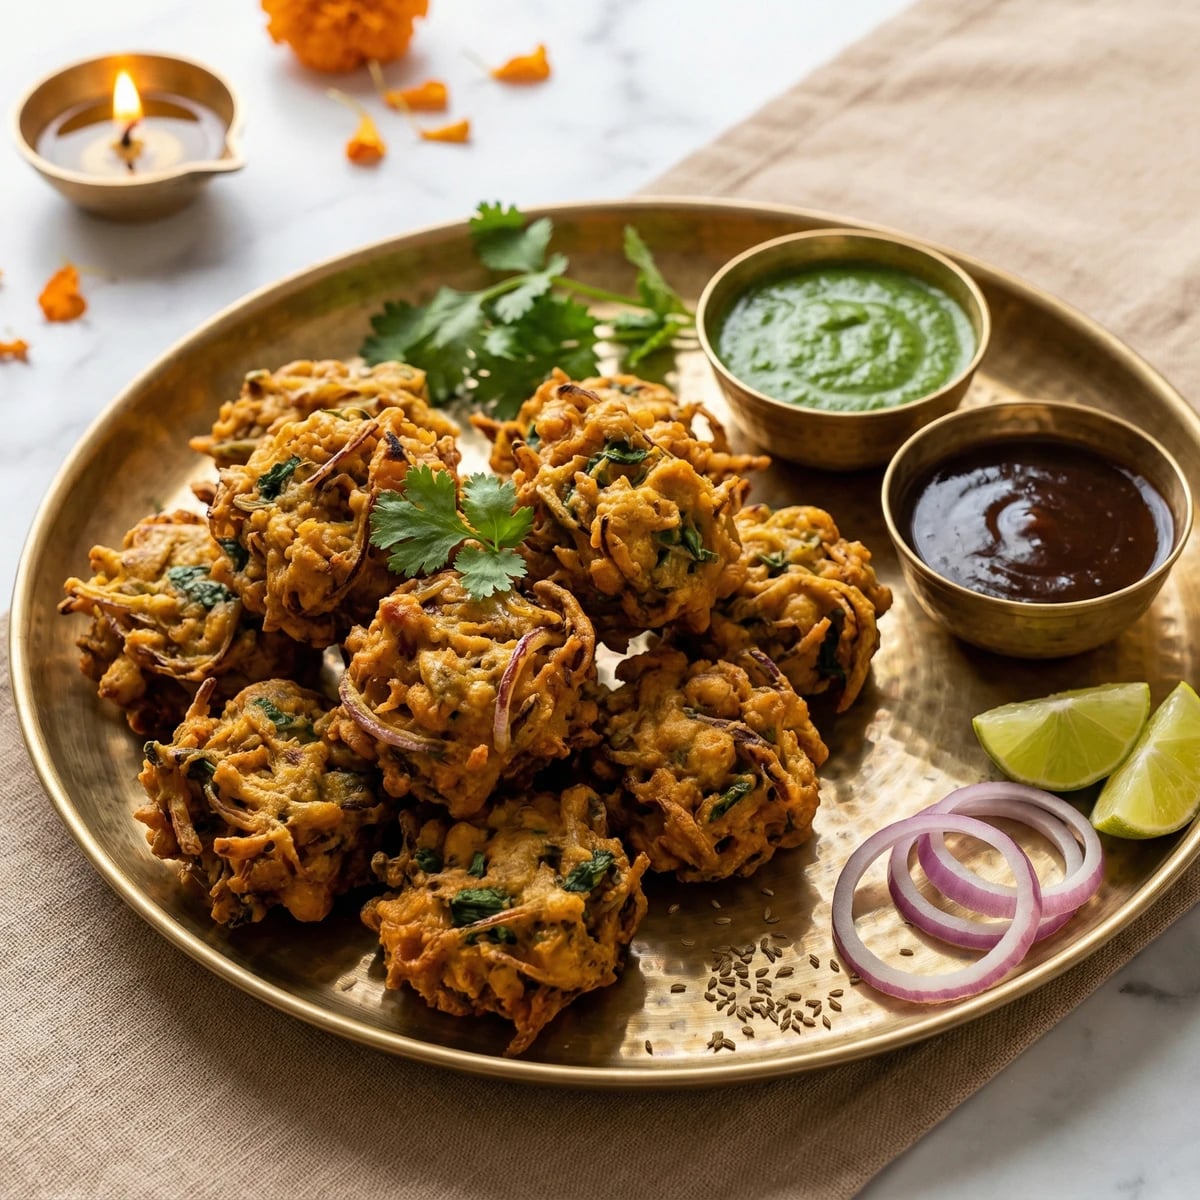
Golden, shatteringly crisp fritters bursting with onion, spinach, and warm spices, wrapped in a seasoned chickpea batter that fries to an honest crunch. This is celebration food meant for sharing.
Appetizers & Snacks
Indian
Diwali
30 min
Active Time
45 min cook•1 hr 15 min total
Yield40-50 pakoras (serves 8-10 as appetizers)
Every cuisine has its fritter. The Italians have their zucchini blossoms. The Japanese, tempura. The American South, hush puppies. But for sheer aromatic complexity and textural satisfaction, I've yet to encounter anything that rivals a properly made pakora. These Indian fritters represent centuries of culinary wisdom, and they deserve your full attention.
During Diwali, the Festival of Lights, pakoras appear on tables across India and in Indian homes around the world. They're the sound of celebration itself: that insistent sizzle of batter hitting hot oil, the crackle when you bite through. Families gather in kitchens, frying batch after batch while guests arrive. The aroma of cumin and ajwain announces the feast before anyone sees the table.
The secret to great pakoras lives in three places: the batter's consistency, the oil's temperature, and the courage to season boldly. Your chickpea flour mixture should coat vegetables like heavy cream clings to a spoon. Your oil must maintain steady heat. And your spices should make you think twice before adding more, then add them anyway. Timidity has no place here.
I've adapted this recipe for American home cooks preparing for gatherings. The batter holds beautifully for several hours. The vegetables can be prepped in advance. And with the right technique, you'll produce pakoras as crisp and golden as any from a street vendor in Mumbai.
The technique, the tradition, and the story behind every dish.
•Heavy-bottomed Dutch oven or deep skillet (5-quart capacity minimum)
•Deep-fry or instant-read thermometer
•Wire cooling rack
•Rimmed sheet pan
•Slotted spoon or spider strainer
Instructions
1
Build the spiced flour base
Whisk together the chickpea flour, rice flour, baking powder, salt, cumin, coriander, turmeric, cayenne, ajwain, and garam masala in a large bowl. The rice flour is your secret weapon here. It creates additional crispness that chickpea flour alone cannot achieve. Make sure no lumps remain. The spices should distribute evenly throughout, turning the flour a pale gold with flecks of green and rust.
2
Create the batter
Add the cold water gradually, starting with three-quarters cup. Whisk until smooth. The consistency you're after resembles thick pancake batter or heavy cream. It should coat the back of a spoon and fall in a lazy ribbon when you lift the whisk. Too thin and your coating will be anemic. Too thick and the vegetables won't cook through before the exterior burns. Add more water by the tablespoon if needed.
Cold water creates a lighter, crispier result. Some cooks add a tablespoon of hot oil to the batter for extra crunch. Both traditions have merit.
3
Prepare the vegetables
Squeeze the grated potato firmly in a clean kitchen towel to extract as much moisture as possible. Water is the enemy of crisp frying. In a separate bowl, combine the sliced onions, chopped spinach, squeezed potato, minced serranos, cilantro, and ginger. Toss with your hands to distribute everything evenly. The onions should separate into individual strands, not clumps.
4
Combine vegetables and batter
Add the vegetable mixture to the batter. Fold together with a spatula or your hands until every strand and leaf wears a coat of spiced batter. The mixture should look shaggy and abundant, more vegetable than batter. This isn't a smooth dumpling situation. You want each pakora to be an irregular tangle of coated vegetables that will fry into a lacy, craggy exterior.
Let the batter-coated vegetables rest for 10 minutes. This allows the chickpea flour to hydrate fully and the vegetables to release just enough moisture to help the batter adhere.
5
Heat the oil
Pour oil into a heavy-bottomed Dutch oven or deep skillet to a depth of three inches. Heat over medium-high until it reaches 350°F on a deep-fry thermometer. This temperature is non-negotiable. Too cool and your pakoras absorb oil, becoming greasy and leaden. Too hot and the exterior chars while the interior stays raw. The oil should shimmer and a small drop of batter should sizzle immediately, rising to the surface within seconds.
6
Fry the first batch
Working in batches of five or six, use a tablespoon or small ice cream scoop to drop mounds of the vegetable mixture into the hot oil. Don't crowd the pot. Overcrowding drops the oil temperature and creates soggy pakoras. Fry for three to four minutes, turning once or twice with a slotted spoon, until deep golden brown on all sides. Listen for the sizzle to change from aggressive to steady. That's when you know they're nearly done.
The first batch is your test run. Adjust heat to maintain 350°F and adjust batter consistency if needed. Sacrifice these to the cook's plate and the learning process.
7
Drain and season
Transfer finished pakoras to a wire rack set over a sheet pan. Not paper towels. Paper towels trap steam against the bottom and destroy the crispness you just worked to create. Hit them immediately with a pinch of flaky sea salt while the surface is still tacky enough to hold it. Continue frying in batches, allowing the oil to return to 350°F between rounds.
8
Keep warm and serve
For gatherings, keep finished pakoras warm in a 200°F oven on a rack-lined sheet pan while you fry the remaining batches. They'll hold for 20 to 30 minutes without losing their crunch. Serve hot with bowls of mint chutney and tamarind chutney for dipping. Arrange them on a large platter and watch them disappear. Tradition holds that pakoras taste best eaten standing in the kitchen, stolen directly from the draining rack. I've found no evidence to contradict this.
Chef Tips
•Ajwain seeds are the defining flavor of authentic pakoras. Find them at Indian grocers or online. There is no substitute that captures their thyme-like, slightly bitter intensity. Without them, your pakoras will taste good but not quite right.
•For large gatherings, set up a frying station near your serving area so guests can watch the process. The theater of frying is half the entertainment. Assign a guest to be your oil monitor while you handle the batches.
•Leftover pakoras can be recrisped in a 400°F oven for 8 to 10 minutes. They won't match fresh, but they'll satisfy. Never microwave them. The results will break your heart.
•Traditional Diwali serving places pakoras on banana leaves or brass thalis lined with newspaper. The presentation says: this is humble food, made extraordinary by care and community.
•A squeeze of fresh lime juice over the finished platter brightens the flavors and cuts through the richness. Don't skip this final gesture.
Advance Preparation
•The dry spiced flour mixture can be prepared up to one week ahead and stored in an airtight container at room temperature.
•Vegetables can be sliced, chopped, and grated up to 4 hours in advance. Store the grated potato submerged in cold water to prevent browning, then drain and squeeze dry before using.
•The complete batter with vegetables can be mixed up to 2 hours before frying and refrigerated. The cold batter actually fries slightly crispier.
•Mint chutney improves after a day in the refrigerator as flavors meld. Make it the night before.
•For stress-free entertaining, fry pakoras up to one hour ahead and hold in a 200°F oven. Add 5 minutes to the hold time, but no longer, or quality suffers.
Frequently Asked Questions
Nutrition Information
1 serving (about 65g)
Calories
580 calories
Total Fat
59 g
Saturated Fat
8 g
Trans Fat
0 g
Unsaturated Fat
48 g
Cholesterol
0 mg
Sodium
280 mg
Total Carbohydrates
23 g
Dietary Fiber
2.5 g
Sugars
2 g
Protein
5 g
Where cooking meets culture.
Culinary guides, cultural storytelling, and the editorial depth that makes cooking meaningful.