
Chef Dean
Apple Cinnamon Pancakes
Tender buttermilk pancakes folded with butter-glazed apple pieces and warm cinnamon, stacked high and drowning in maple syrup. This is Sunday morning the way it ought to be.
A cooking platform built around craft, culture, and the stories behind what we eat.
Created by
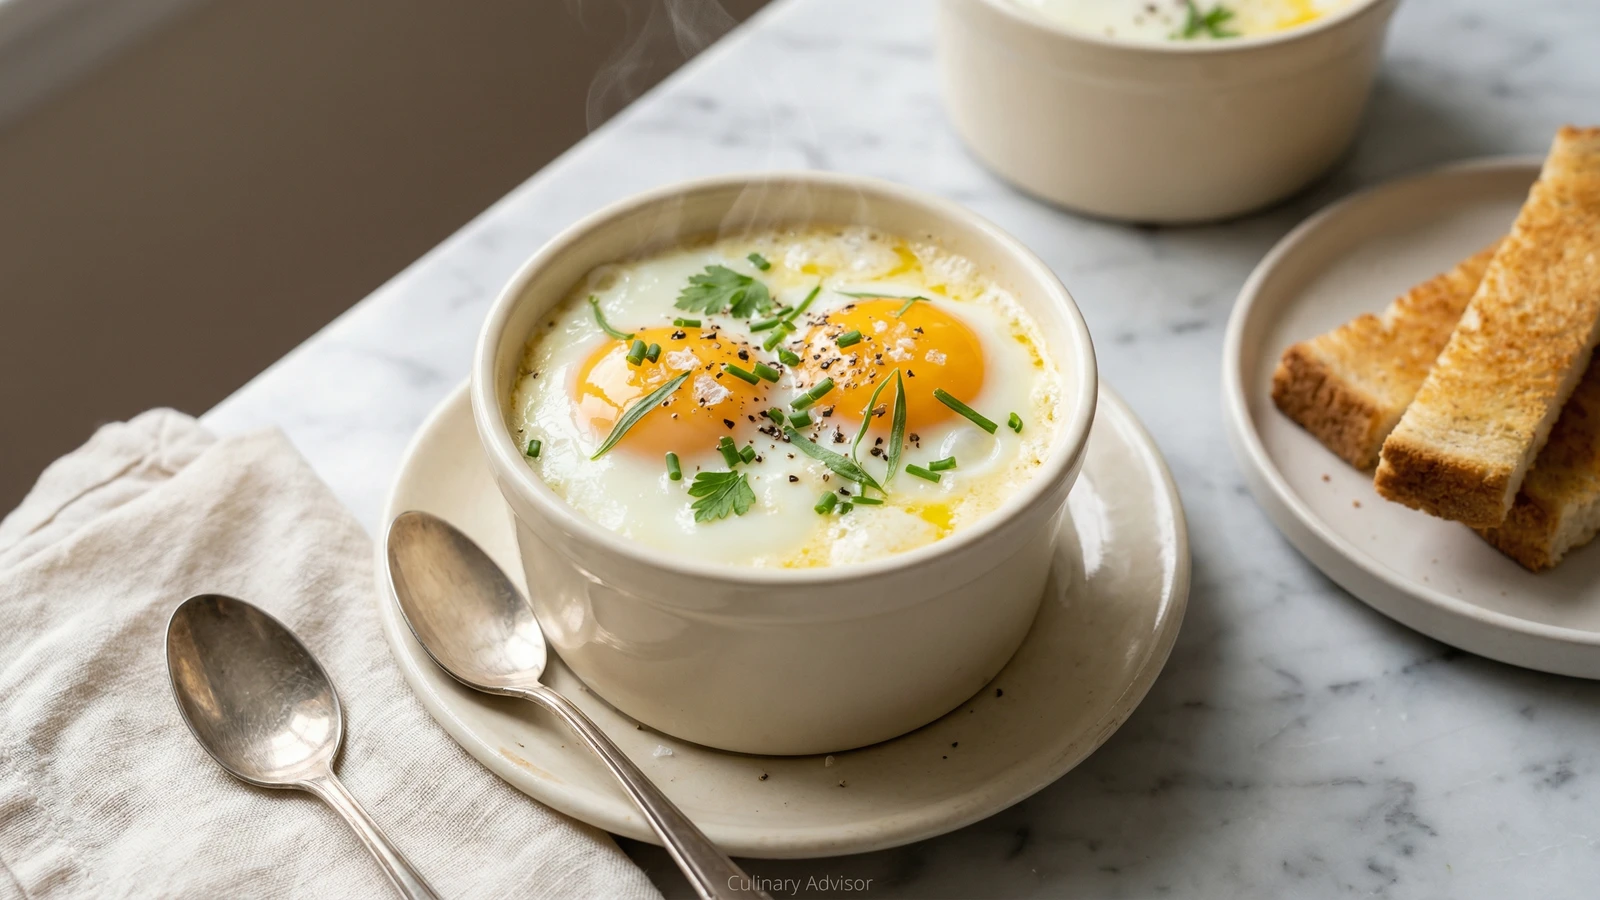
A time-honored technique for baking eggs in individual ramekins until the whites turn silky and set while the yolks remain gloriously liquid, ready to break over buttered toast with the ceremony that weekend mornings deserve.
Before the brunch industrial complex commodified the egg, before avocado toast conquered Instagram, there was this: a single egg baked slowly in a buttered dish with cream and fresh herbs. The French call it œufs en cocotte. Your grandmother called it shirred eggs. Both knew it was the most civilized way to start a day.
The technique demands patience and rewards it generously. You're asking an egg to cook from the outside in, gently, the white setting to silk while the yolk stays liquid gold beneath a thin veil. Rush this and you'll have rubber. Respect the process and you'll understand why this dish has survived three centuries of culinary fashion.
I learned to make shirred eggs from a woman who kept chickens in her backyard and cream in a ceramic pitcher by the stove. She never measured anything. A knob of butter in the ramekin, a splash of cream, an egg laid in as carefully as you'd place a sleeping child in a crib. The oven did the rest while she set the table with cloth napkins and real silver, because even Tuesday breakfast deserved dignity.
This is weekend cooking at its finest. No urgency. No timers screaming. Just the quiet pleasure of creating something beautiful for the people you love.
Quantity
4 tablespoons
softened, plus more for ramekins
Quantity
1/2 cup
Quantity
8
at room temperature
Quantity
1/2 teaspoon
Quantity
1/4 teaspoon
freshly ground
Quantity
2 tablespoons
finely snipped
Quantity
1 tablespoon
minced
Quantity
1 teaspoon
minced
Quantity
4 slices
| Ingredient | Quantity |
|---|---|
| unsalted buttersoftened, plus more for ramekins | 4 tablespoons |
| heavy cream | 1/2 cup |
| large eggsat room temperature | 8 |
| flaky sea salt | 1/2 teaspoon |
| black pepperfreshly ground | 1/4 teaspoon |
| fresh chivesfinely snipped | 2 tablespoons |
| fresh flat-leaf parsleyminced | 1 tablespoon |
| fresh tarragon leavesminced | 1 teaspoon |
| crusty bread (optional) | 4 slices |
Position a rack in the center of your oven and preheat to 325°F. Bring a kettle of water to a boil, then set it aside. The gentle temperature is essential here. Higher heat cooks eggs from the outside too aggressively, leaving you with set yolks and rubbery whites. We want the opposite.
Using your fingers or a pastry brush, coat four 6-ounce ramekins with soft butter, working all the way up the sides to the rim. Be generous. This butter serves two purposes: it prevents sticking and adds richness to every spoonful. Set the prepared ramekins in a baking dish deep enough to hold water halfway up their sides.
Spoon two tablespoons of heavy cream into each prepared ramekin. Scatter half the chives and half the parsley across the cream, reserving the rest for finishing. The herbs will perfume the cream as it warms, infusing each bite with fresh garden flavor.
Crack two eggs into each ramekin, working slowly. The yolks should nestle side by side in the cream like twin suns. If a yolk breaks, start that ramekin over. A broken yolk defeats the entire purpose of this dish. Season each with a pinch of flaky salt and a few grinds of black pepper.
Place a small piece of the remaining butter, about half a tablespoon, atop each pair of eggs. As it melts in the oven, it will baste the surface and add an extra layer of richness. This is not the moment for restraint.
Place the baking dish on the oven rack, then carefully pour the hot water from your kettle into the dish until it reaches halfway up the sides of the ramekins. The water bath, called a bain-marie, insulates the eggs from direct heat, allowing them to cook gently and evenly. Close the oven door slowly to avoid sloshing.
Bake for 12 to 15 minutes. Watch carefully after 10 minutes. You're looking for whites that have turned opaque and set around the edges while the yolks remain bright orange and jiggly beneath a thin, barely set film. The eggs will continue cooking for another minute after you remove them. Trust the carryover.
Using a folded kitchen towel, carefully lift each ramekin from the water bath and set it on a small plate or saucer. The ceramic will be hot. Scatter the remaining chives, parsley, and all the tarragon over the top. Serve immediately with slices of crusty bread for dipping into those golden yolks. This dish waits for no one.
1 serving (about 240g)
Culinary guides, cultural storytelling, and the editorial depth that makes cooking meaningful.
Discover Culinary ExplorerChef Dean
Tender buttermilk pancakes folded with butter-glazed apple pieces and warm cinnamon, stacked high and drowning in maple syrup. This is Sunday morning the way it ought to be.

Chef Dean
Individual breakfast packages of farm eggs nestled in smoky ham, blanketed with melted sharp cheddar, ready for Sunday morning or make-ahead weekday fuel that tastes like someone who loves you made it.

Chef Ally
Oats softened overnight in yogurt and orchard cider, then crowned with whatever fruit the morning and the season bring to your table. A breakfast that asks almost nothing of you and gives back everything.

Chef Dean
Golden, shatteringly crisp potatoes mingled with sweet roasted peppers and caramelized onions, crowned with eggs whose yolks run like liquid sunshine when you break them open.