Chef Thomas
Anchovy Sauce
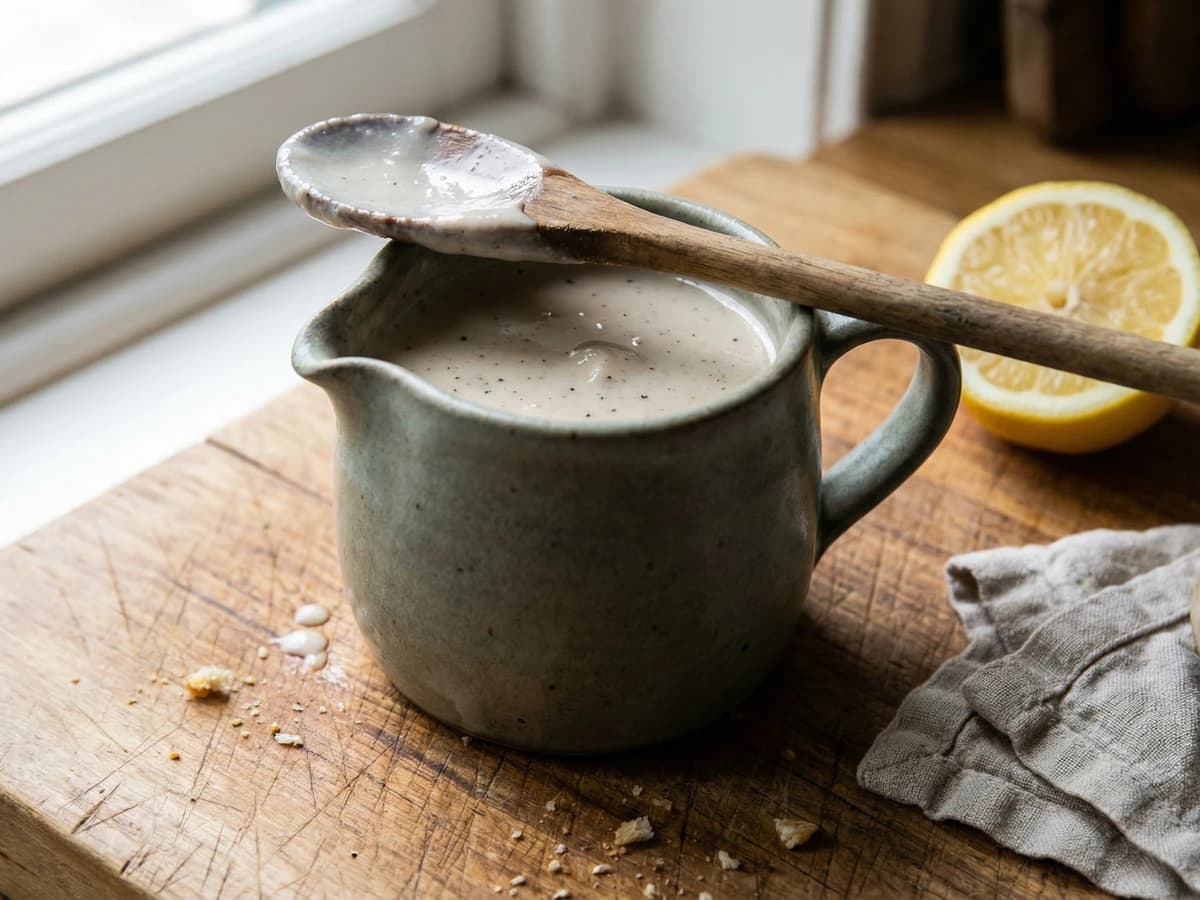
A proper white sauce sharpened with pounded anchovy, the old Georgian trick for waking up a piece of poached fish or a slice of roast lamb on a Sunday in spring.
A cooking platform built around craft, culture, and the stories behind what we eat.
Created by Chef Thomas
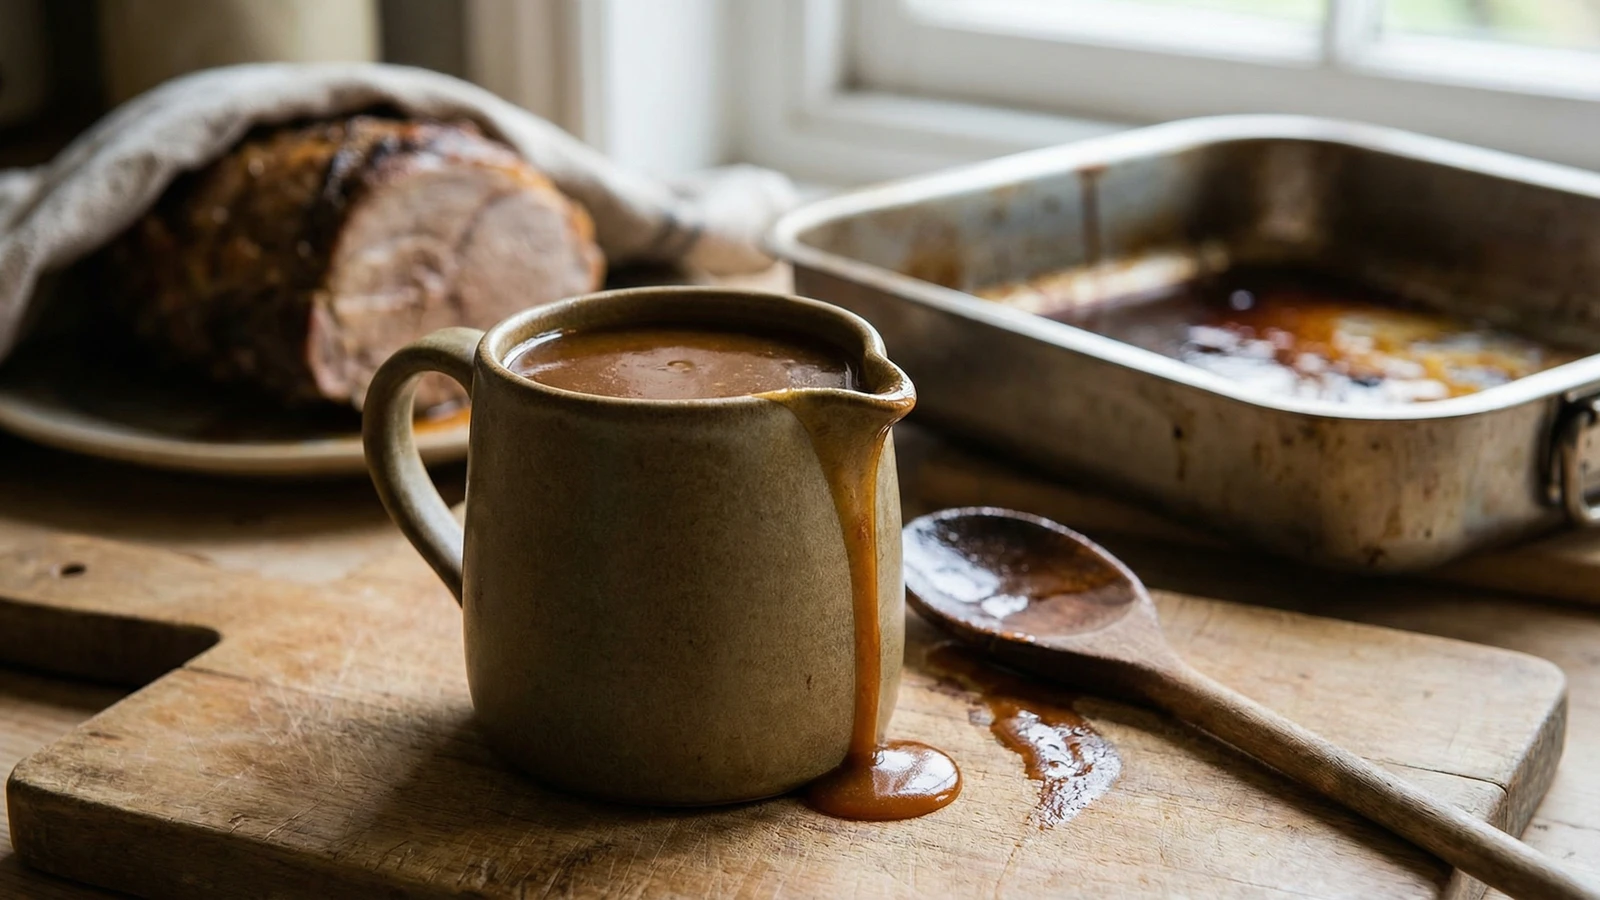
The sauce that makes a Sunday roast feel like a Sunday: built in the roasting tin from caramelised juices, a spoon of flour, and good hot stock while the joint rests on the board.
The joint is out of the oven and resting on the board. The kitchen smells of roasted meat and rendered fat and that particular brown, savoury perfume that only comes from something that has spent an hour and a half in a hot tin. The tin itself is the reason you're here. Dark patches stuck to the bottom, juices pooled in the corners, fat gone amber from the heat. That is not mess to be washed away. That is dinner.
Gravy made any other way is a different sauce entirely. The packet stuff, the granules, the cube dissolved in a jug, they have their place on a weekday when you're tired and only making dinner in the loosest sense. But on a Sunday, when you've committed to a proper roast and the people around the table have shown up hungry, the gravy needs to come from the tin. It takes ten minutes. It uses what's already there. And it turns a good roast into the kind of meal people talk about on the way home.
A recipe is a conversation, not a contract, and this one more than most. The joint decides the stock. The wine bottle on the counter decides whether you deglaze. The meat itself decides whether you reach for the mustard or the redcurrant jelly. I've written this down in the notebook so many times that the page is spotted with fat stains and the ink has bled in places. The method hasn't changed. I don't think it ever will.
Get yourself a wooden spoon, a warm jug, and the confidence to taste as you go. We're only making dinner. But done properly, this is the bit of the meal that people remember.
Quantity
1 tin
from a rested roast, fat and caramelised bits still in
Quantity
1 heaped tablespoon
Quantity
500ml
chicken, beef, or lamb, matched to the joint
Quantity
a generous splash
Quantity
1 teaspoon
Quantity
to taste
Quantity
to taste
freshly ground
| Ingredient | Quantity |
|---|---|
| roasting tin with pan juicesfrom a rested roast, fat and caramelised bits still in | 1 tin |
| plain flour | 1 heaped tablespoon |
| good hot stockchicken, beef, or lamb, matched to the joint | 500ml |
| wine or dry sherry (optional) | a generous splash |
| redcurrant jelly or mustard (optional) | 1 teaspoon |
| fine sea salt | to taste |
| black pepperfreshly ground | to taste |
Take the joint out of the tin and put it on a warm plate or board, somewhere it can rest properly under a loose tent of foil. This is the moment the gravy begins, not the moment the meat ends. All those dark sticky patches clinging to the tin, the fat that has pooled around them, the little rivers of juice, that's your sauce. Don't wash any of it away. Don't scrape it out. Leave it where it is.
Tilt the tin gently. You'll see the fat sitting clear on top and the dark juices underneath. Spoon off most of the fat, but leave roughly a tablespoon behind along with all the dark bits and juices. The fat you've spooned away can go into a jar for roast potatoes next time. The fat you keep is the base of the gravy.
Set the tin over a low to medium flame across one or two burners on the hob. Scatter the flour over the fat and juices and stir it in with a wooden spoon, working it into a loose paste that picks up all those caramelised patches from the bottom of the tin. Keep it moving. You want the flour to cook out for a minute or two until it smells nutty and toasted rather than raw and floury. Trust your nose. It knows before you do.
If you've got a splash of wine or sherry to hand, now is the moment. Pour it in and let it hiss and bubble against the hot tin. Stir hard with the wooden spoon, scraping up any last caramelised bits that have been hiding in the corners. Let the wine reduce until it's almost gone and the smell has mellowed from sharp to savoury. This step is optional, but it's the difference between good gravy and gravy that makes someone go quiet for a second when they taste it.
Pour in the hot stock a little at a time, whisking or stirring as you go. Add a splash, let it thicken, add another, let it thicken, and keep building until all the stock is in. Going slow at this stage is what gives you a smooth gravy instead of a lumpy one. Let it come up to a proper simmer and keep it there for three or four minutes, stirring now and then, until it coats the back of the spoon when you lift it out. Not thick like wallpaper paste. Glossy and just clinging.
Pour in any juices that have collected around the resting joint. Add the redcurrant jelly if it's lamb, a scrape of mustard if it's beef, nothing extra if it's chicken. Taste it. Season with salt and pepper. Then taste it again. Adjust. A gravy that tastes flat is almost always a gravy that wants more salt, not more cleverness. Strain it through a sieve into a warm jug if you want it smooth, or pour it straight if you like the rustic bits. Carry it to the table while it's still glossy and the joint is still warm. There are few better feelings than putting a jug of proper gravy in front of people on a Sunday.
1 serving (about 80g)
Culinary guides, cultural storytelling, and the editorial depth that makes cooking meaningful.
Discover Culinary ExplorerChef Thomas
A proper white sauce sharpened with pounded anchovy, the old Georgian trick for waking up a piece of poached fish or a slice of roast lamb on a Sunday in spring.

Chef Thomas
A spiced autumn chutney made from a glut of apples and a quiet afternoon, simmered down until the kitchen smells of October and the jars line up on the counter like a small, useful insurance policy.
Chef Thomas
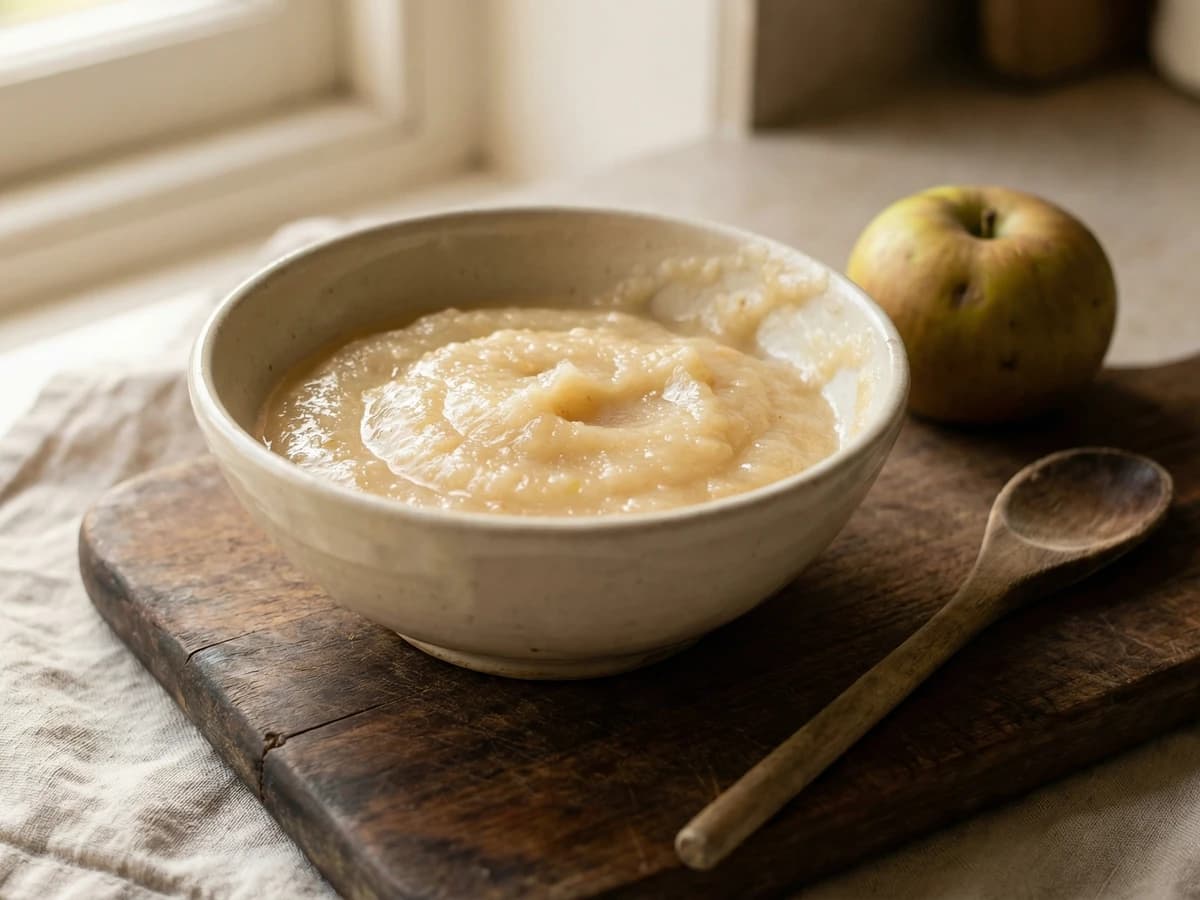
A bowl of sharp, fluffy Bramley apple sauce, made in the time it takes to carve the pork, the kind of small condiment that quietly makes the whole meal make sense.
Chef Thomas
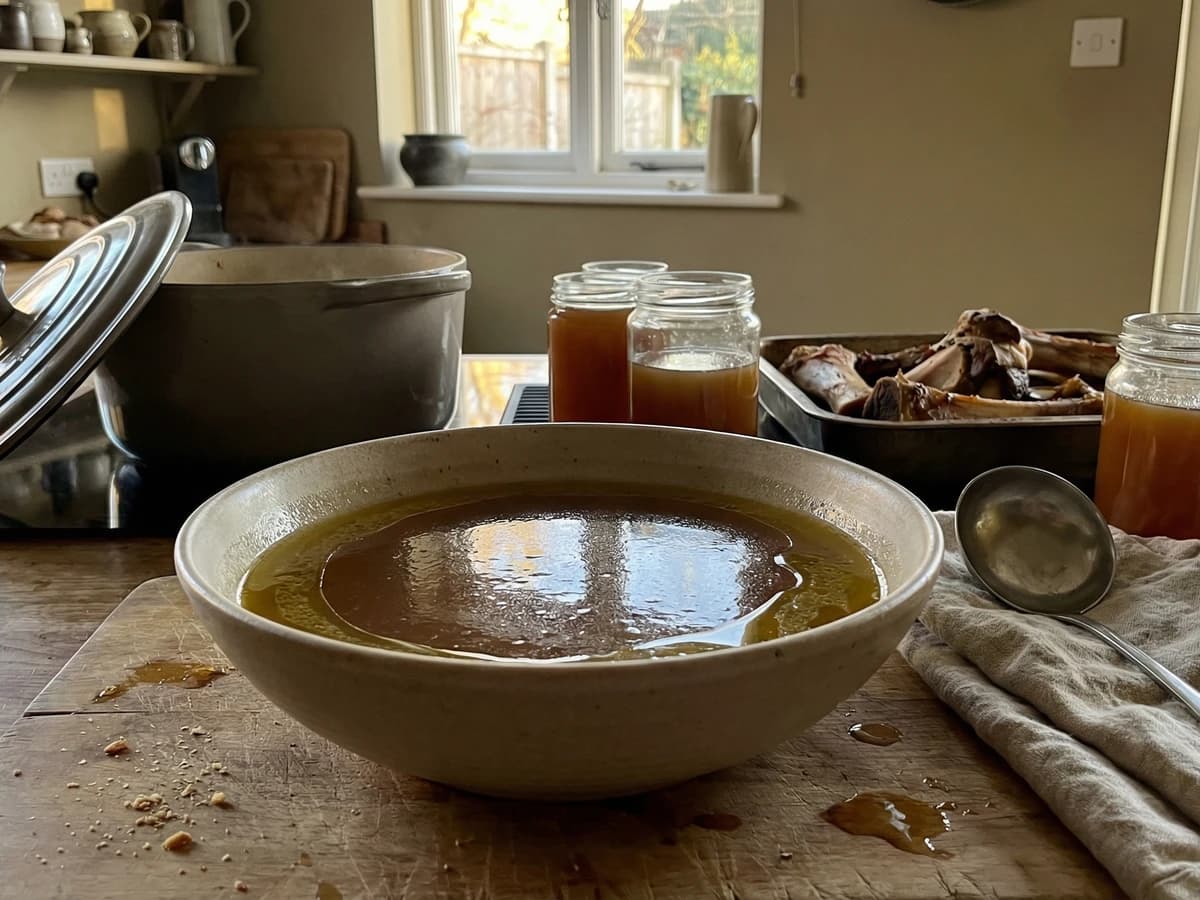
Beef bones roasted until dark, then coaxed for a long afternoon into a deep amber stock, the foundation of every good gravy, every braise, every bowl of winter soup worth the trouble.