
Chef Dean
Classic French Baguette
Four humble ingredients transformed through time and technique into shattering-crusted, airy-crumbed bread that rivals any Parisian bakery. This is bread worth the effort.
A cooking platform built around craft, culture, and the stories behind what we eat.
Created by
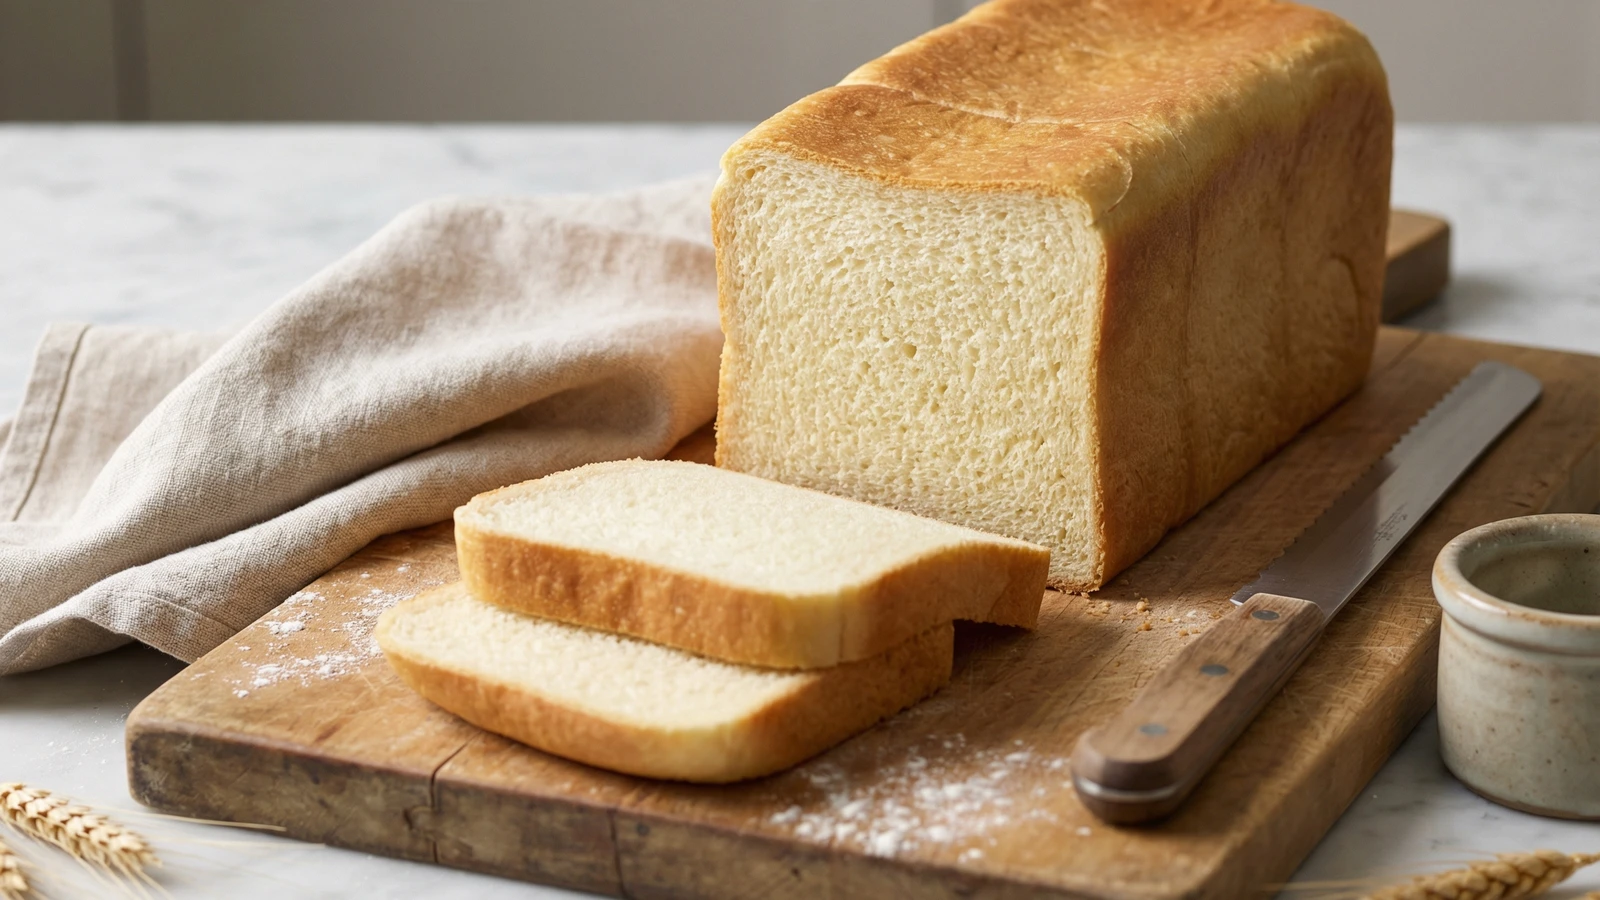
The French answer to sandwich bread: a tender, fine-crumbed loaf baked under a lid for perfect rectangles that slice like a dream and toast to golden perfection.
The French have never been content to let good enough alone. Where American bakers accepted the rounded dome of a standard loaf, the French looked at that shape and asked: why should half my sandwich bread be crust? Pain de mie answers with geometry. Baked in a lidded pan, it emerges perfectly rectangular, with a crumb so fine and even you could read newsprint through a slice held to the light.
This is the bread of Parisian tea sandwiches and croque monsieurs. It's what the French reach for when they want toast that browns evenly, sandwiches that don't fall apart, and bread pudding with a texture like custard. The name means 'bread of the crumb,' and that tells you everything about the priorities here. We're not chasing a crackling crust. We're building structure.
The technique requires patience but not complexity. You'll make an enriched dough with butter and milk, let it rise twice, then bake it imprisoned under a lid that forces the bread to fill every corner of the pan. The result is a loaf so uniform it looks manufactured, yet the flavor announces itself as homemade from the first bite. Once you've tasted pain de mie fresh from your own oven, the plastic-wrapped imposters at the grocery store will seem like a different food entirely.
Quantity
500g (4 cups)
plus more for dusting
Quantity
300g (1 1/4 cups)
warmed to 110°F
Quantity
60g (4 tablespoons)
softened
Quantity
30g (2 tablespoons)
Quantity
10g (2 teaspoons)
Quantity
7g (2 1/4 teaspoons)
Quantity
for greasing the pan
| Ingredient | Quantity |
|---|---|
| bread flourplus more for dusting | 500g (4 cups) |
| whole milkwarmed to 110°F | 300g (1 1/4 cups) |
| unsalted buttersoftened | 60g (4 tablespoons) |
| granulated sugar | 30g (2 tablespoons) |
| fine sea salt | 10g (2 teaspoons) |
| instant yeast | 7g (2 1/4 teaspoons) |
| softened butter | for greasing the pan |
Heat the milk until it feels pleasantly warm against your wrist, around 110°F. Too hot and you'll kill the yeast. Too cold and the dough will rise sluggishly. If you don't have a thermometer, aim for the temperature of a warm bath. The milk should feel comfortable, not scalding.
In the bowl of a stand mixer fitted with the dough hook, whisk together the flour, sugar, salt, and instant yeast. Keep the salt and yeast on opposite sides of the bowl until mixing begins. Salt can inhibit yeast if they sit in direct contact.
Pour the warm milk into the dry ingredients. Mix on low speed until a shaggy mass forms, about 2 minutes. The dough will look rough and unpromising. This is correct. Increase speed to medium and knead for 8 minutes. The dough should begin pulling away from the bowl's sides, slapping rhythmically against the hook.
With the mixer running on medium-low, add the softened butter one tablespoon at a time. Wait until each addition disappears before adding the next. The dough will turn greasy and slack initially, then come back together into a smooth, supple ball. This takes 4 to 5 minutes. When finished, the dough should be tacky but not sticky, pulling cleanly from your fingers.
Pinch off a small piece of dough and stretch it between your fingers. If you can pull it thin enough to see light through without tearing, your gluten network is properly developed. This windowpane test tells you the dough has the structure to trap gas and rise properly. If it tears, knead for 2 more minutes and test again.
Shape the dough into a ball and place it in a lightly oiled bowl, turning once to coat. Cover tightly with plastic wrap or a damp towel. Let rise in a warm spot until doubled in size, 1 to 1 1/2 hours. The dough is ready when you press two fingers into it and the indentation holds rather than springing back immediately.
Generously butter a 13x4-inch Pullman pan, including the inside of the lid. Get into every corner. This bread contains enough butter that sticking is rare, but insurance costs nothing. Set the lid aside.
Turn the risen dough onto a lightly floured surface and press gently to deflate. You'll hear the soft exhale of trapped gas escaping. Pat the dough into a rough rectangle about 8 inches wide. Starting from a short end, roll it tightly into a cylinder, pinching the seam closed as you go. Pinch the ends and tuck them underneath.
Place the shaped dough seam-side down in the prepared pan. Press gently so the dough reaches into the corners. It should fill roughly two-thirds of the pan's volume. If your dough seems shy of the ends, that's fine. It will expand to fill the space during proofing.
Cover the pan loosely with plastic wrap or a clean towel. Let the dough rise until it reaches about 1/2 inch below the top rim of the pan, 45 minutes to 1 hour. Check it at 30 minutes. Overproofing here means the lid won't close properly, and the bread will have a coarse, cottony texture.
Position a rack in the lower third of your oven and preheat to 400°F. The bottom heat helps the bread rise quickly in the first minutes of baking, creating a lighter crumb.
Slide the lid onto the pan, closing it completely. Place in the oven and bake for 35 to 40 minutes. Resist the urge to peek for the first 30 minutes. At 35 minutes, slide the lid back and check the color. The top should be pale golden, not deeply browned. This bread bakes in its own steam, producing a soft crust by design.
Remove the lid and tap the top of the loaf. A hollow sound indicates the bread is done. For certainty, insert an instant-read thermometer into the center—it should register between 190°F and 200°F. If underdone, return the loaf to the oven without the lid for 5 more minutes.
Immediately turn the loaf out onto a wire rack. If it sticks, run a thin knife around the edges. Let the bread cool completely before slicing, at least 1 hour. I know this requires discipline. Cutting into warm bread compresses the crumb and ruins the texture you worked to achieve. The bread continues cooking as it cools, and the crumb sets properly only at room temperature.
1 serving (about 53g)
Culinary guides, cultural storytelling, and the editorial depth that makes cooking meaningful.
Discover Culinary ExplorerChef Dean
Four humble ingredients transformed through time and technique into shattering-crusted, airy-crumbed bread that rivals any Parisian bakery. This is bread worth the effort.
Chef Dean
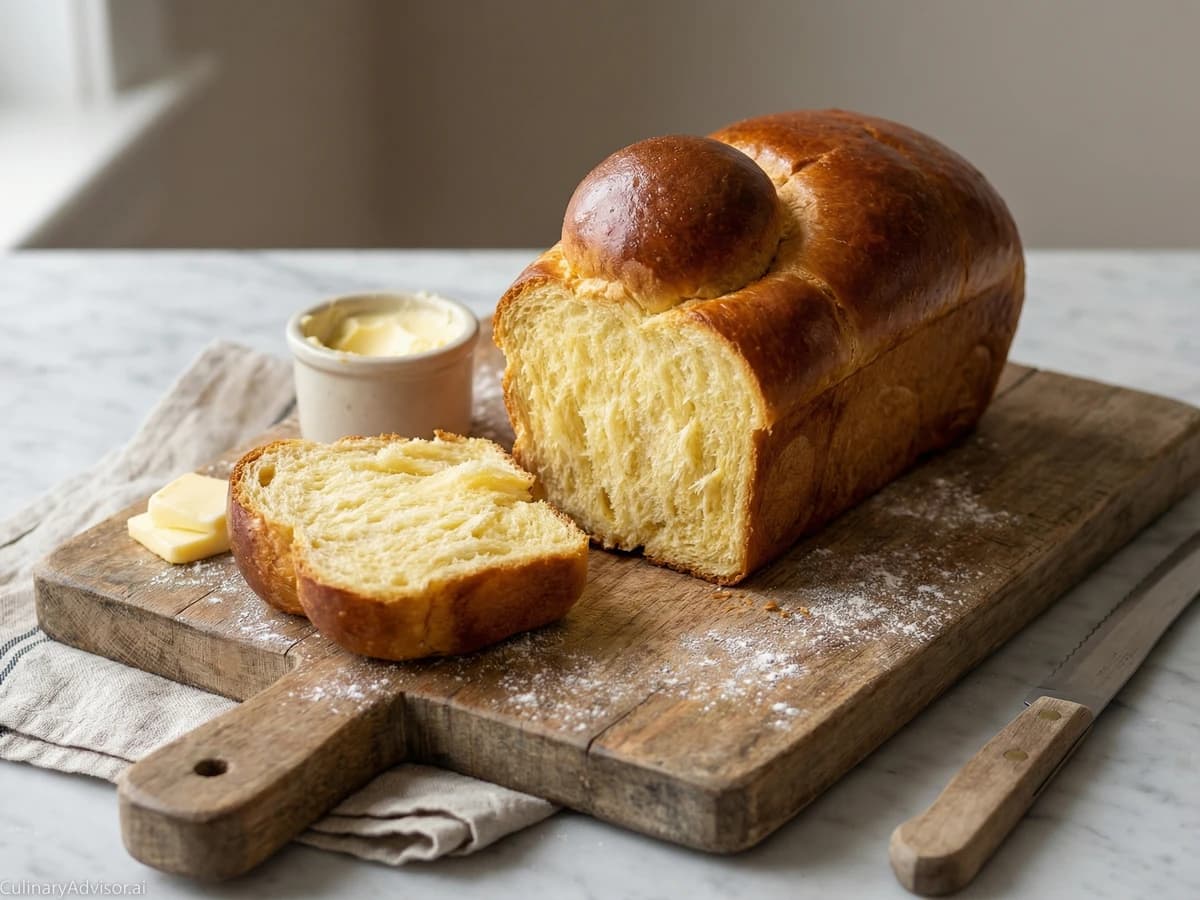
The crown jewel of enriched breads, brioche walks the line between bread and pastry with shameless amounts of butter and eggs folded into a tender, golden crumb that tears like clouds.

Chef Ally
A golden loaf of butter-rich French bread with a mahogany crust and a crumb so tender it tears like cotton. This is bread meant for holiday mornings, French toast that matters, and the simple pleasure of something made with your own hands.

Chef Ally
Four ingredients, two hands, and one day of unhurried attention. This is the loaf that connects you to ten thousand years of bread-making, and it starts with flour you can trust.