
Chef Dean
Amish White Bread
Pillowy soft sandwich bread from Pennsylvania Dutch kitchens, where generations of home bakers perfected the art of tender, slightly sweet loaves that slice clean and toast golden.
A cooking platform built around craft, culture, and the stories behind what we eat.
Created by
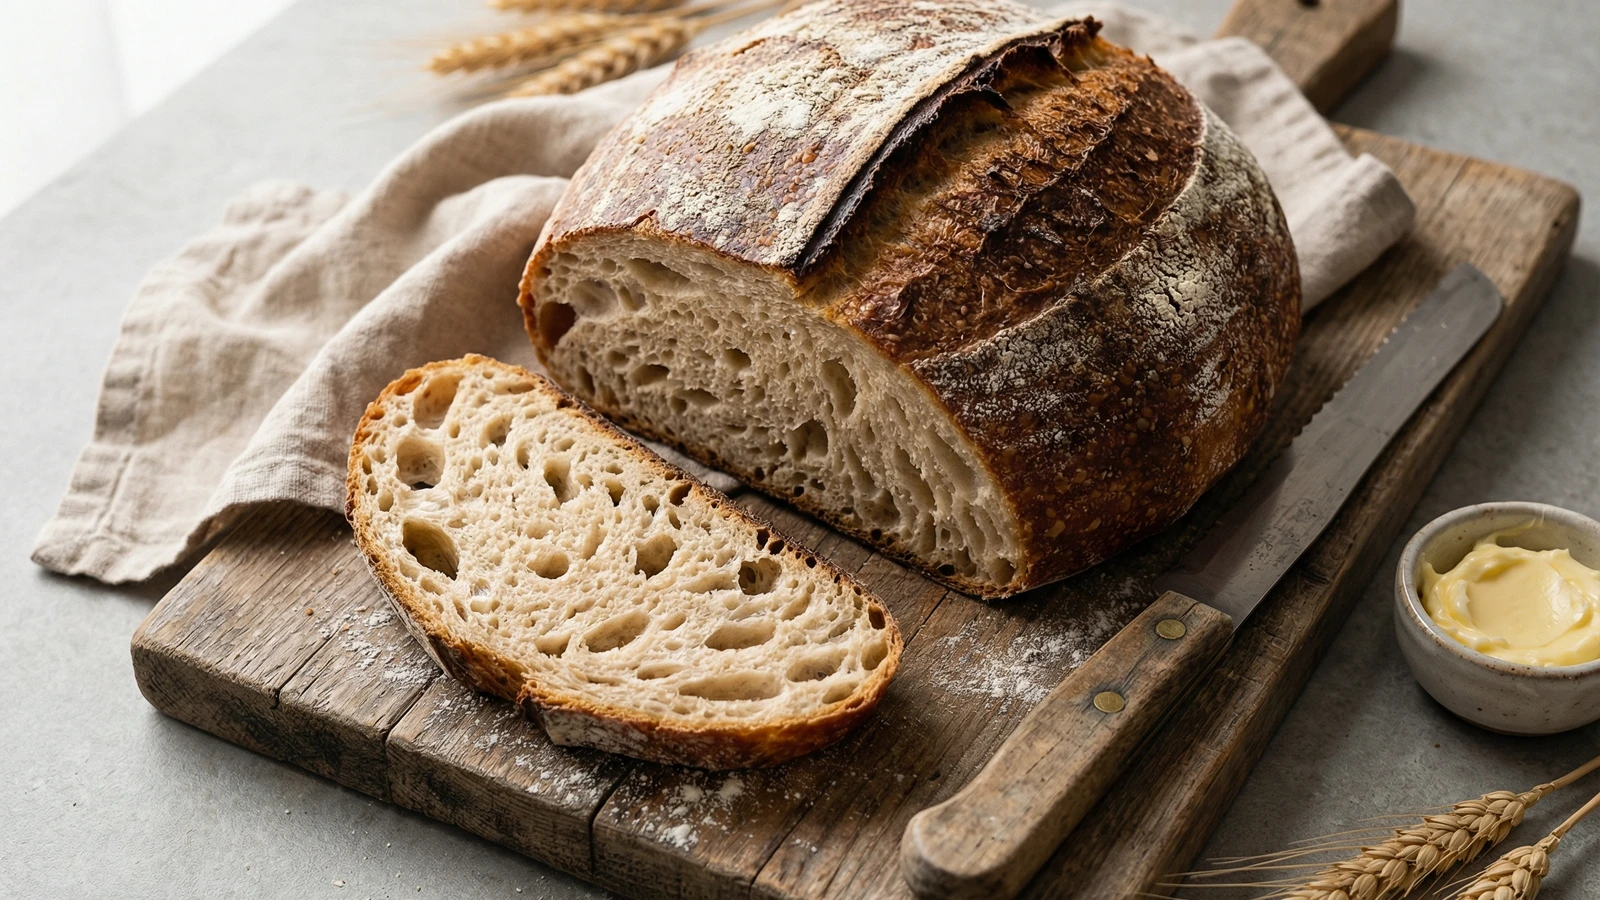
A crackling golden crust gives way to an open, tender crumb in this revolutionary bread that proves great baking requires patience, not labor. Time does the work your hands once did.
This bread changed home baking forever. In 2006, Jim Lahey of Sullivan Street Bakery shared his no-knead method with the world, and suddenly anyone with flour, water, salt, and a Dutch oven could produce loaves that rivaled artisan bakeries. No special equipment. No years of practice. Just the oldest technology in bread making: time.
The science is elegant. Traditional kneading develops gluten by physically working the dough, aligning protein strands into an elastic network that traps gas and creates structure. But gluten also develops on its own given enough time. A wet dough left to ferment for 12 to 18 hours achieves the same result without a single fold. The long fermentation builds flavor too, creating the complex tang and depth that quick breads simply cannot match.
I've taught this method to nervous bakers who swore bread was beyond them. Within a week, they were producing loaves with crusts that shattered audibly when sliced, interiors with those coveted irregular holes, and the confidence to experiment with additions like olives, rosemary, or aged cheese. This is where bread baking begins. Master this loaf, and you'll understand what flour and water can become when treated with respect.
Quantity
430g (3 1/4 cups)
plus more for dusting
Quantity
8g (1 1/2 teaspoons)
Quantity
2g (1/2 teaspoon)
Quantity
345g (1 1/2 cups)
about 65°F
| Ingredient | Quantity |
|---|---|
| bread flourplus more for dusting | 430g (3 1/4 cups) |
| fine sea salt | 8g (1 1/2 teaspoons) |
| instant yeast | 2g (1/2 teaspoon) |
| cool waterabout 65°F | 345g (1 1/2 cups) |
In a large mixing bowl, whisk together the bread flour, salt, and instant yeast until evenly distributed. Add the cool water and stir with a wooden spoon or your hand until no dry flour remains. The dough will look shaggy and rough, nothing like the smooth ball you might expect. This is correct. Resist the urge to add more flour. The stickiness is essential.
Cover the bowl tightly with plastic wrap or a damp kitchen towel. Set it in a draft-free spot at room temperature (around 68-72°F) and walk away. Let the dough ferment for 12 to 18 hours. When ready, the surface will be dotted with bubbles, the dough will have more than doubled in size, and it will jiggle when you nudge the bowl. You'll smell the yeasty, slightly sour fragrance of proper fermentation.
Generously flour your work surface. Scrape the dough out of the bowl in one mass. It will be wet and loose. Don't panic. With floured hands, fold the dough over itself once or twice, then shape it into a rough ball by tucking the edges underneath. The surface should feel taut. Work quickly and handle the dough gently to preserve the gas bubbles that create an open crumb.
Lay a clean cotton or linen kitchen towel in a medium bowl and dust it heavily with flour (or use a mix of half flour, half wheat bran to prevent sticking). Place the shaped dough seam-side down on the towel. Fold the towel loosely over the top and let the dough rise for 1 1/2 to 2 hours. It's ready when it has grown by roughly half and holds a slight indentation when poked with a floured finger. If the indent springs back immediately, give it more time.
About 30 minutes before the dough finishes proofing, place your Dutch oven with its lid inside your oven and heat to 475°F. The pot must be scorching hot. This intense heat creates the steam environment that gives artisan bread its blistered, crackling crust. When you open the oven, you should feel a wave of heat that makes you step back.
Carefully remove the blazing hot Dutch oven (use heavy oven mitts and respect that heat). Remove the lid. Flip the dough seam-side up directly into the pot. It will look rustic and imperfect. This is good. Use a sharp knife or razor blade to slash a deep X across the top, about half an inch deep. These cuts allow the bread to expand properly as it bakes. Replace the lid immediately.
Bake with the lid on for 30 minutes. The trapped steam will keep the crust soft initially, allowing maximum oven spring as the dough expands dramatically in the first ten minutes. You'll hear it sizzling against the hot iron. That's the sound of crust forming.
Remove the lid and continue baking for 15 to 20 minutes more, until the crust is deeply golden brown, almost mahogany in places. The color you want is darker than you think. A pale loaf tastes like flour. A properly browned loaf tastes like bread. The internal temperature should reach 205-210°F if you're using a thermometer.
Transfer the loaf to a wire cooling rack immediately. Now comes the hardest part: waiting. The bread must cool for at least one hour before slicing. Inside that crust, the crumb is still setting, moisture is redistributing, and the structure is finalizing. Cut into it too soon and you'll have a gummy interior and a crust that softens within minutes. Patience. Listen for the crackling sounds as it cools. That's the crust contracting, singing its own approval.
1 serving (about 87g)
Culinary guides, cultural storytelling, and the editorial depth that makes cooking meaningful.
Discover Culinary ExplorerChef Dean
Pillowy soft sandwich bread from Pennsylvania Dutch kitchens, where generations of home bakers perfected the art of tender, slightly sweet loaves that slice clean and toast golden.

Chef Dean
Sky-high muffins bursting with juicy blueberries beneath a shatteringly crisp butter streusel, baked golden brown with that coveted bakery dome your family will wake up early for.

Chef Dean
Pillowy enriched dough wrapped around jammy wild blueberries and fragrant lemon zest, then crowned with a tangy cream cheese glaze that pools into every golden crevice. Summer morning baking at its finest.

Chef Dean
Golden, buttery buns with a tender crumb that cradles your burger without surrendering to the juices. This is the bun that makes a backyard cookout feel like an occasion worth remembering.